
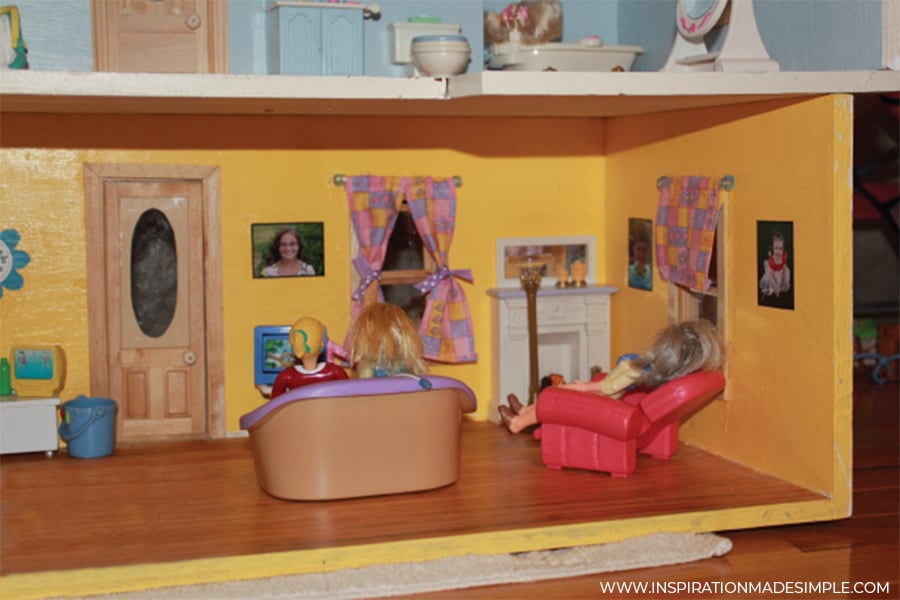
Yesterday we peeked inside my daughter’s new dollhouse. Today, we’re tackling a fun and easy project: hanging dollhouse curtains! This is a surprisingly simple process that can take your dollhouse decor to the next level. I wasn’t sure how to approach it at first, but with a quick scan of my craft supplies, inspiration struck! Ready to learn how to hang dollhouse curtains?
DIY Doll Curtain Rods

SUPPLIES:
Glue Gun
Wood Skewer
Plastic Beads
Ribbon (optional)
Sewn Curtain Panels – I made these simple curtains with scrap fabric. I the fabric to size, then sewed each side to create a finished look, leaving a little pocket along the top to slide the rod through. I made some full panels and others just valances.
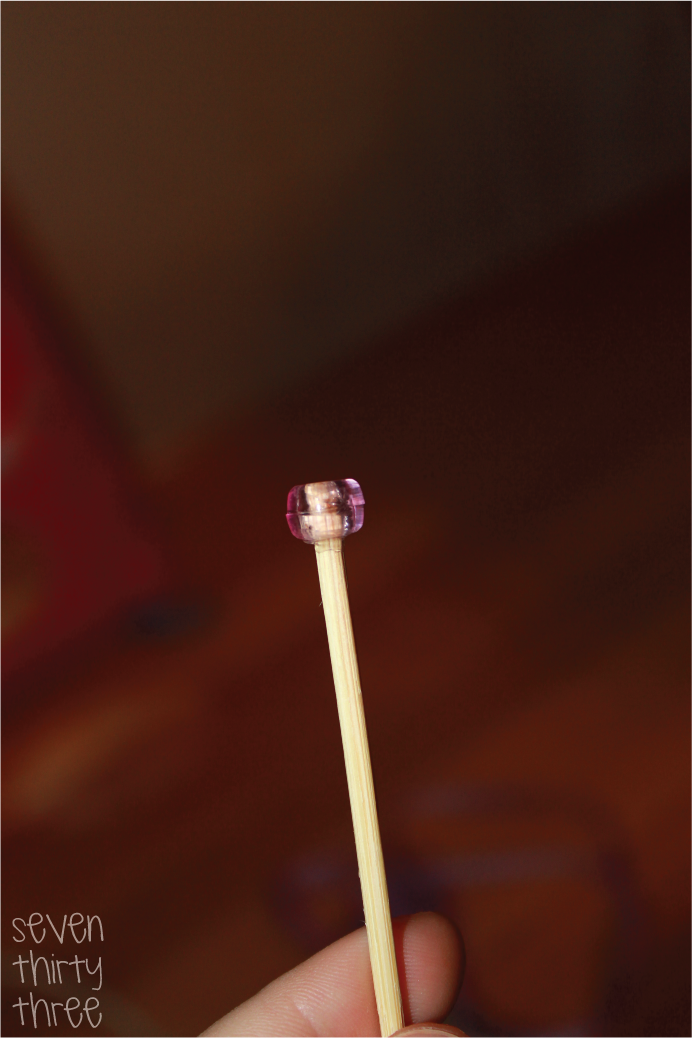
Cut the skewer to the desired length – it should extend a bit beyond the window on each side. Add a dab of hot glue to one end and insert the skewer into the plastic bead.

Place the curtains onto the skewer. Add another dab of glue onto the other end of the rod and insert it into another plastic bead.
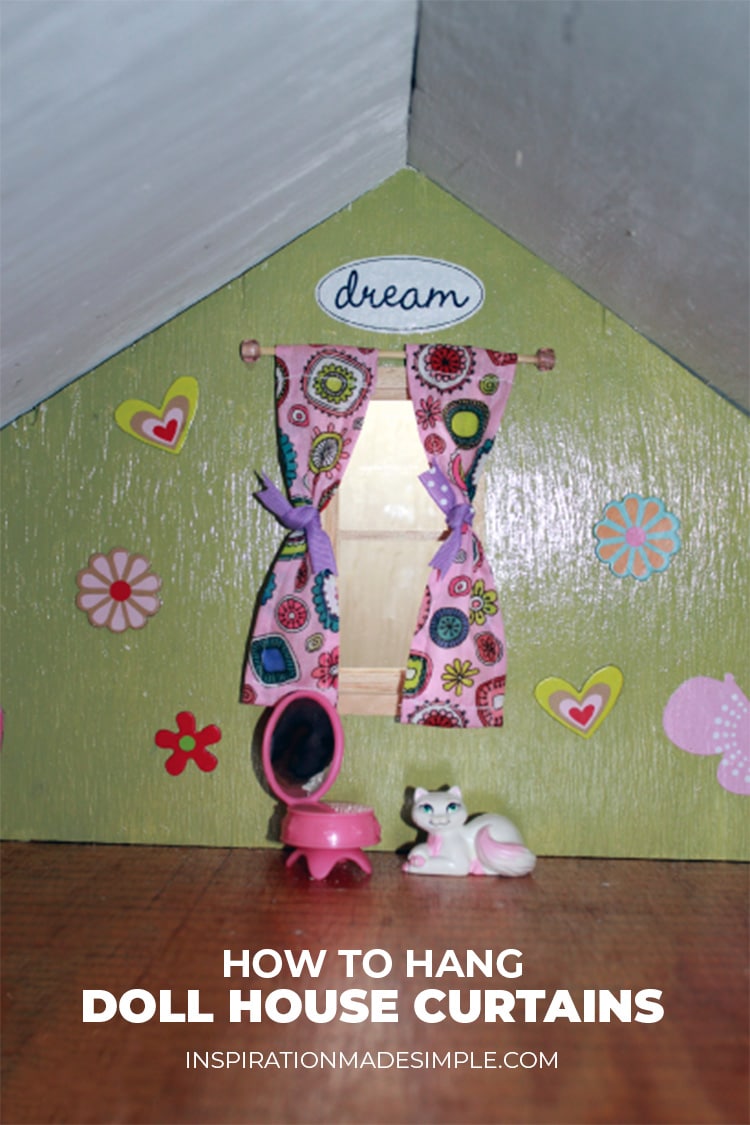
To hang the doll curtains, add a dab of glue to the back of the beads and press firmly into place. If you want to change the curtains out, the rod will pop off with a tug.
I added ribbon as tie backs and voila:


Very cute! Kate has a wooden dollhouse, and I think these will work perfectly! Now, I need an idea for dollhouse rugs.
Jessica
It certainly is! Funny… when I read the title (before I clicked to see your post), I had an idea pop into my mind, which wasn’t far from your own.
The little wooden “pole” with coloured beads is so cool. No fuss or bother, just simple and easy.
You could try an alternative – a “steel” or “brass” pole – made from a piece of a giant metal paperclip (one of the curled-around office paperclips), or a straightened normal-sized paperclip. Their wire is always nice and thick, like the wooden skewer/toothpick.
Then you can use metallic beads, or coloured glass beads, as the decorative finials, just like you did with the wooden “pole”.
Those are cool little curtains – I love them. Bet your daughter is really happy with them too!
That is a good idea.
Brilliant!