

I’ve been redoing my bathroom the last week. It started with us deciding on replacing the old vanity with a new one, which happened to be .5″ inches narrower than the old one… which led to me having to repaint the bathroom and the tile chair rail. Don’t you love how that happens?! We also replaced the lights and mirror and I whipped up a cafe curtain for our window. Since I painted the upper portion of the walls white, I wanted to add a bit more color and interest to the room, so I decided to hang a wreath in the window. The original plan was to buy a eucalyptus wreath, but I couldn’t find one anywhere so I headed to Michael’s with the intent to make my own… only they were almost completely out of Eucalyptus! I was about to give up when I found some picks and a gorgeous pink peony and decided to make a DIY Embroidery Hoop Wreath.
I didn’t have a plan in place, just grabbed some supplies and winged it – and it turned out great!
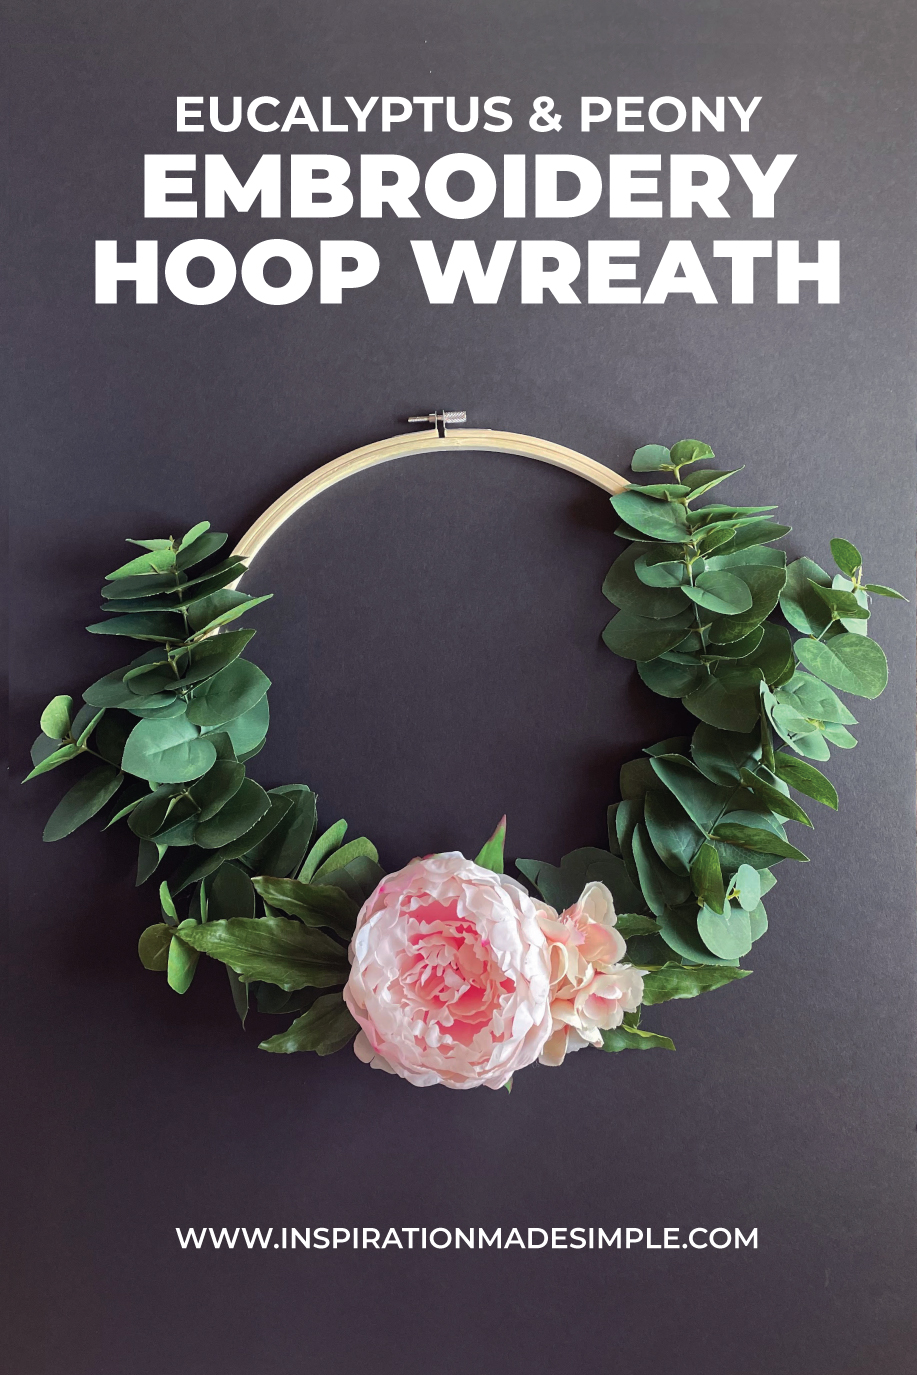
Eucalyptus Wreath Tutorial
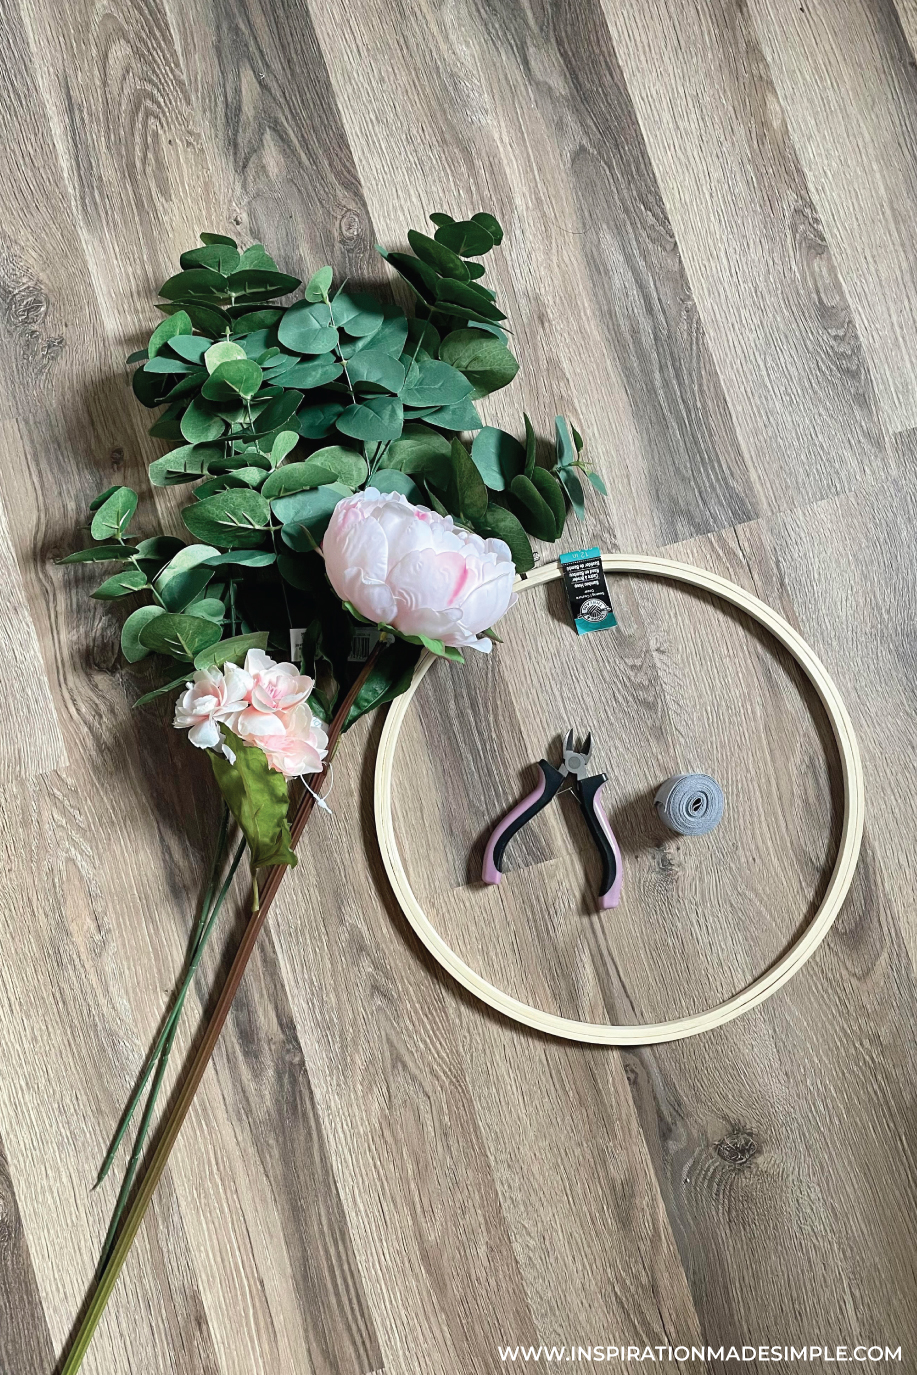
Supplies:
Embroidery Hoop (Mine was 12″)
Eucalyptus picks
Large Flower of Choice
Smaller Flowers
Hot Glue
Wire Cutters
Ribbon
Instructions:
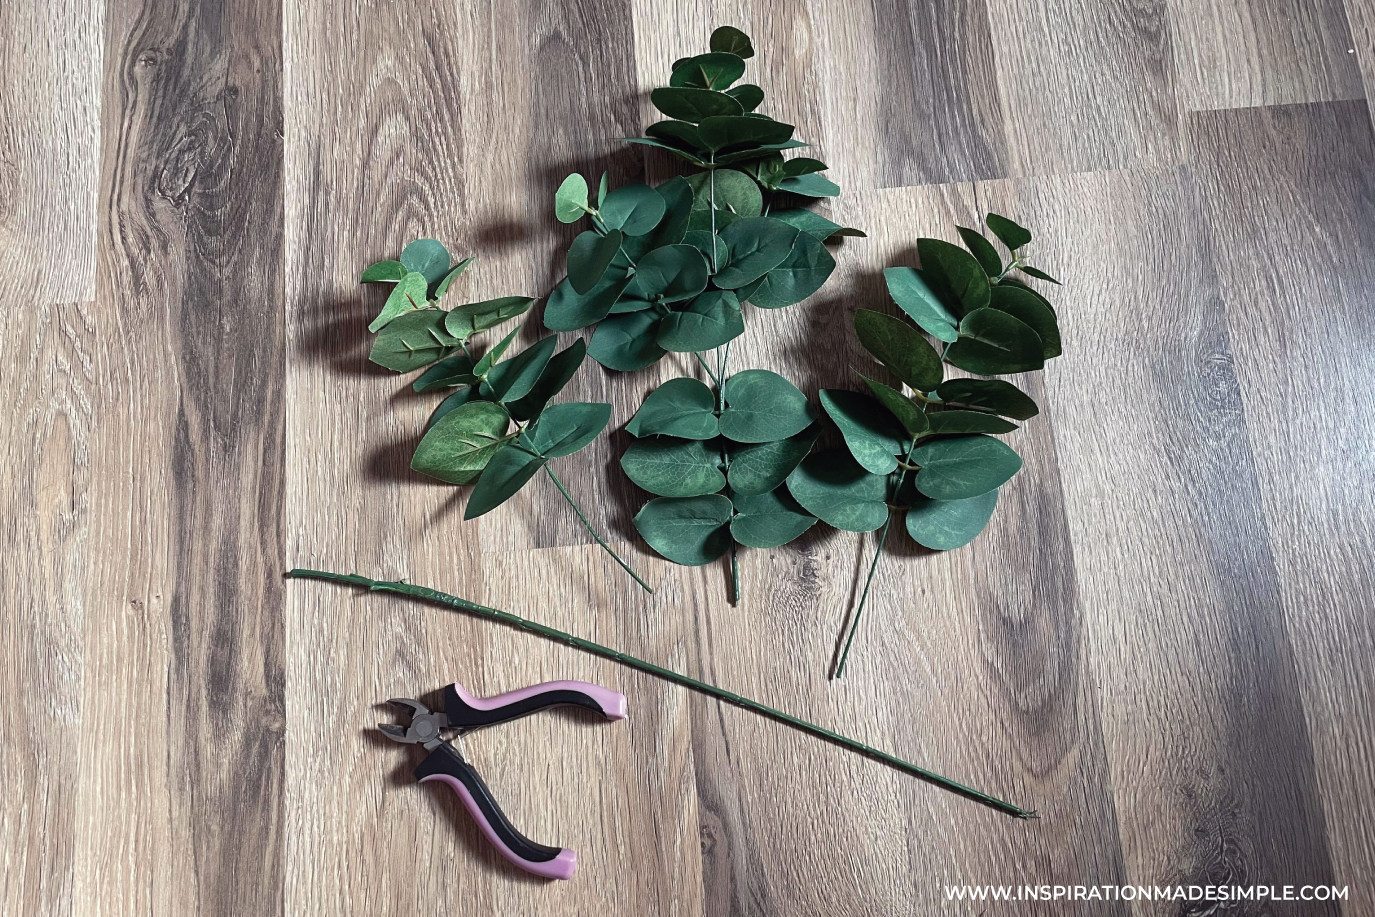
Clip the eucalyptus stems – my picks each had three branches, so I ended up with 6 total to work with.
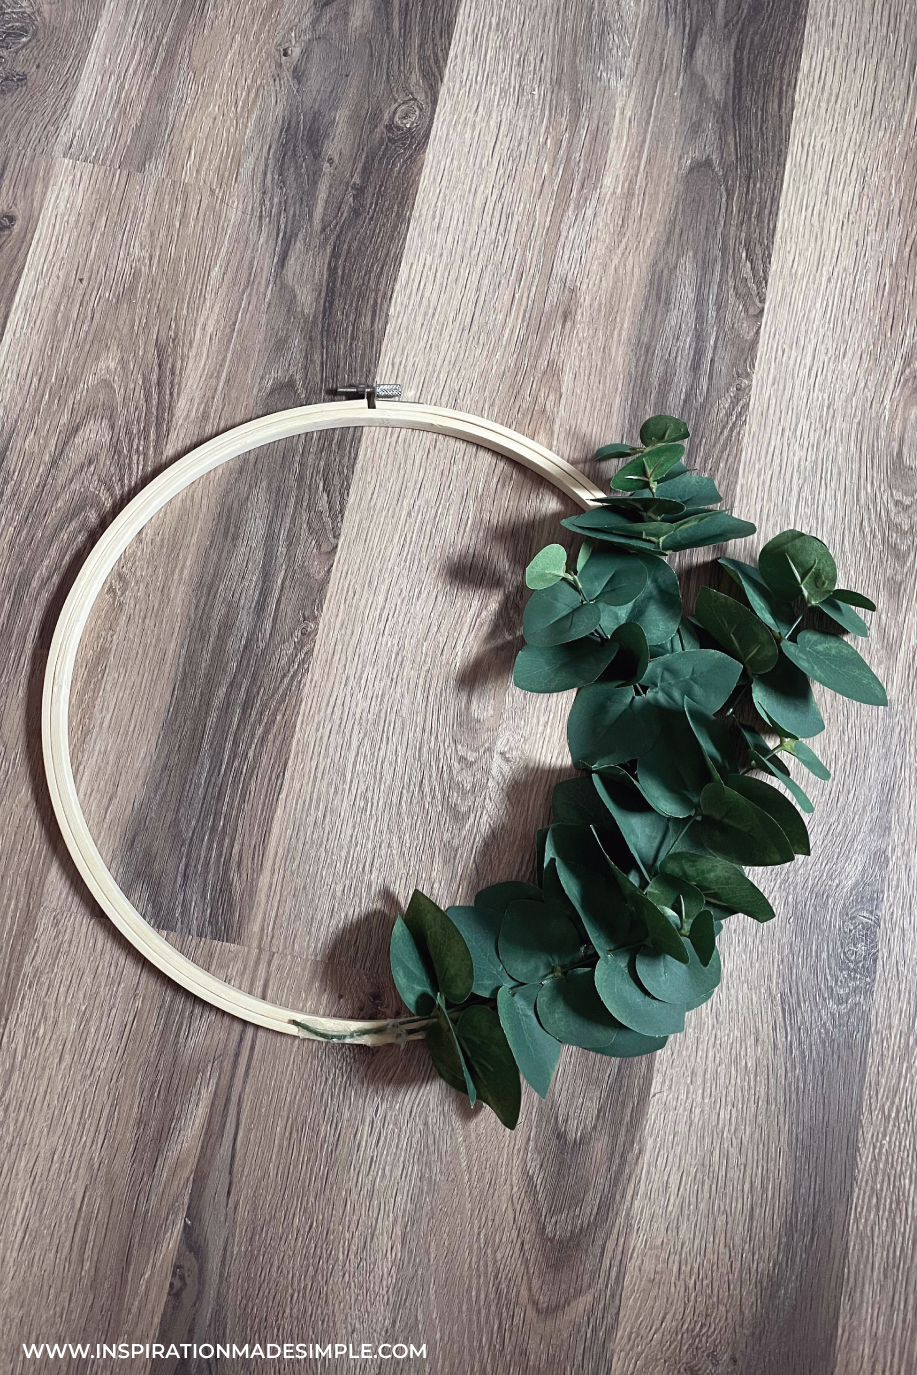
Layout the eucalyptus on the hoop to determine how you want it.

Starting with the largest stem, hot glue it into place. I did the whole right side first and then moved to the left side.
Next, use the medium stem and glue it into place and then the smallest. Just arrange them however they appeal to you. The good thing with using hot glue, you can easily pull the stem up if you don’t love the placement and correct it.
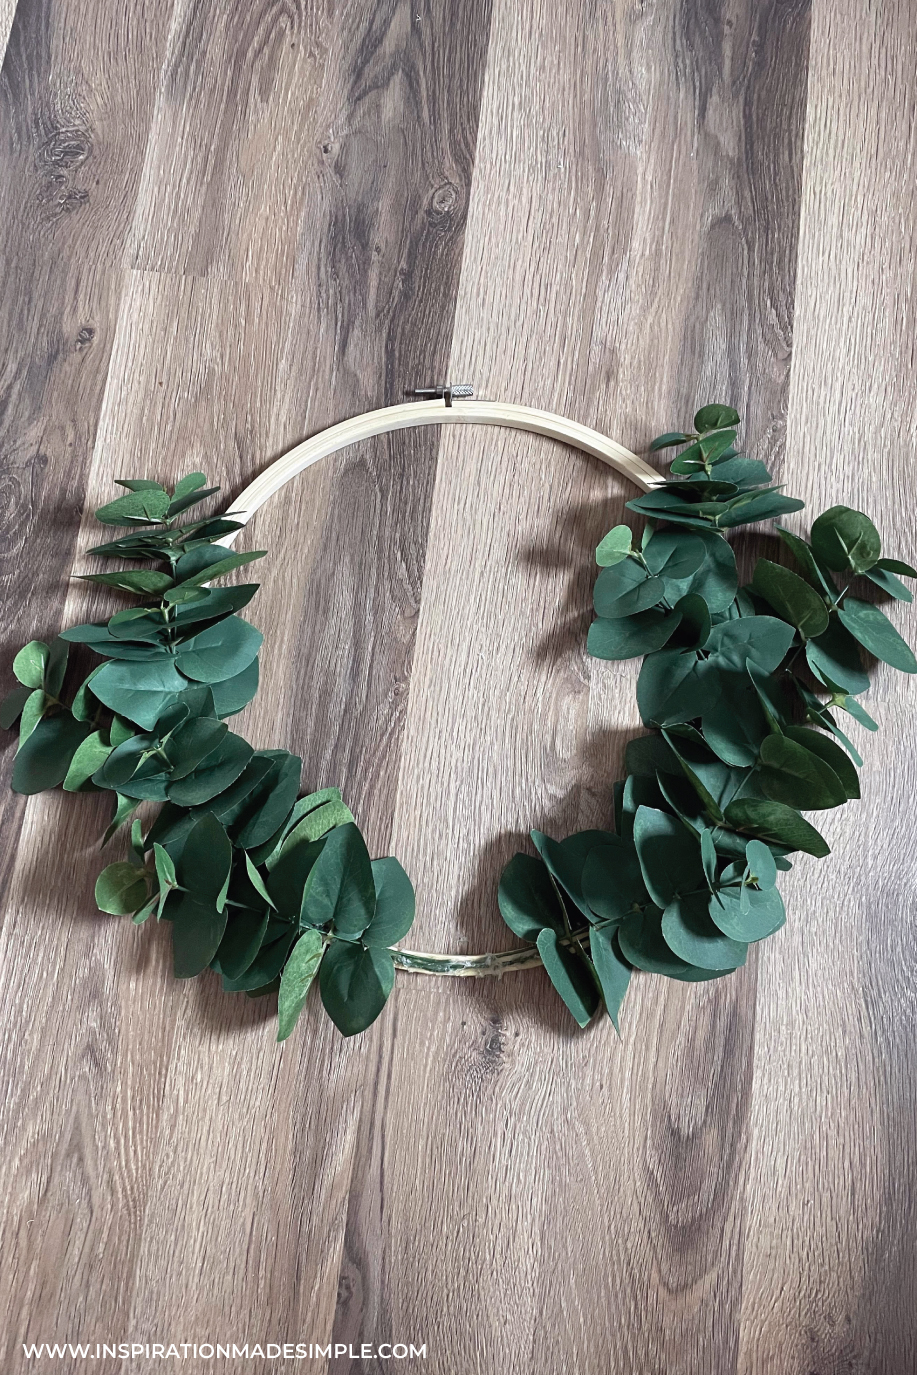
Once the eucalyptus leaves are in place, it’s time to add the flowers.
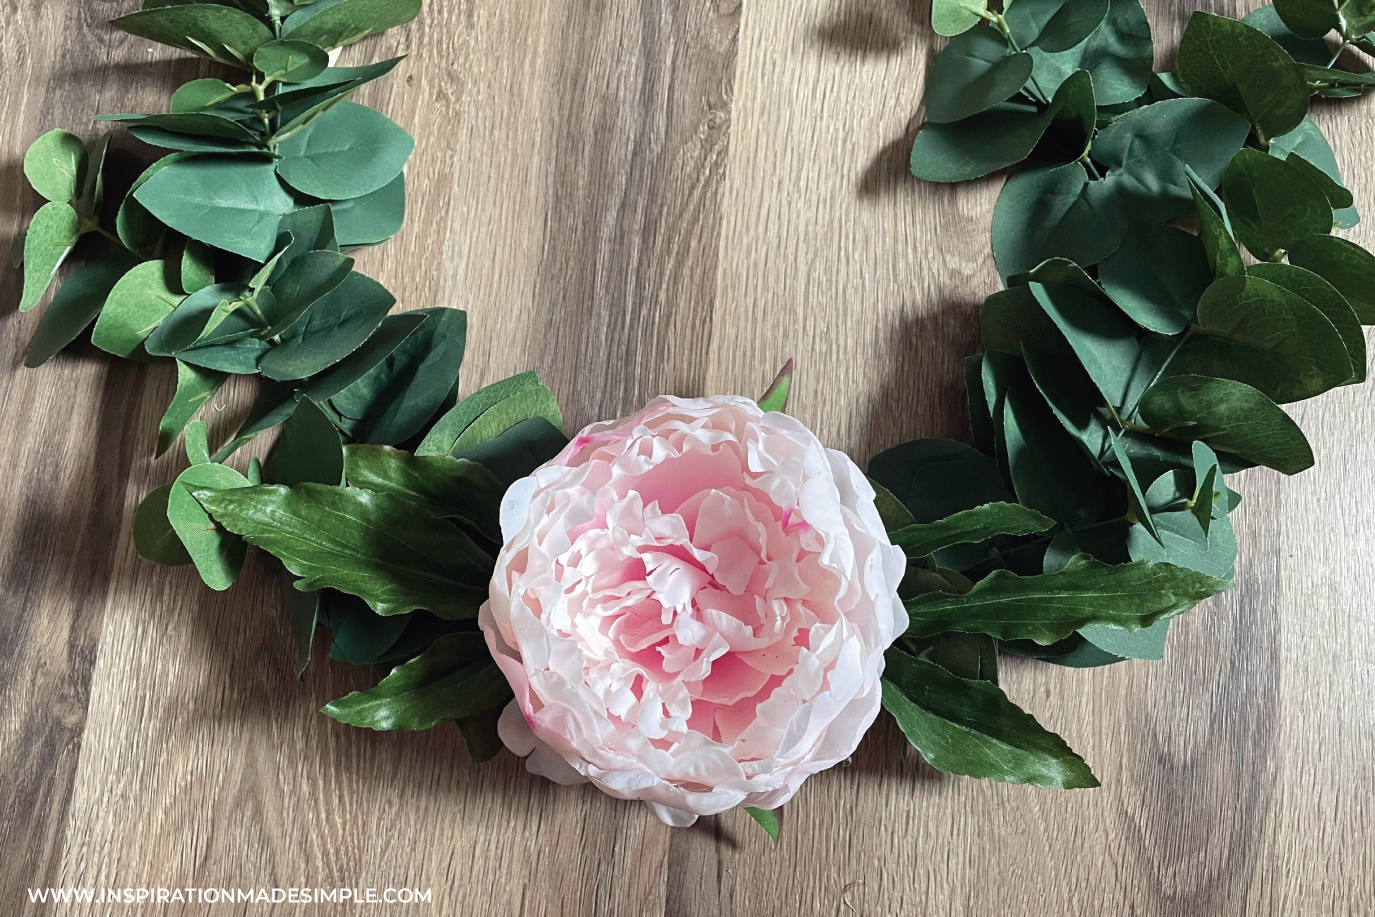
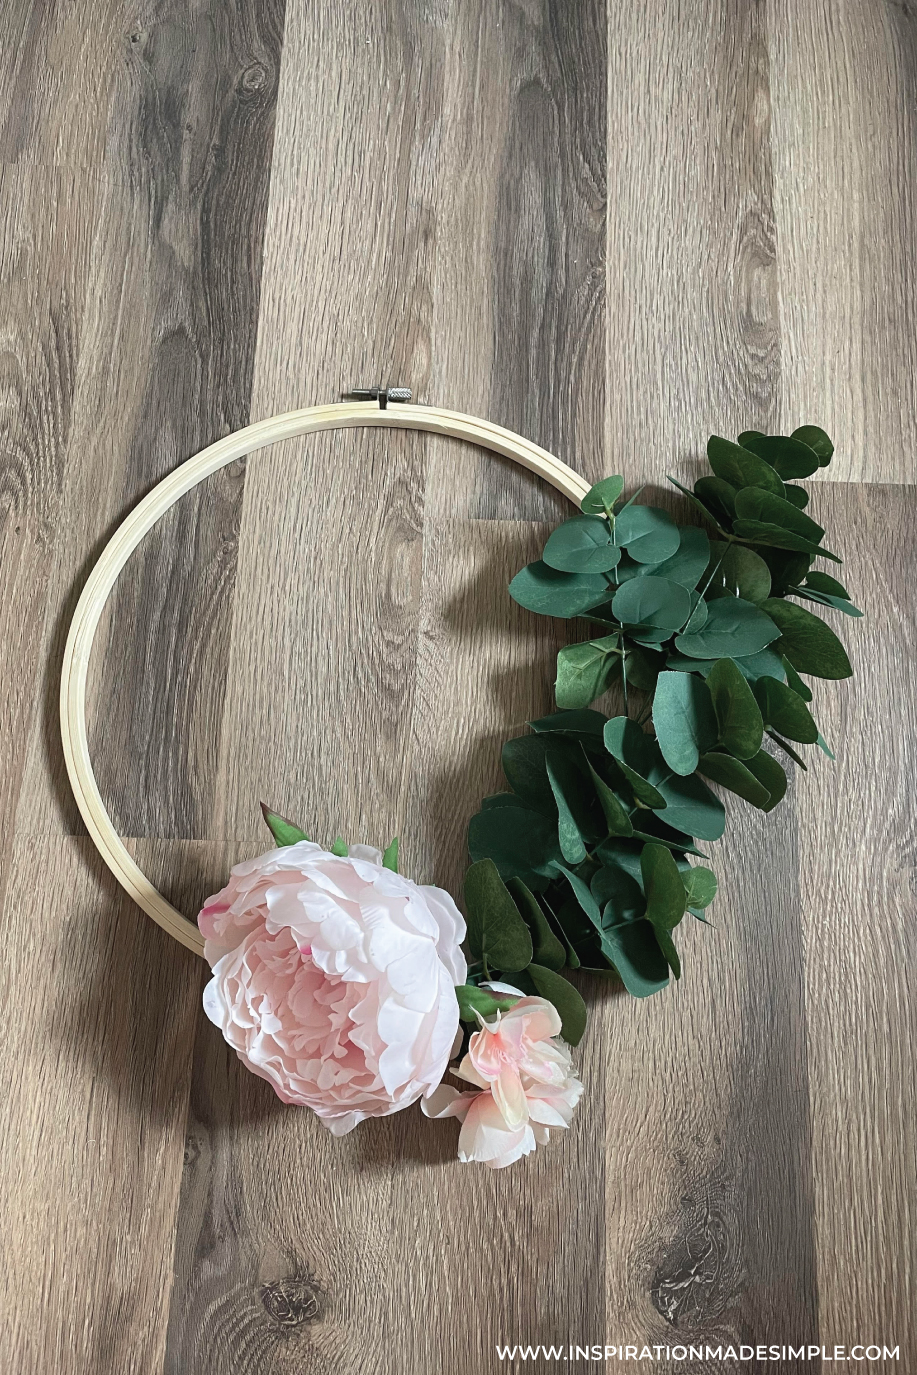
I added the large peony in the center of the eucalyptus leaves. Simply trim the stem and glue the flower into place. You’ll need to glue it to the embroidery hoop in a few places to make sure it is secure. I also hot glued the leaves from the flower stem behind the flower to give it a bit more depth.
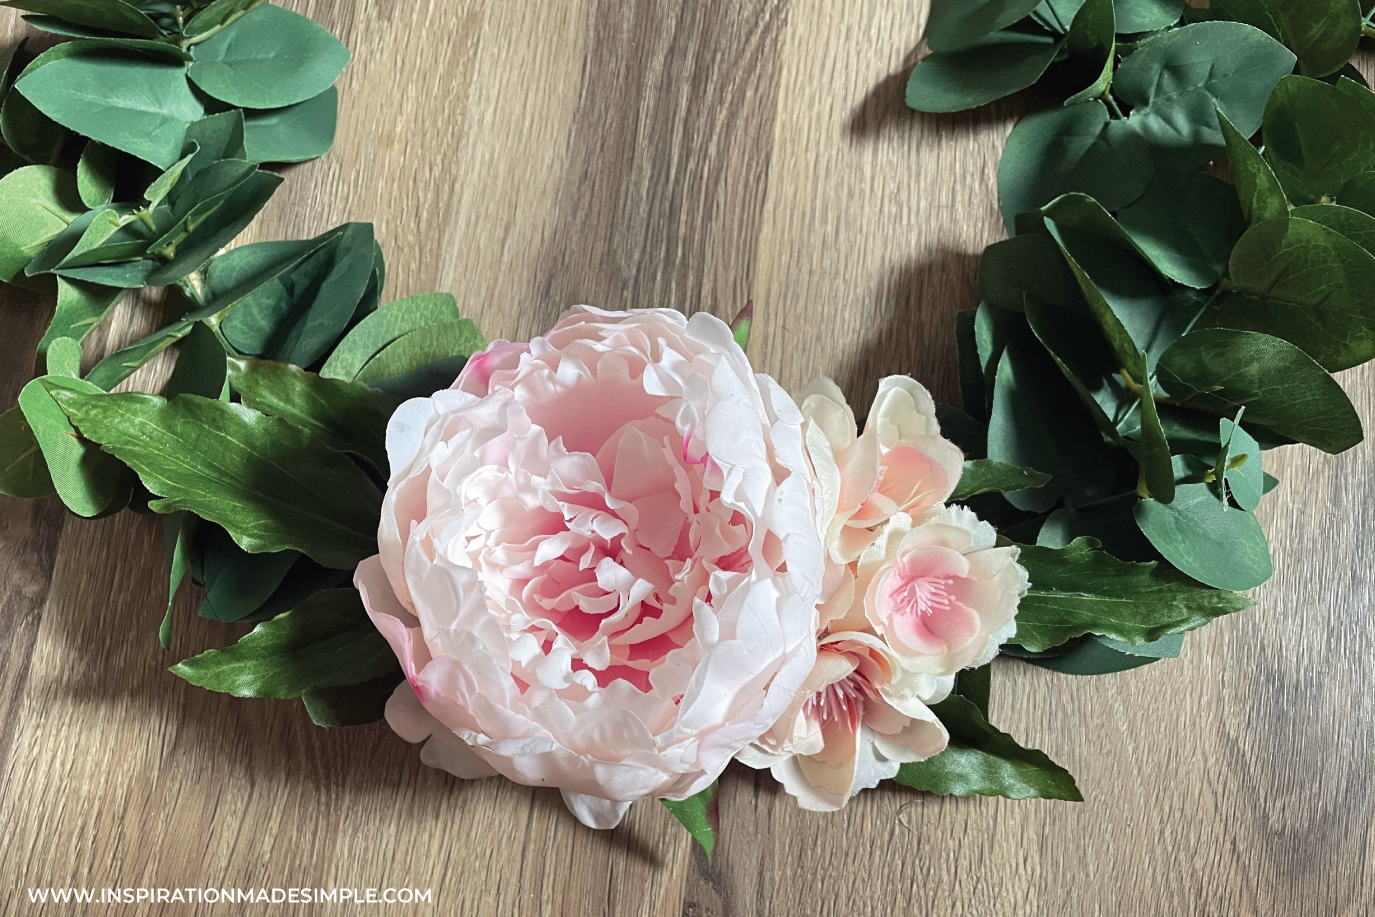
Lastly, pop the smaller flowers off from their stems. I trimmed them so that each flower was standalone rather than in a bunch, and then hot glued them to the wreath.

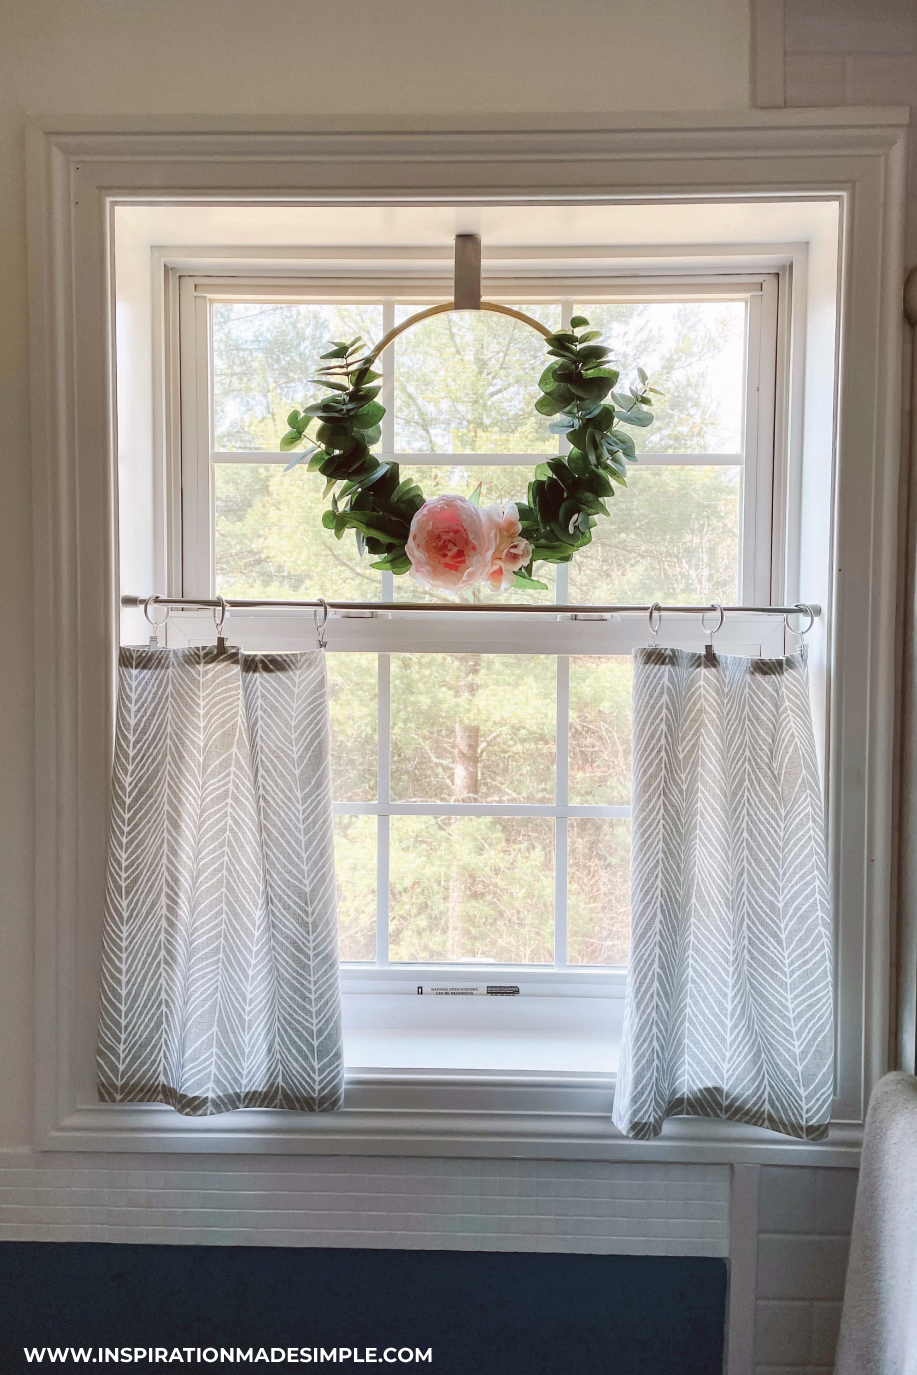
Now that the wreath is assembled, it’s time to hang it!
I cut a length of ribbon, overlapped the two ends, and used a tack to secure it to the window frame. Easy-peasy!
I love how simple and pretty the wreath turned out. This is definitely a beginner project, but if you run into any problems, leave me your question in the comments and I’ll help walk you through it! And if you end up making one, share your photos with me on Instagram or Facebook!
I haven’t had time to photograph the bathroom yet, but once I do, I’ll make sure to share pictures!


