
I don’t know about your boy, but mine likes to accessorize every now and again, but there aren’t a lot of options out there for boys! He’s not into anything girly and has a very specific idea of what he wants to wear, so when I came up with this idea and mentioned it to him, he was all for it. We went through The Ribbon Retreat site together and picked some ribbons we thought would look good together. Let’s get to making some Boy Cuffs, shall we?
Cost: Under $5 each!
SUPPLIES:
Ribbon – 2 coordinating options, one should be wider than the other
Fabric or Hot Glue
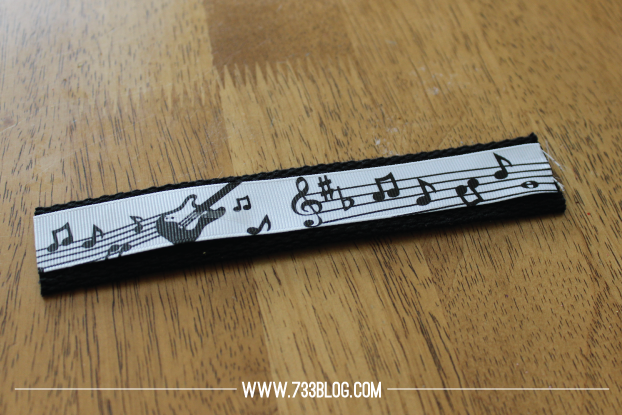
First, measure your child’s wrist. Add 1″ to that and trim both ribbons to that size.
Burn the edges to prevent fraying.
Burn the edges to prevent fraying.
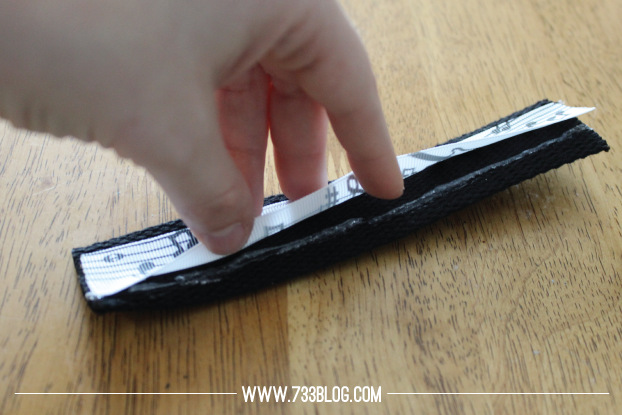
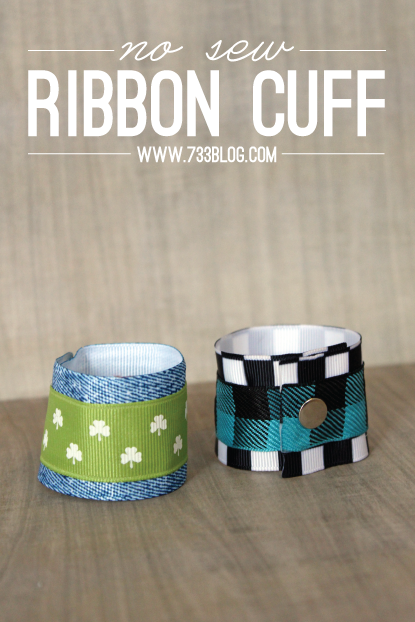
Using hot glue or fabric glue, adhere the thinner ribbon to the top of the wider one.
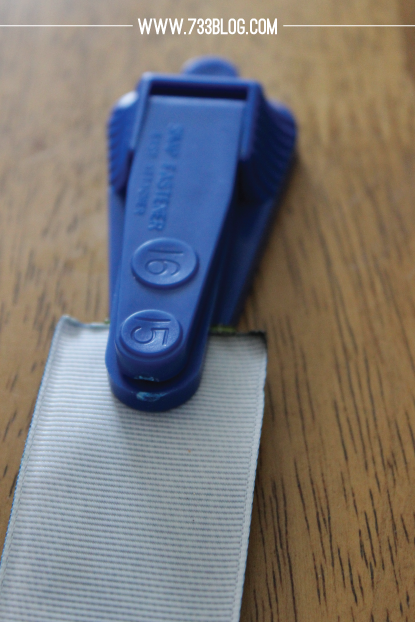
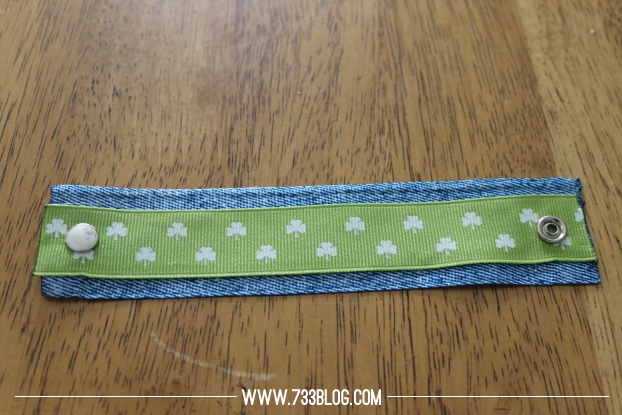
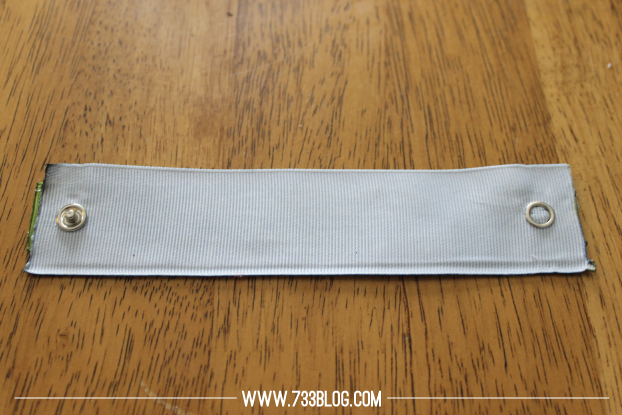
Add your button snaps to each end of the cuff. I prefer the no-sew button snaps. I ended up purchasing an inexpensive snap fastener tool that you hit with place the snap and fabric in and hit with a hammer. They are very simple to put together, follow the directions on the package.
That’s it! You can add buttons or other embellishments such as embroidery stitches as desired.
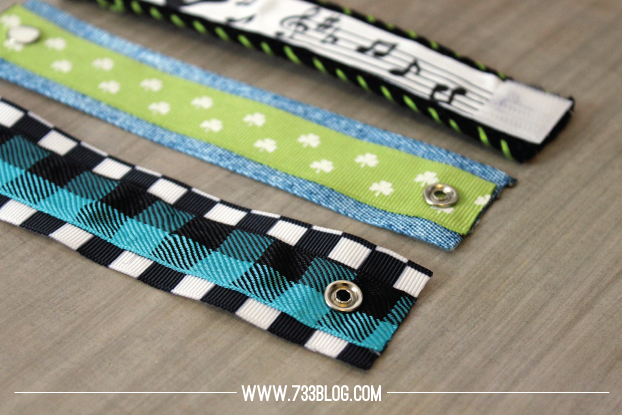
(For the top bracelet in the above picture I used black webbing, and unfortunately it was too thick for the snaps so I ended up sewing velcro in place of the snaps. I also had to make it a bit longer than the other cuffs so that it would fit around my sons wrist and fasten closed).
(For the top bracelet in the above picture I used black webbing, and unfortunately it was too thick for the snaps so I ended up sewing velcro in place of the snaps. I also had to make it a bit longer than the other cuffs so that it would fit around my sons wrist and fasten closed).
What do you think? Would your son like to sport a wrist cuff like this?I am a Contributor for The Ribbon Retreat Blog.
DISCLAIMER: I was provided with product in order to create and post this tutorial.
Post originally seen on The Ribbon Retreat Blog.


Where did you purchase the button fastener tool?
I found it at Joann’s.
What a great tutorial – and I did somehow miss it over at The Ribbon Retreat (which I also love!) Pinning!