
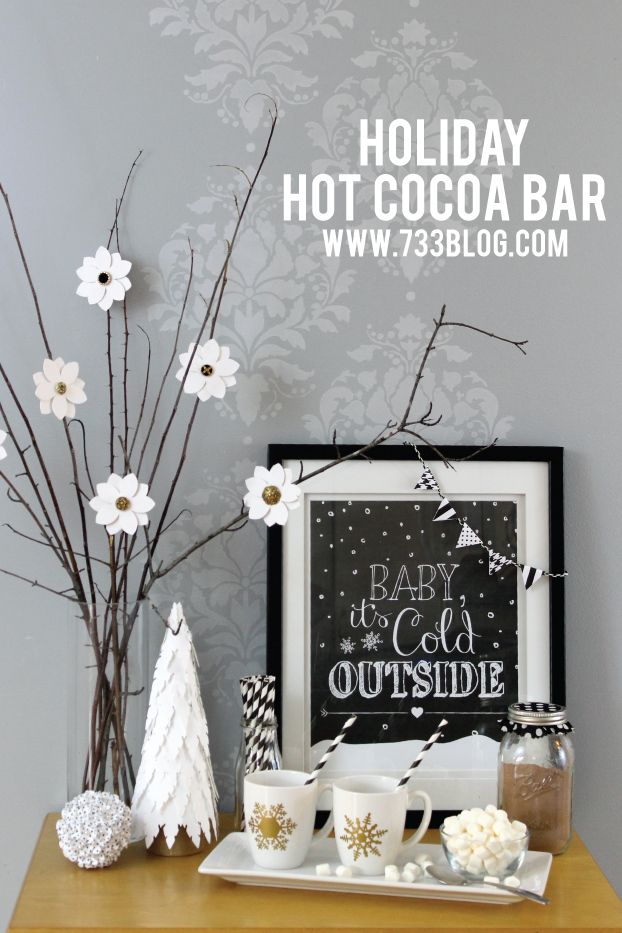
Today I’m going to share with you how I made the Floral Christmas Ornament that you saw in my Holiday Hot Cocoa Bar a few days ago.
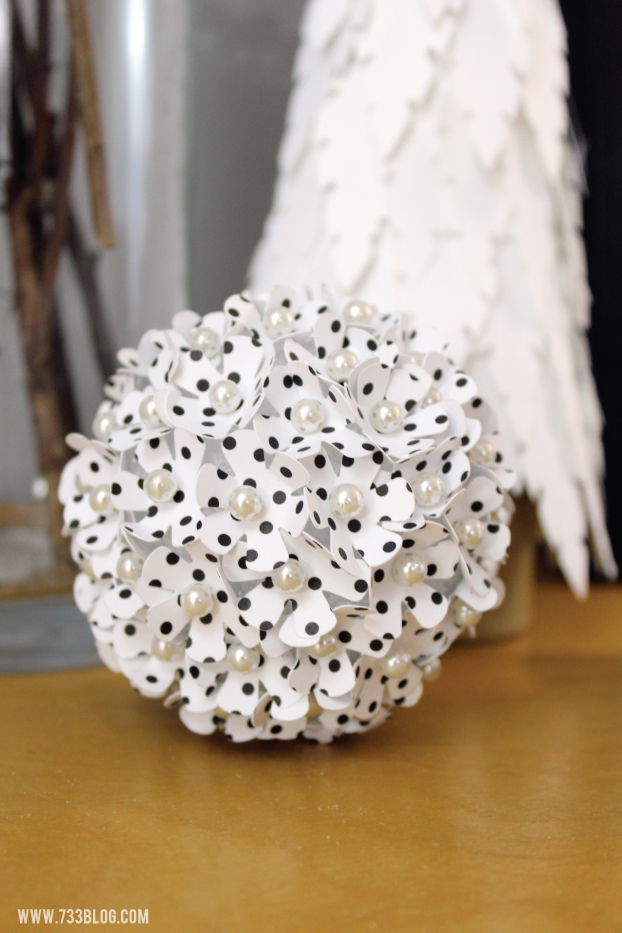 I LOVE how this ornament turned out. And the best part is it is inexpensive to make and would dress up any tree! Can’t you just imagine a tree full of these in all different sizes?
To make one you will need:
Cardstock of your choice – I used 2 8.5×11 sheets
Corsage Pins
Styrofoam Ball
Small Length of Ribbon
Cricut Explore (affiliate link for your convenience).
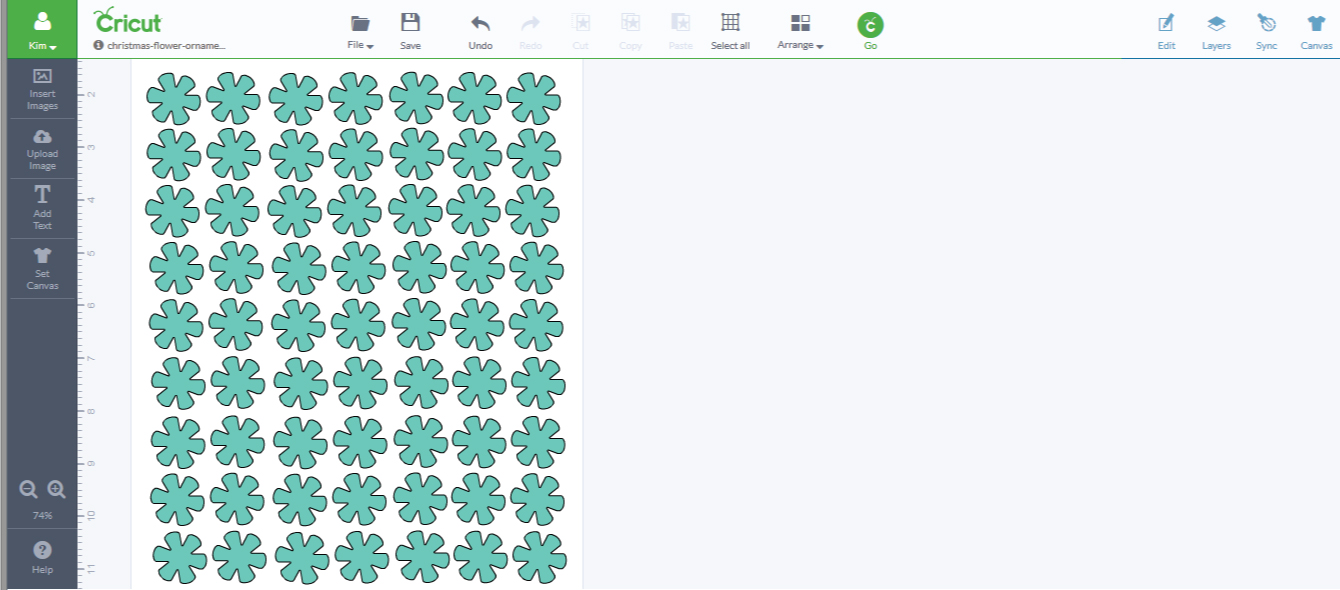 The first step is to cut out a ton of flowers! I chose a 6 petal flower from the Cricut Design Space Image Library and inserted it onto my 8.5×11 canvas. I sized it to about 1″x1″ and then duplicated it to fill the canvas.
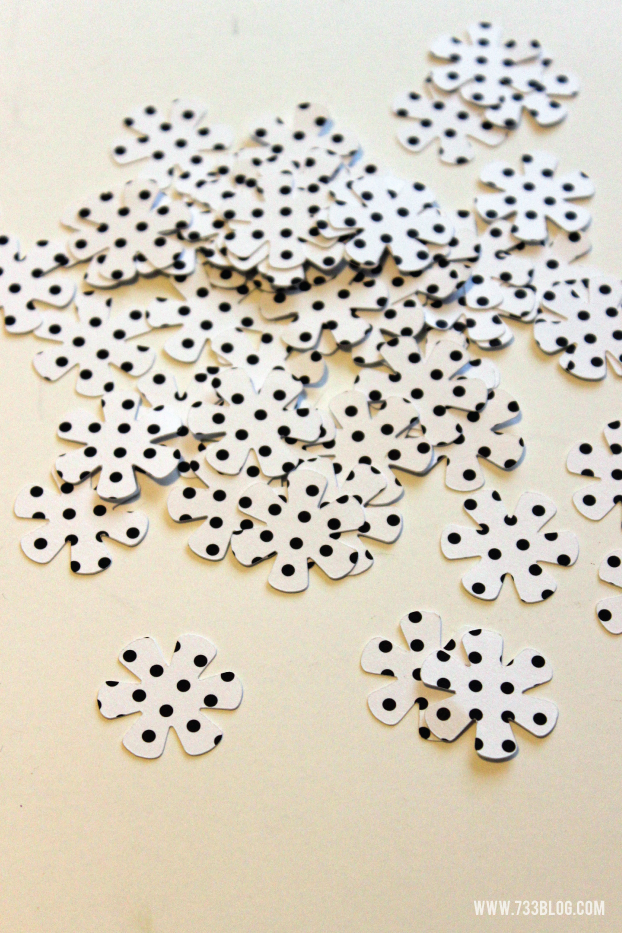 Once all of the flowers were cut, I placed them into a pile and got to work.
 First, pin a small length of ribbon that has been folded in half to the ball – I used about 5″.
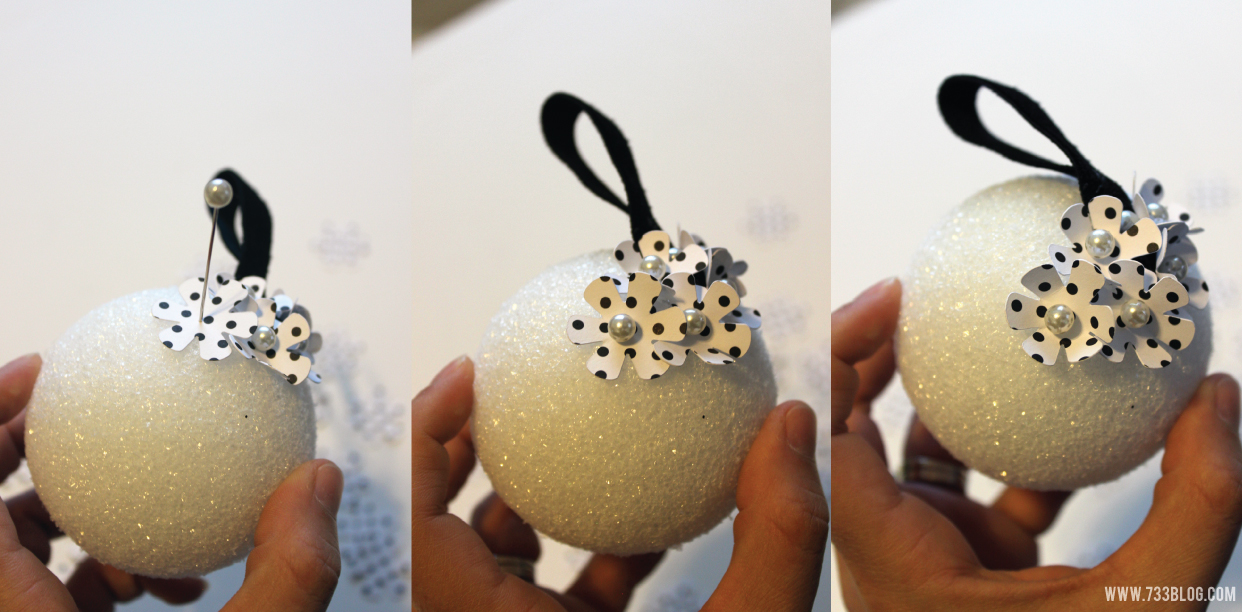 Let’s start adding flowers. I started up near the ribbon and worked my way around the ball. The method I found that worked best was to place the flower onto the ball and stab the pin through the middle of the flower. Push the pin all the way in. Curve the petals of the flowers up a bit for dimension. Keep doing this around the ball, getting as close to the other flowers as possible, trying to fill in any gaps. I can’t remember the size of my styrofoam ball – I think it was 4″, so I started having a harder time stabbing the pins in when I was about 3/4 of the way done. If I had a real hard time, I would pull the pin out and try it again at a different angle.
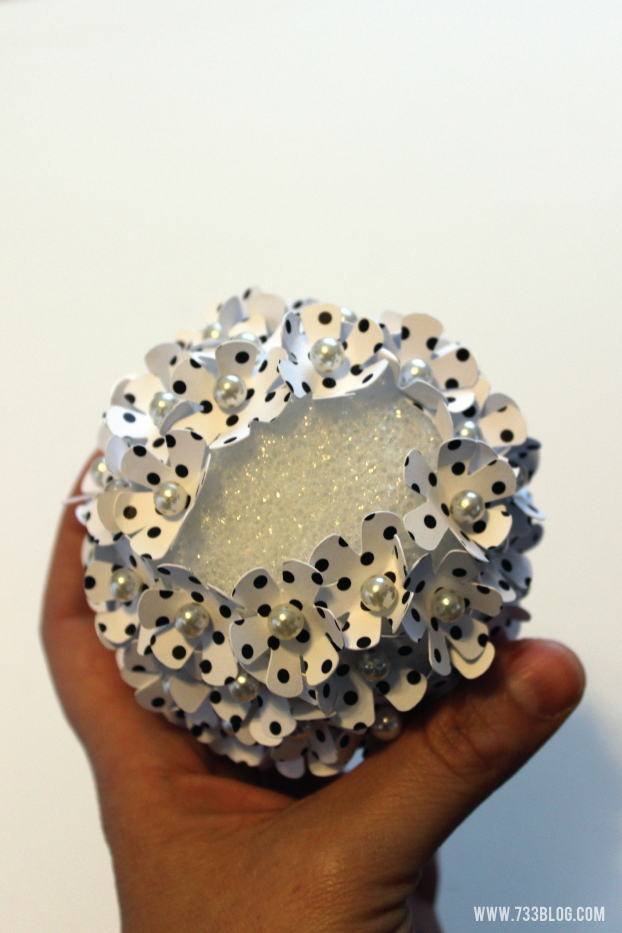 Keep going, you’re almost there!
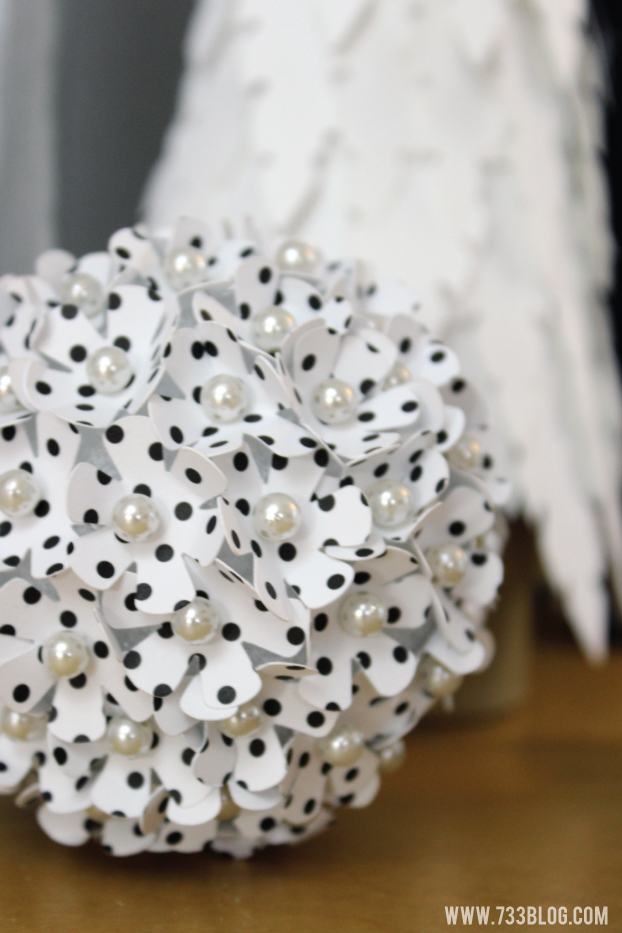 That’s it! Hang and enjoy!
