
This post brought to you by FloraCraft.
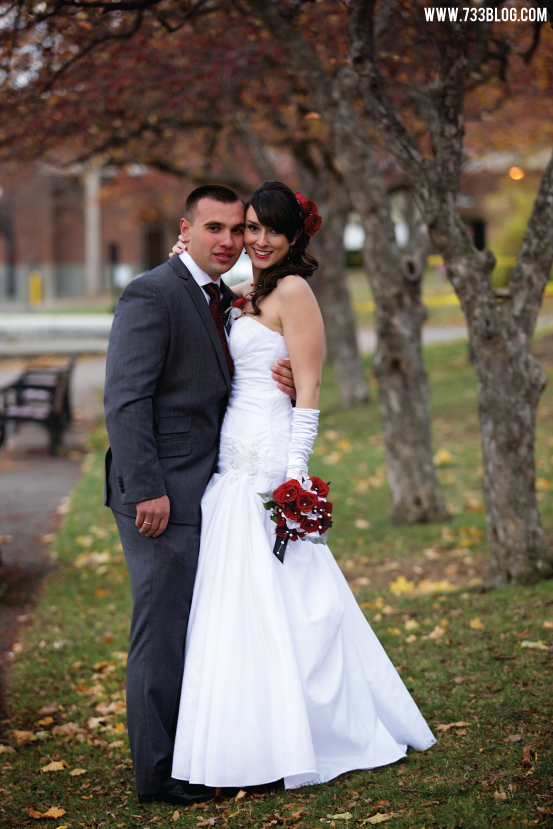 Recently I shared my sisters Wedding that I helped plan and decorate. I promised that I would share how I made the simple DIY Centerpieces. The good news is that these are affordable AND easy to make!
You will need:
Vase
Diamond Wrap (1-2 packages should be plenty)
Water Beads (I used 3 packages for 9 centerpieces)
Battery Operated LED Light Strands (1 per centerpiece)
Roses (We purchased ours through Costsco – 9 Dozen for $90!)
Diamond Dust
Pearl Tipped Corsage Pins
Fine Glitter
Elmers Glue
Hot Glue
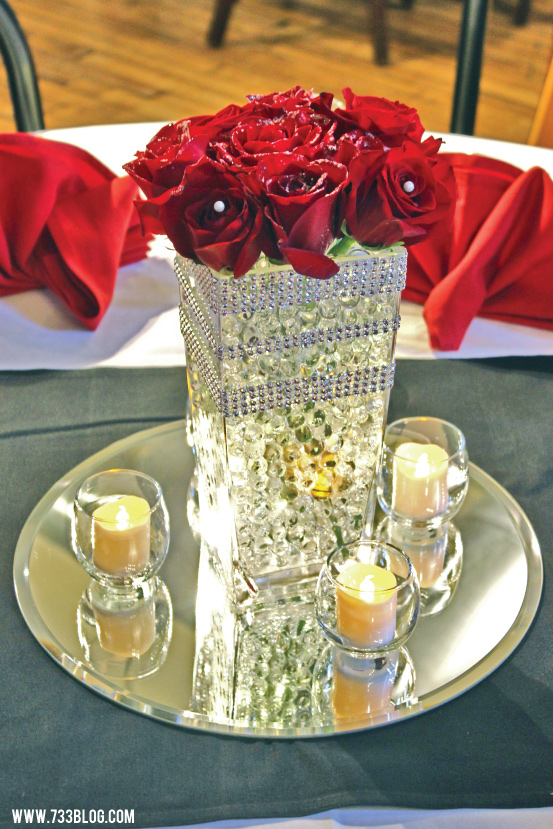
To make these gorgeous floral centerpieces I cut four rows off of the diamond wrap and then trimmed it to fit around the vase and glued into place with hot glue. I originally started with just one row about 1/3 of the way down the vase, but once I got the flowers into place, I decided it needed a little more bling. Once the vases are decorated, fill with the water beads – these do take about 4 hours to grow to size. I started them in bowls the morning before the wedding, which was the day I put the roses in the vases. As you add the water beads, you are also going to add the string lights. Keep the battery pack of the lights hanging over the side of the vase until you are ready to turn them on, then you can just stick it in under the flowers so that it is hidden. This makes turning the lights on and off super easy once the event is over.
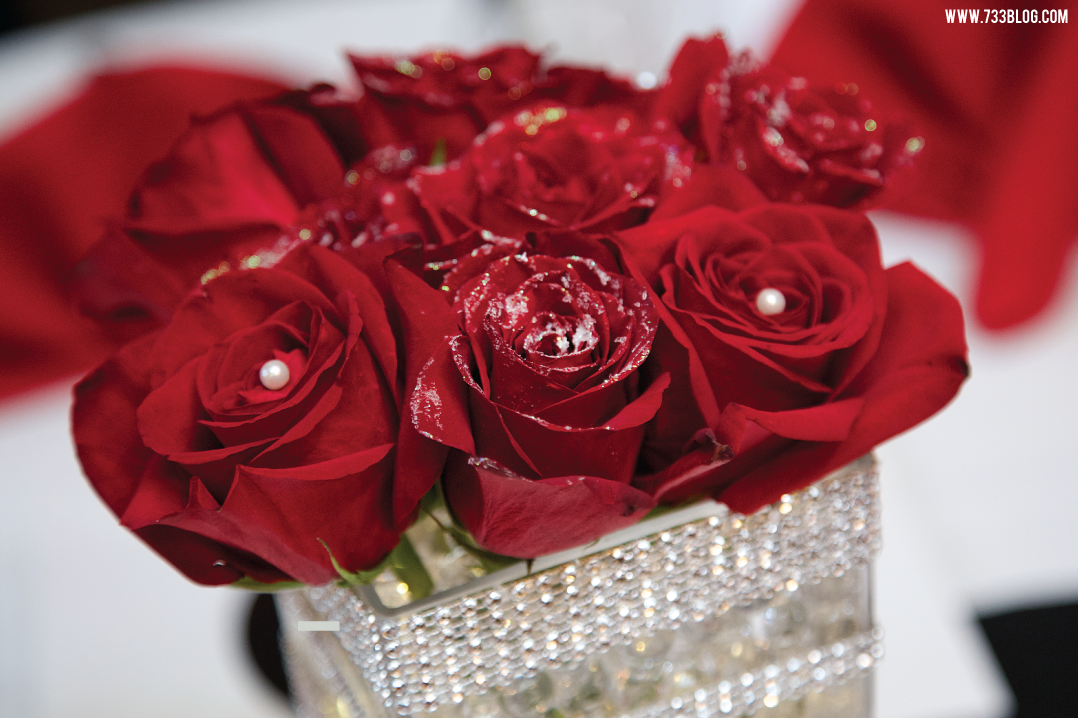 To glitter the roses I watered down some Elmer’s Glue (1 part glue, 1 part water) and quickly brushed it onto the roses with a paint brush. My sister then dusted over the glue with Diamond Dust and a second layer of Fine Glitter. Once they were dry, we went outside and held them upside down to remove any extra glitter. For the non-glittered roses I pushed Pearl Head Corsage Pins into the center.
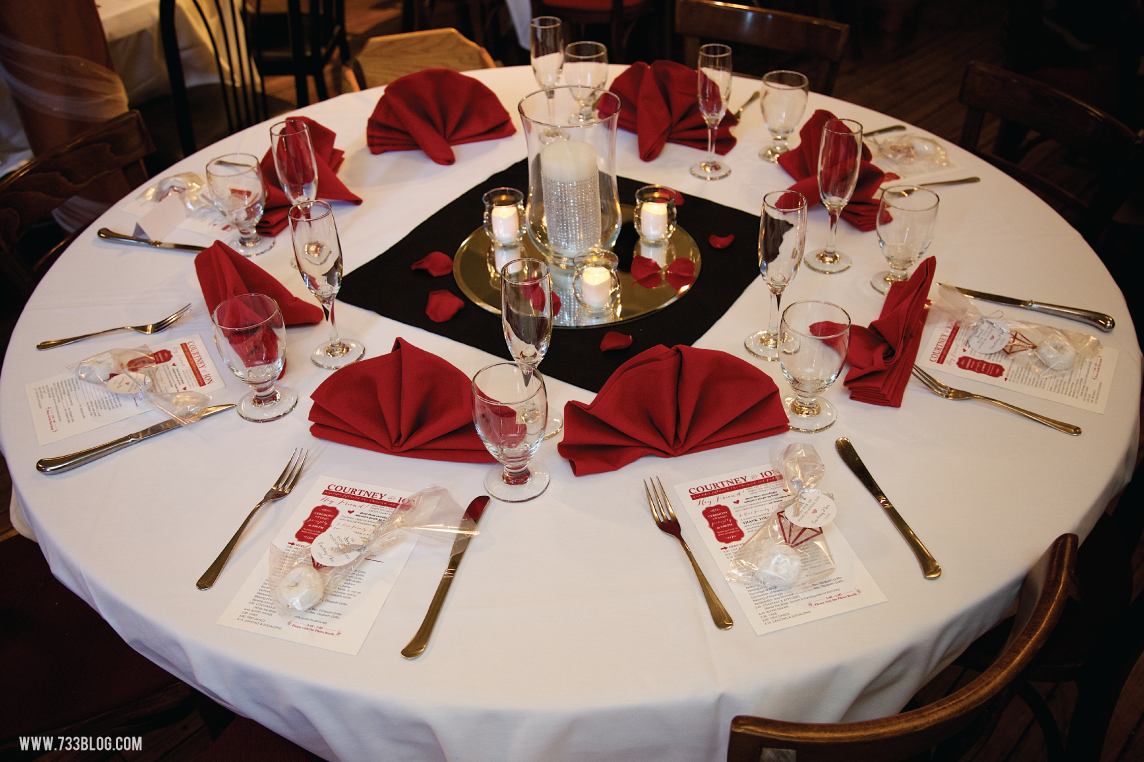 We had two styles of centerpieces – the second style was hurricane vases with diamond wrapped candles inside.
Once the roses are dry, trim the stems so that they fit the size of your vase – make sure to cut the stem at an angle under water. I arranged 9 roses per vase – I did a 1 glitter, 1 non-glitter pattern all around and then stuck a glitter one in the middle. Add about an inch of water to the vase – it will make it look like the beads aren’t there, but by the next day the water will all have been absorbed by the beads and your roses will still be nice and healthy looking for the event! Once at the venue we placed the vases on a round mirror on top of the black table square and placed four votives around the base.


These are awesome. I’m sure my sister in-law won’t mind seeing/reading about these for her upcoming wedding in April. I should def send her this link to check out.