
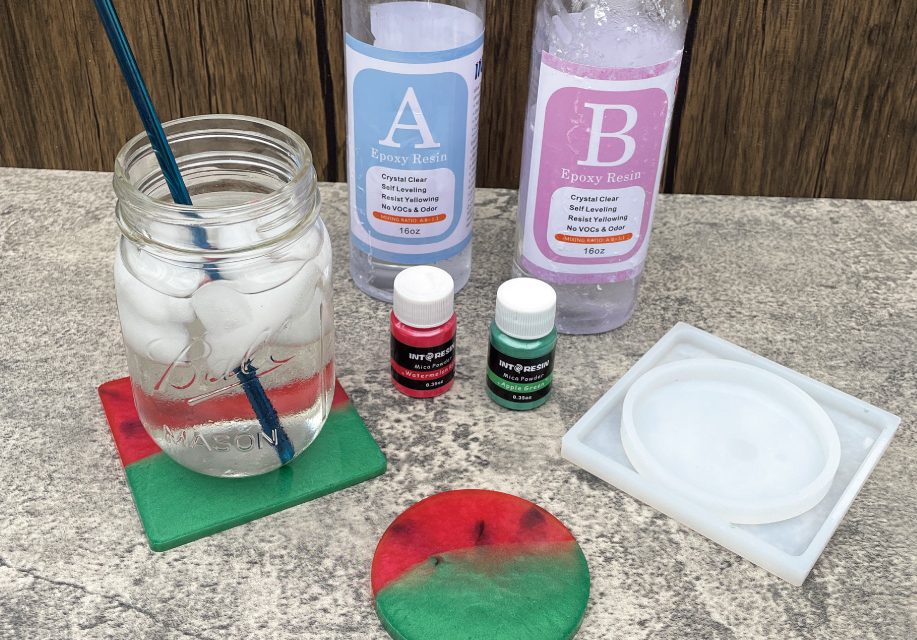
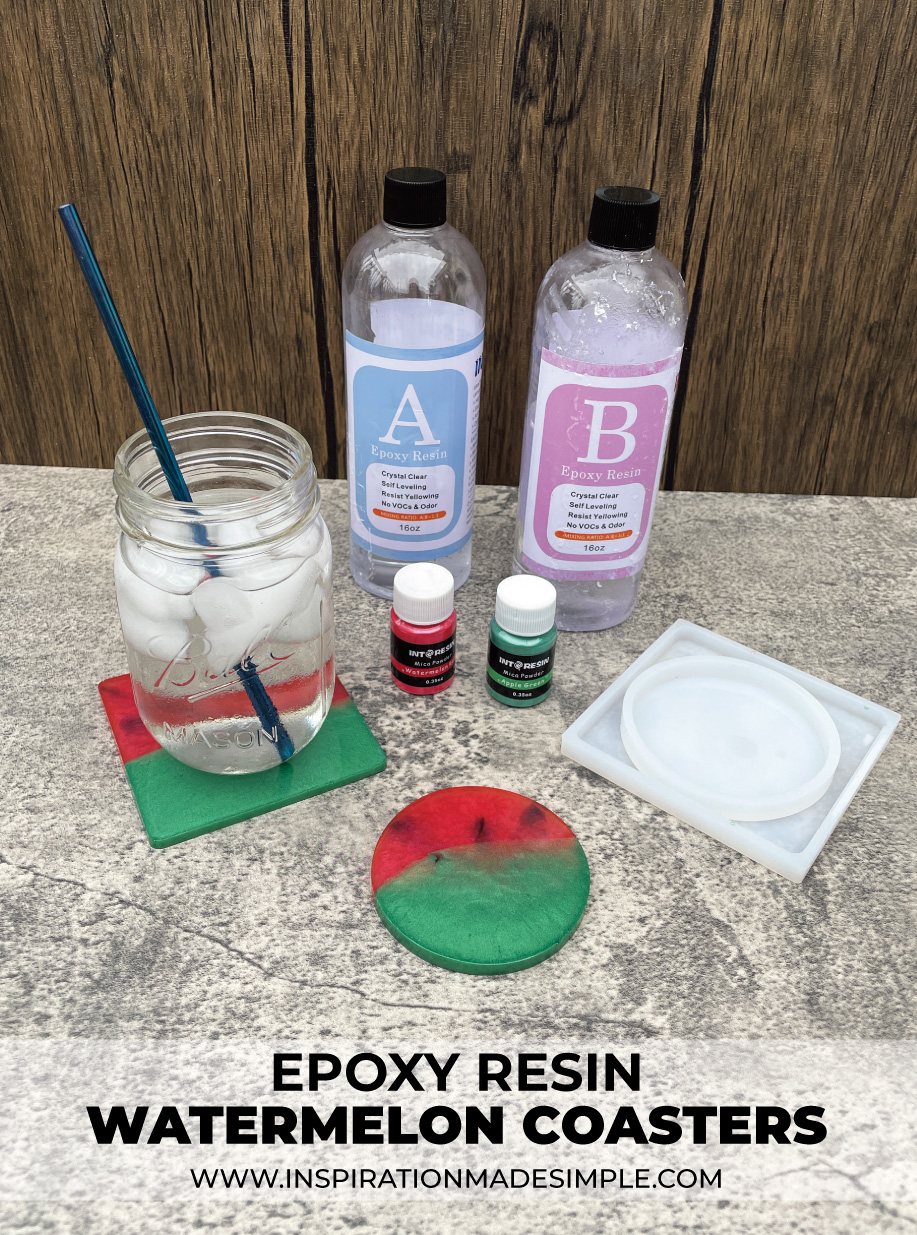
Olivia, my 12-year-old daughter, has been wanting to make something with resin for a while now. She’s watched tons of videos and has been asking if we can give it a try, so when IntoResin reached out to see if I would be interested in trying out their products, I jumped at the chance! Olivia and I checked out their website and ordered several molds, epoxy resin, and color powder pigment. Today I’m going to show you how easy it is to work with resin and share the DIY Watermelon Resin Coasters we made! This project is a great craft for tweens and teens.
Before we get started, I want to note that there are some safety precautions to take when working with resin. You’ll want to wear gloves and a mask and lay down cloth or paper to protect your work surface.
How to Use Epoxy Resin
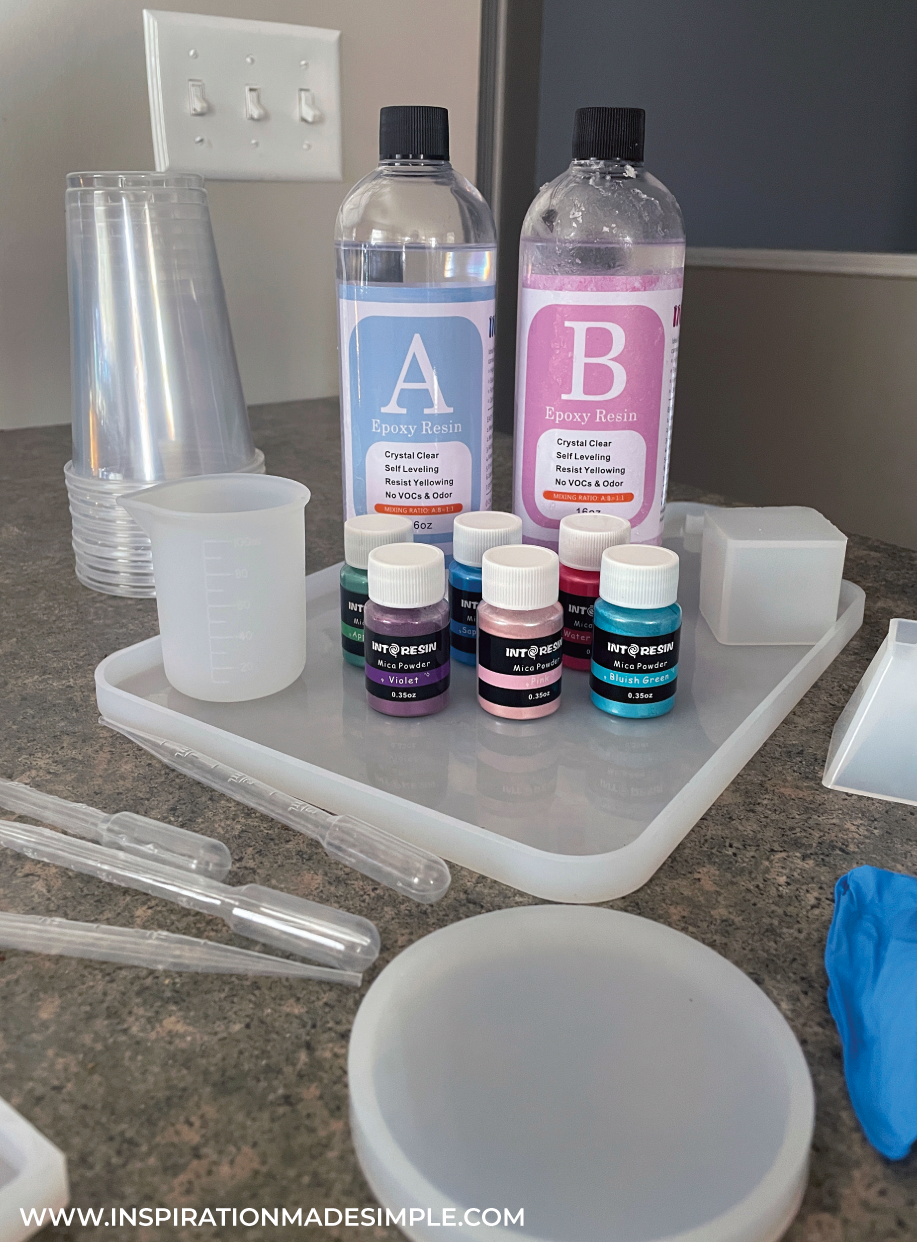
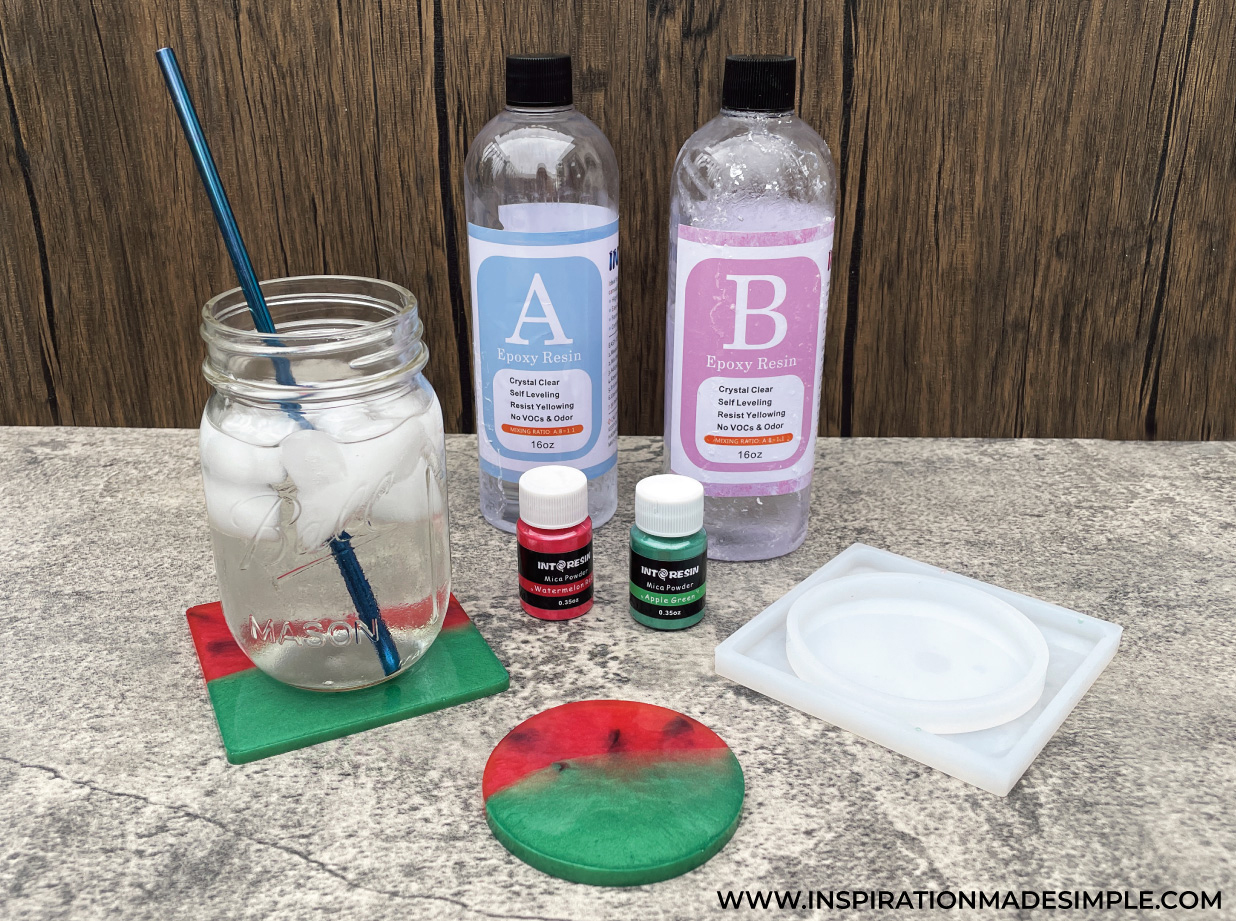
All of the necessary epoxy supplies can be found at IntoResin.
Resin Coaster Supplies
Fast Curing Clear Epoxy Resin
Rubber Gloves
Mask
Stirring Stick (we used wood skewers)
Plastic Cups
Making the Resin Coasters
The epoxy resin comes in two bottles, one marked A and one marked B. Once these are mixed together, you have about 30 minutes of working time.
Prep your work surface, put on your gloves, mask, and safety glasses, and get all of your supplies together. Once you’re ready, it’s time to start mixing! The silicone molds came with a non-stick silicone measuring cup, perfect for measuring the resin ratios.
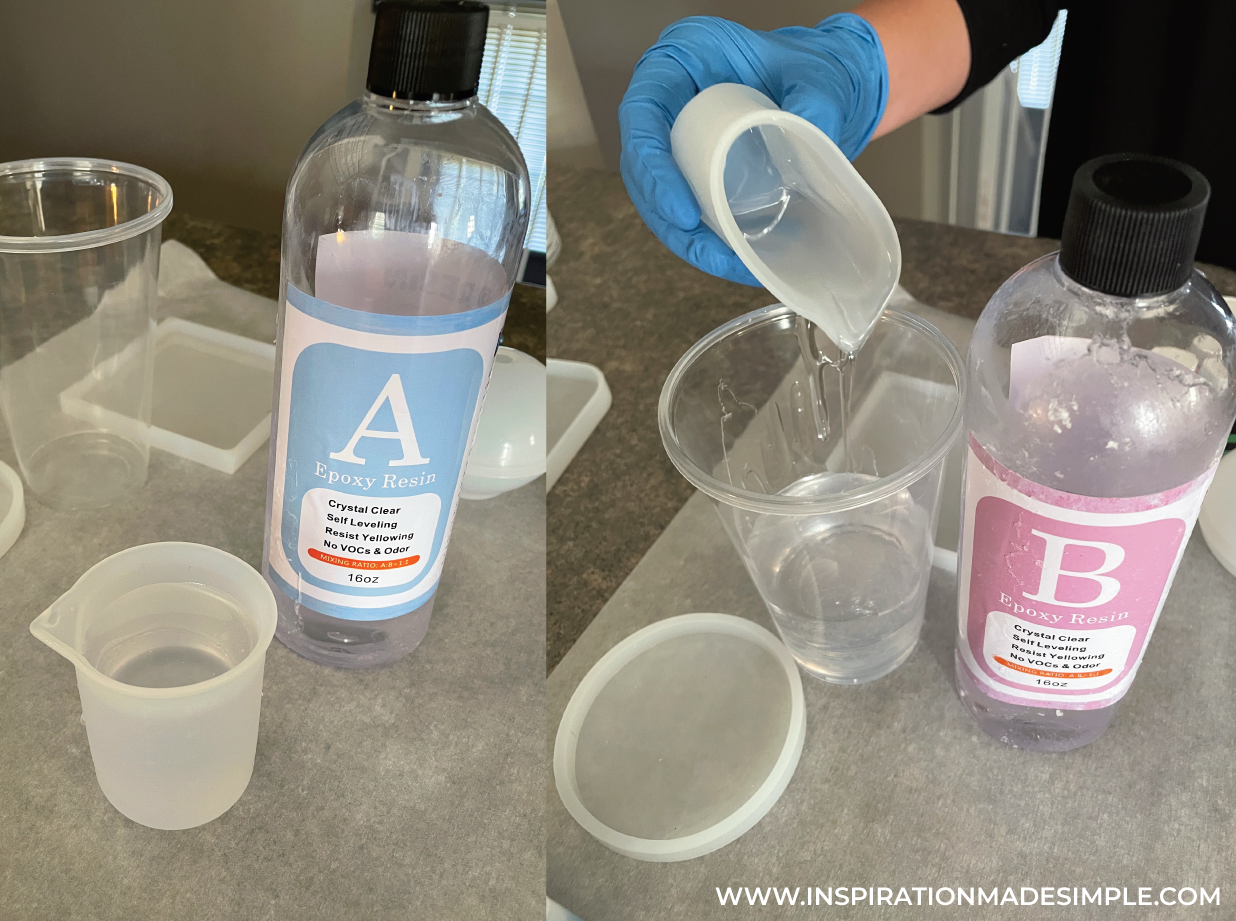
Measure equal parts of A and B. I measured in the silicone cup and then poured the resin into a plastic cup. Stir the mixture together for about 3 minutes. For our two coasters, we filled the measuring cup to the top line with A and B.
Next, we poured a small amount of the resin into a second cup, which we planned to color black, and then about half of what was left was poured into a 3rd cup so that it could be colored green. The first cup was colored red.
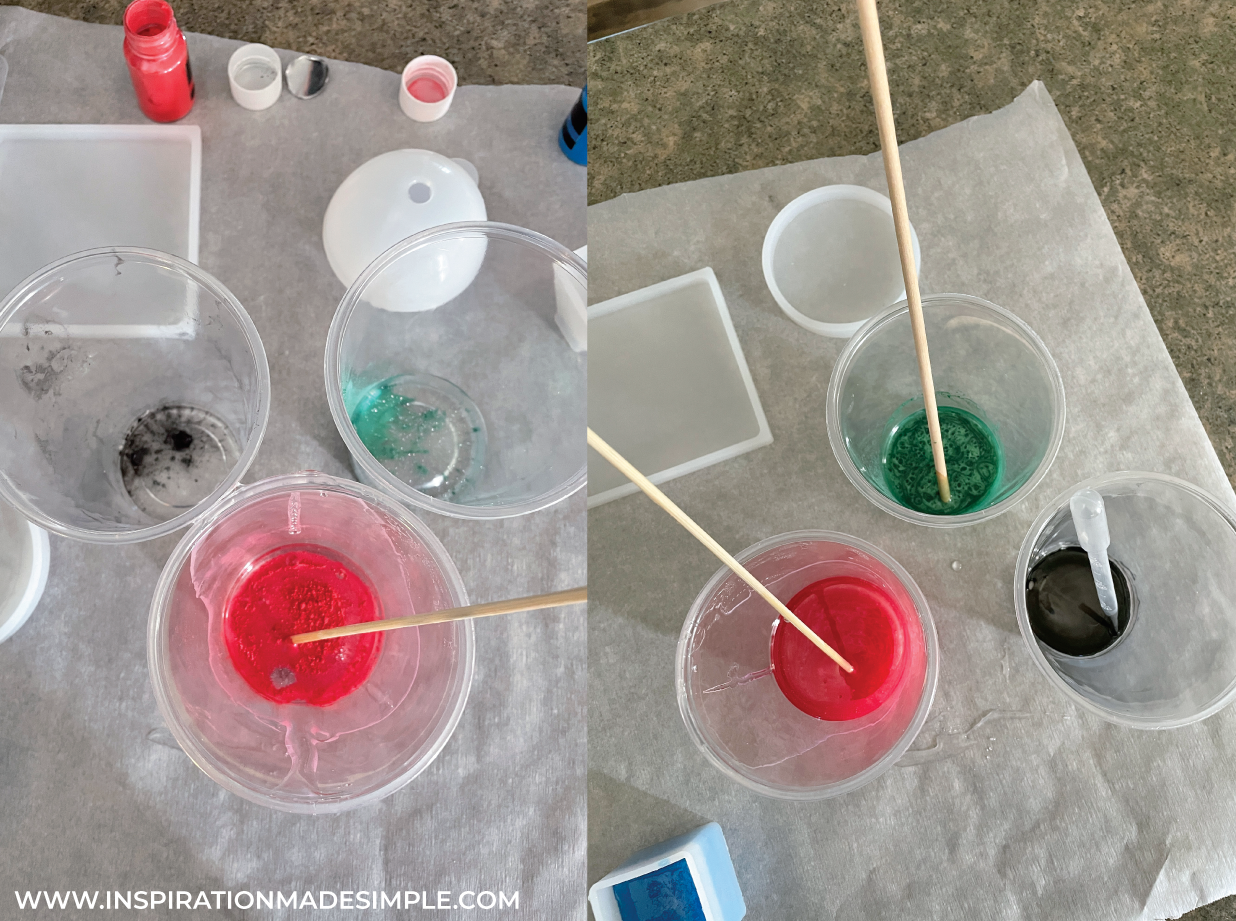 Carefully mix in the powder pigment of your choice. This is the hardest part of the whole process because you only want to use about 5-6% of the total combined volume of the resin mixture. Using more could soften the resin’s final cure by throwing off the mixture’s balance. Continue stirring until the powder is completely mixed in.
Now that your resin is well stirred and colored, it’s time to pour into the mold!
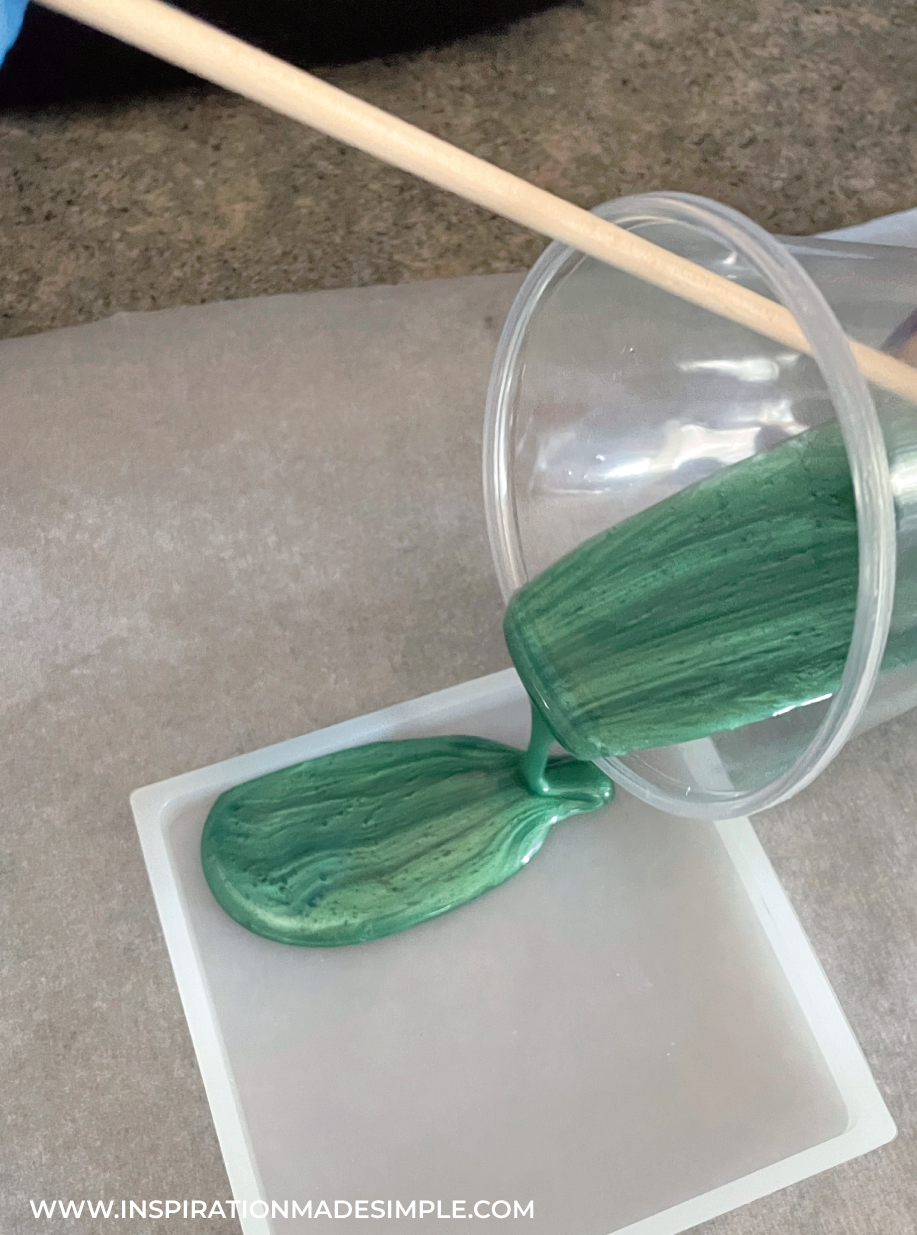 Place your mold on a flat surface. When working with two colors you have to work quickly.
Start by pouring in the green-colored resin along the top edge of the mold. Don’t try to get it to the top of the mold because it will spread too much – once you have it in about the spot you want it, add in the red. The two will meet and stop spreading.
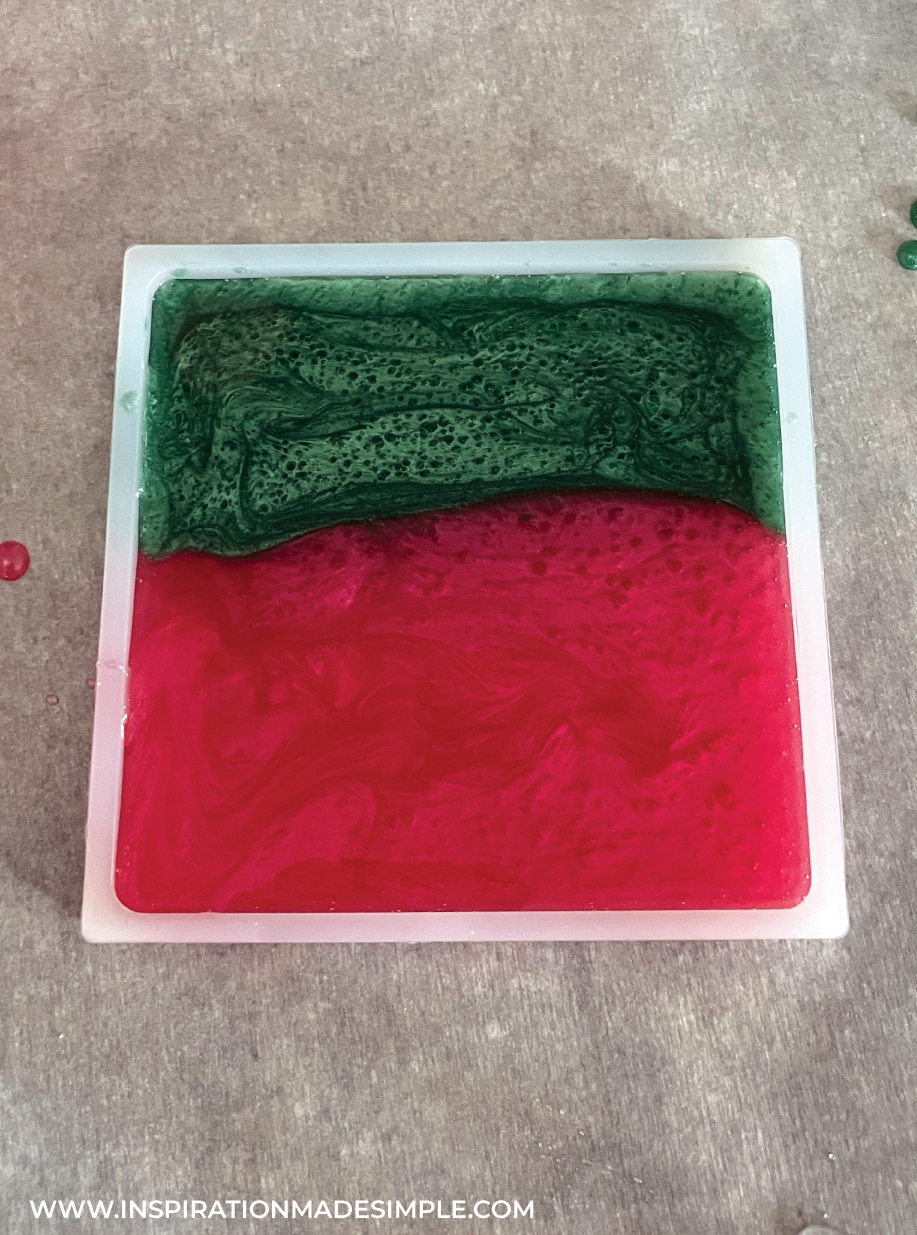
Now add in more resin so that you reach the top lip of the mold. Use the wood skewer to spread it into all corners if necessary.
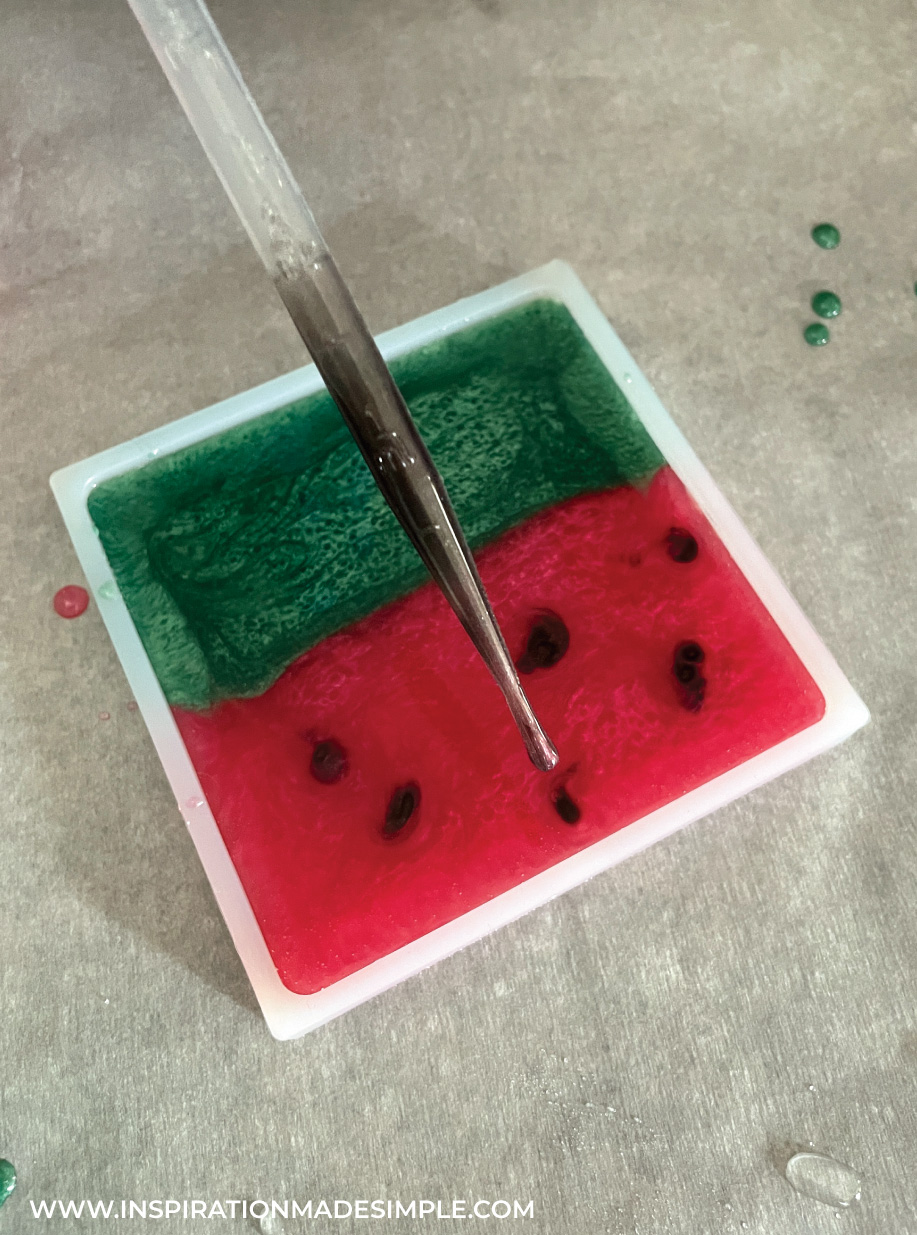
For the seeds, we used a pipette that came with the molds. Suck up the black resin, place the tip into the red resin and then squeeze it out, pulling as you go to create the seed. Do this a few times until you have what looks like seeds.
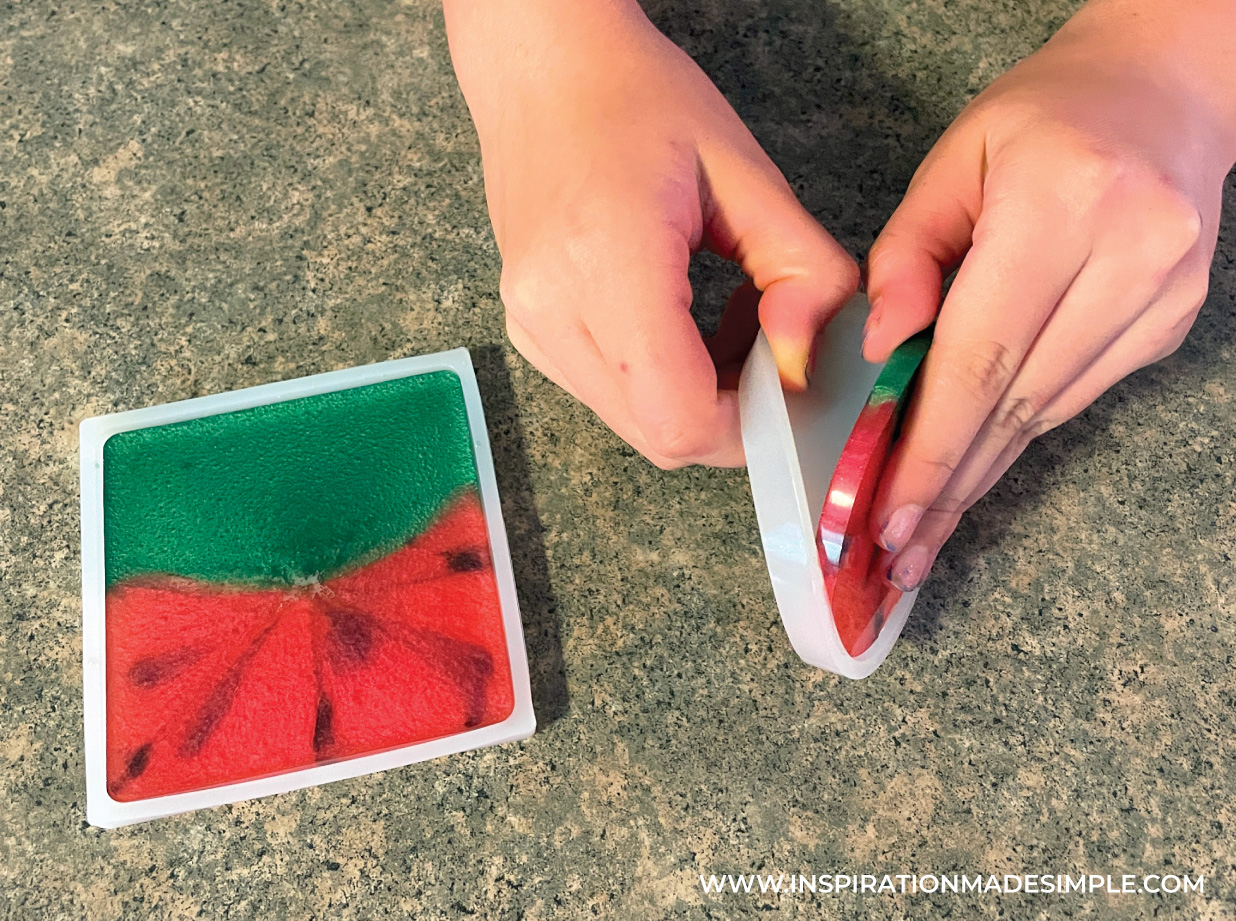 Lastly, set the molds aside to cure for 24 hours. Once the resin has cured a full 24 hours, remove the mold and admire your new watermelon coasters! Note: resin is 90% cured after 1 day, but takes 3-7 days to fully cure.
Hopefully, I’ve answered your question on how to make resin coasters. It really is an easy and fun project and hope you’ll give it a try!
What we learned while working with resin:
Resin is easy and fun to work with. It can be finicky though, so make sure your measurements are on point!
I tried using my blowdryer as a heat gun to get rid of air bubbles, but it pushed the resin around and didn’t do too much… my blow dryer is an expensive brand and it blows pretty hard, even on the low setting. I waited an hour or two and then tried again with better results.
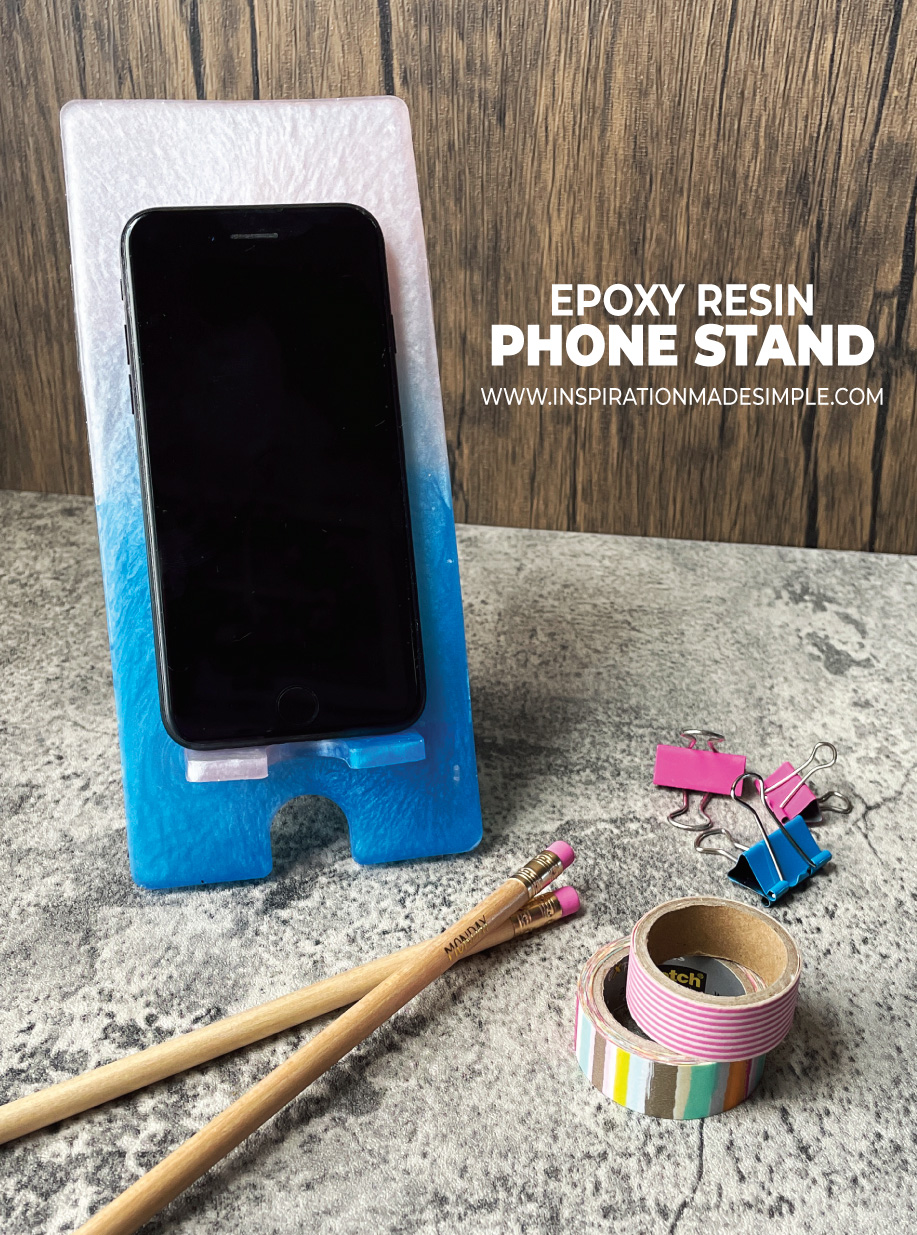
If your resin has cured for 24 hours but is pliable or “bendy” when you take it out of the silcone mold, don’t fret! Just let it sit longer. We also made a phone stand and it turned out so pretty… but when we put it together we noticed how pliable the pink portion of the resin was. I think our color powder measurement may have been off, which caused the issue, so we simply let it sit longer. We checked it each day and at the 5-day mark it had hardened and stood up under the weight of a phone.
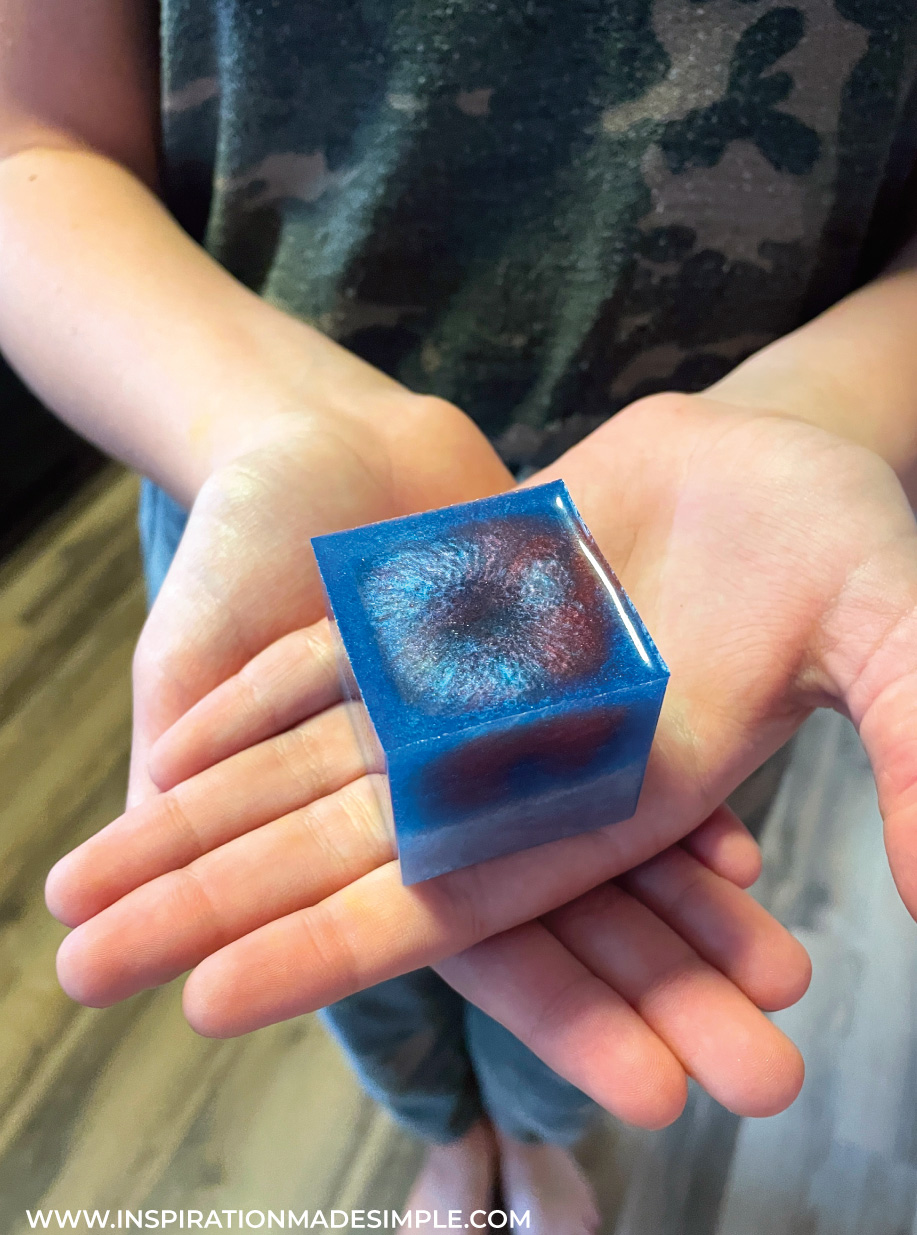
What do you do with leftover resin? We poured it into a cube mold and made a paperweight! Once we were done with a color we poured it in, layering it all together. It was a total surprise as to how it would look once we took it out of the mold – and it was so cool seeing all of the different layers of color. My daughter absolutely loves her surprise cube.

