
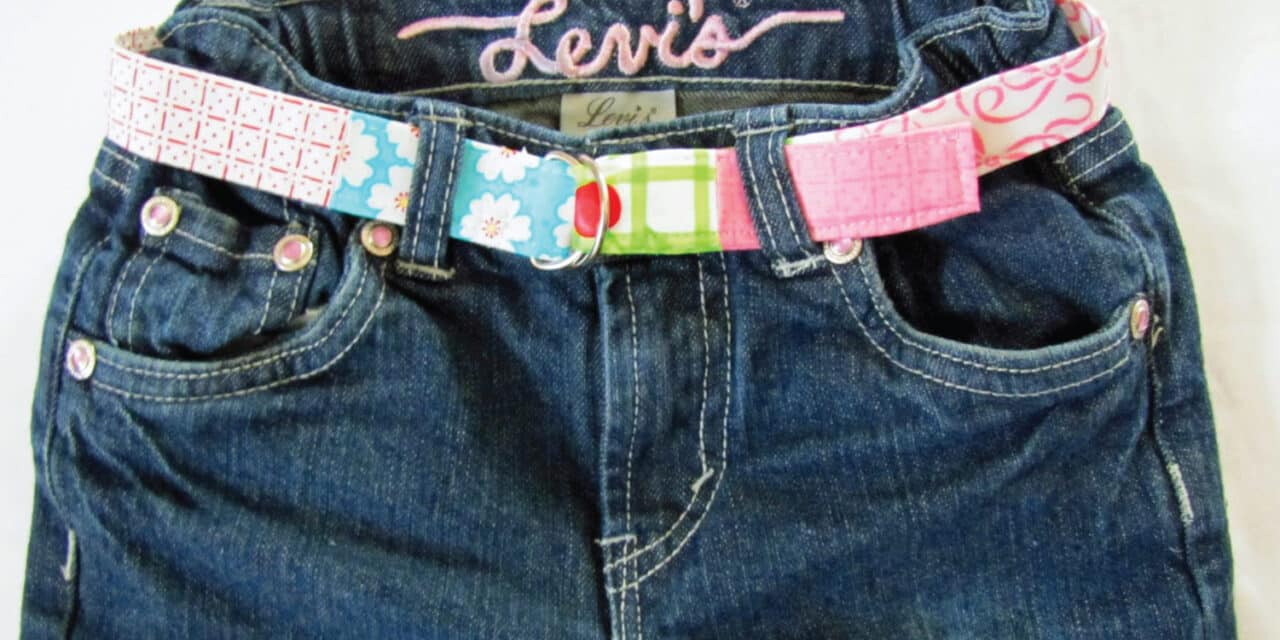
My name is Christine and I’m From An Igloo. I have a sewing/craft blog where I hope to inspire others to create something handmade. Today I’m going to share my DIY Scrap Fabric Belt with you.
I love it when I can use fabric scraps to complete a project! My kids need belts. There isn’t any way around it. Even with the buttonhole elastic that comes in many pants these days often it doesn’t go tight enough for my skinny minnies. And, if they don’t have the elastic, they just aren’t wearable in our house.
This used to be a bit of a problem for us as there isn’t a single place in our little town to buy a child-sized belt. Then it occurred to me one day that I could make them. Problem solved! You can too! This is a super fast easy project – it takes almost no time at all. These scrap fabric belts take almost no money at all, which is even better. This belt cost me about 75 cents to make!
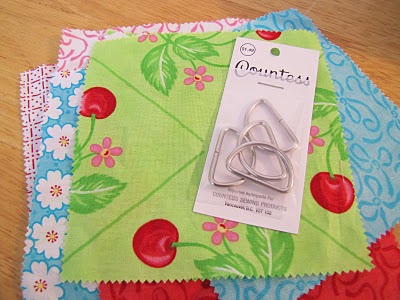
BELT SUPPLIES:
Fabric scraps
1 1/4 inch D rings
Medium to heavyweight fusible interfacing (not shown)
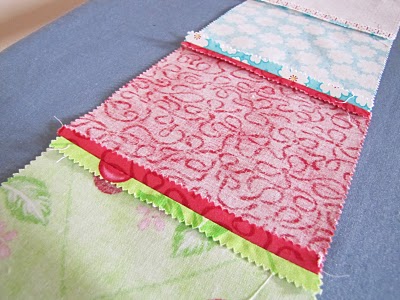
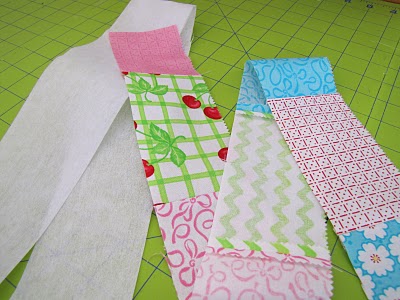
The first thing you need to do is choose some scraps and sew them together to create a long piece of fabric. Don’t worry about the width right now. It is much easier to cut your belt fabric from one sewn-together piece of fabric than it is to sew little bits of fabric together that you have cut individually.
In this tutorial, I have used some pieces that I had left over from a charm pack I used to make a skirt with last year but you can use any size of fabric. You could go easy and just use all one type of fabric too! This belt will only take a teeny amount of fabric.
Make sure the fabric is longer than the length that you need.
To determine the length, measure your child’s waist and add 6-8 inches. For my Little Dude, I add 6 inches, for my big girl (who is 6), I add 8 inches. You want enough length that you will be able to buckle the belt, have seam allowances, and be able to have enough to go through a belt loop for growing room.
Now that you have determined your length, cut a strip of fabric from your sewn piece that measures that length by a width of 2.5 inches.
From experience, most kids belt loops will only hold a one-inch belt. I have measured pants from 18 months to size 6 and this seems to be a common theme with most of them.
In this tutorial, I am making a belt for my 6-year-old. Her waist measures 20 inches. I am going to cut a strip of fabric that is 28 inches (20 inches + 8 inches) by 2.5 inches.
I also cut a piece of fusible interfacing the same size.
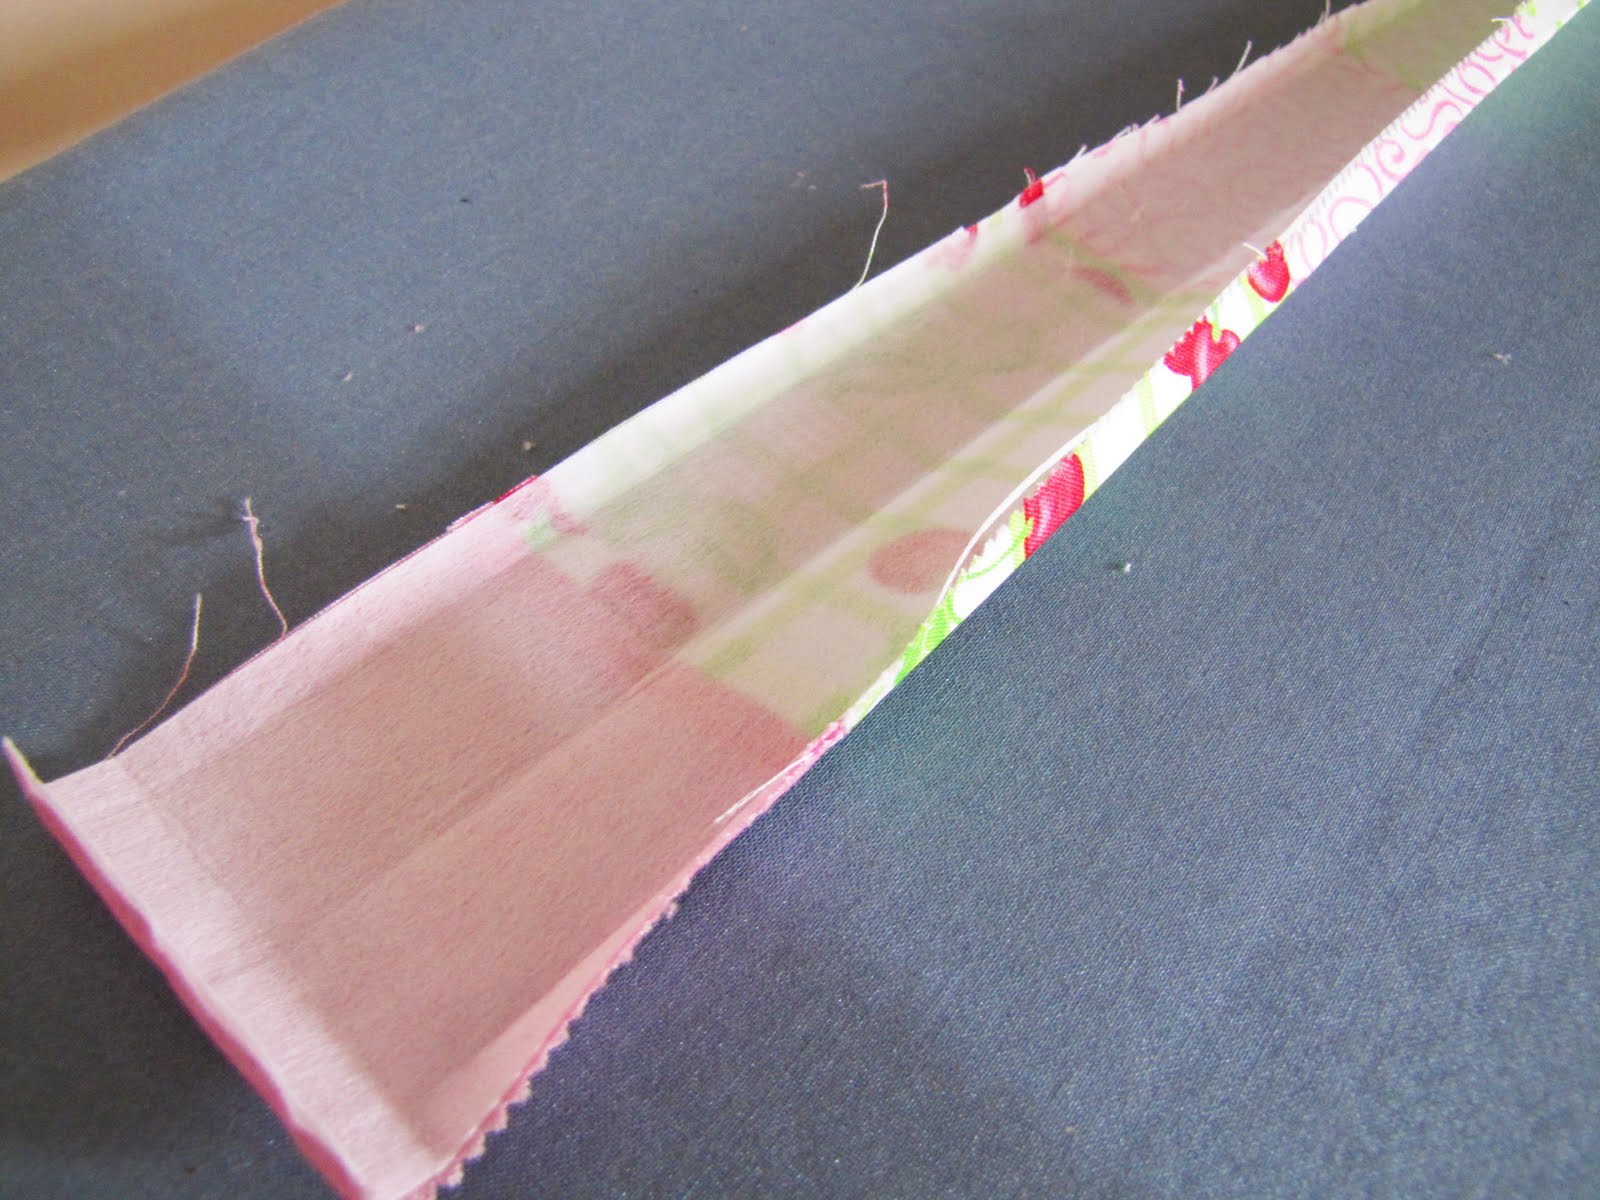
Fuse the interfacing to the wrong side of your fabric. Now press each long side in 1/4 inch and one end of your fabric in 1/4 inch and then another 1/4 inch.
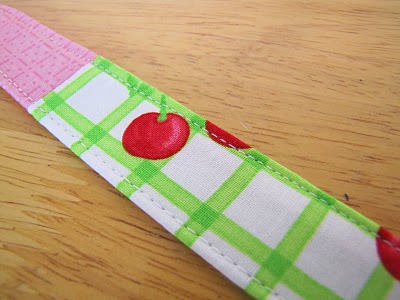
Fold your fabric in half lengthwise wrong sides together. Make sure your pressed edges are turned in. Sew down one long edge, one short edge, and the other long edge. I sew in a little less than 1/8 inch.
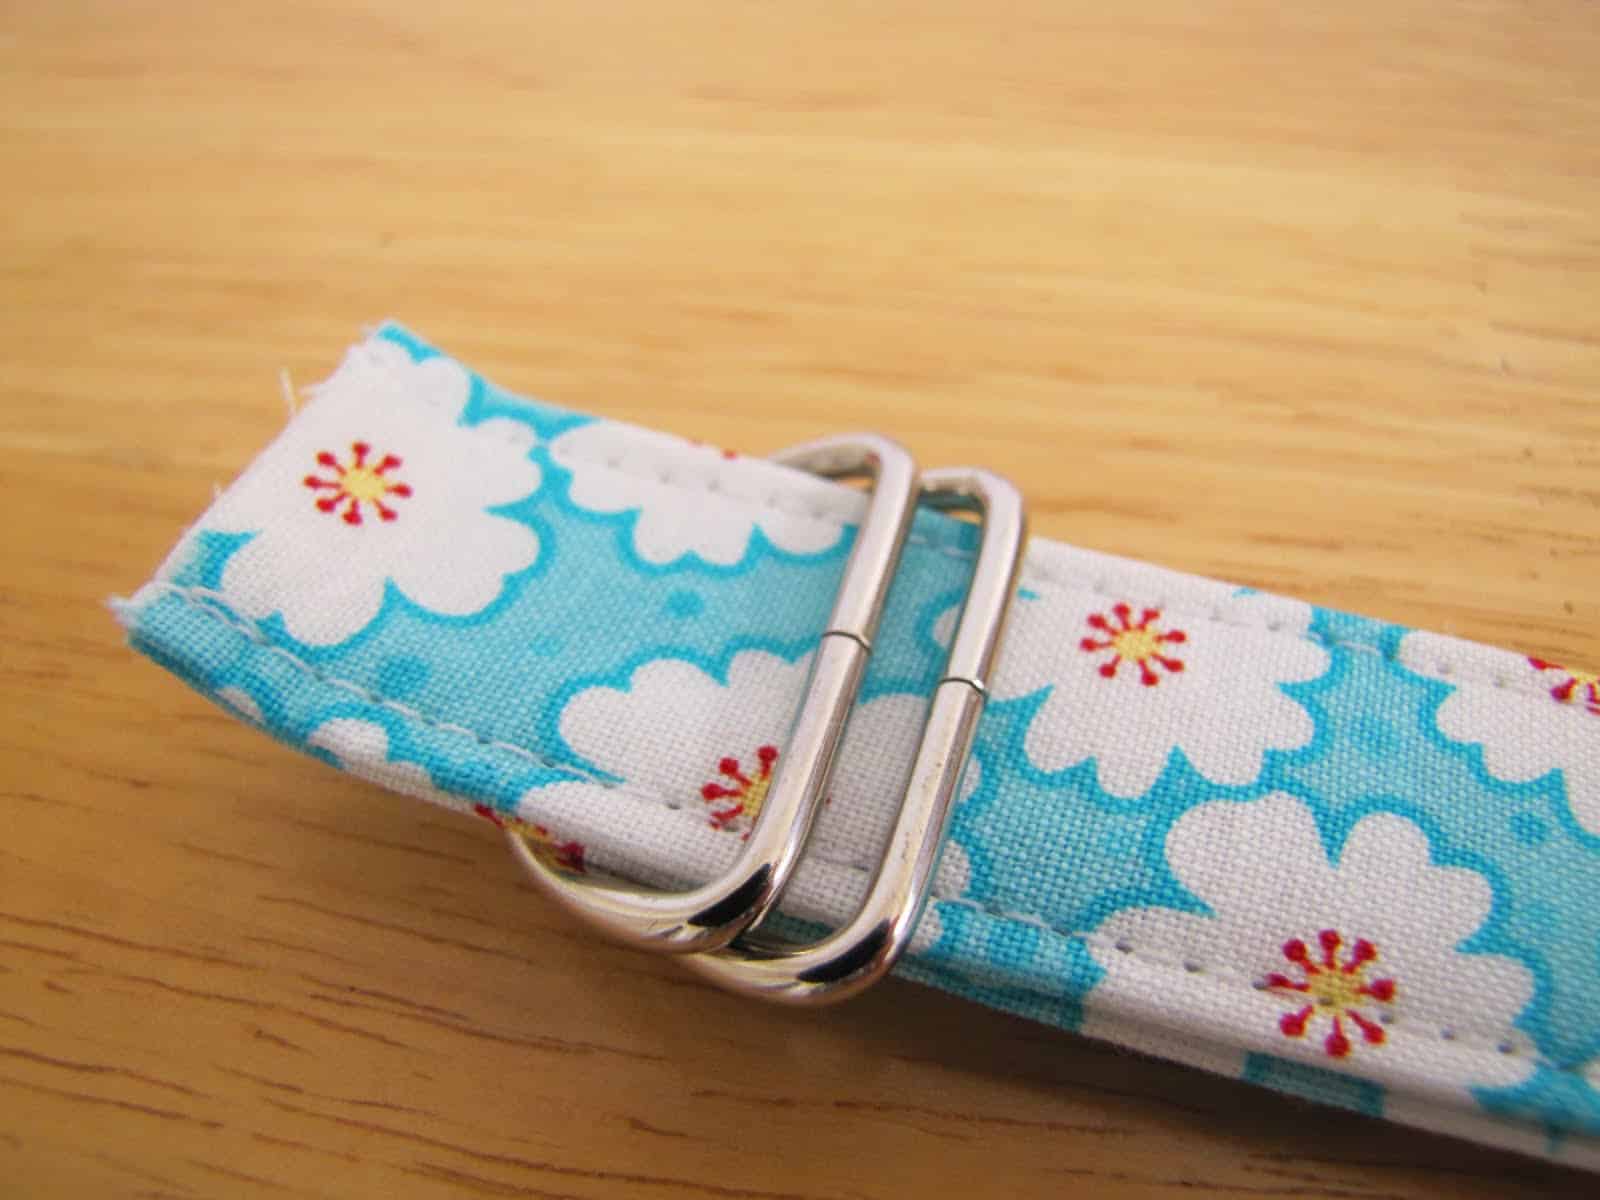
Take your two D rings and put them through the end of your belt that does not have the finished edge.
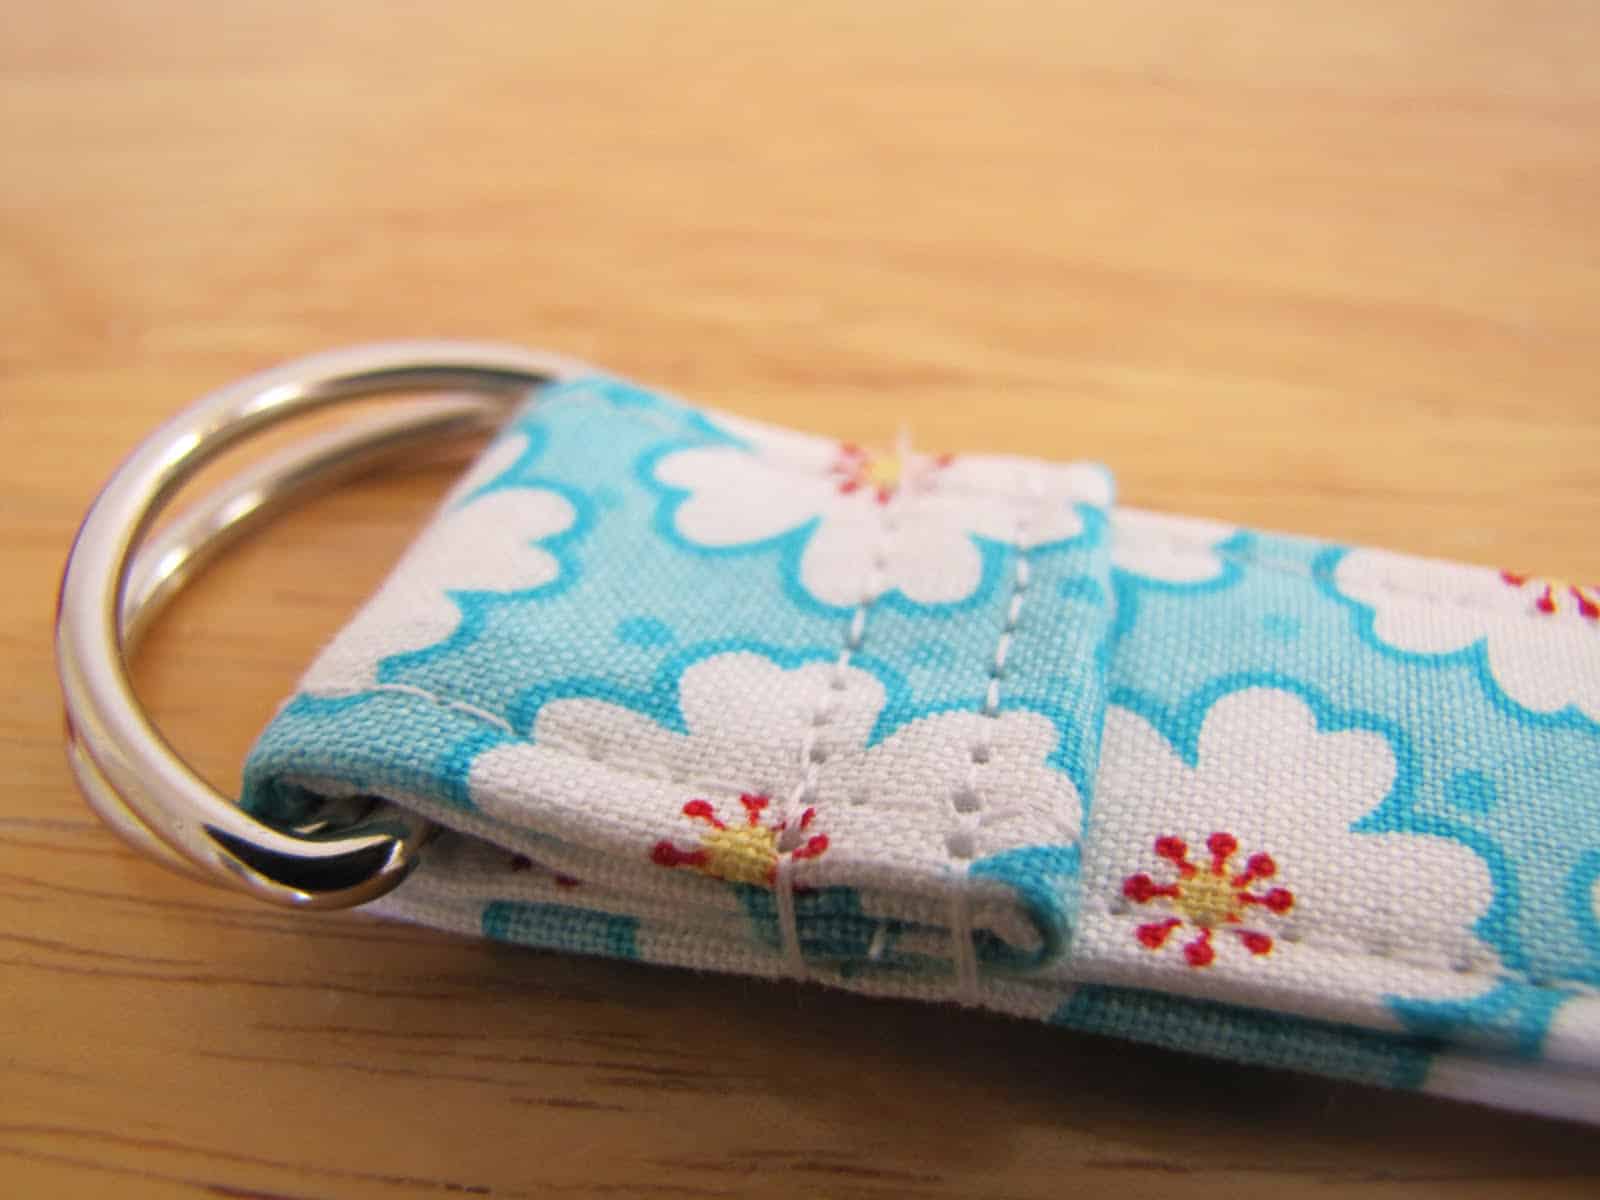
Fold the edge in 1/4 inch and then over about an inch. Whatever you think looks nice. I sew in from the folded edge about 1/8 inch and then in again another 1/8 inch. If you choose to do one line of stitching make sure you go over it twice so it holds nice. Sew slowly as this is thick!
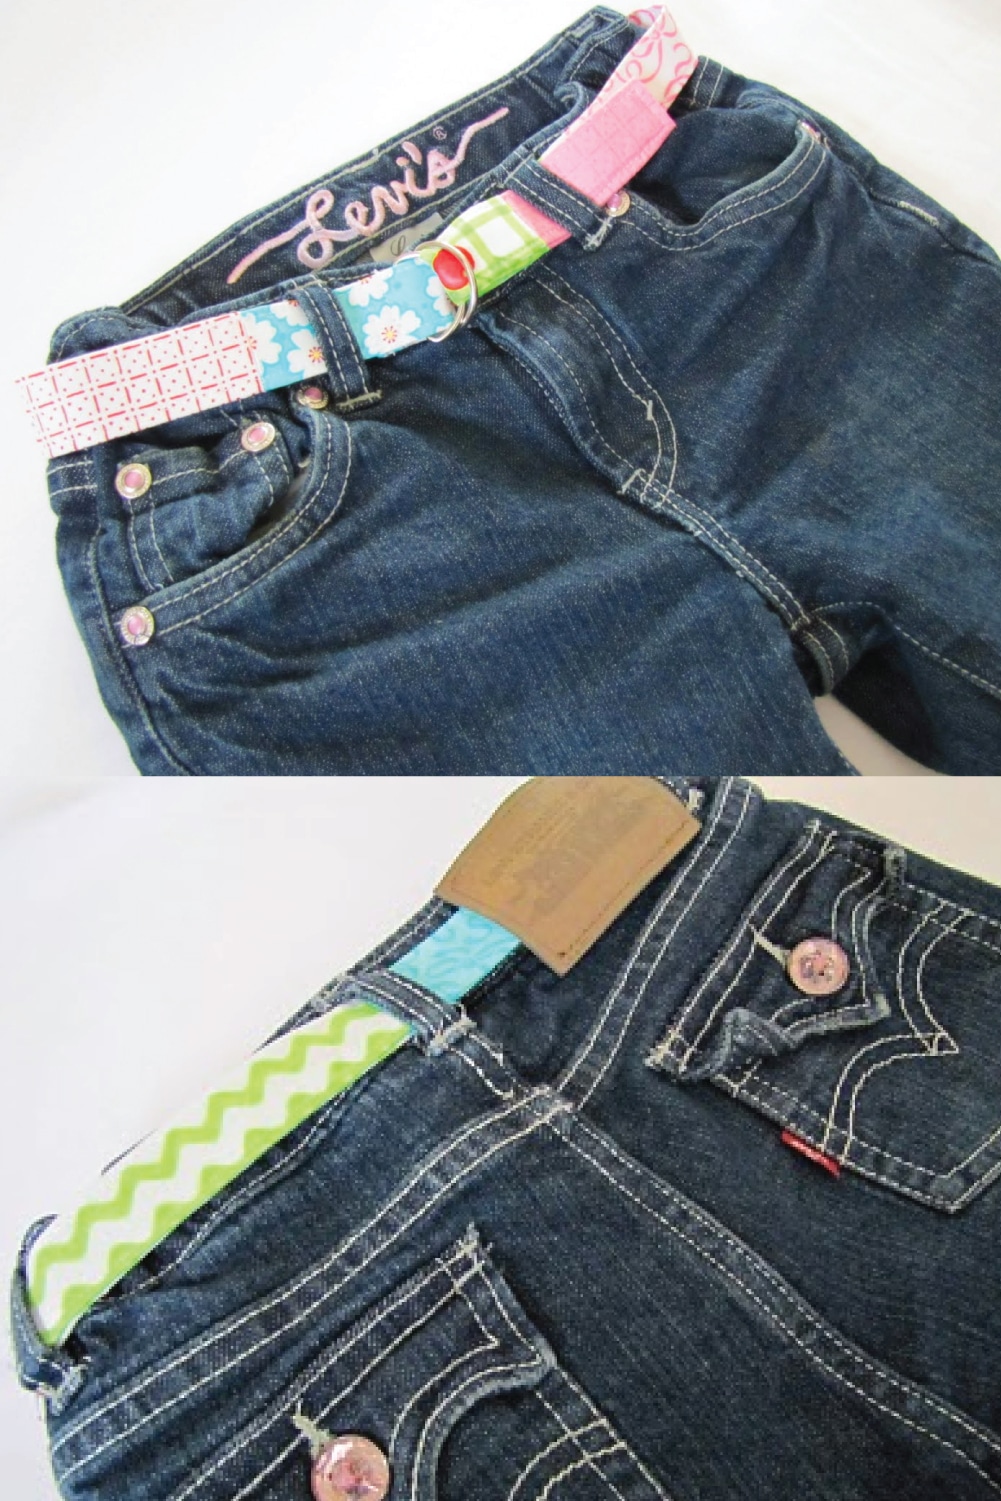
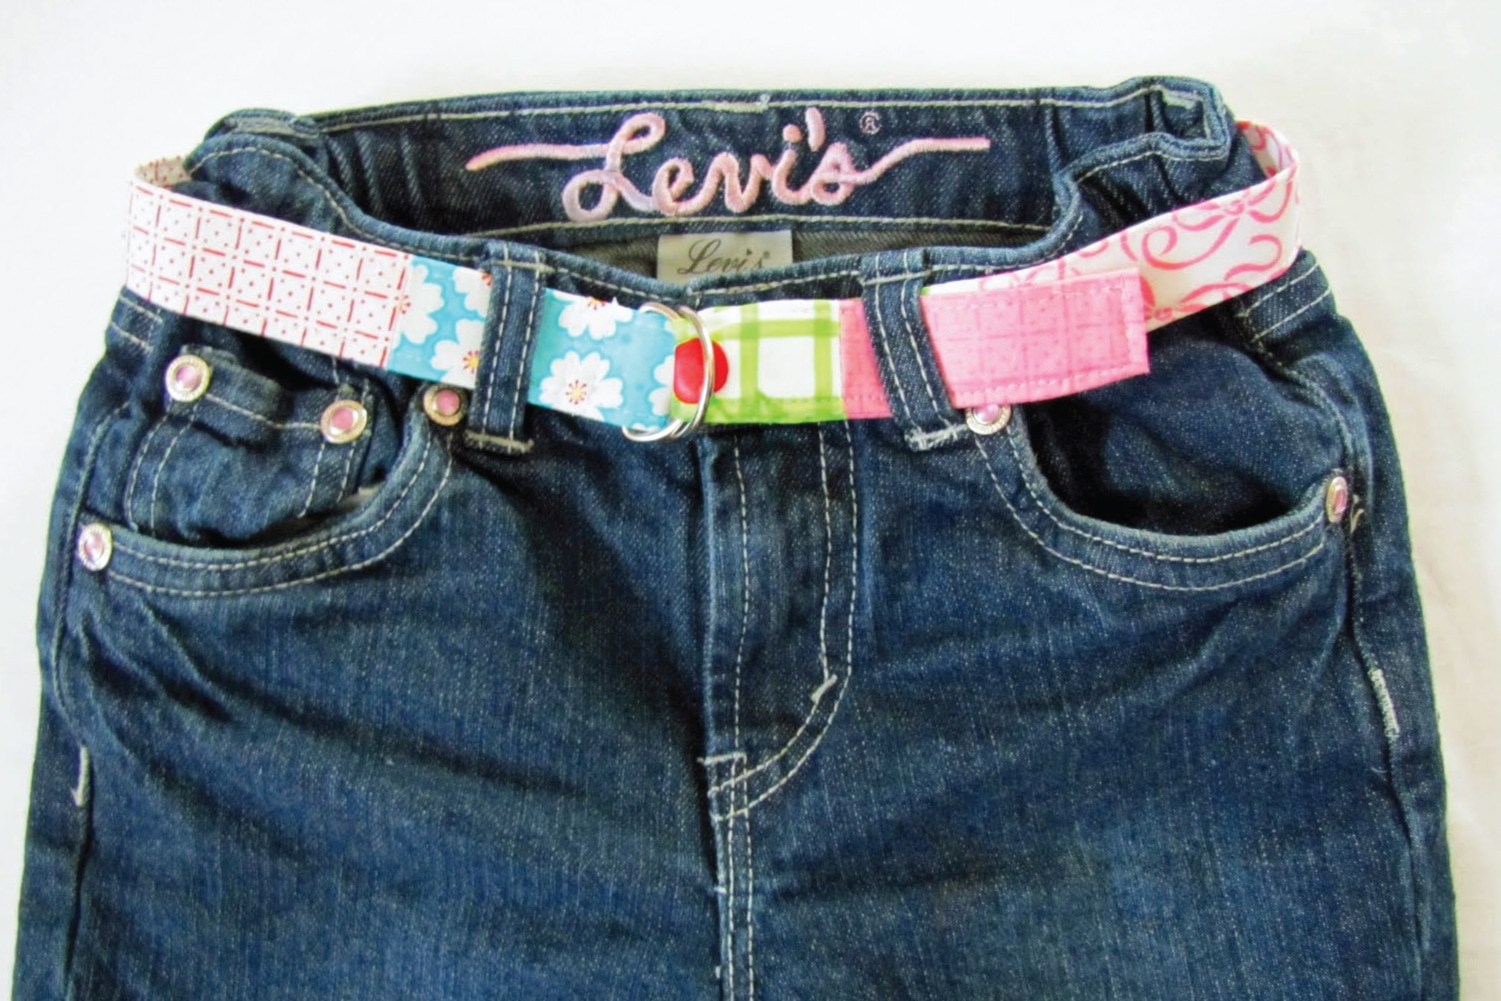
You’re done! Now your little ones’ Levi’s won’t fall down! Not to mention your kid now has a super cool belt! Much better than the ugly things they sell for kids! And, not only that, handmade is just better (at least I think so)! 🙂
Thank you so much Kim for having me here today! I hope some of you will come by the igloo and say hi! 🙂
———
Christine has over 30 awesome tutorials on her blog, so go over and check her out!


oh wow! That is so awesome!!! I just spent like 30 minutes looking through your blog. I just LOVE all the tutorials. You are amazing!!!
I’m a new follower for sure 🙂
Great blog! Love your blog design page too. Visiting from NFF.
I LOVE it! It is so colorful and bright and cute! What a great idea.
oh wow!!!! Perfect! I was getting tired of ribbon belts for my son there are just not that many boy patterned ribbons… or boy ANYTHING geez do the people that make stuff have something against boys? 😛 Anyway checked out ur blog its amazing…
And btw I am so going to miss CW 🙁
darling idea… i want to make one for myself. great tutorial too. new follower from nff
Yay, a bonus! So pretty and wearable – and infinite! Thanks for all the great stuff this week, so inspiring.
Such a pretty belt! I linked to your tutorial over at Craft Gossip Sewing:
http://sewing.craftgossip.com/tutorial-easy-d-ring-scrappy-belt/2010/07/25/
–Anne
I love this belt and I’m definitely going to make (at least) one!!!
But I know there are Dapper Snappers, something very handy: kids don’t have to open the belt when they need to go to the bathroom…
I live in the Netherlands and bought it there for my 19 month old girl, but know it is a product from the USA and thought you might want to know the url…
It is http://www.dappersnappers.com/
But still, I’m really going for belts too! These are so lovely!!!