
Facing surgery and relying on crutches? Don’t let uncomfortable or unsightly crutch pads bring you down! This post will guide you through creating quick and easy DIY crutch pad covers, transforming your crutches from basic to beautiful.
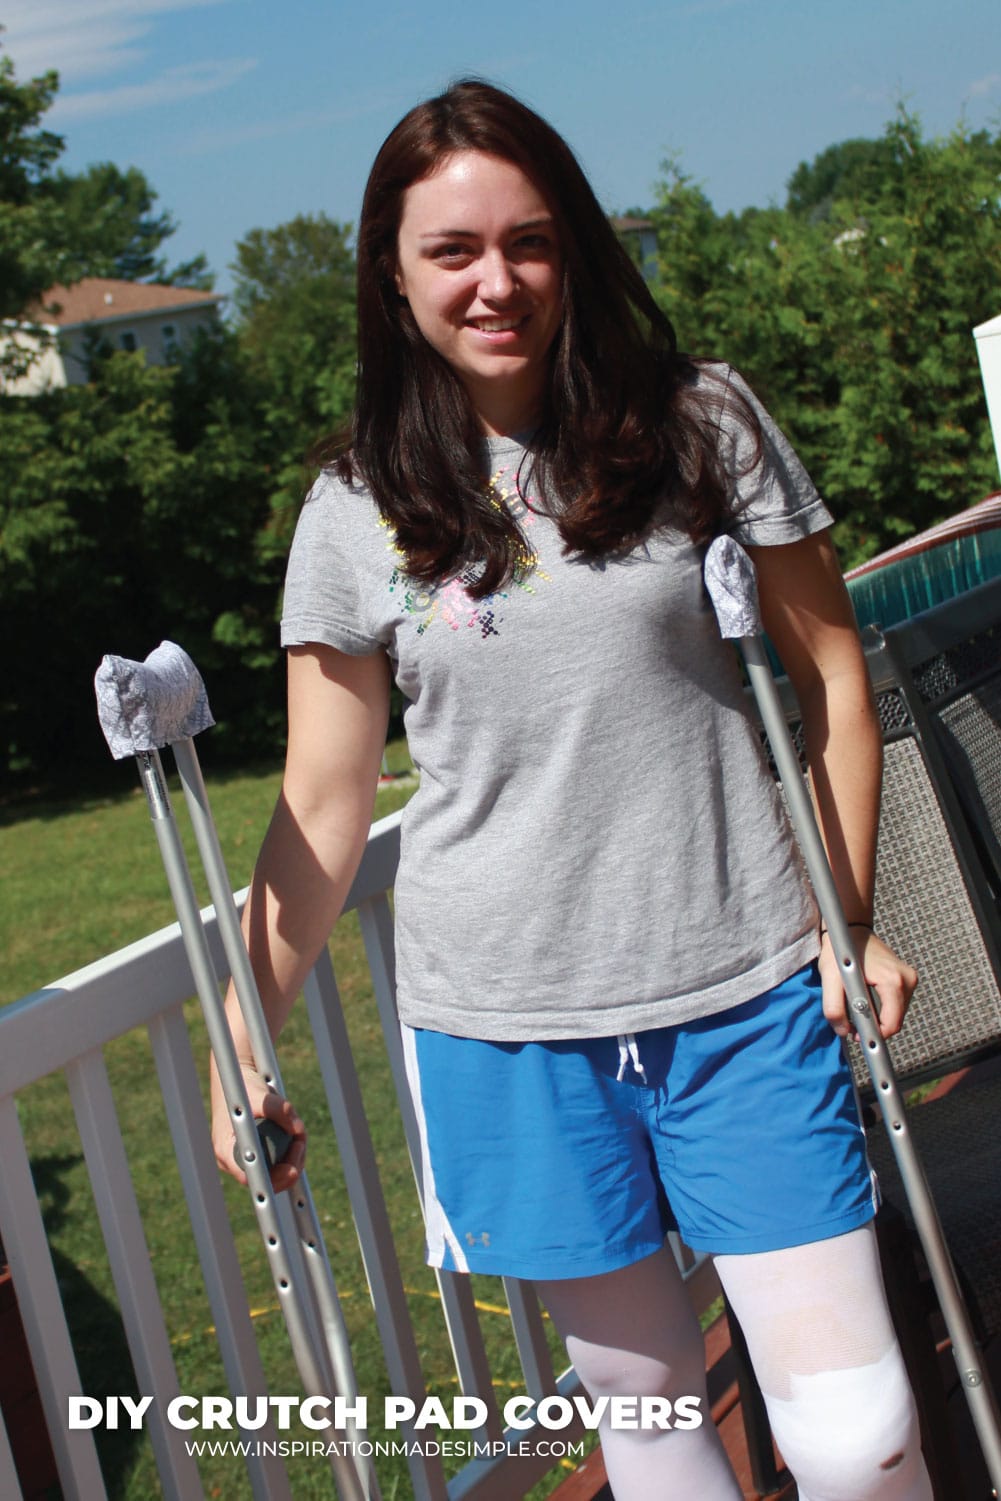
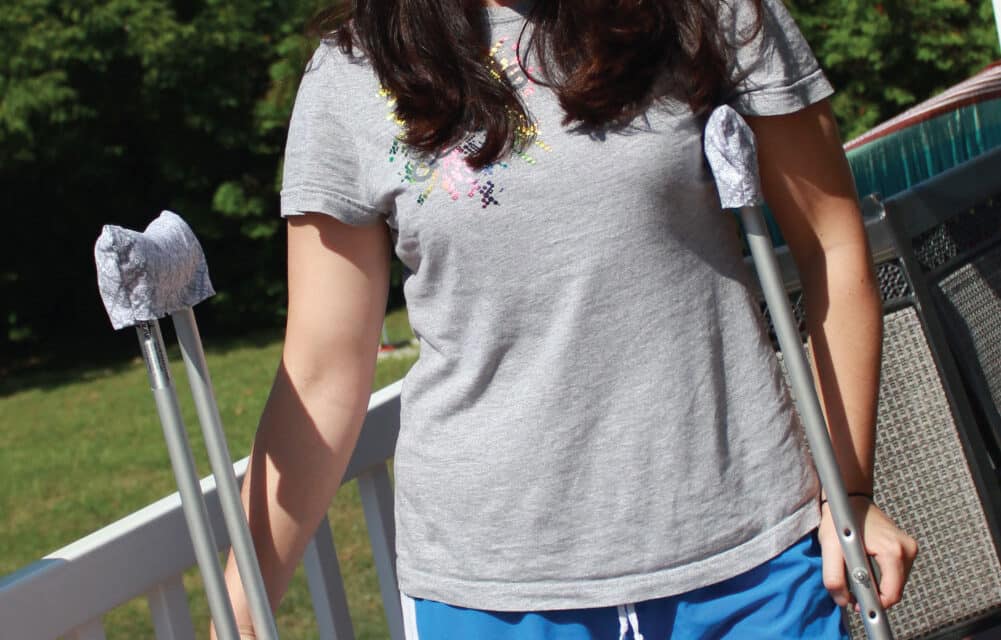
Excuse my appearance – this was the day post-surgery!
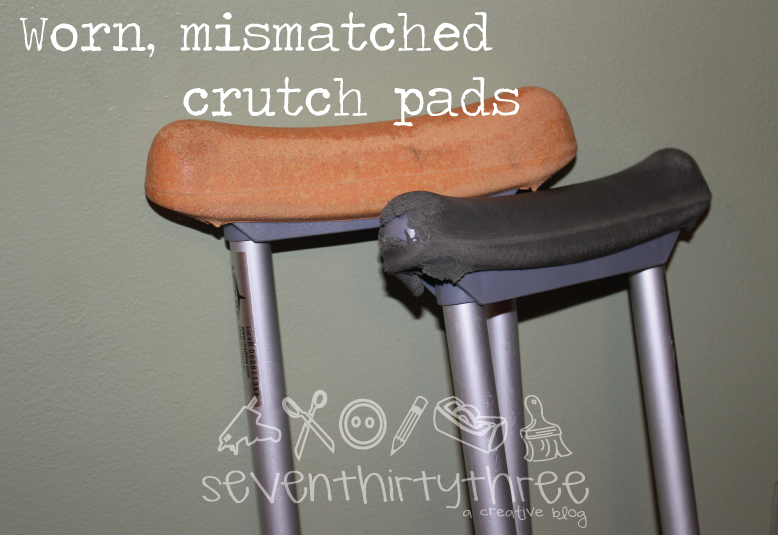
The night before my recent knee surgery, I pulled out my old crutches that had been in my parent’s garage, only to discover a crumbled pad. While a spare crutch offered a replacement pad, the mismatched look left me feeling a little self-conscious. Determined for a more stylish solution, I decided to create DIY crutch pad covers.
My initial attempt involved cutting square fabric pieces and marking up so that I could sew it into a hexagon. After sewing and flipping the fabric inside out, I had a perfectly functional cover. Unfortunately, limited fabric meant this solution wouldn’t work for both crutches. Whoops.
Digging through my fabric stash, I stumbled upon a failed sundress belt. It dawned on me – this was the perfect material for a crutch pad cover! With a bit of creativity, I could transform a fashion miss into a functional and stylish crutch accessory. So keep reading to learn how I made my crutch pad covers!
For two standard adult crutches, I needed the following supplies:
15″ High x 25″ Wide piece of fabric
Sewing Machine
Fabric Scissors
Velcro
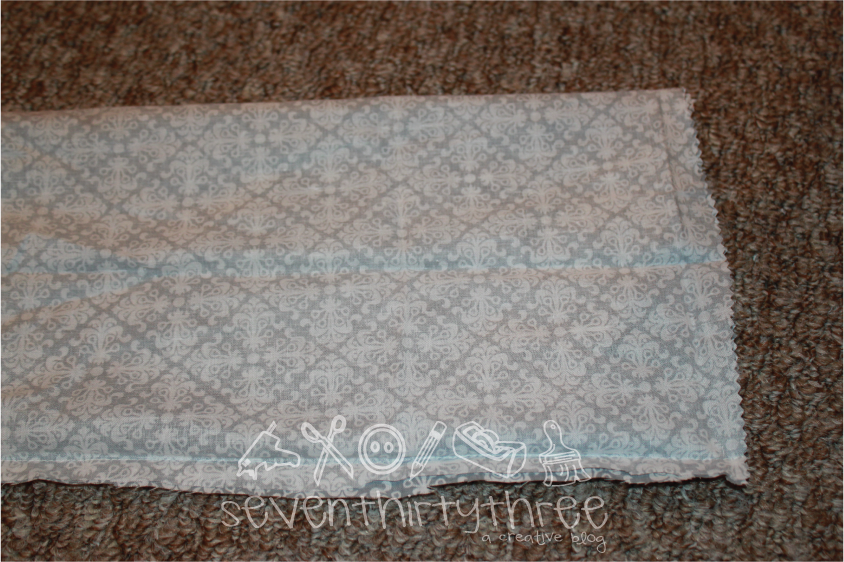
Fold the fabric in half and sew down the long edge. Turn the tube you just created right side out.

Center the seam in the middle and iron the tube flat – see picture for more clarity!
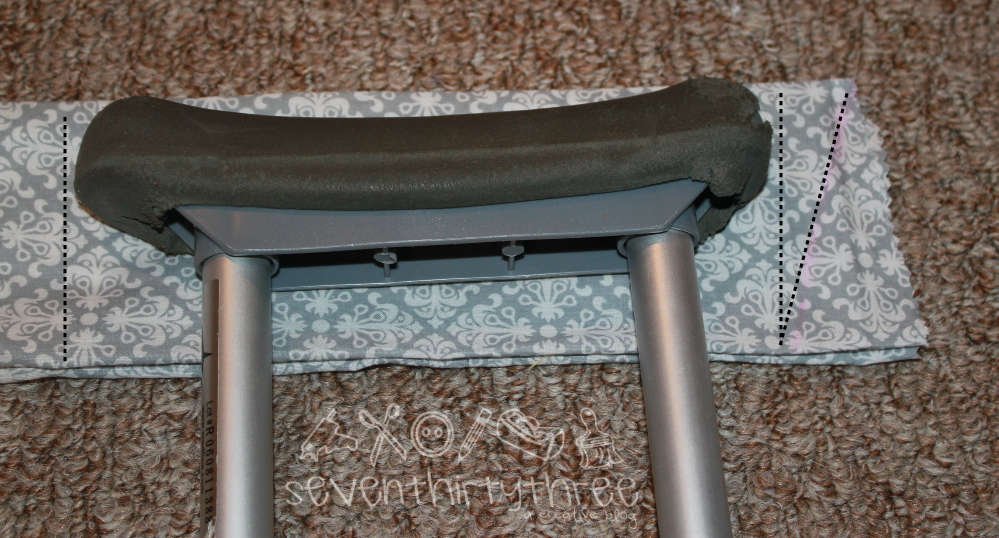
Before we start cutting, let’s figure out where exactly to make the cuts! Lay your crutch flat on top of the fabric. You want the narrower end of the fabric to sit outside the edge of the existing crutch pad, ensuring that the cover fits snugly. Look for the diagonal line in the photo above to see what I mean!
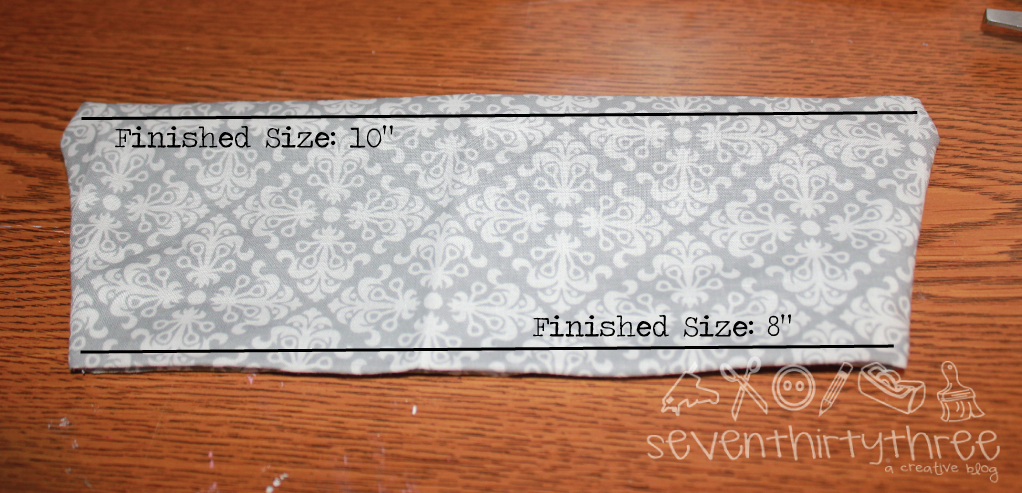
Here’s a handy trick: You only need to mark one diagonal line initially. Use a ruler to measure the width of the crutch pad and mark that distance on the opposite side of the fabric. This allows you to fold the fabric in half and use the initial diagonal cut as a guide for the other side.
Now, grab your fabric pen or marker and confidently mark both sides of the fabric with your cutting lines.

Now comes the cutting! Grab your fabric or pinking shears and carefully cut along the diagonal line you marked, going from the edge of the fabric up to the corner. As I mentioned above, I then folded the fabric in half, lined my cut piece up with the other mark and used this as a guide to cut my left side.
This will create a slightly angled piece that perfectly fits the shape of your crutch pad. Tip: Once you’ve cut the first piece, use it as a template for the second crutch pad cover to ensure both pieces are identical.
Sew up each of the sides and flip the fabric right side out.
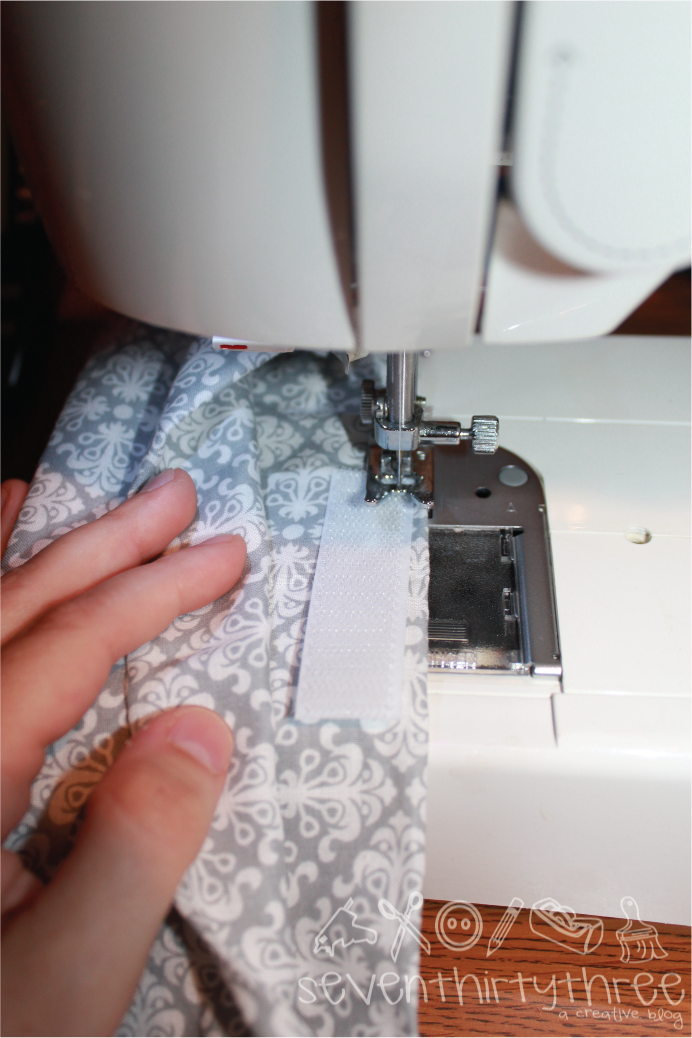
Lastly, cut a small length of Velcro and sew it on either side of the inside of the pad cover along the bottom edge.

Slip on the crutch pad cover and…ta-da! Say goodbye to mismatched crutch pads. Now you’ve got a stylish set of wheels, and no one will even suspect you started with a brown and gray pad situation. Plus, these DIY covers are comfy and washable, making your whole crutch experience a little more delightful.
Worried that the crutch pads will hurt your hands if you are using them for more than a few days? Yes, it can happen! For an extra dose of plushness, consider adding a layer of batting between the fabric pieces before stitching. This padding will provide additional comfort during extended crutch use. However, for short-term crutch use like mine, the single layer of fabric works just fine.

What a wickedly awesome perk it up for the tired looking crutches. Hope you are mending fast.
I would love for you to show this off at my Wickedly Crafty Saturdays!
http://wiccanmakesometoo.blogspot.com/2011/07/wickedly-crafty-saturdays-are-back_23.html
This is such a great idea! I hated using my crutches, sooo boring and grey, next time I will definitely be jazzing them up!
Oh and I really hope your mending well!
Great crutches! No chance of muddling them up with someone else’s when you go to the clinic for a check-up!
Hope you’re on the mend now and can soon put the crutches back in the garage for good!
Hehe that’s so awesome! Trust the crafty people to say, “hey I should be taking it easy and healing, but something needs to be done about these crutches. They’re too boring!”
Love it! 😀
I covered the top pad and the handle( or whatever you call the part you hold with your hands) with fabric on my crutches because the foam rubbed under my arms – ow! I did the hand part because rubbing on the foam gave me blisters. The fabric pads changed all that for the better.
Hope you are feeling better soon!
I got a pair of Mobilegs crutches earlier this year when I had surgery. My mom got me some butterfly skins which wrap the whole crutch. They were cool.
Any suggestions for sprucing up a walker? Haha! I’m not even allowed crutches for a few weeks (I had hip surgery) and what young mama wants an ugly walker? I think maybe I can use your idea to make covers for the walker handles (and add the batting for extra padding). Thanks for sharing and I hope are mending quickly!
This was awesome to find. I skipped the first sewing part and the ironing. I just folded over the fabric, used your advice to remember to not make it too narrow! Got some 1/2 inch foam (scrap section)from the fabric store, found a pillow on clearance for $4 and got some nonsissy walking dead fabric 25% off. Plus they had a 20% off coupon by text. Perfect timing for me to find your post and sales! My husband broke his foot and refused to use his crutches after one day because of the way they felt. Thank you SO MUCH for this idea. I used the foam directly under the fabric to keep a smooth appearance. Then mushed in some stuffing from the pillow between the crutch and foam. Closed it with velcro like yours. I used the kind that has self stick, ya’ll don’t judge lol, I don’t have a machine and my 16 month old was grabbing everything. I didn’t get to the handle part yet…maybe after the kids are in bed
I’m so happy you were able to make it work for you! No judging here! Whatever it takes to make those crutches more comfortable! LOL
You could even try adding a little purse lower down the crutches as your hands wont be free for carrying a bag.
Great idea!