
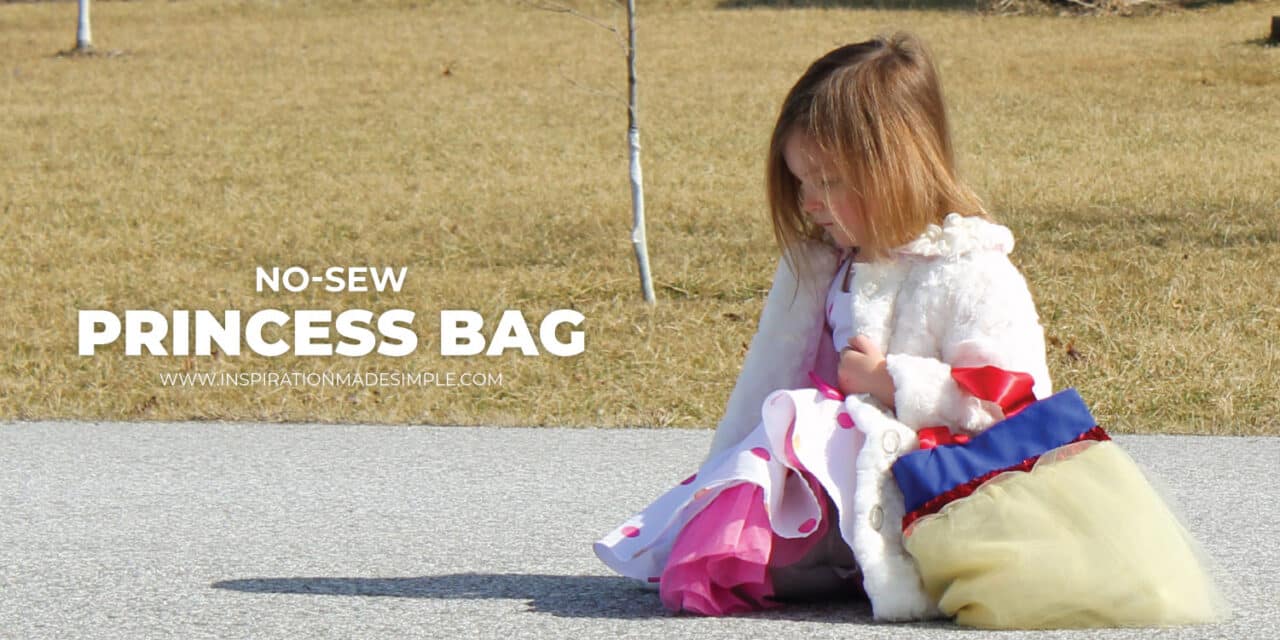
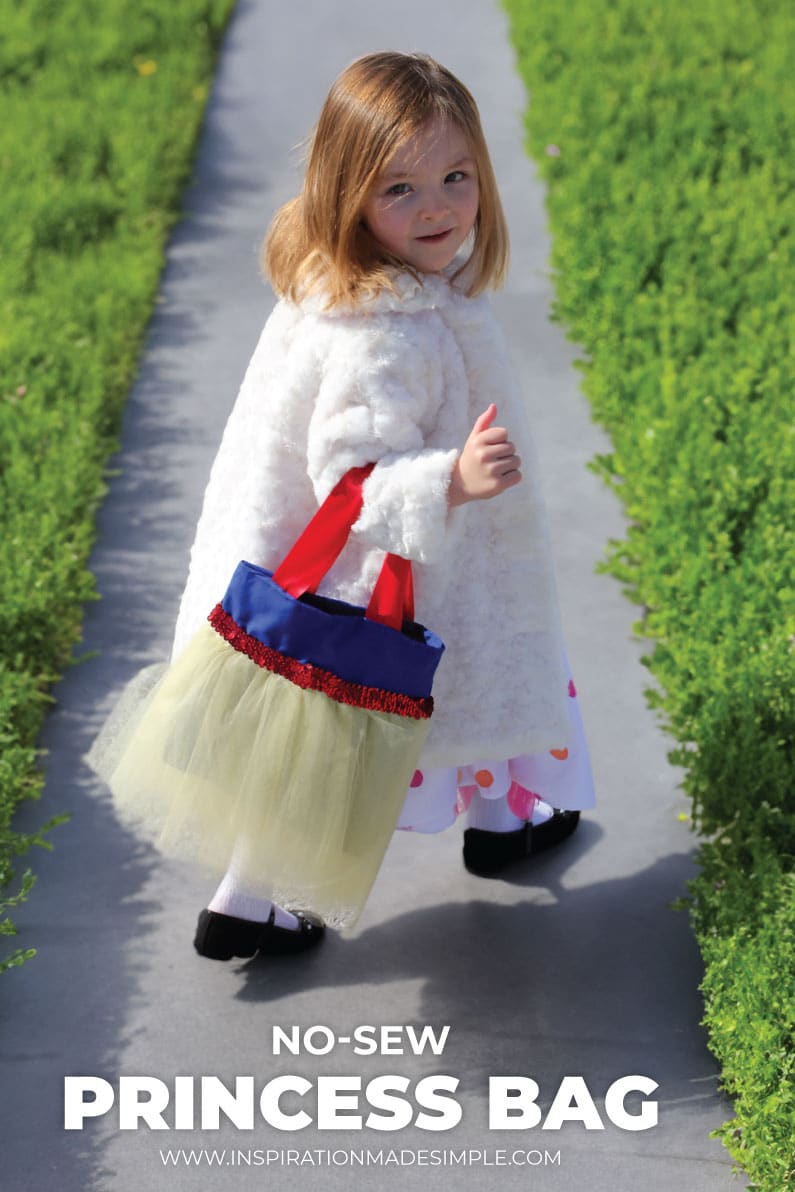
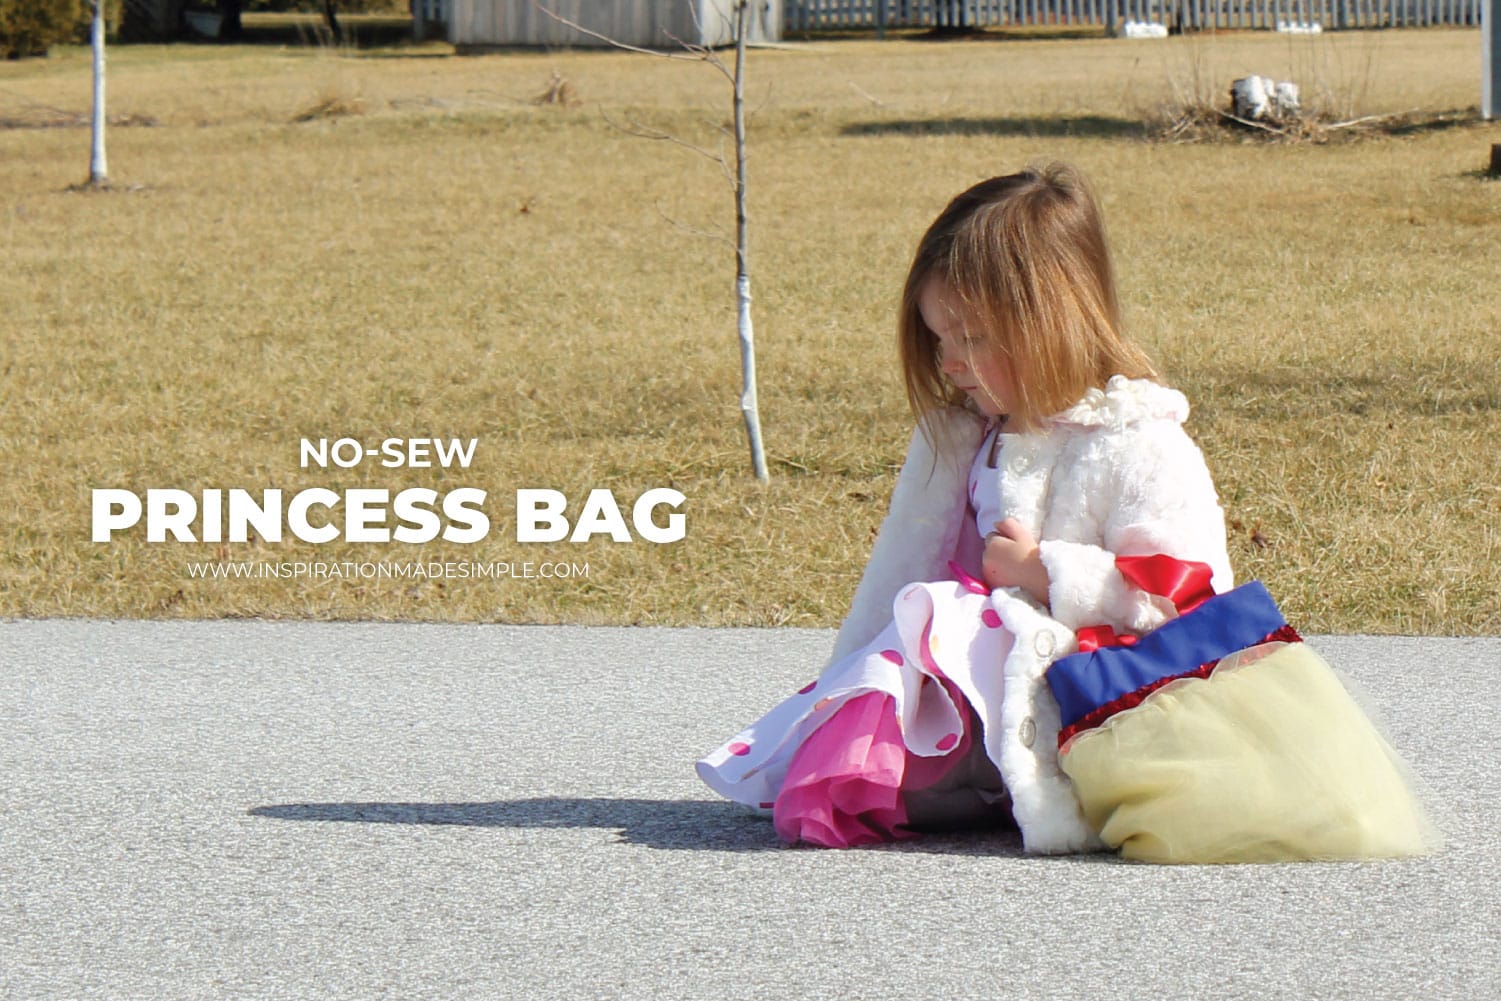
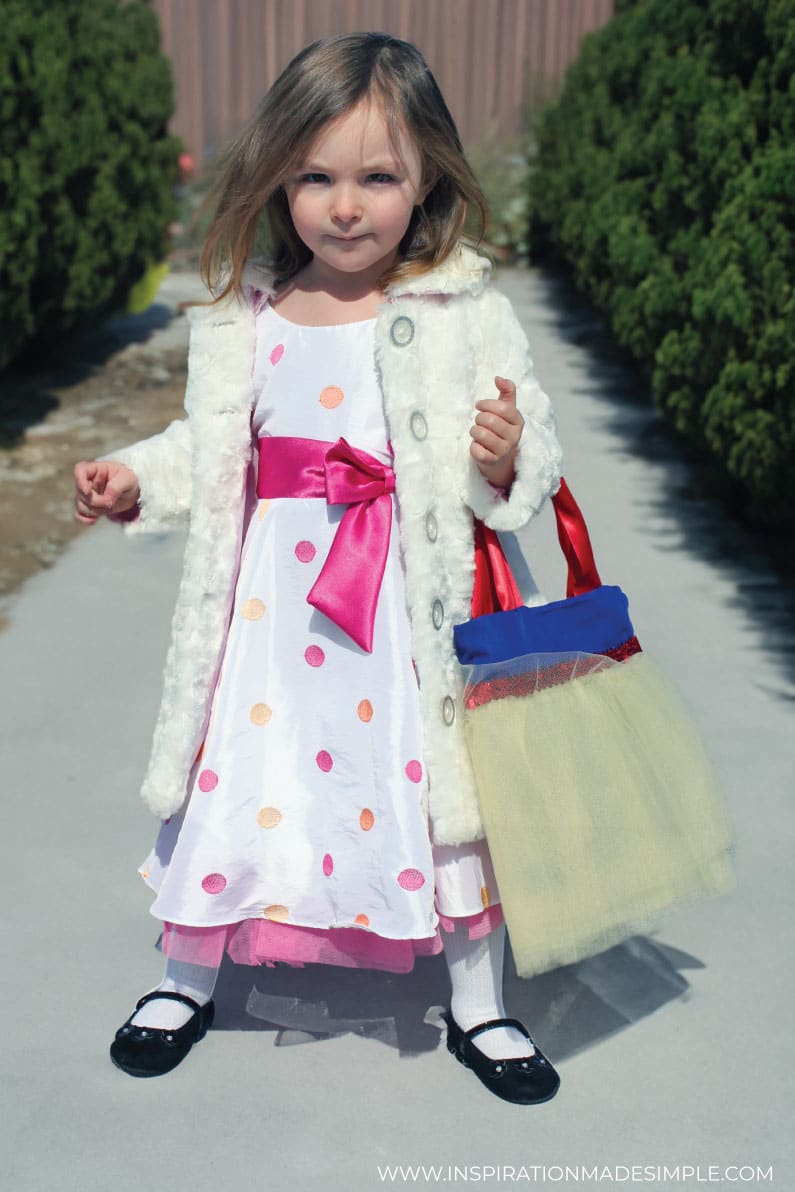
This no-sew princess bag tutorial is the perfect way to create a magical purse for your little princess in no time! Using readily available materials and a little creativity, you can transform a plain tote bag into a sparkling accessory that will have your child feeling like royalty. I made this a Snow White version for my daughter Olivia. She recently discovered Snow White when we went to Disney On Ice in January and instantly fell in love with her! Olivia is a little purse hound and she loves to get all dolled up so this was a must-have for her!
DIY Snow White Purse
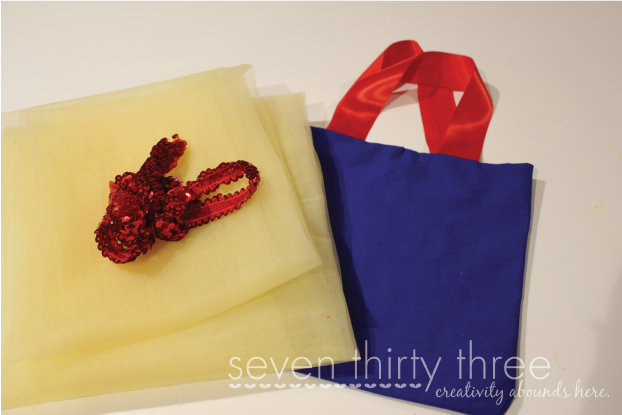
Satin ribbon (2-inch spool) – This will be used for the straps or decorative touches.
Hot glue
Directions:
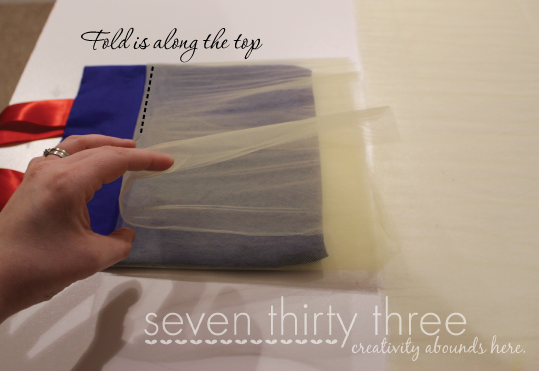
Keeping your tulle folded in half off the rack, fold it in half length-wise. This will shorten the length from 2 yards to 1 yard.
Lay your tote bag on top of the folded tulle with the fold towards the top of the totek positioning it where you want the fluffy layers to fall. Once you’re happy with the placement, use scissors to trim the excess tulle to your desired length.
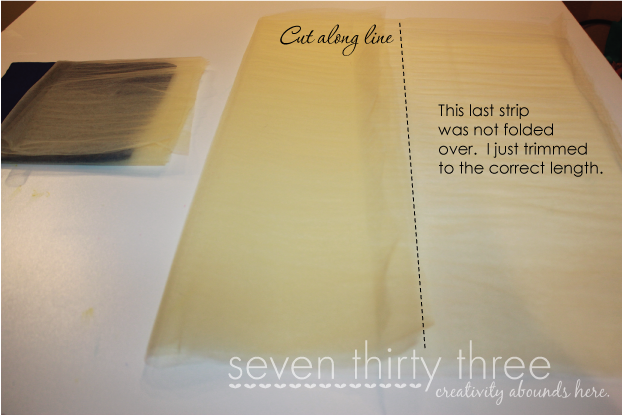
Fold the tulle over and repeat step 1. Keep doing so until you’ve used up all the tulle. I ended up with three strips to use (one was not folded over, it was just one layer).
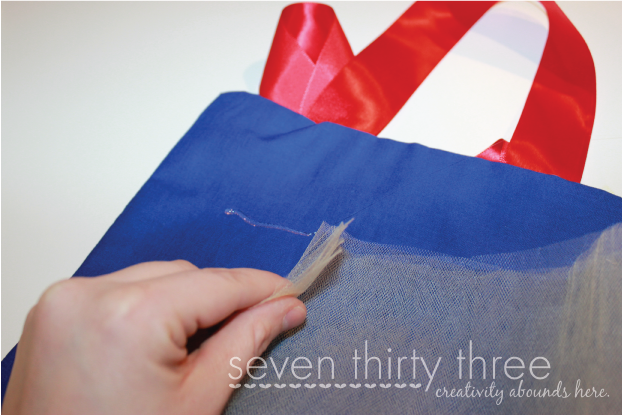
Using your hot glue gun, carefully apply a 1-inch line of glue along the top of the tote where the tulle will be attached.
Gently press the first layer of tulle onto the glue, then “scrunch” it back slightly to create beautiful pleats.
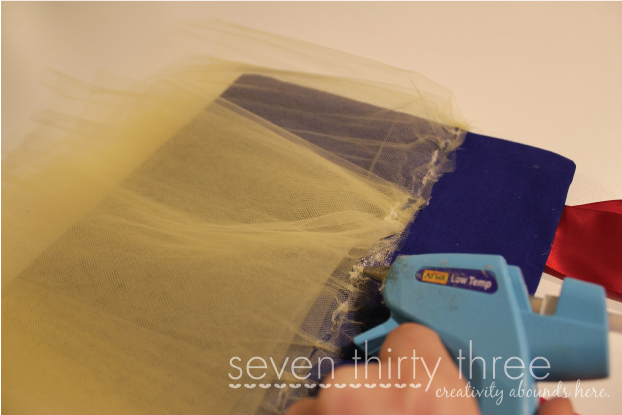
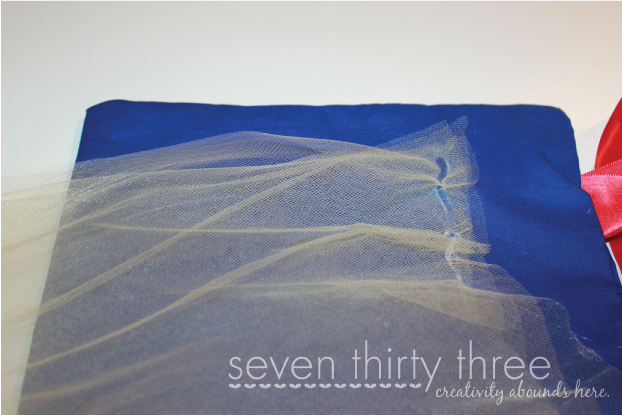
Repeat this process around the entire bag, ensuring each layer slightly overlaps the previous one. Make sure to start in a different place than the last layer, so that the edges are all mixed in together and disguised.
Make sure that all of the layers are pressed into the glue. I used a low-temp glue gun since I was pushing my fingers directly into the hot glue. Repeat until you’ve used all of the tulle.
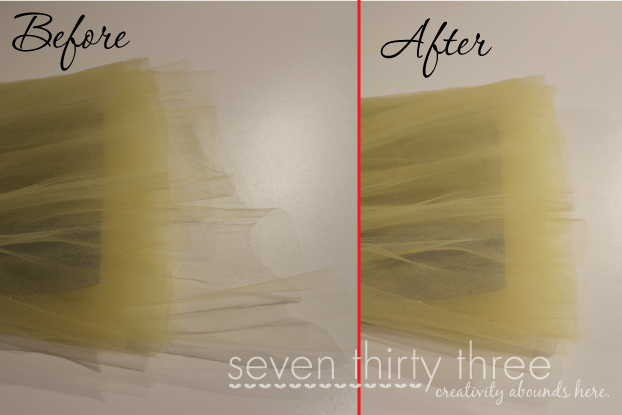
Trim the uneven ends of the tulle along the bottom of the bag.
Do the same for any uneven tulle along the glue strip.
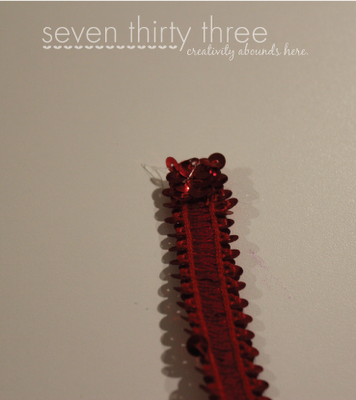
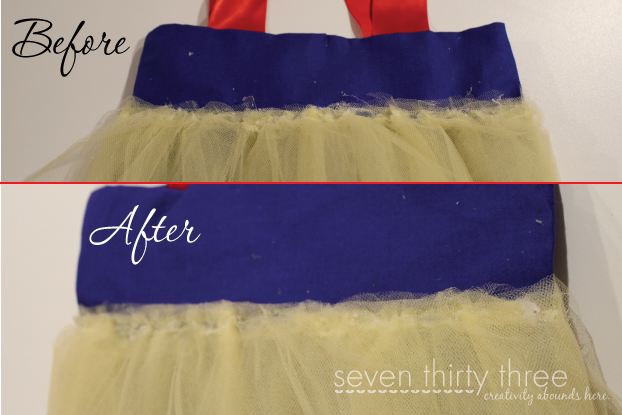
Now it’s time to incorporate the sequined ribbon! Fold one edge of the ribbon inwards and secure it with a small dab of hot glue. This will create a clean finished edge.
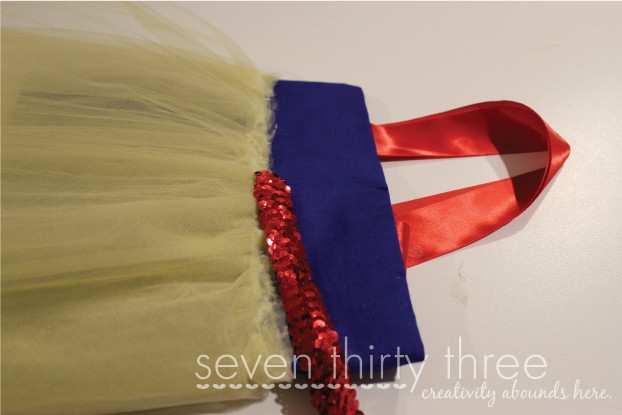
Starting in the center of the tulle, carefully glue the sequined ribbon along the top edge, covering both the tulle and the glue line.
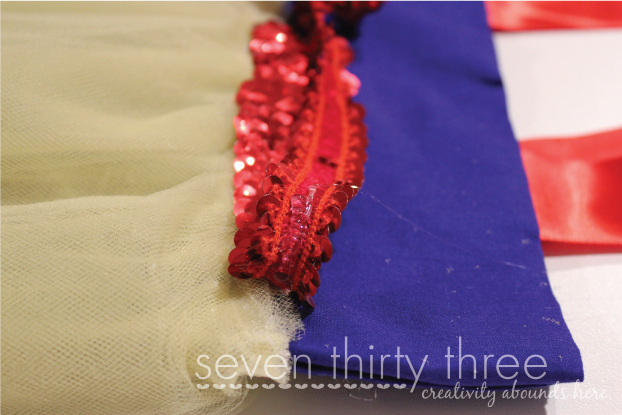
Continue around the entire bag, trimming off any excess ribbon at the end. Fold the raw edge of the remaining ribbon under and secure it with glue for a polished look.
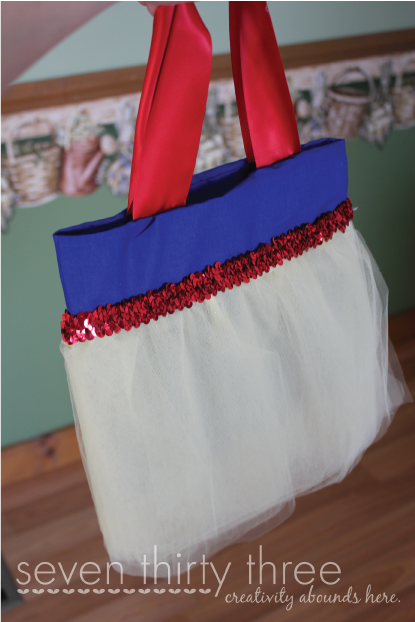
And voila! Your no-sew princess bag is complete! Take a moment to admire your creation before handing it over to your little one… especially a 2.5 years old who absolutely refuses to pose for pictures.


This is super cute! Thanks for the tutorial. I need to make one for my niece right away!
That is adorable!!! love it!
This is so cute! I’ll have to make one for my daughter, who is now able to identify all the princesses……but I’ve been coaching her for our upcoming Disneybtrip :).
You are such a fun mom!!! This really is amazing Kim! Makes me wish I had a girl 🙂 Thanks for sharing at oopsey daisy!
So cute! My daughter loves Snow White too and would definitely love this purse.
So adorable — and so easy. Great tutorial. I would love it if you would consider linking to Busy Monday at A Pinch of Joy, a Sunday through Thursday link party for ideas that make life easier, better and more fun!
Such a cute little bag! (and model) love the translation of Snow White!