
Hi everyone! Heather from Dragonfly Designs here. I am super excited to be here today sharing this DIY Yarn Bowl! During our Project Crochet Giveaway so many people asked where they could get there very own yarn bowl. So I decided to come up with a do-it-yourself version and here it is! If you haven’t already, be sure to stop by Dragonfly Designs to check out a few of the crochet projects that I completed last month ~ including this epic Crochet Floor Pouf Pattern!
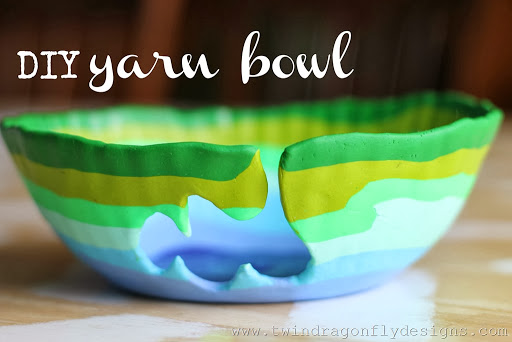
 A yarn bowl is the perfect spot to keep your yarn while working on a crochet project. They will usually have an opening where you can slide the working end of your yarn while the skein stays safely in the bowl. This bowl is one that you can make at home with just a few simple supplies.
DIY YARN BOWL SUPPLIES:
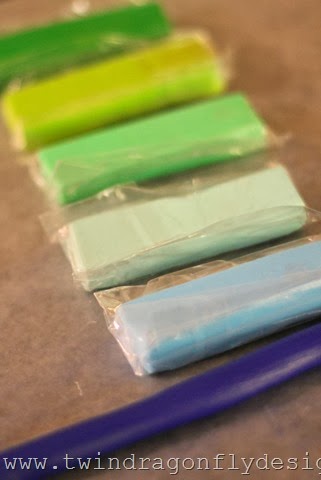
*7-8 oz of polymer clay {I get mine from Wholeport}
try experimenting with a variety of colour combinations and/or patterns.
*wax paper
*cutting tool {a butter knife would work}
*rolling pin
*an oven safe bowl
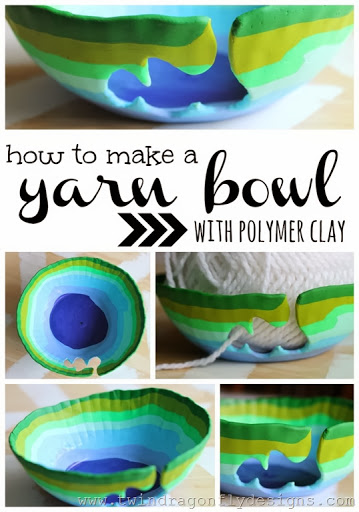
 To create a striped bowl like the one pictured follow these steps. Lay out a sheet of wax paper to work on, this will help to prevent sticking. Roll 7-8 long ropes of clay {using 1 oz of clay each} about 1/4″ in diameter.
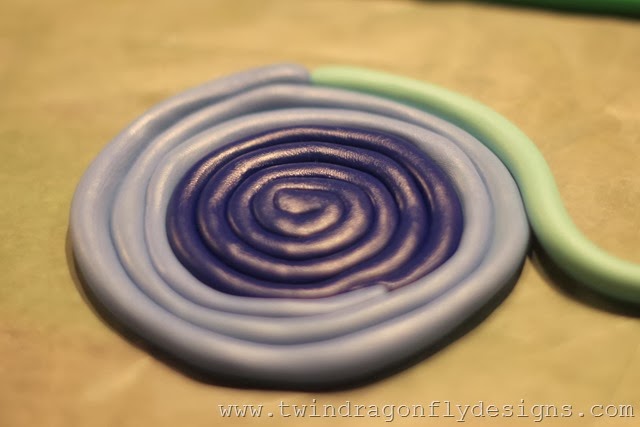
Starting in the centre, coil the ropes around each other.
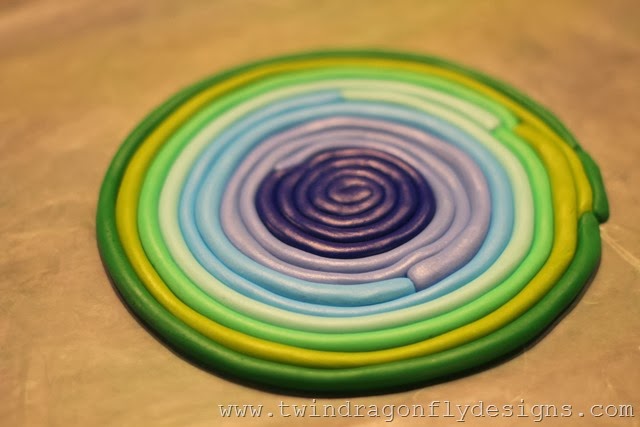
Continue until all of the ropes have been coiled around each other.
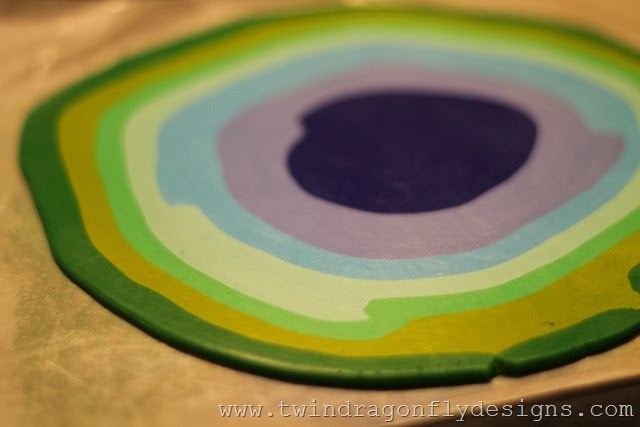
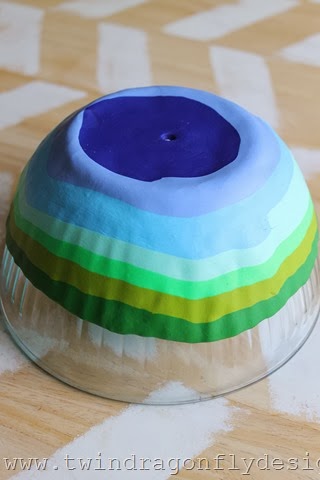
Use a rolling pin to blend the colours together and flatten the clay into a round shape about 10″ in diameter.
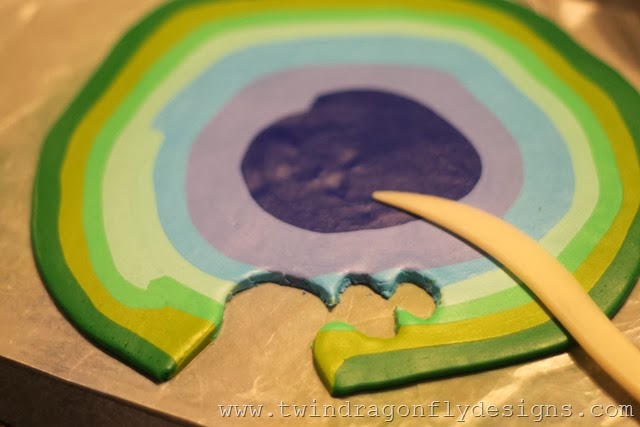
Use a cutting tool to create a hooked shape for the yarn to rest in.
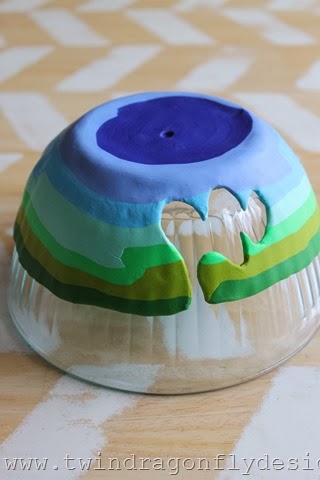
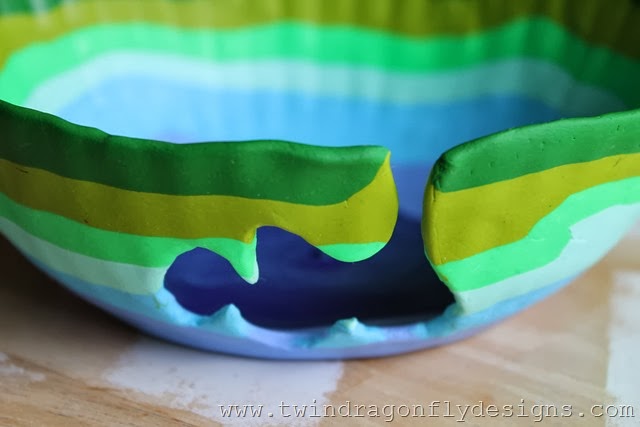
Finally mold the clay over the outside of an oven safe bowl and place on a cookie sheet.
Bake at 275 for 30 minutes or as directed on the package of clay.
Totally fun and easy right?! This was my first polymer clay yarn bowl but I can see where the possibilities would be endless! If you make one I would LOVE to see it and be sure to stop by and say hi…


I love this idea! So cute and creative.
Take Care,
Mandy Jean
http://www.mandyjeanchic.com
I just made my bowl….waiting for it to cool now.
How did it turn out?!?
Thank you, now all I have to do is make one. Wish me luck. This will be my first try at making something like this. Oh, I have to go buy the polymer clay.
Since Facebook is notorious for not letting page owners know when I tag them, I thought I would stop by myself and let you know I featured this post and my readers loved it! https://www.facebook.com/CraftsbyAmanda/photos/pb.323548680216.-2207520000.1395952983./10153940782705217/?type=3&theater
This is awesome!!! Thank you for sharing. Can’t wait to make one for myself. Can see this as a wonderful gift for all of my crafty friends 🙂
Wow! That is really cool! I love the color combo you chose and I really want to make one for myself… Thank you for sharing!
Hi Heather,
I am trying my luck at your yarn bowl right now. Its in the oven as I type. I will post a picture as soon as its done. If it turns out like yours anyway. Thanks for the great idea.
I found this on Pinterest researching knitting projects. So clever, cute and fun; what better way to incorporate all those skeins of yarn into the decor? I’m doing this asap. Thanks for the awesome tip and how to. I will tweet you my pic when I’m done (now following you @SugarFreeCoach).
Knitter and clayer here. Well this is a good idea for all my polymer clay – for some reason 70% of my scrap is green – so I’ll be doing solid colored bowls with some textures or design on the outside. I have pounds of clay just sitting around doing nothing.
I’d love to try this, but have a concern:
Polymer clay doesn’t weigh much (very light), so I was wondering if that can affect how well this yarn bowl functions. For example, once you put the yarn ball in it, and then pull on the yarn (which is caught in the cut-out) does it pull/drag the bowl with it? It seems like you would need something that is a little heavier so that the bowl doesn’t moved and get dragged along when you pull on the yarn.
That being said, can you confirm that this project works well for you? Or is there a trick to making sure it will remain stable. Thanks, Sharon
I gave this a try today and it was a lot of fun. As I am only new to working with polymer clay, I am still working out how to avoid getting tiny bits of clay stuck in the wrong spots! Thank you for sharing this as I now have a gorgeous imperfect- perfect yarn bowl that I will treasure forever 🙂
I am so happy to hear that! I will let Heather, the contributor that shared this amazing tutorial, know! 🙂
Thanks for the lovely idea!
I made my own found here: http://danceswithyarn.net/diy-yarn-bowl/
Take care,
McKaila v.
I’ve bought my supplies and I’m ready to make my bowl. I’m going to do this tomorrow. I’m so excited. I will post pictures once I’m done.
I can’t wait to see them! Make sure to post them on seven thirty three’s Facebook page (they won’t show up in these comments)!
Have you ever tried to do this with air dry clay? I have a package I picked up from the dollar store to try out and thought this might be an easy thing to start with.
I haven’t. The only thing that I can forsee is that the air dry clay doesn’t dry super hard. It has a bit of give to it. But if it only cost you a dollar, I think it would be worth giving a try! Let me know how it goes if you do give it a try!