
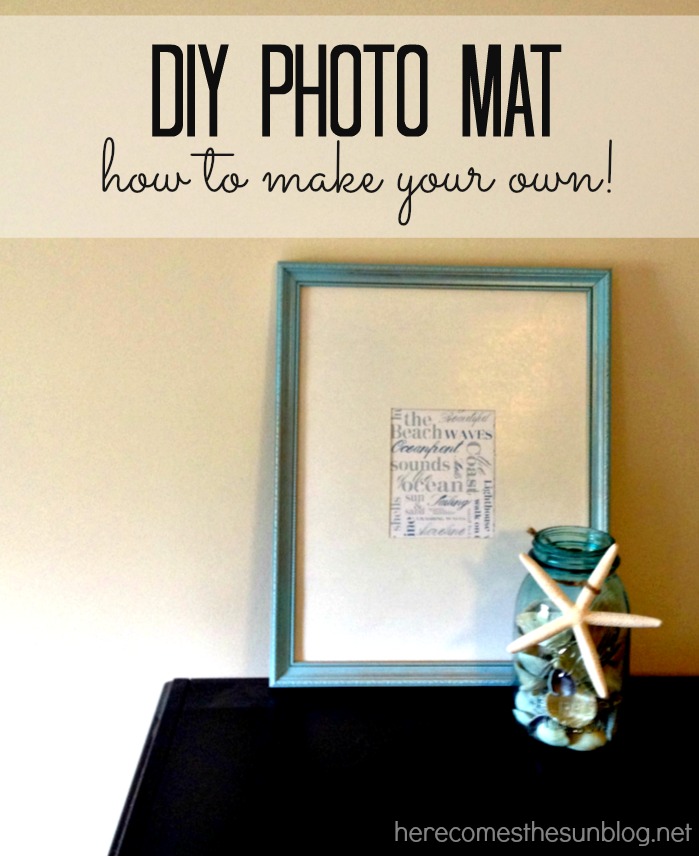
Hi guys, it’s Kelly from Here Comes the Sun. Today I’m going to show you a easy way to make your own DIY Photo Mat. If you’re like me, you have lots of pictures and frames but none of them seem to match up quite right. Or maybe you have a photo but only want to display a small portion of it. A custom DIY Photo Mat can solve this problem and allow you to create a unique gallery wall no matter what size frame or picture you have.
 You will need:
Photo or item that is being framed
4 pieces 8.5×11 paper
A piece of cardboard or whatever you are using for your mat
Ruler
Exacto knife
Picture frame
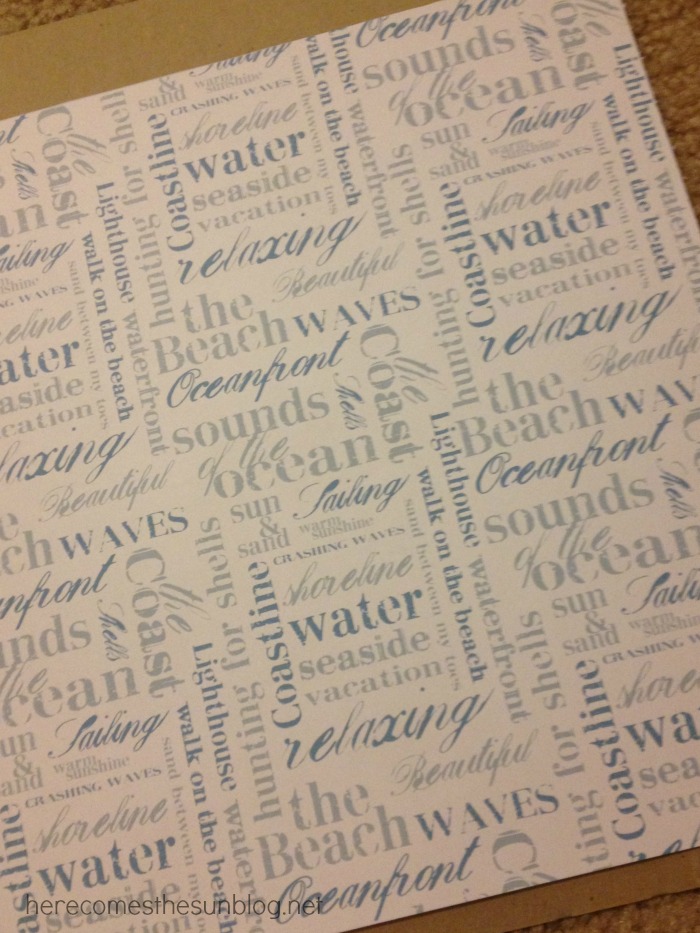
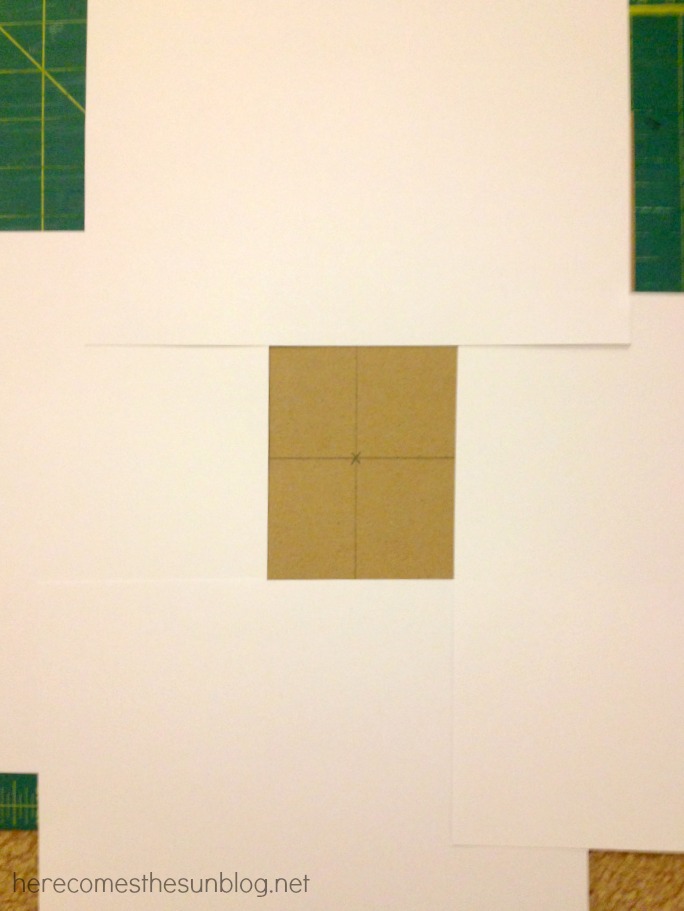
First, decide what area of the photo you want to show. I am using a piece of scrapbook paper with beach words to go with my new coastal themed bedroom.
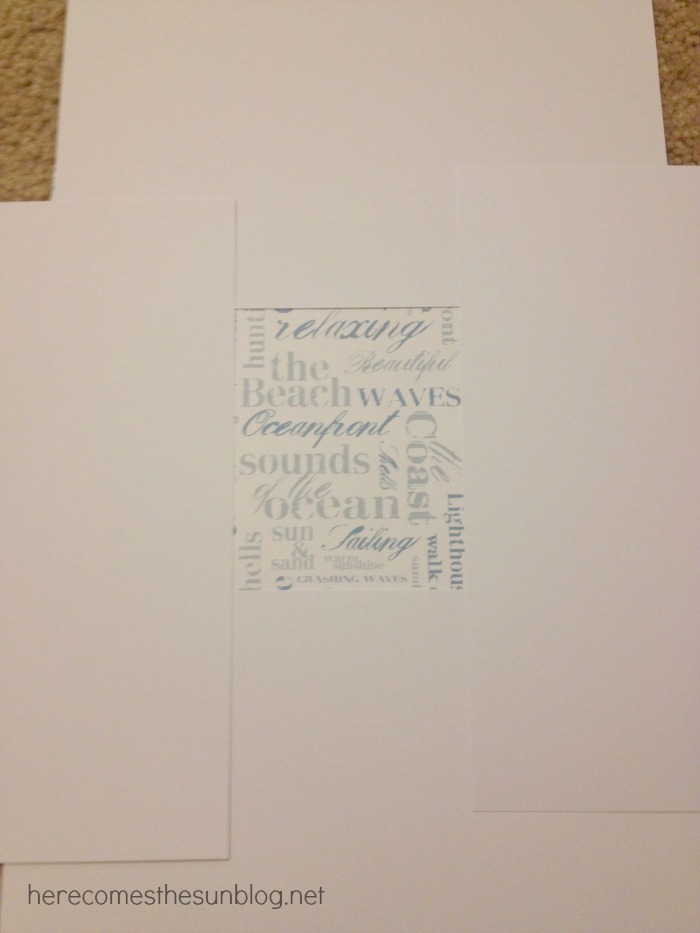
 Using the 8.5×11 paper, “frame” the area that you want visible. Tape the pieces of 8.5×11 paper together.
 Next, take whatever you are using as a photo mat and place a mark in the exact center. My mat was 11×14 so I measured 7″ down and 5.5″ across. Make all the markings on the back of your mat.
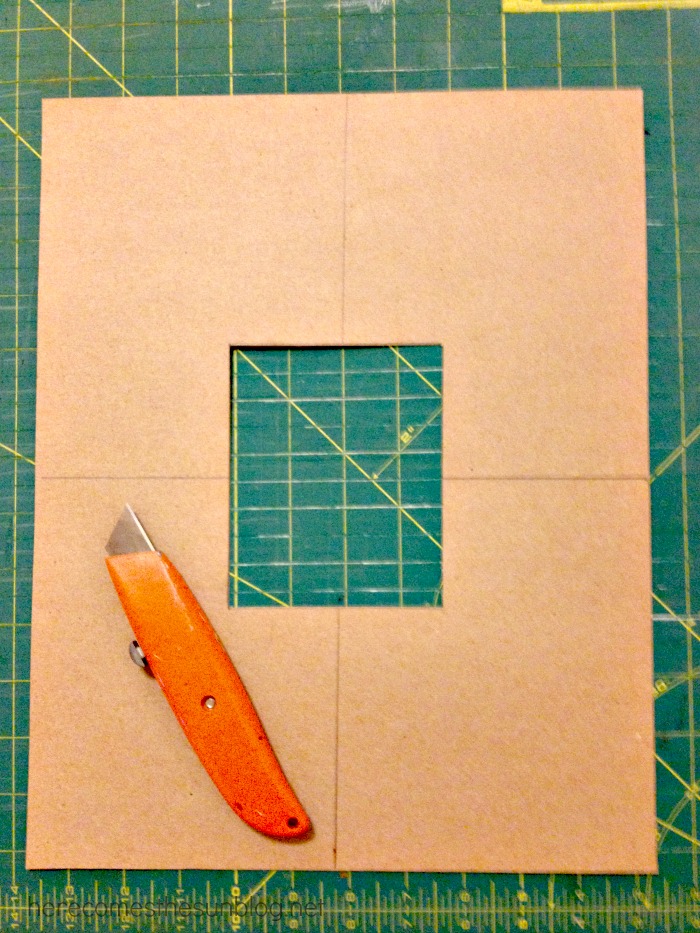
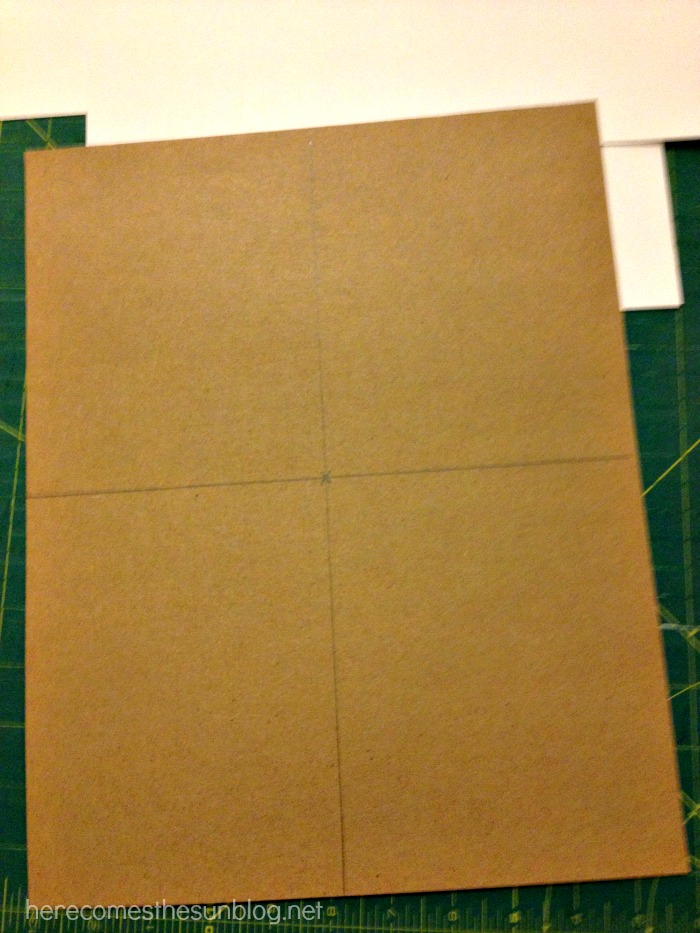 Place your mat under the pieces of 8.5×11 paper, making sure your mark is in the exact center. Trace the outline onto your mat.
 Using an exacto knife, carefully cut the opening into your mat.
 Turn your mat over, place it on top of your photo and then place into your picture frame.
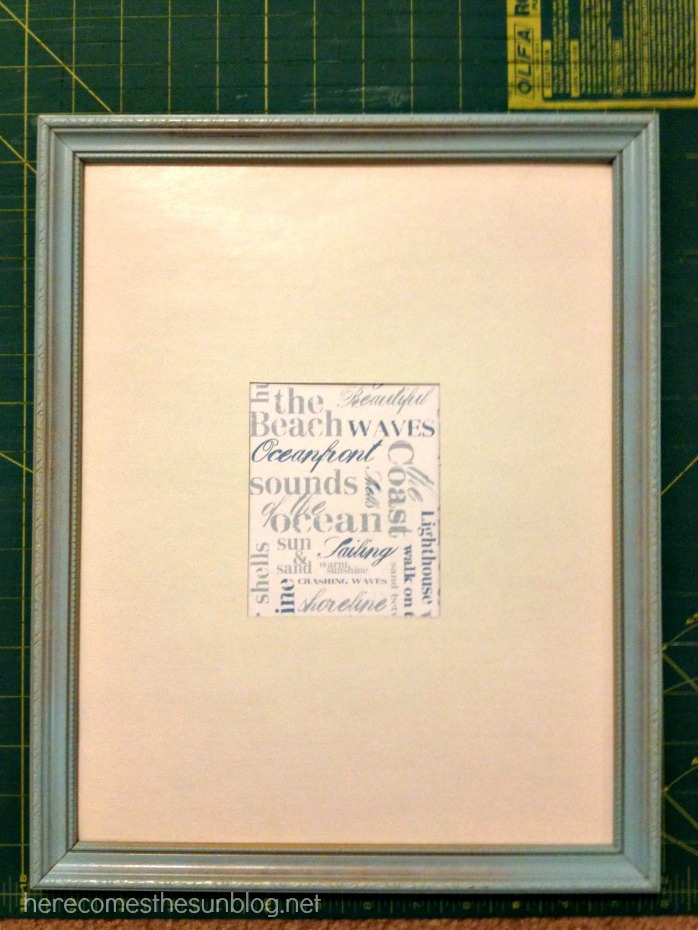 By making your own photo mats, you can create endless combinations of sizes and colors.
Want another photo project? Check out my DIY Photo Canvas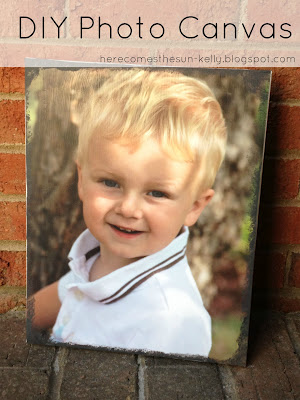
I hope you’ll follow along with me at the blog, on Facebook, Pinterest, Twitter and Instagram where I share more of my DIY projects!.


One night, in college, after a couple of drinks, I decided I could cut my own mat (on a real mat board from Hobby Lobby.) Yeah, that didn’t turn out so well.
HAHA! Yea, definitely something you want to do with a clear head. 🙂