
This post is in collaboration with Cricut. I love working with a company and product that I truly love.Affiliate links for your convenience.
When you purchase the Cricut Maker, you receive 50 free projects in Cricut Design Space. Myself and 49 other bloggers each chose one of the 50 projects to make and share so that you can see just how easy (and awesome!) the new Maker is! If you purchased the Maker and are trying to decide what to make first, read on and make sure to scroll down to the bottom of the post for the other 49 awesome projects! Psst – stick with the post because you don’t want to miss the chance to win your VERY OWN Maker!

I was given the adorably sweet “I like you more than Ice Cream” greeting card to create. This project is a great starter project for using the Maker. It is simple, has easy to follow instructions and who doesn’t like having greeting cards on hand?!
The only hiccup that I encountered was the photo showed an envelope liner, but the project did not come with one. I’ve adjusted my instructions to account for that. I did let Cricut know about the missing element, so hopefully they’ll be able to get that fixed.
In addition to the Cricut Maker, you will need:
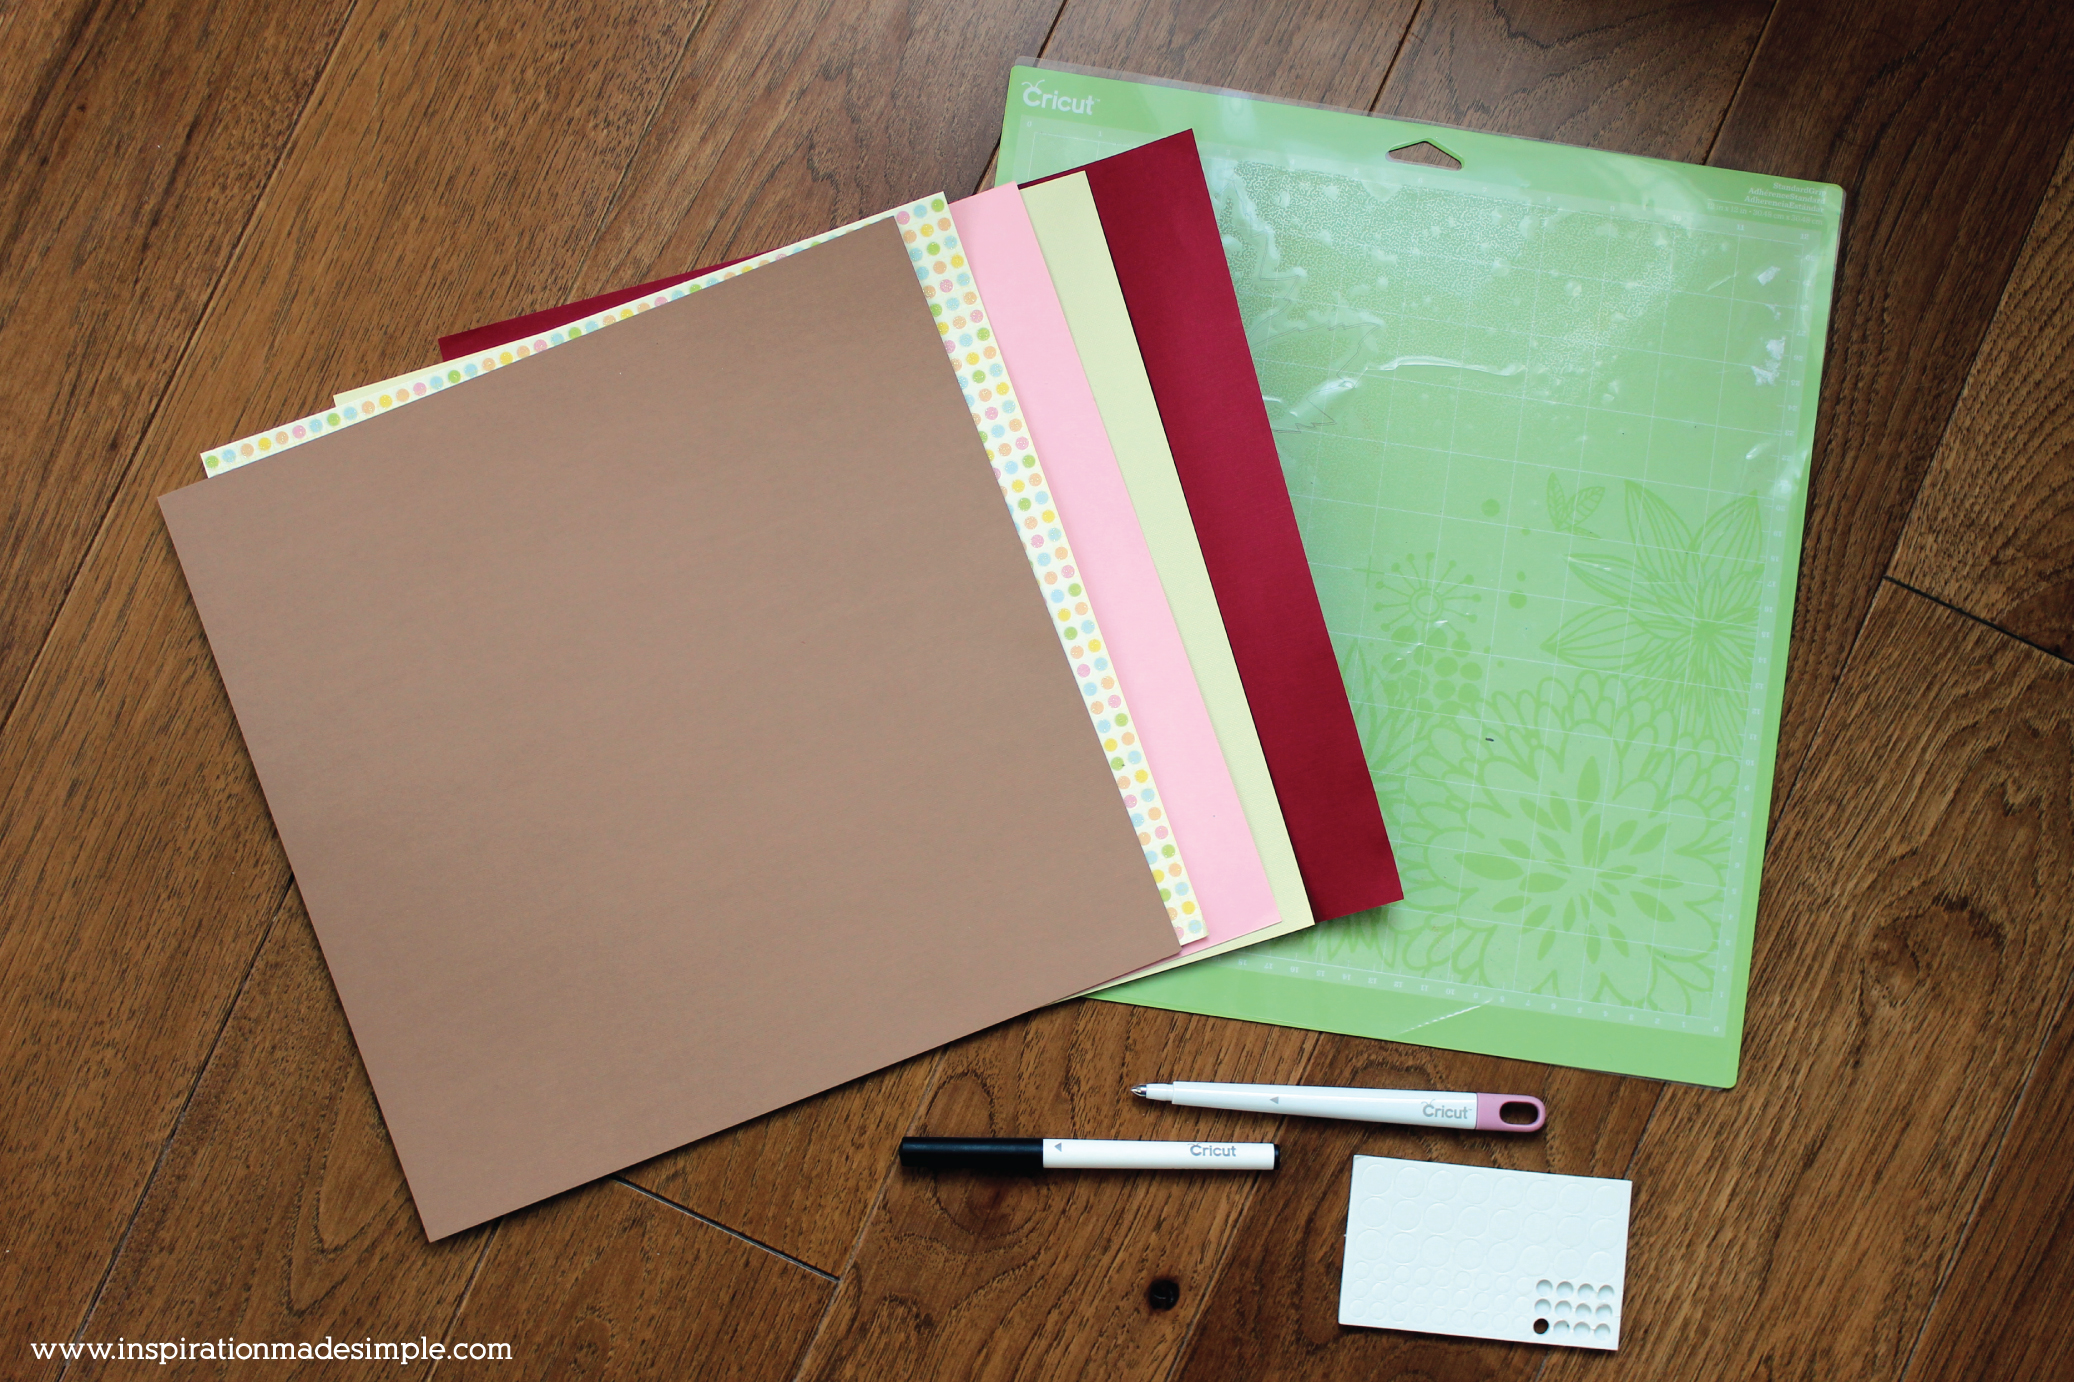
Cardstock in the following colors: Cream, Pink, Red, Tan and Polka Dot
Standard Grip
Scoring Stylus
Black Cricut Pen
Foam Dots
Glue Stick
Spray Adhesive (optional)
Double Stick Tape (optional)
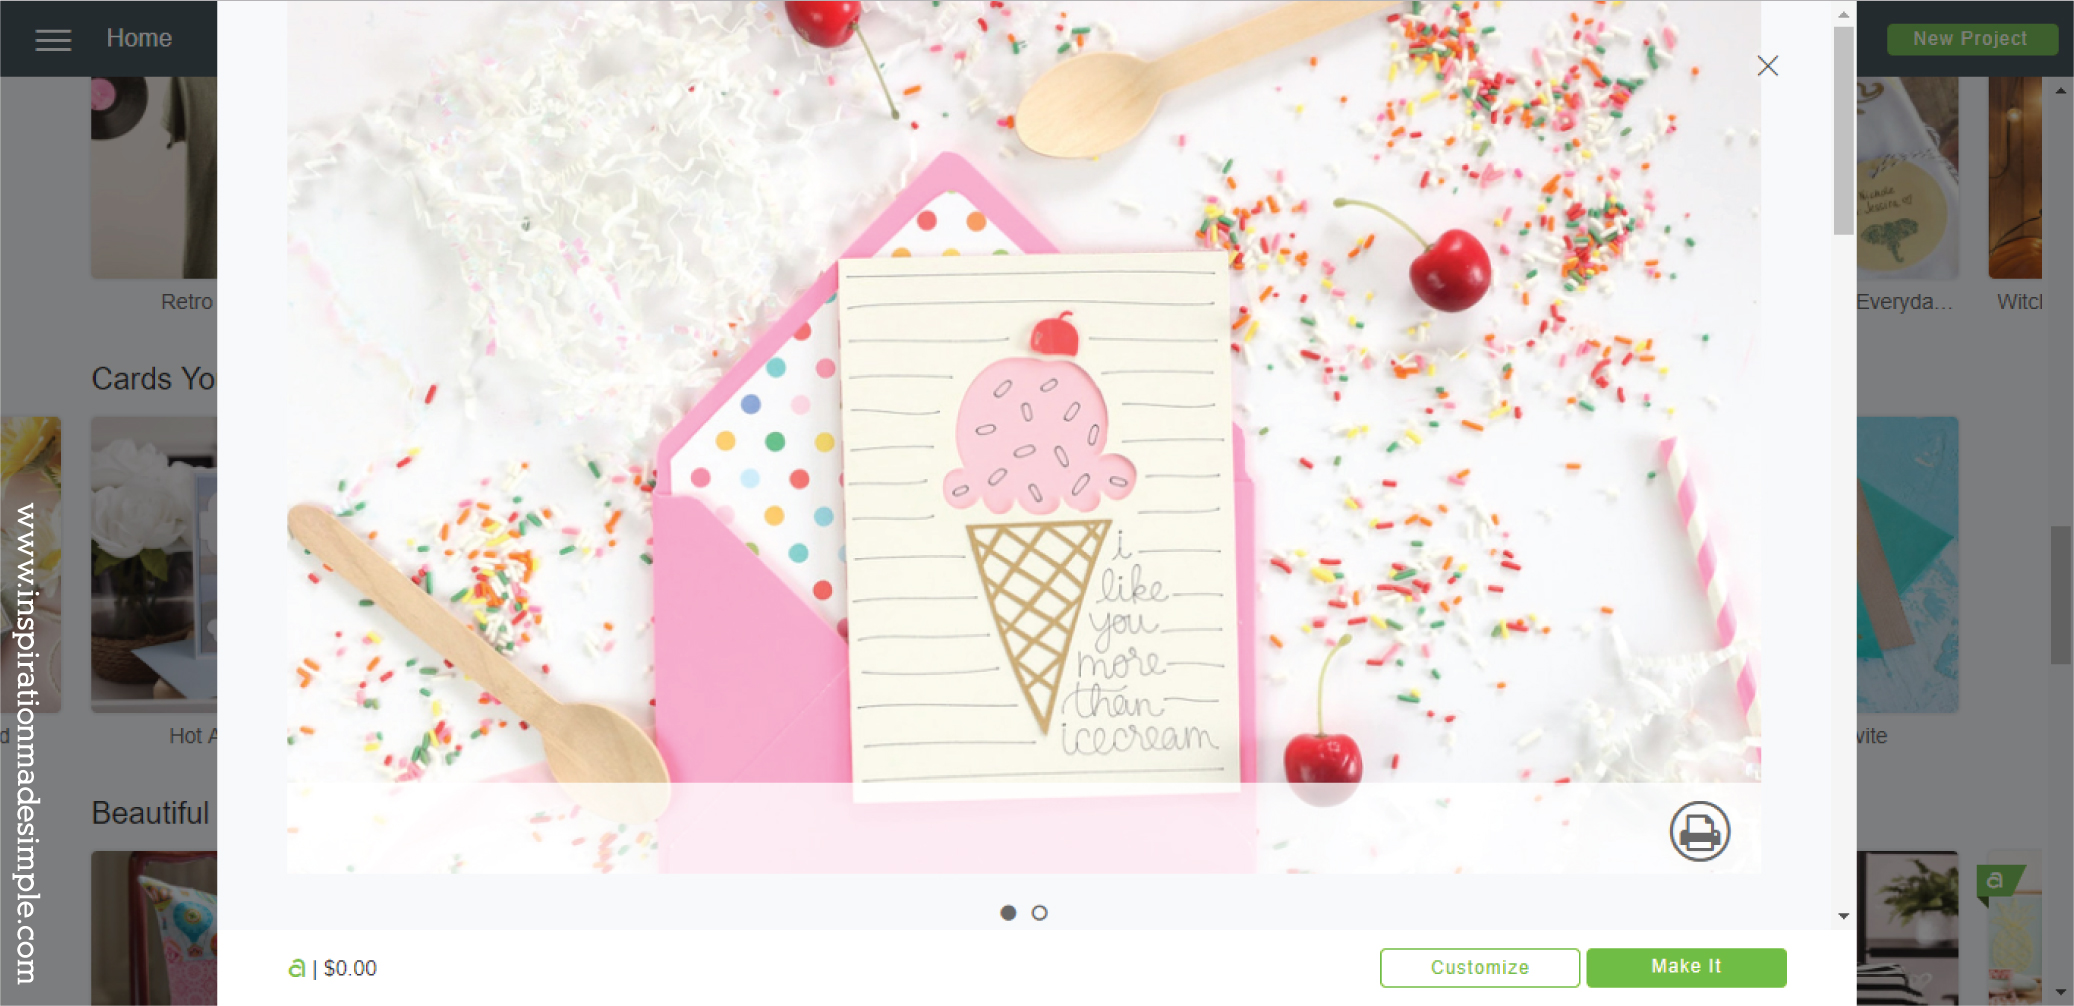
Find the project in Design Space and click MAKE IT. The project is already set-up for you, so make sure your connected to your machine and have all your materials, because we’re getting started RIGHT NOW!
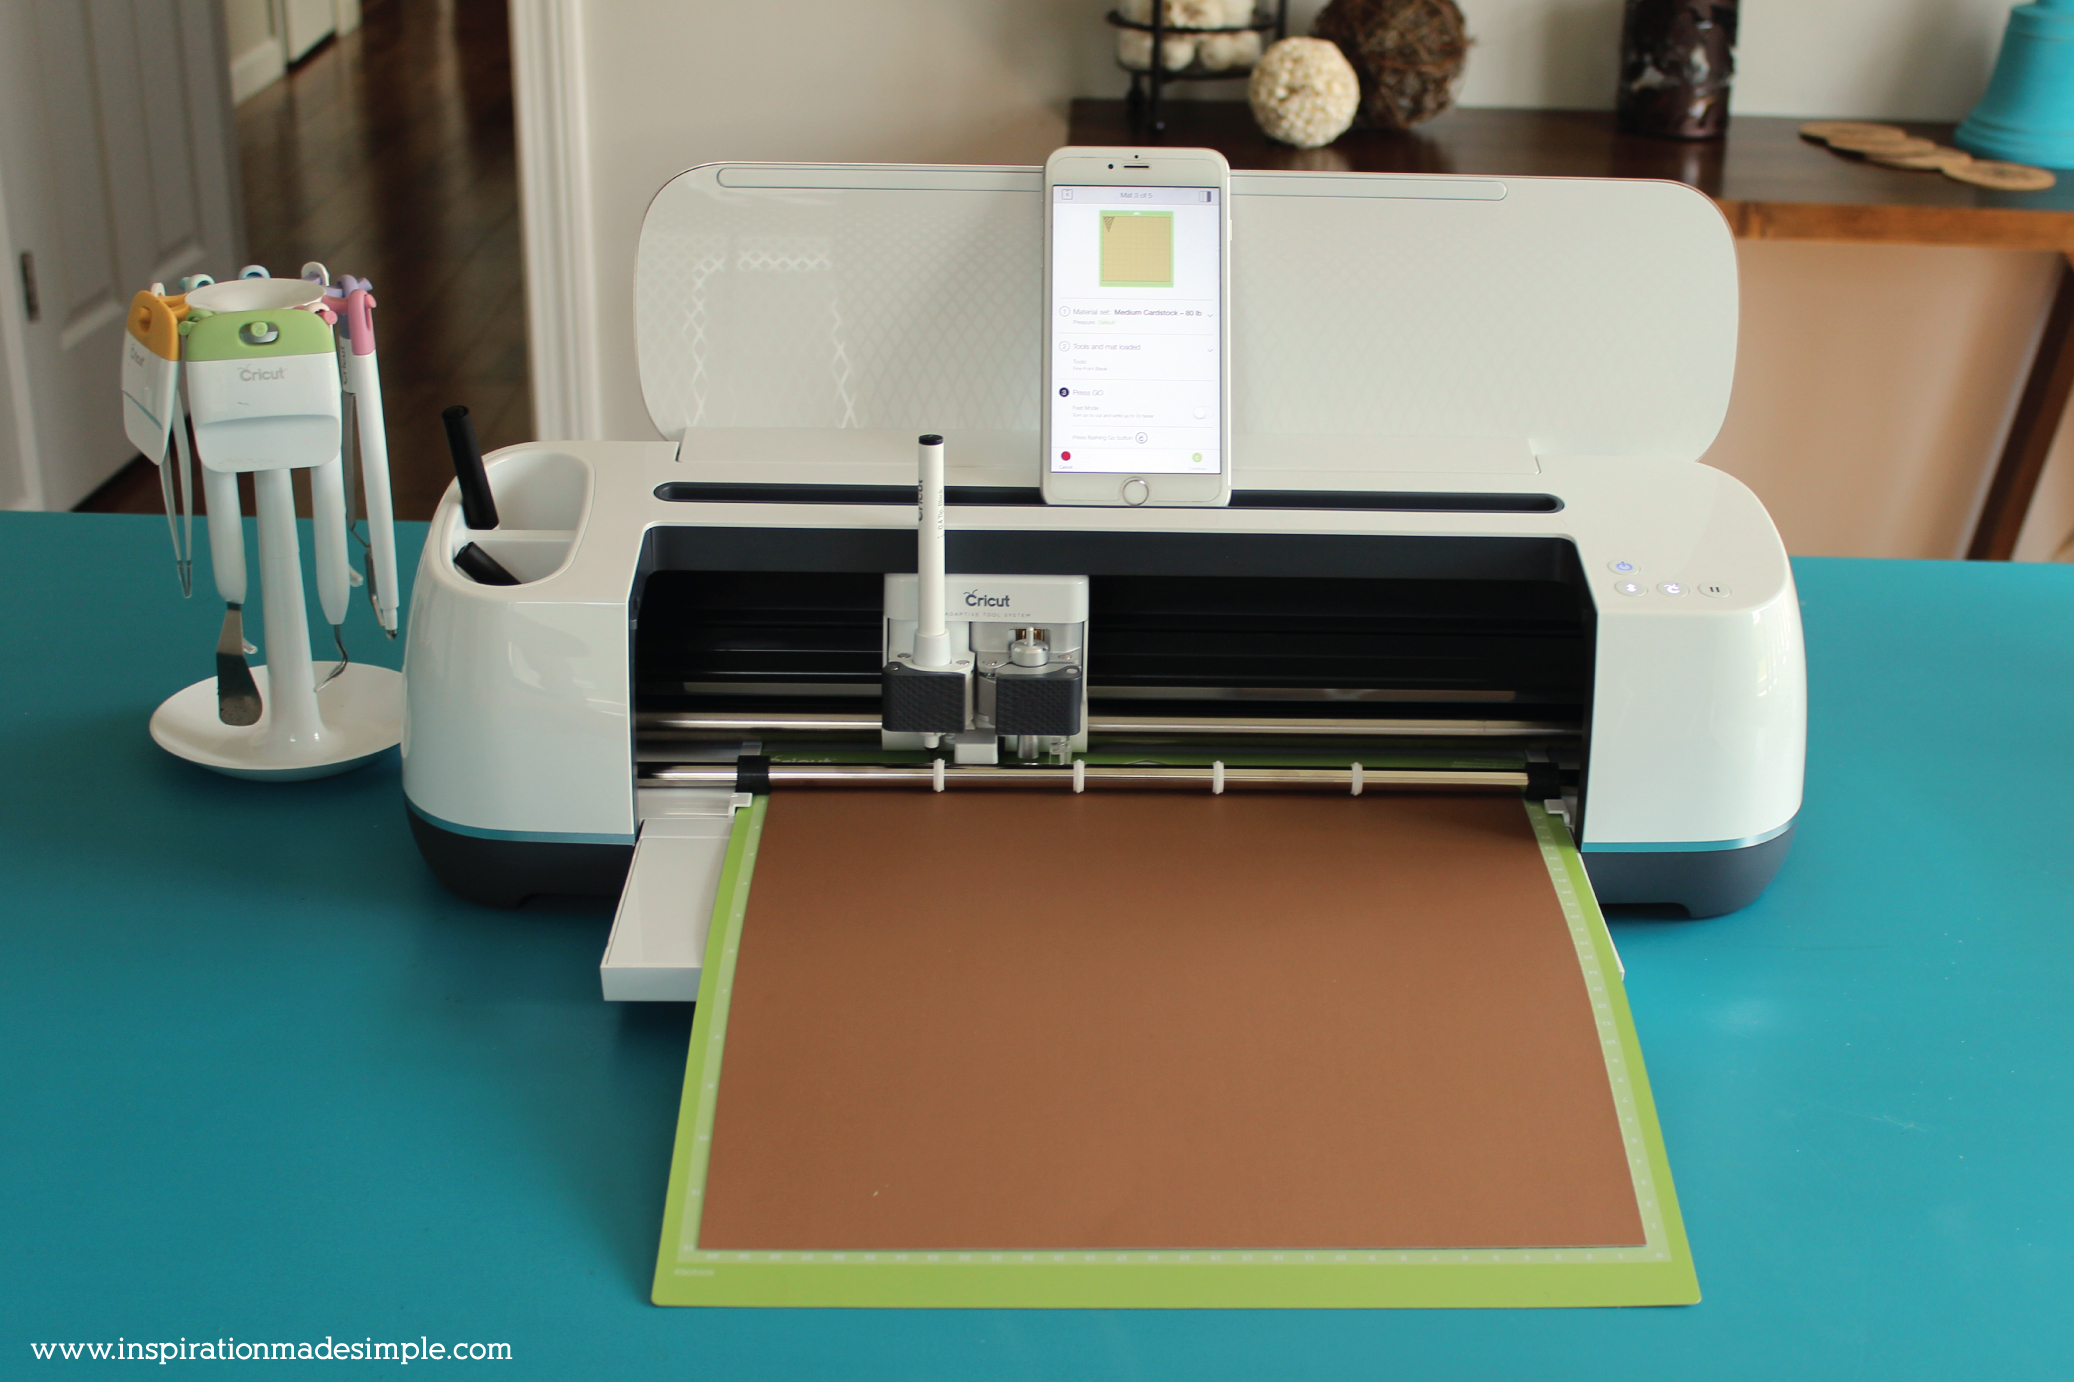
Place the cardstock that coordinates with the cut on the screen onto the mat andi insert into the machine. Follow the machine prompts to change the cardstock, and insert the stylus and pen into the left side of the adaptive tool system.

Now that all of the card elements have been cut, it is time to assemble.
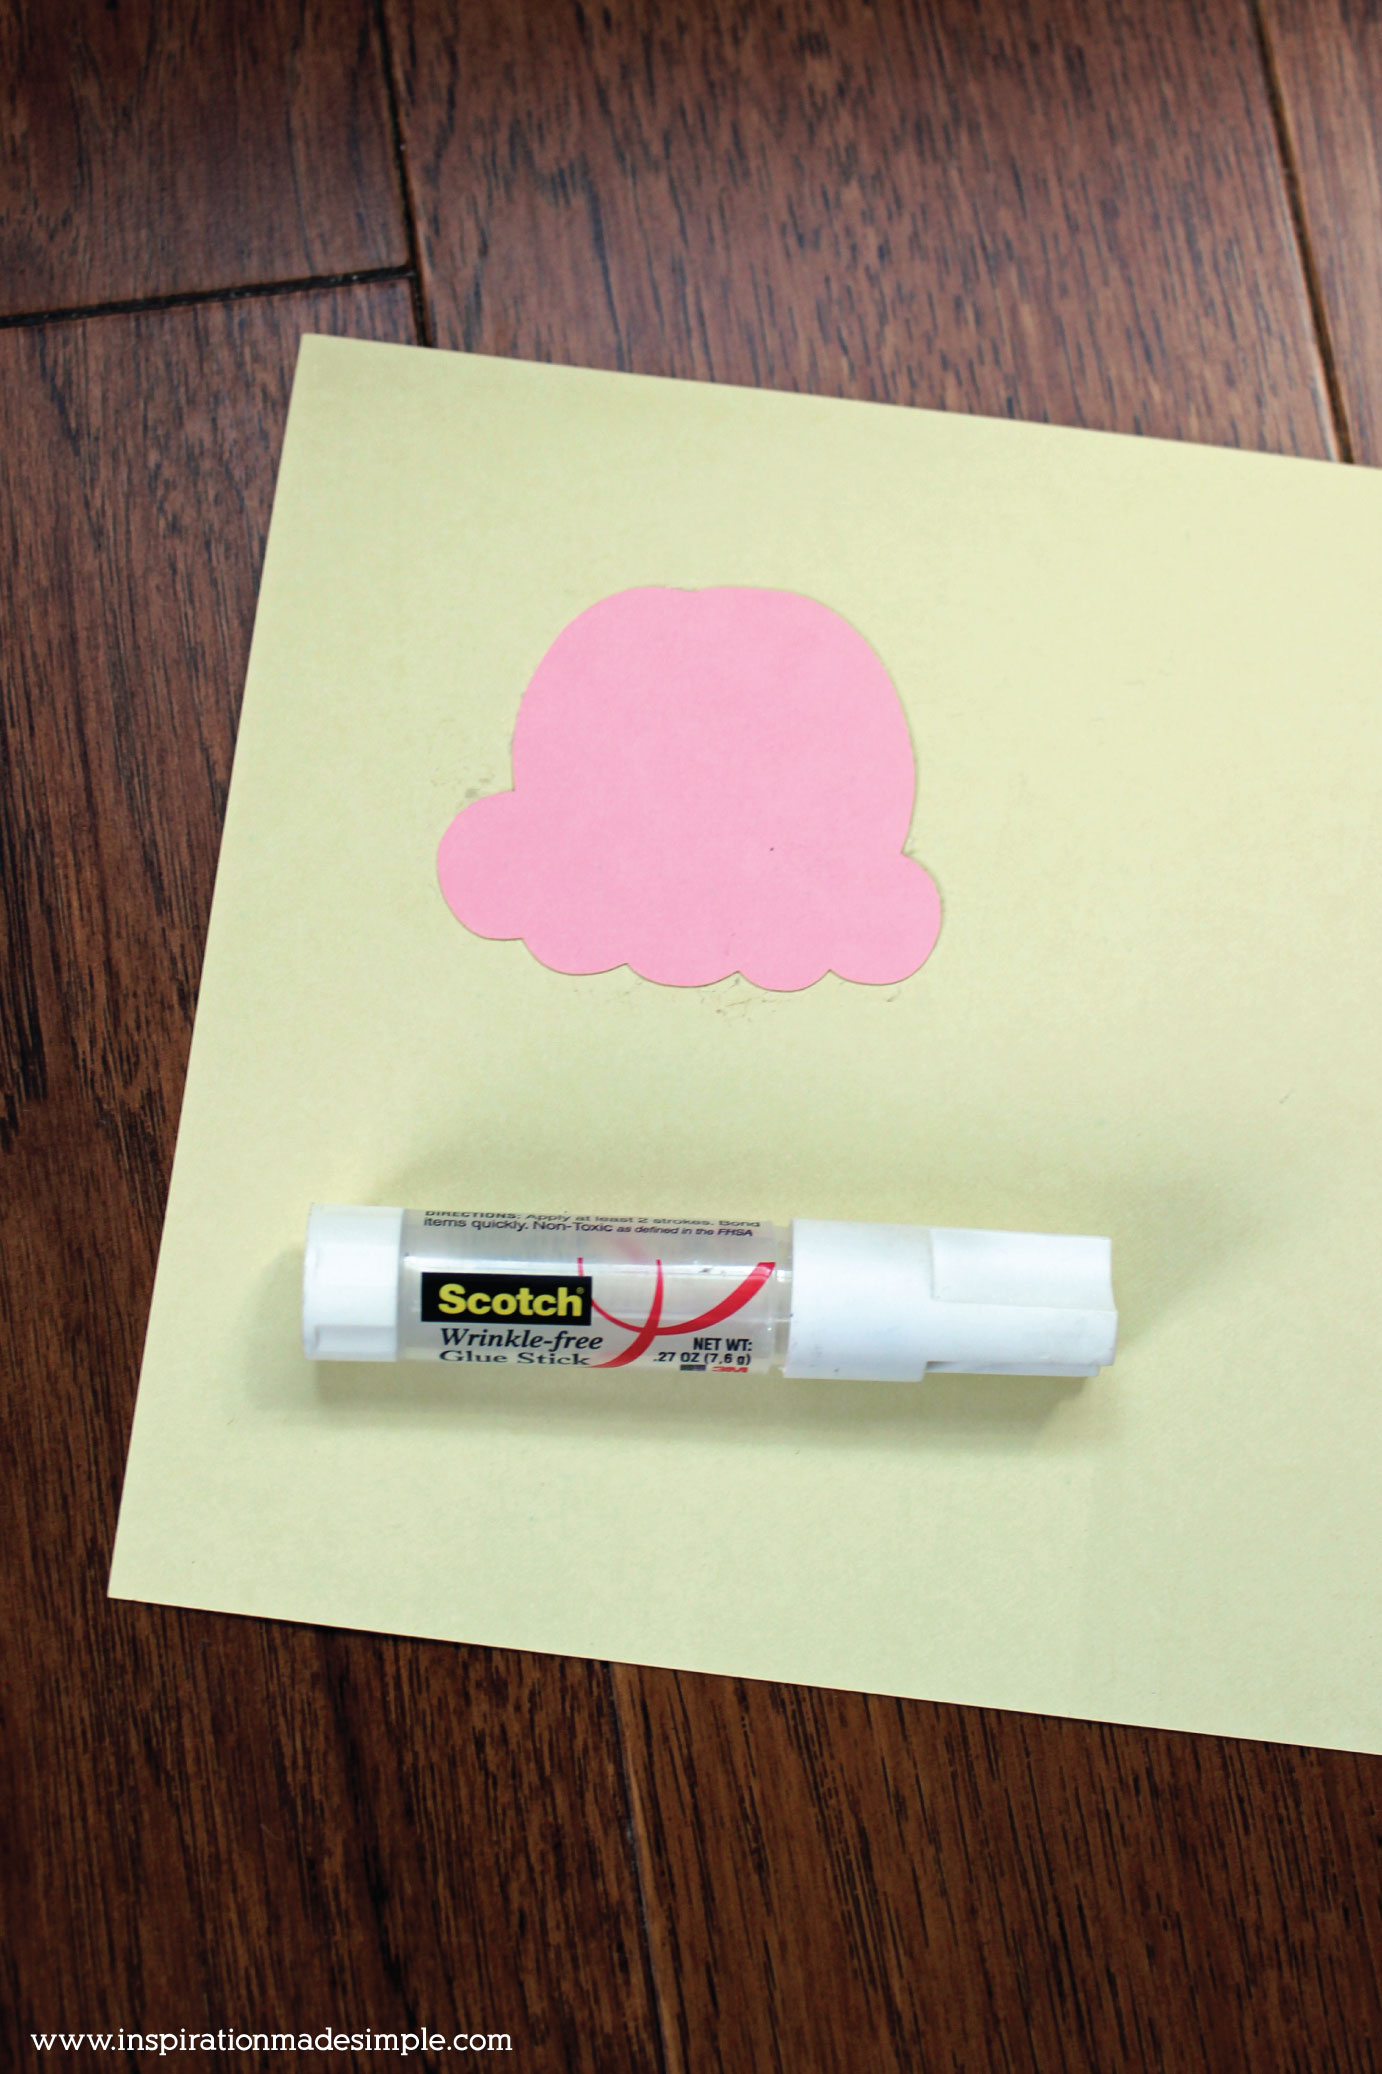
Use foam dots or a glue stick to attach the ice cream scoop to the inside of the cream card.
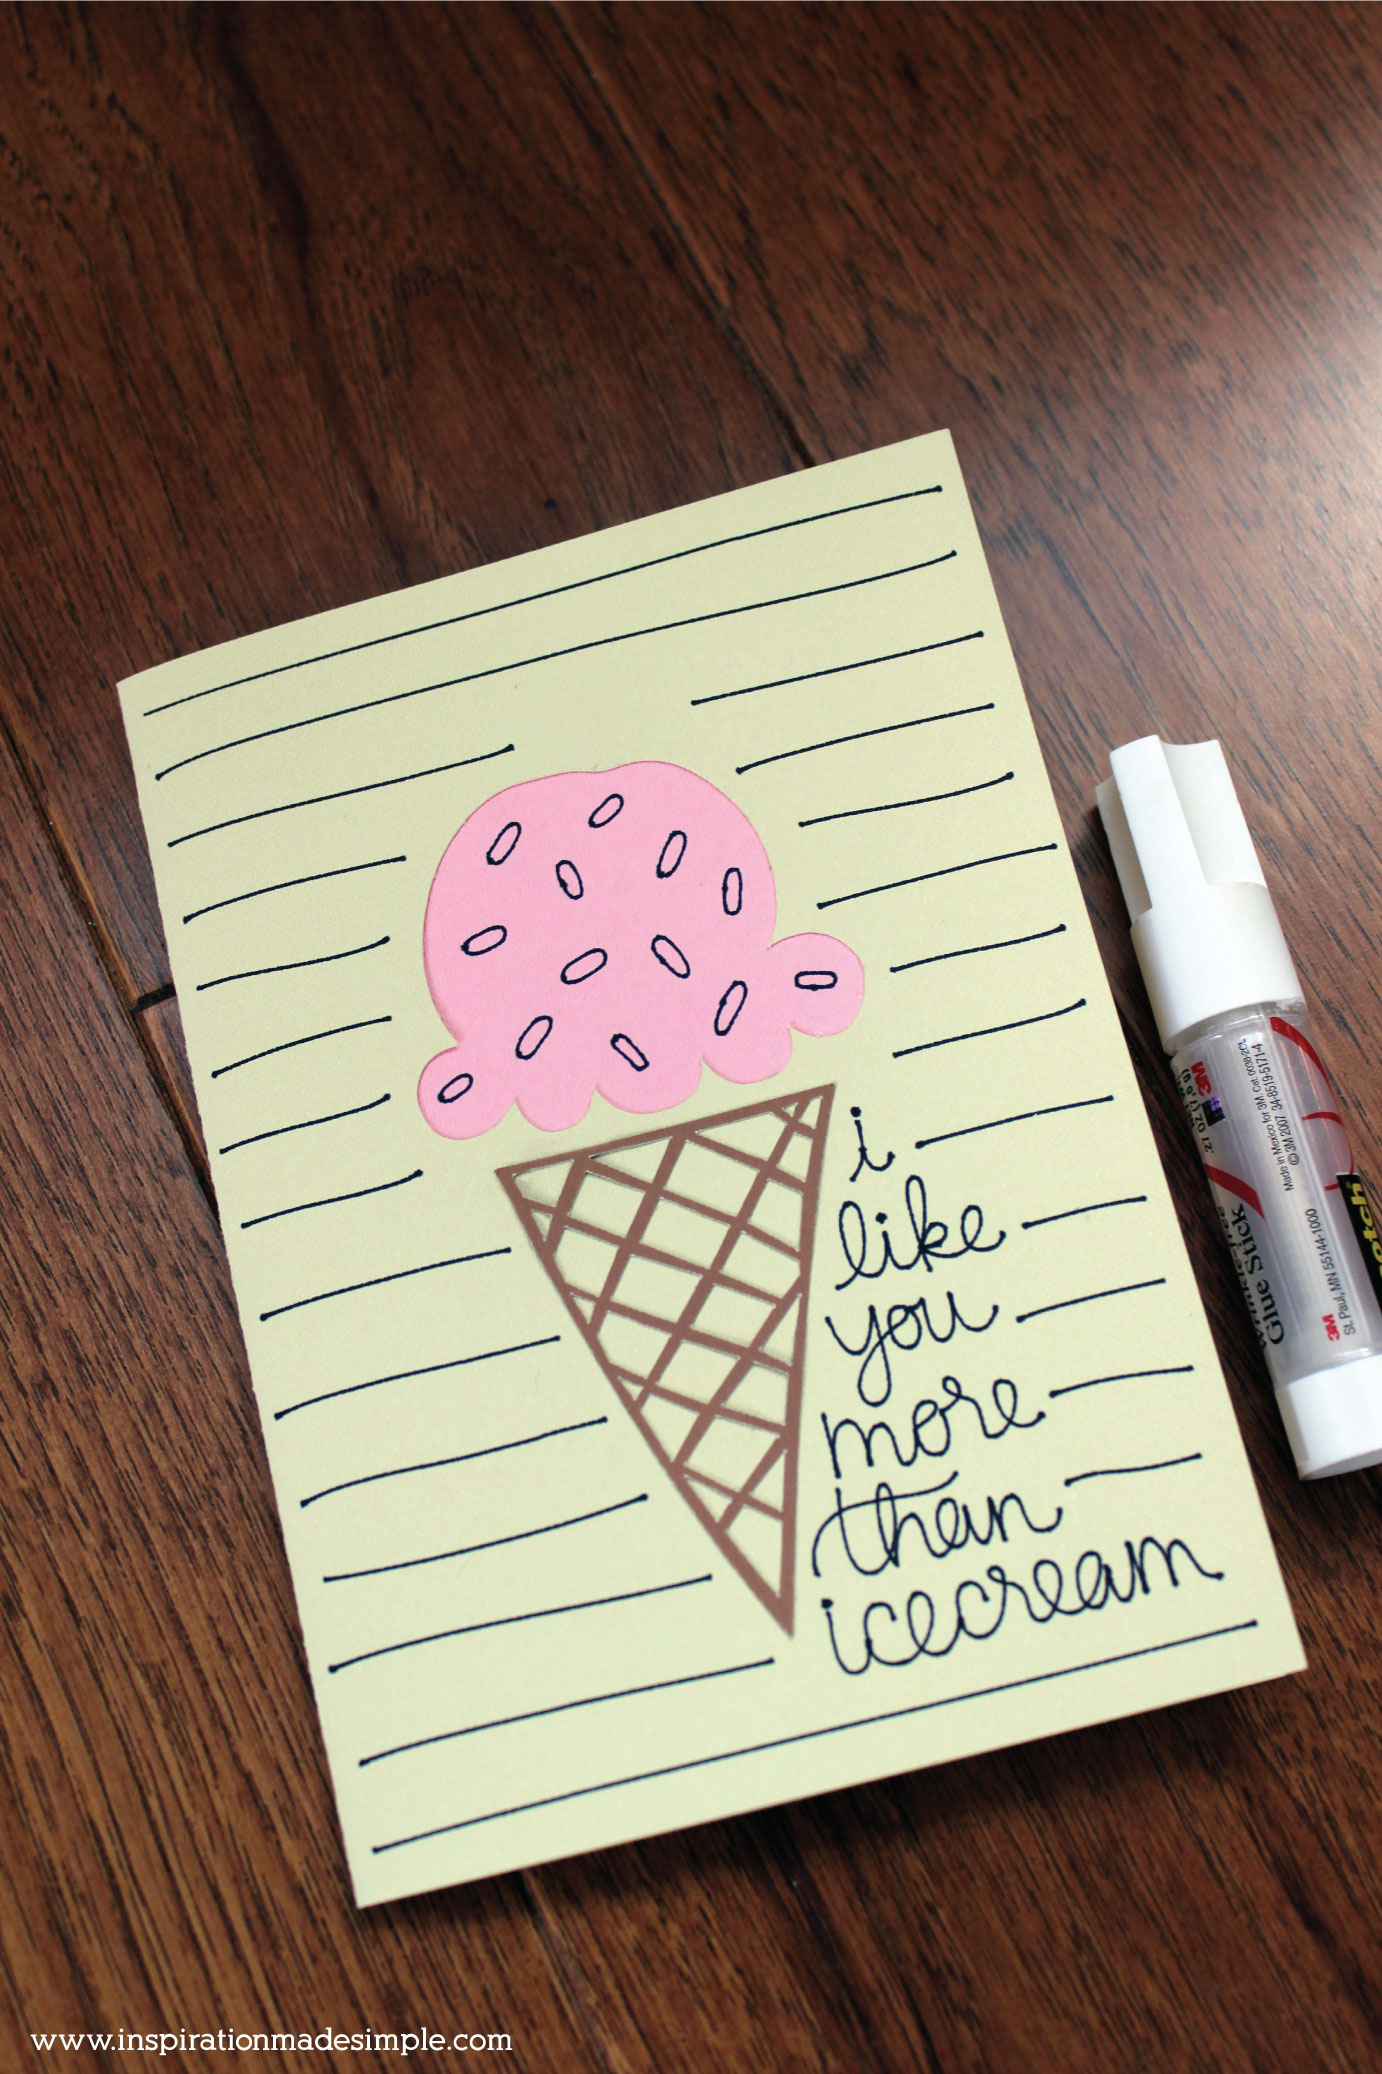
Attach the cone with spray adhesive or a glue stick to the front of the cream card, next to the words.
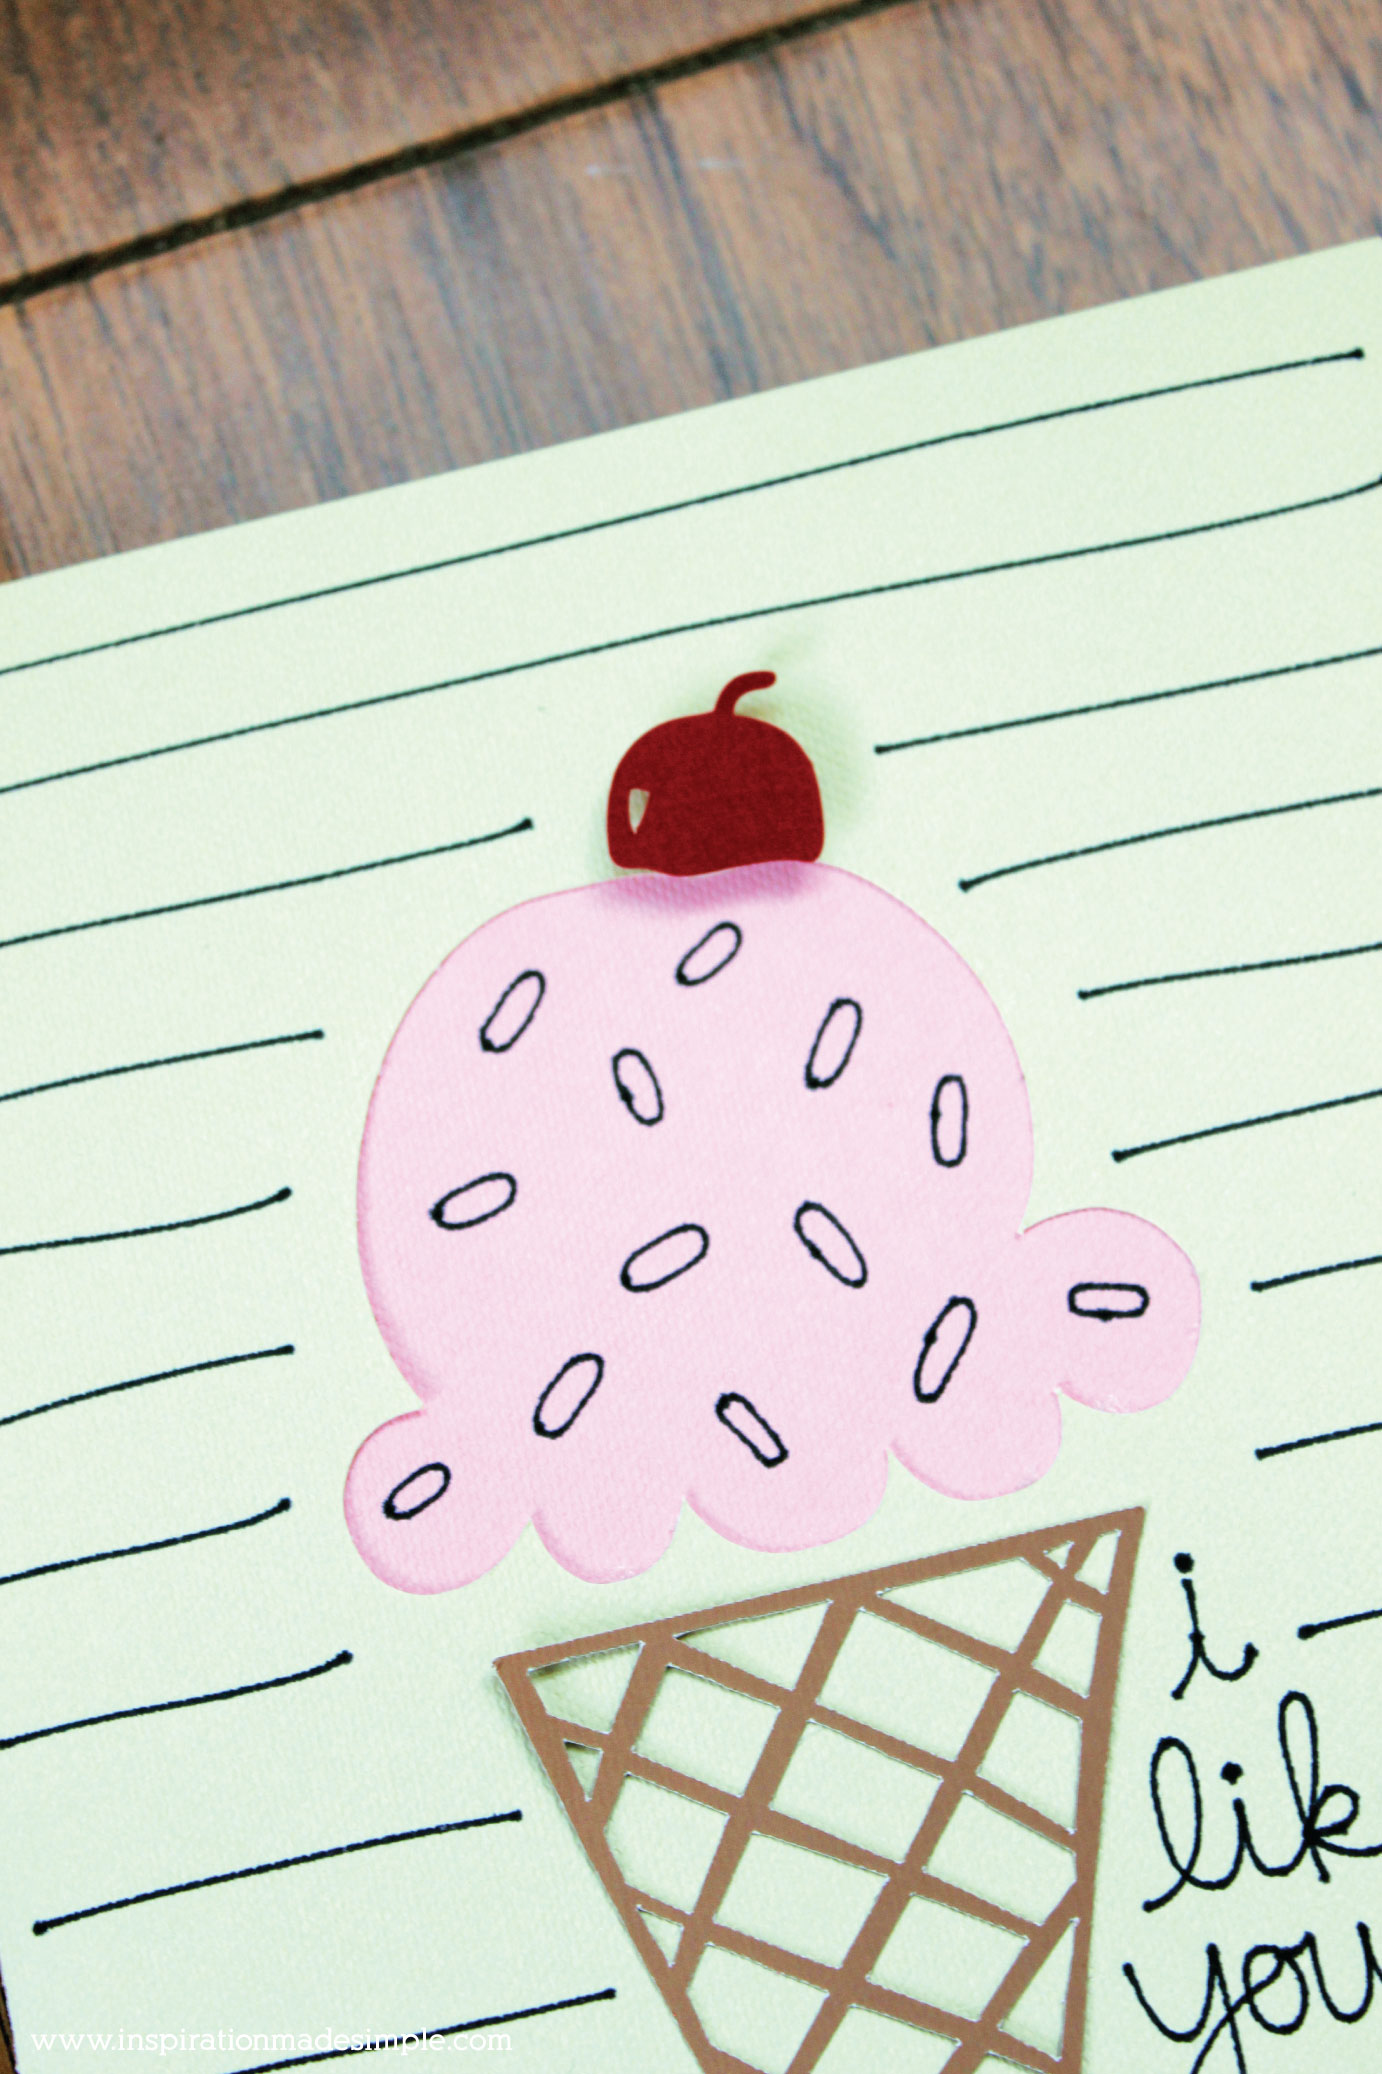
Attach the cherry using a foam dot.
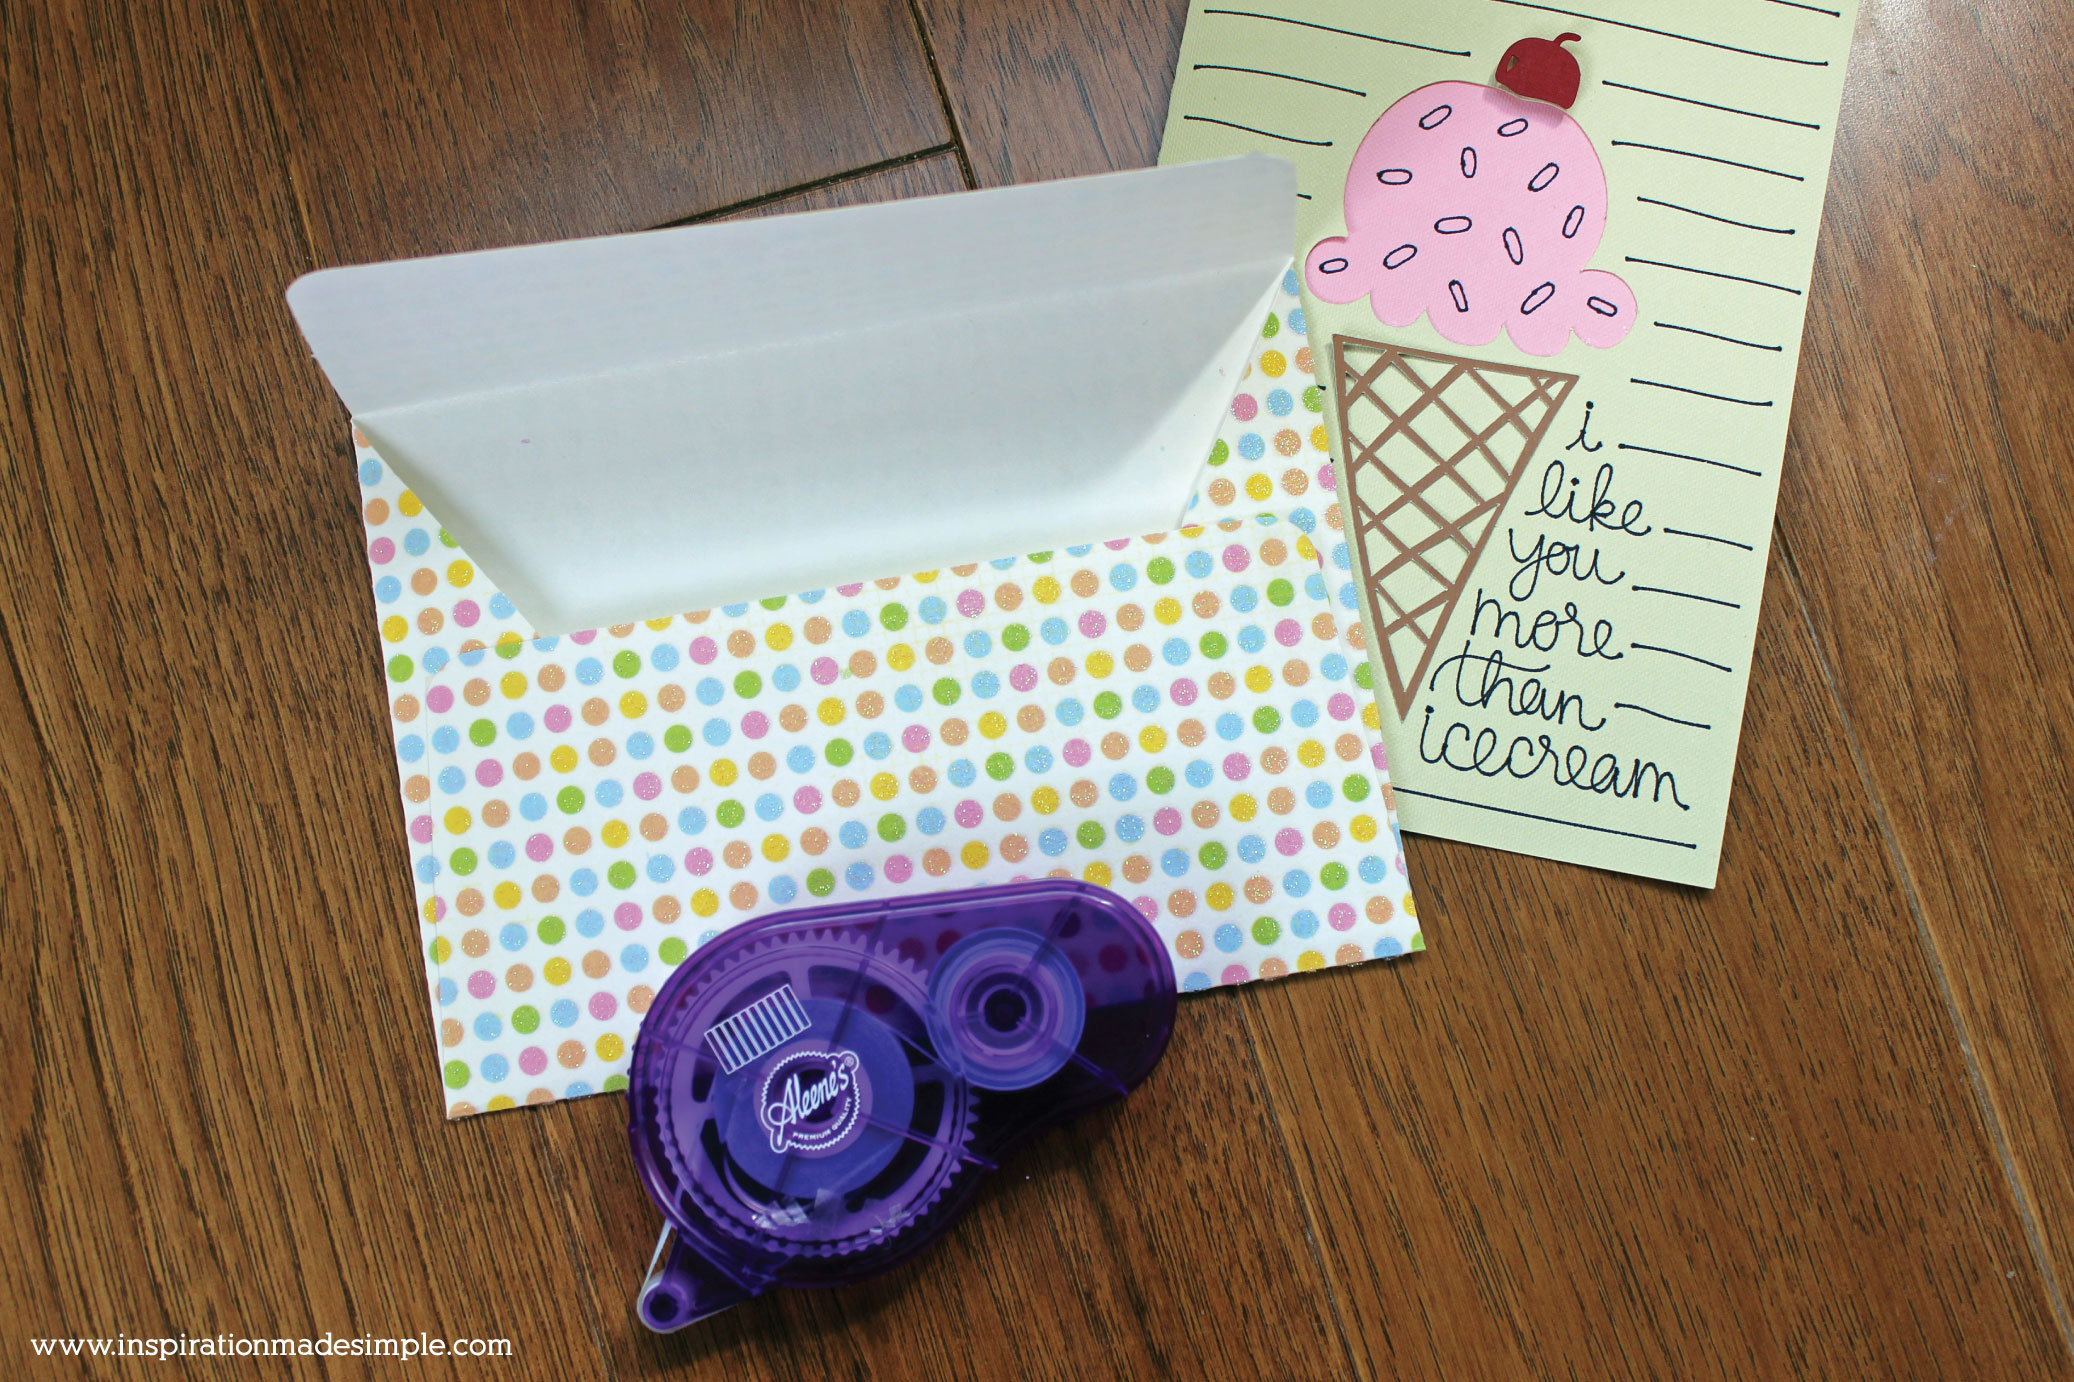
Fold the card and the envelope along the score lines. Use a glue stick or double stick tape to secure the envelope.
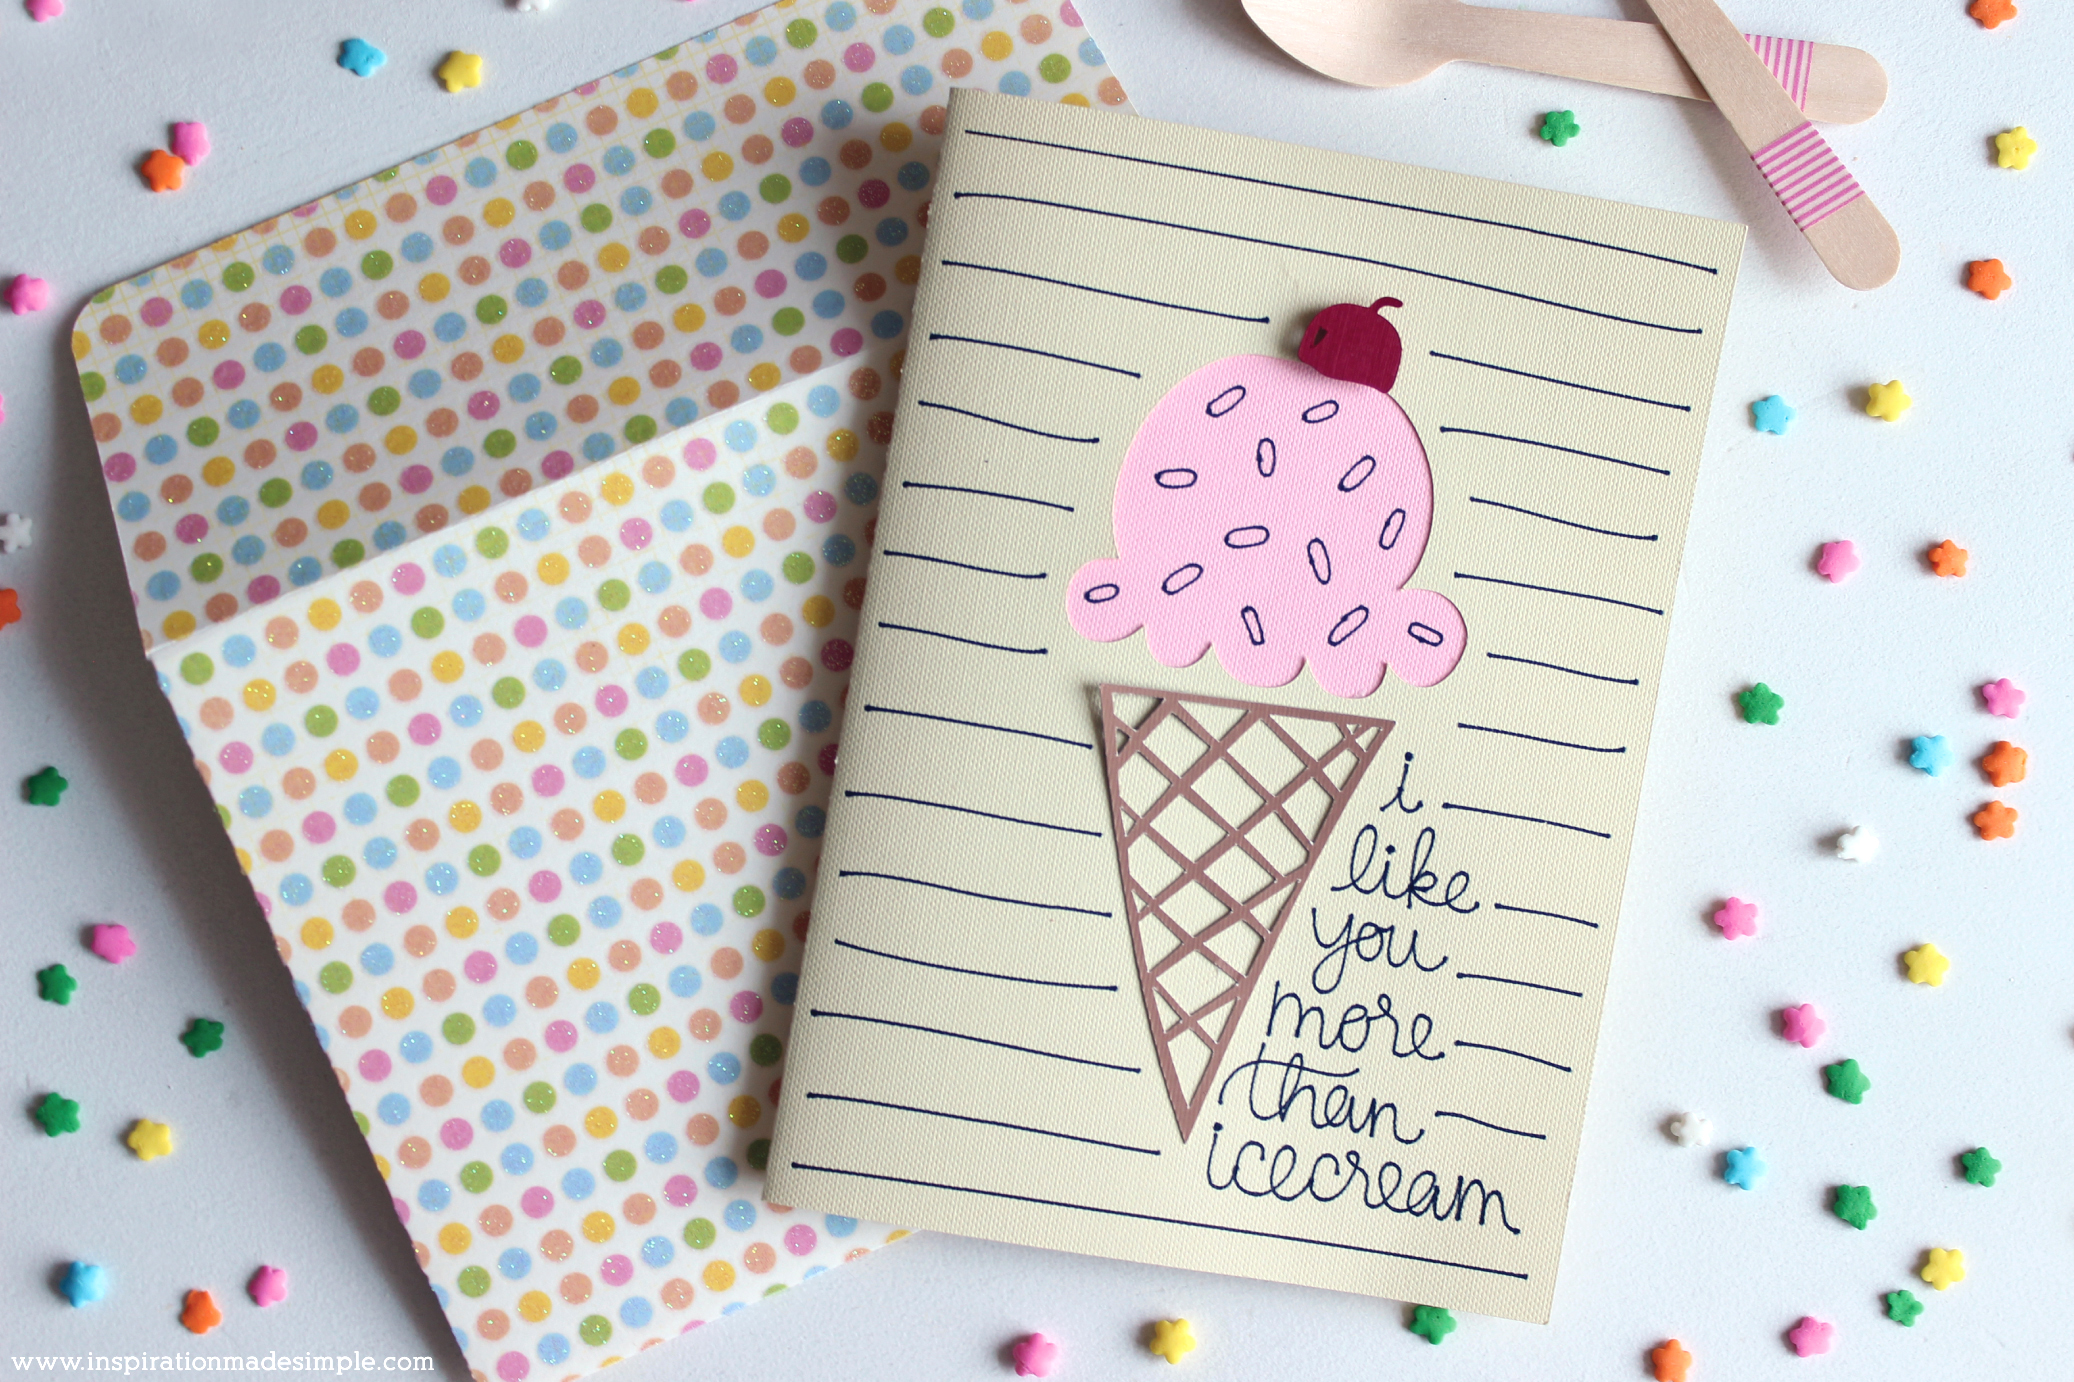
That’s all there is to it! Now you have the first of many Cricut Maker made cards to add to your stockpile for when you need them!
Want to check out the other 49 FREE projects included with your Cricut Maker?! Click the pictures below to see how some of my blog buddies created these projects with their Maker!
Want to make these projects but don’t have a Maker yet? Enter through the widget below to not only win the new Cricut Maker but also the HSN bundle being released tonight at midnight!
Giveaway open to residents in the US and Canada ages 18 years and older. Giveaway runs from 10/2/17-10/9/17 and winner will be notified by email no later than 10/10/17. Winner will have 48 hours to respond or a new winner will be chosen.


This is such a cute card! I’m a huge ice cream fan so I think this would be so fun to give to my hubby or girlfriends who know my love for them is more than my favorite treat!
Great card. Love it! Why does it cost $0.99 when you say it is a free card? I just bought a Cricut maker and wanted to try a fun free project.
It was a free card when I posted this tutorial two years ago. It is possible that has now changed. The packet in your machine should give you several free projects (mine did). Have fun, it is a great tool!