
Every year the kids and I make clay ornaments to add to our Christmas Tree and this year was no exception. I love seeing what each child chooses to create, and each year their creations get more and more detailed. It’s a great tradition that we all enjoy and makes for an eclectic tree!
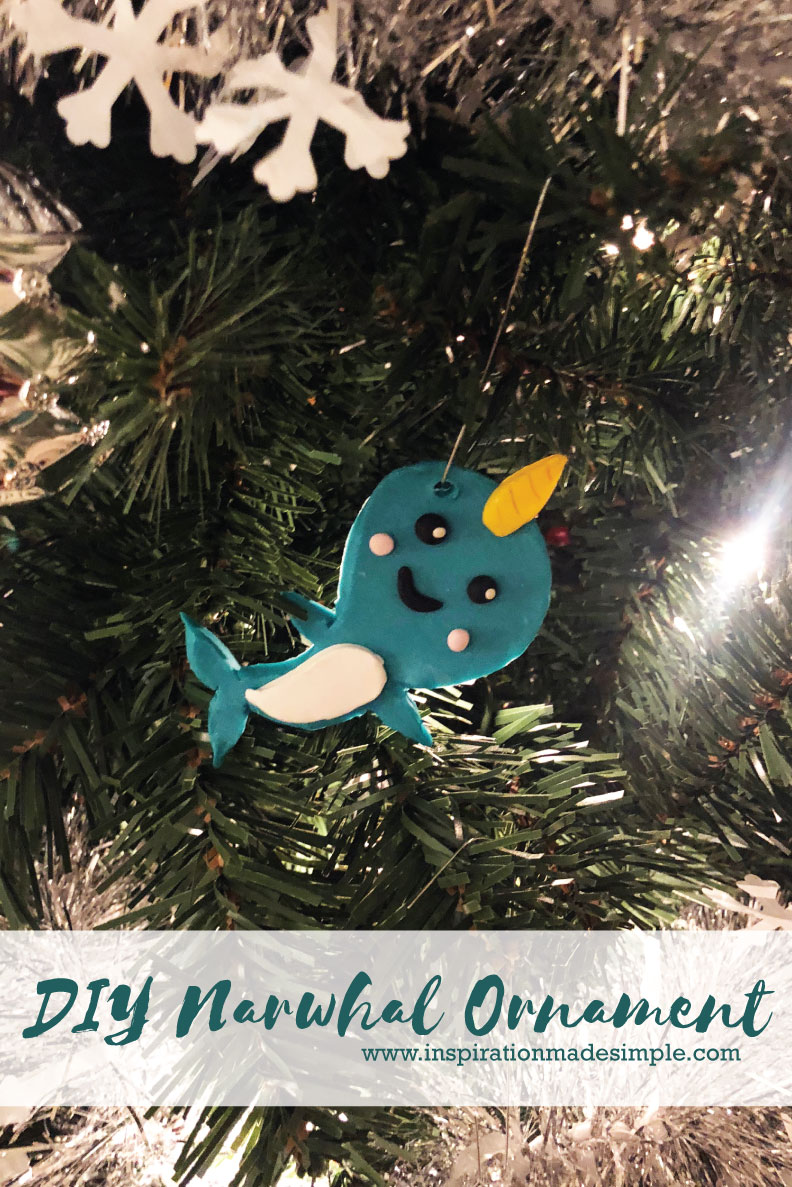
This year I ended up going with a Narwhal ornament, because a) who doesn’t love magical narwhals – I mean, they are the unicorn of the sea, and b) I love silly ornaments!
My daughter named him Billy and he looks great on the tree! And the best part? He is super simple to make!
Supplies:
Clay – teal, white, black, yellow and light pink
Knife
Toothpick
Roller – not one that is used for food
Baking Pan lined with aluminum foil
Oven
First, condition the clay by warming it up in your hands – roll it, turn it into a snake, fold it and do it again.
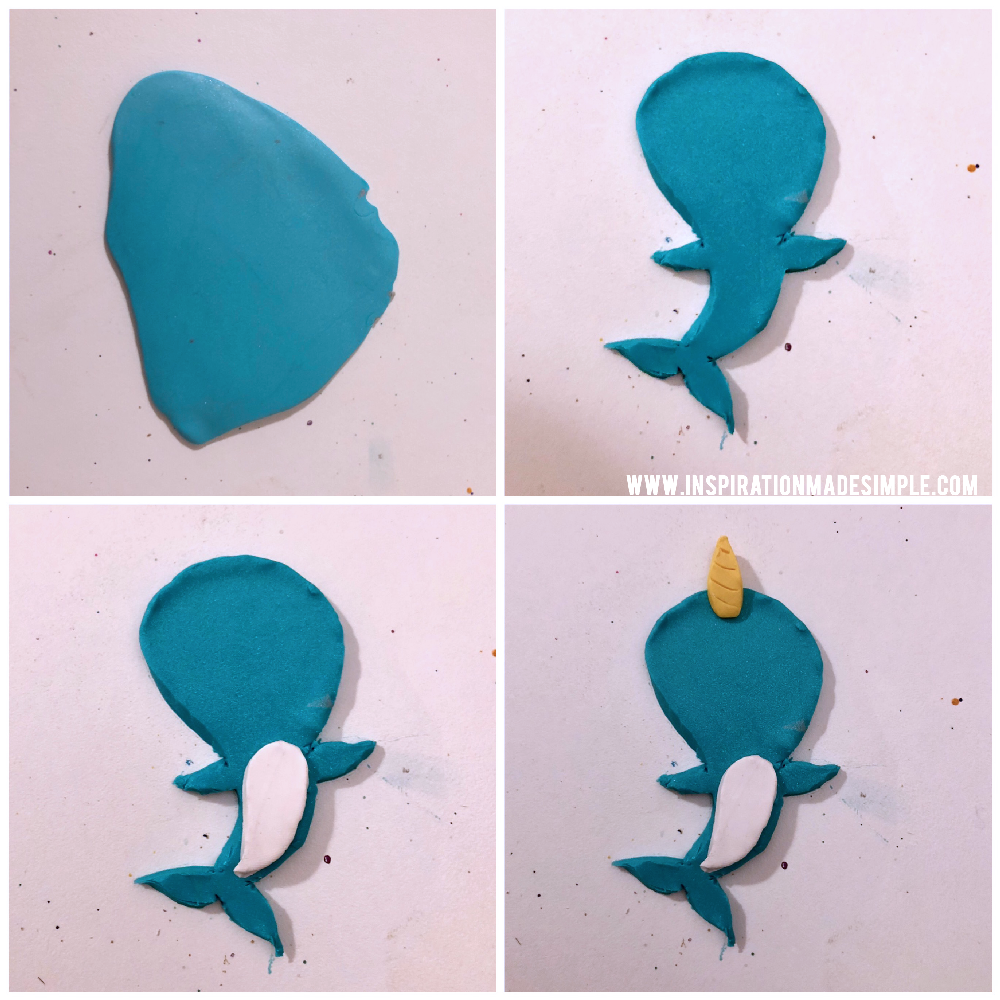
Once the clay is pliable, using the teal, roll it flat, about 1/4″ thick.
Use a toothpick or other sharp object to draw the outline of the narwhal. Use a knife to cut out the shape. Remove excess clay.
Repeat for the white belly portion and horn. Attach to the body by gently massaging into place.
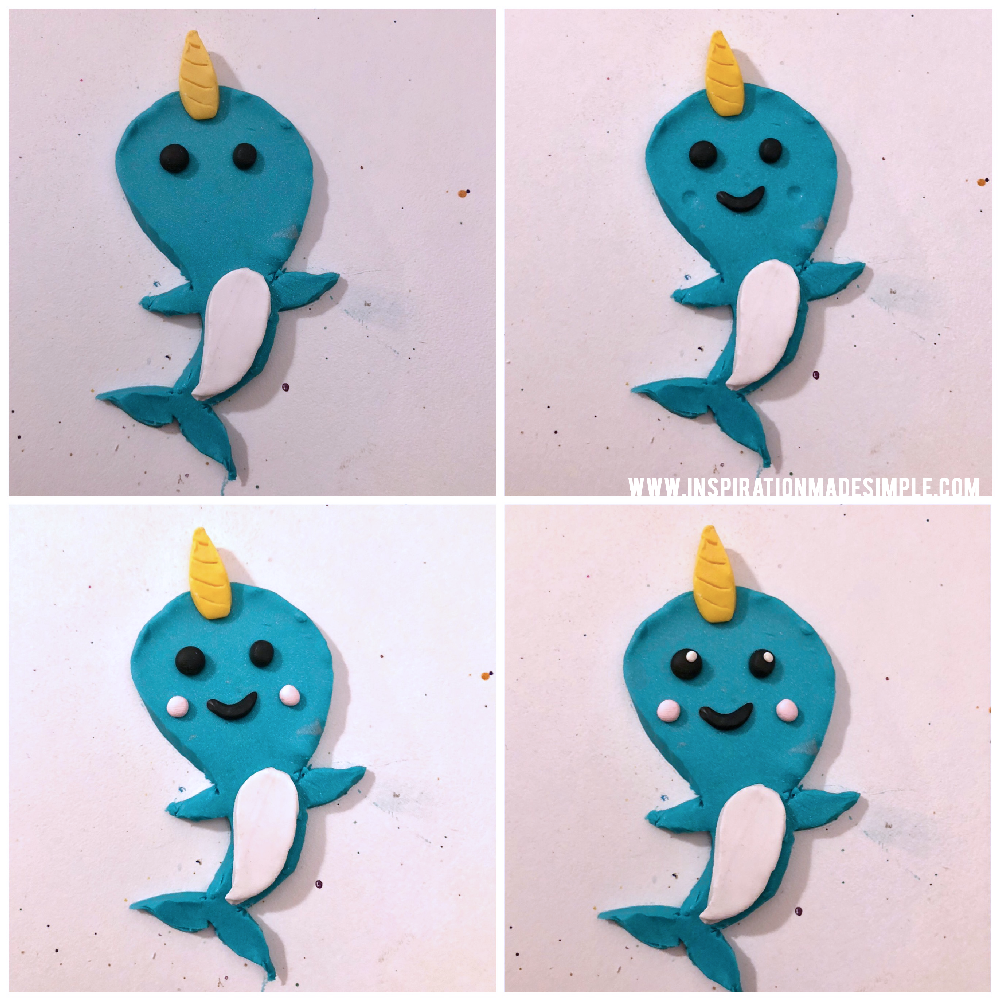
Roll two small black balls for eyes.
Roll a small snake to create the mouth.
Roll two small pink balls to add blush to the cheeks.
Roll two tiny white dots to add highlights to the eyes.
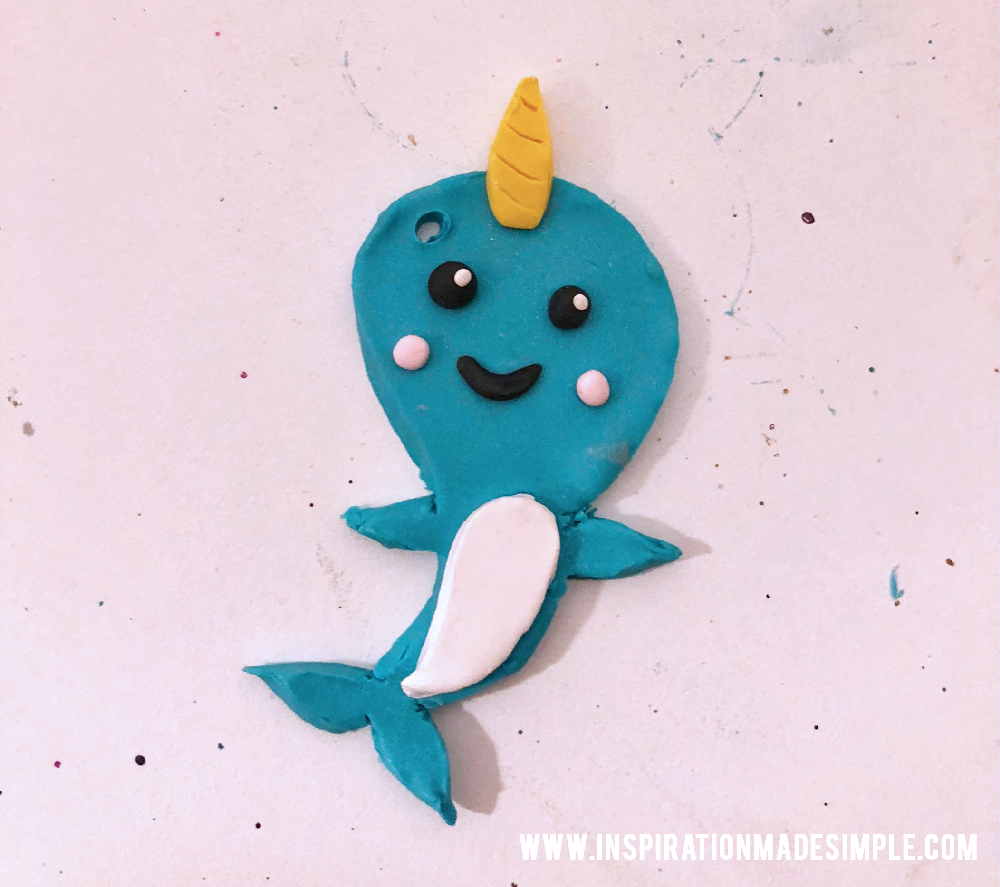
Using a toothpick, create a hole at the top to add an ornament hook.
Place in the oven following the directions on the clay (mine baked for 15 minutes on 275 degrees Fahrenheit).
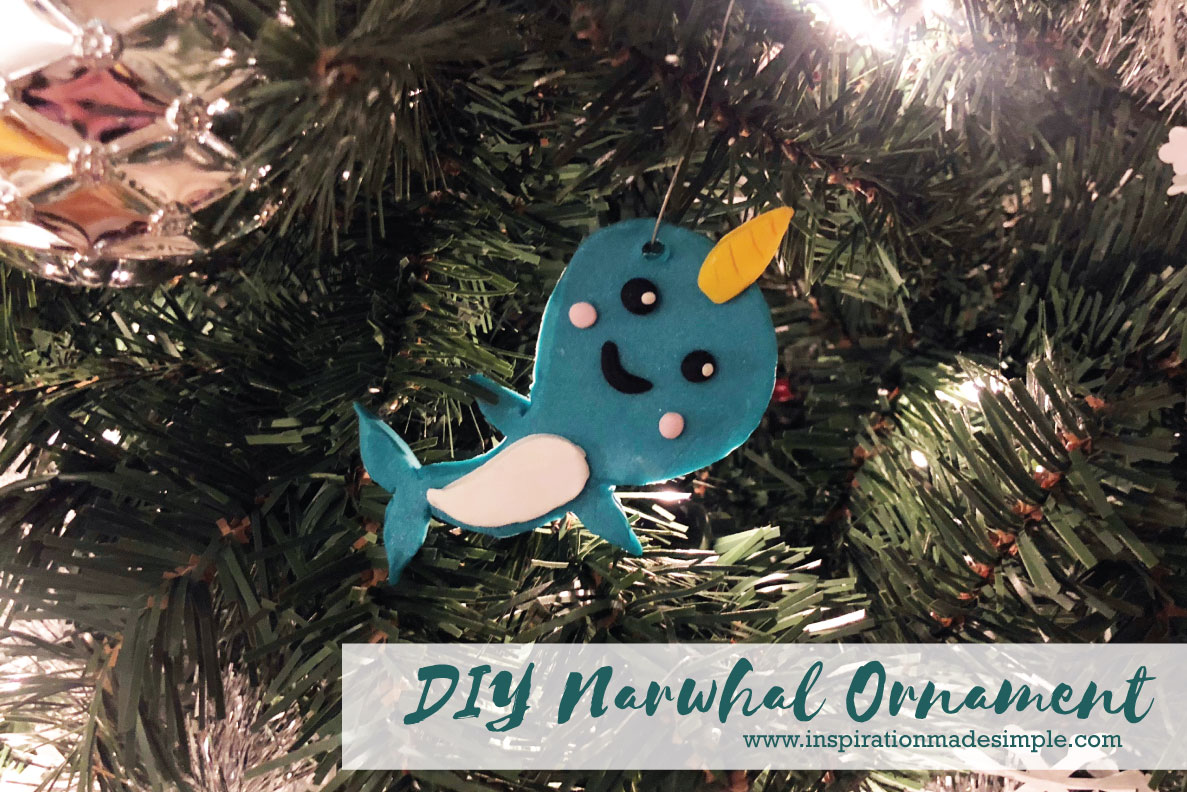
That’s all there is too this adorably festive DIY Narwhal Ornament!


