
This post brought to you by Cut It Out. All opinions are 100% my own.
When we moved into our new home I decided on Benjamin Moore Revere Pewter as the paint for my walls. It is a warm gray that is a very neutral base. This was the color I used throughout my home, with the intention of bringing in LOTS of color through accessories. The main living area of the home has our Kitchen, Breakfast Nook and Family room all in one area. To finish out the first floor we have a mud room, laundry room, dining room, kids TV room and a guest bath. The Family room has one long wall without any windows, which is where my couch was placed. I knew I needed something to breakout the blank expanse of wall and I needed to draw more color into that area of the room. I immediately thought about Cut It Out frames, which I used in my daughters Mermaid Room Gallery Wall. They come in amazing shapes, an assortment of sizes and are easily painted. In addition to family photos, I knew I wanted to create some prints that could round out the gallery wall, and bring even more color into the room, so I set to work designing some pieces that fit our family. And I absolutely love how my Family Themed Gallery Wall turned out!
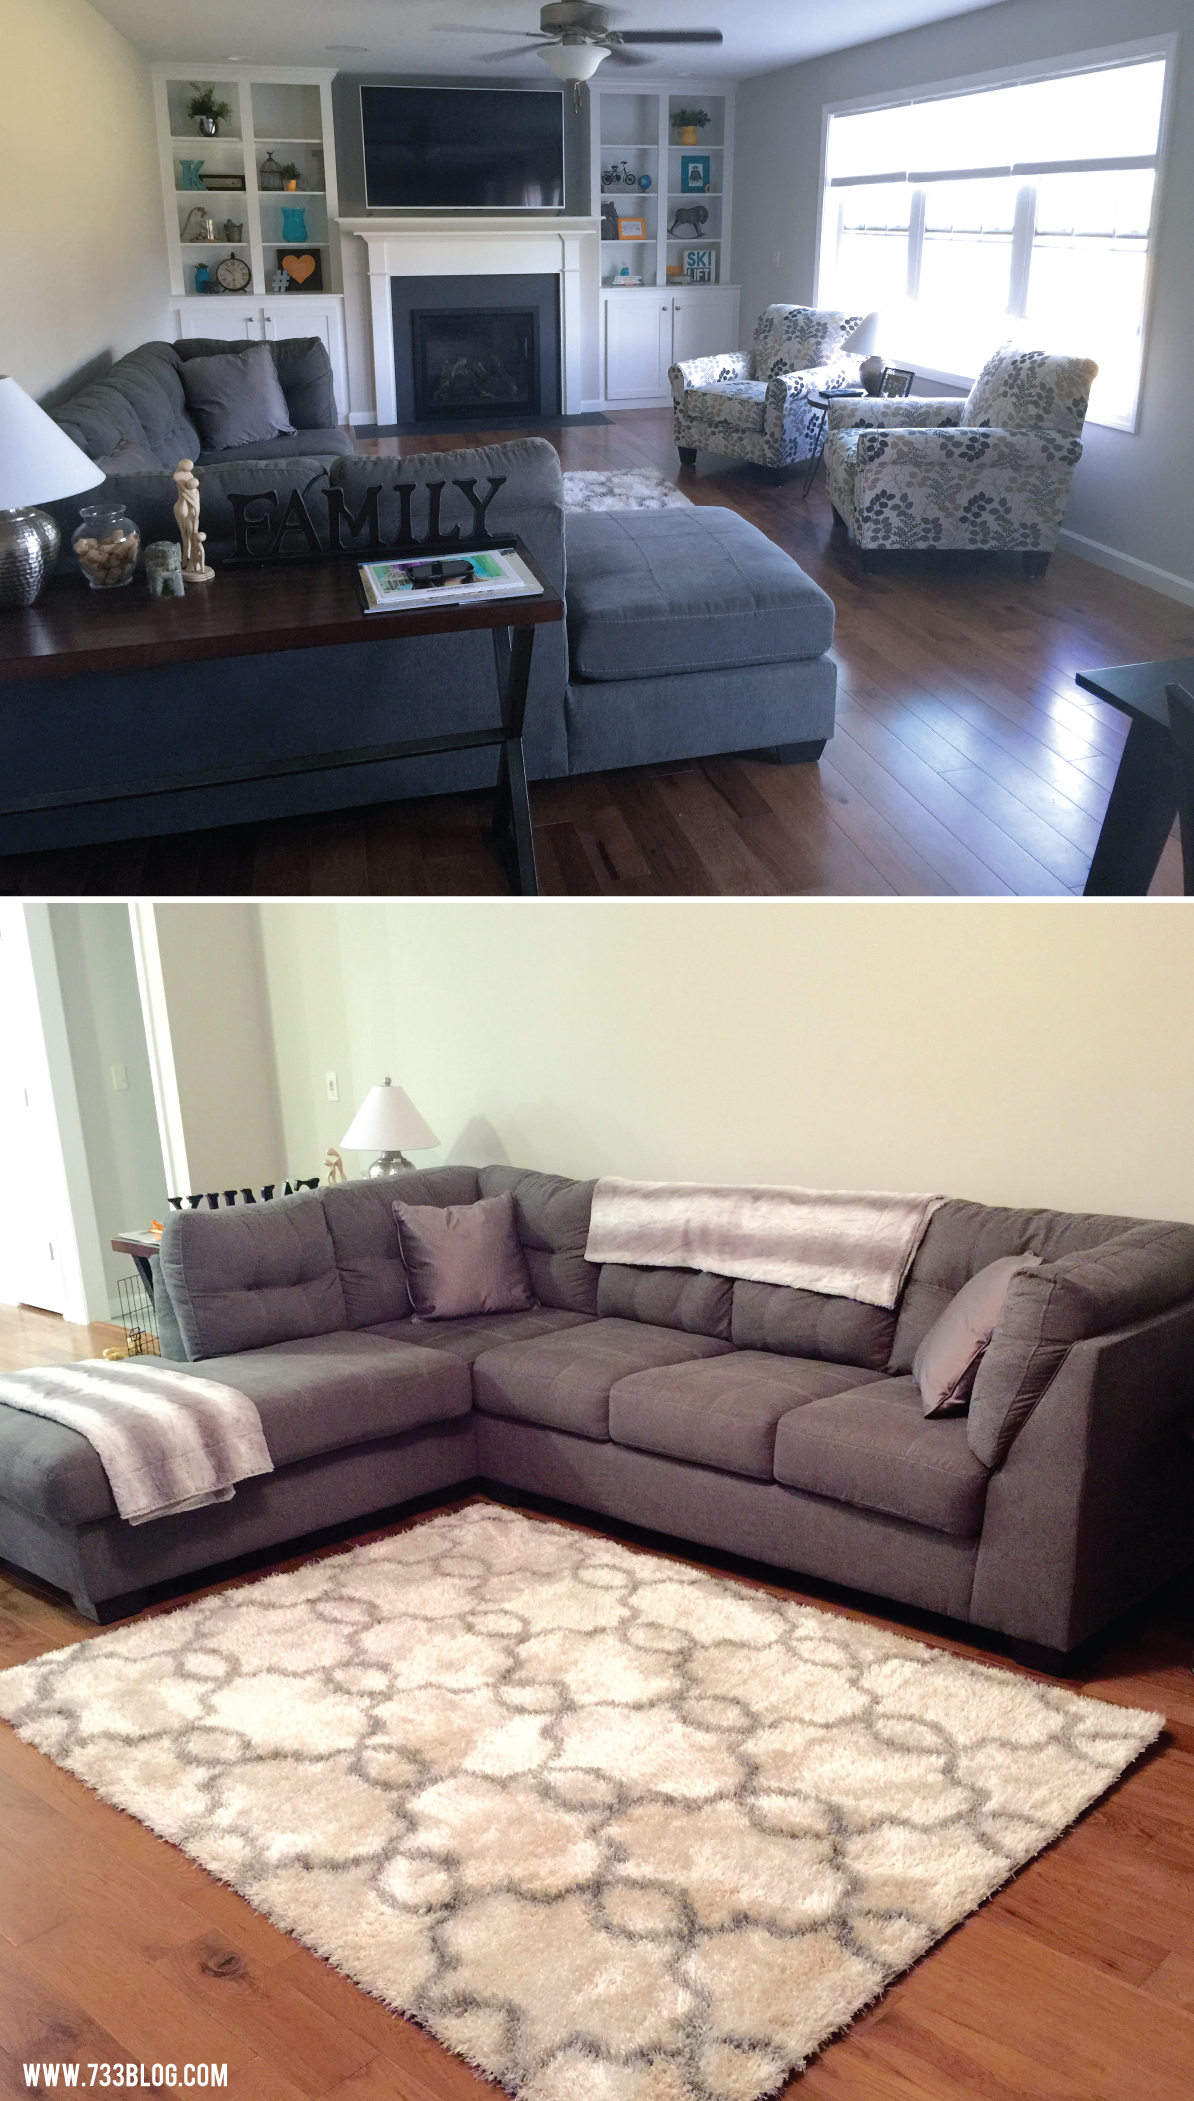
 Here is my living room before (sorry, iPhone photos!):
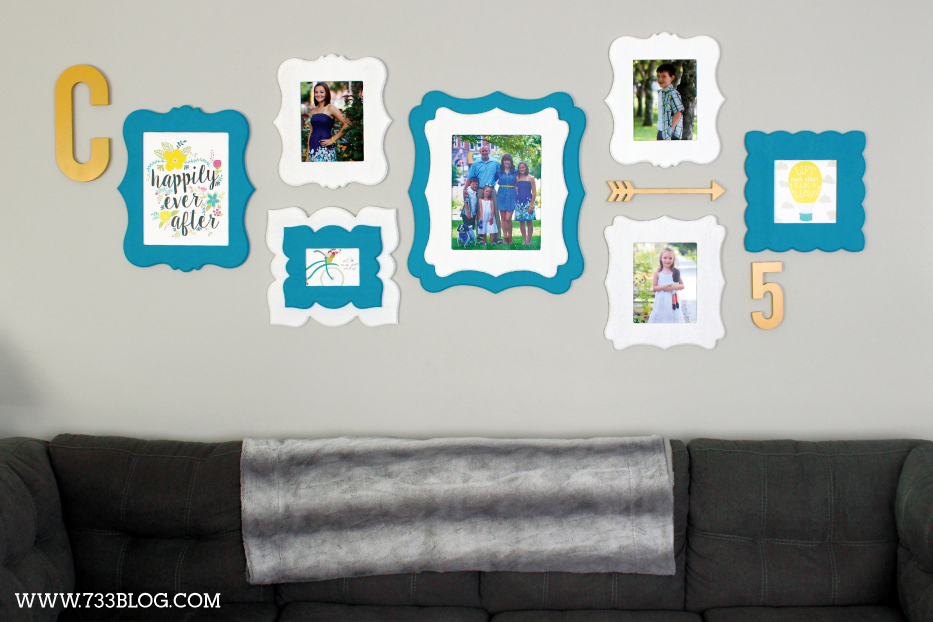
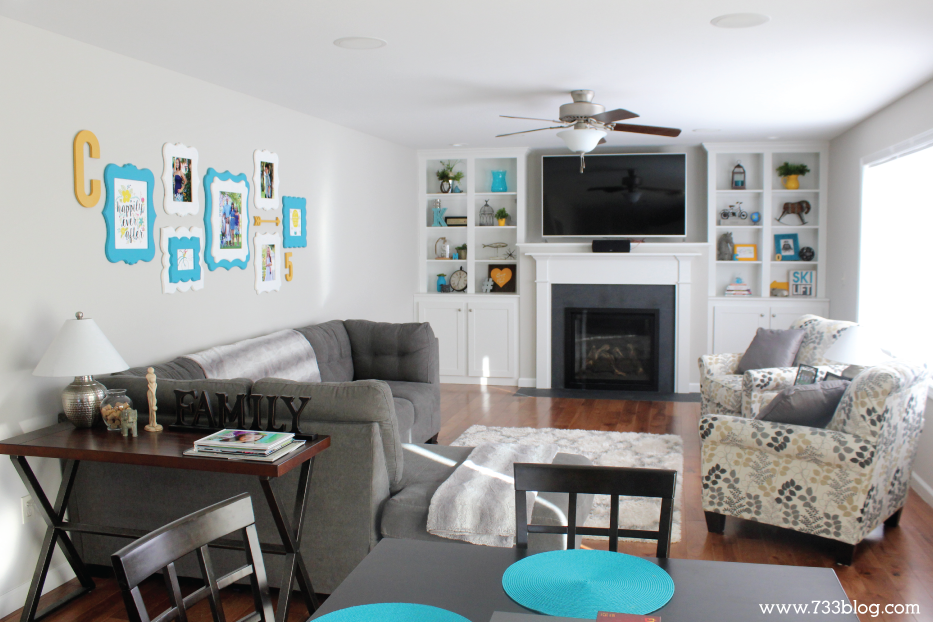
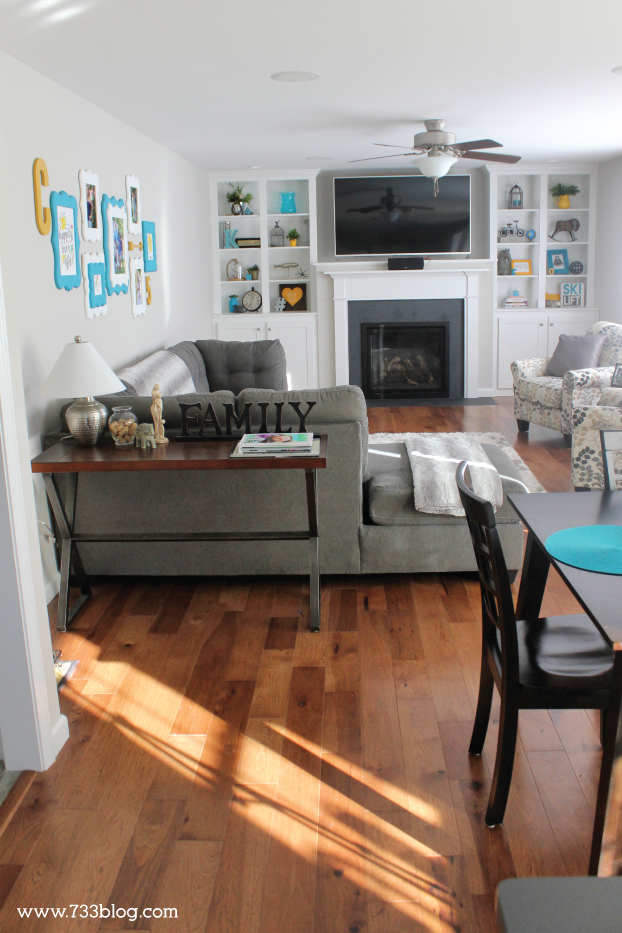
 And here it is with my Family Themed Gallery Wall in place:
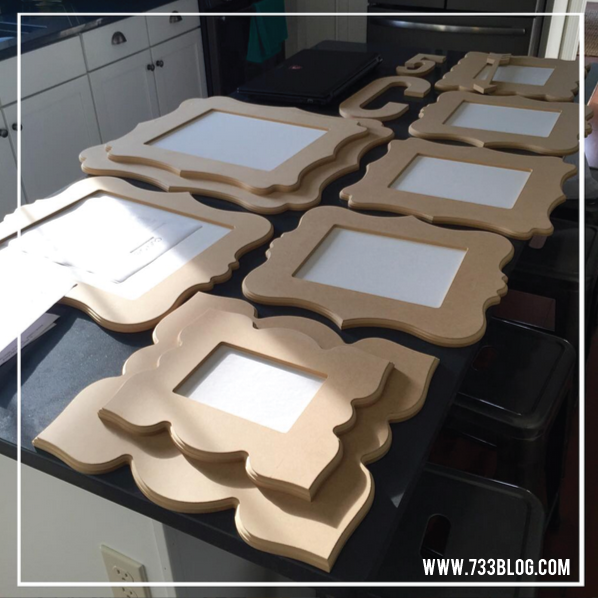
 The frames are made of MDF and come naked. You get to choose how you want to dress them up. I used foam brushes and the same Americana Decor Chalky Finish Paint that I used on my Painted Dining Room Table. For the double frames I painted them and then used wood glue to adhere them together.
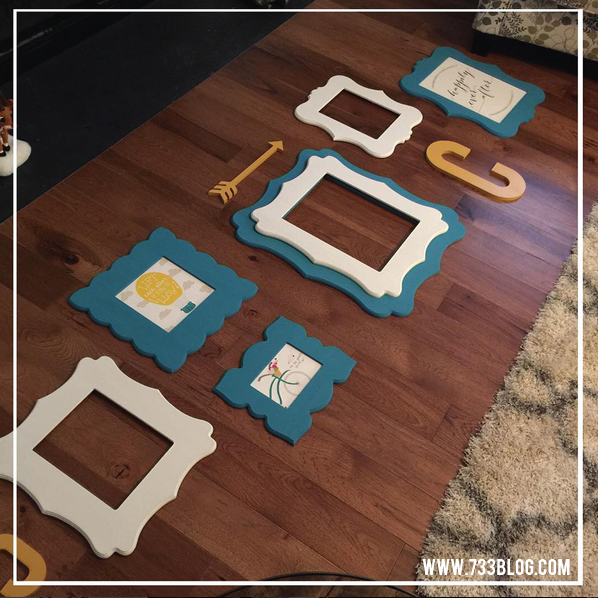
 I totally cheat when it comes to hanging pictures now. Want to know my secret? 3M Velcro Command Strips! Those things are the greatest invention ever. I lay out my frames on the floor to figure placement, then I add the strips to the backs of the frames – Both the strip that attaches to the frame AND the one that attaches to the wall – I simply hook them together before attaching to the frame, leaving the paper strip over the one that attaches to the wall (make sense?). Once I measure out the placement on the wall of the first frame (I usually start in the center) I simply remove the paper strip from the Command Strip and adhere it to the wall. Then I work to one side, measuring and hanging as I go. Takes less than half the time than if I was using nails!
 Want to replicate my Family Gallery Wall? I’ve made the prints available as free downloads below. All of the frames, the “C” and the arrow ran me about $200. The Cut It Out frames I used are:
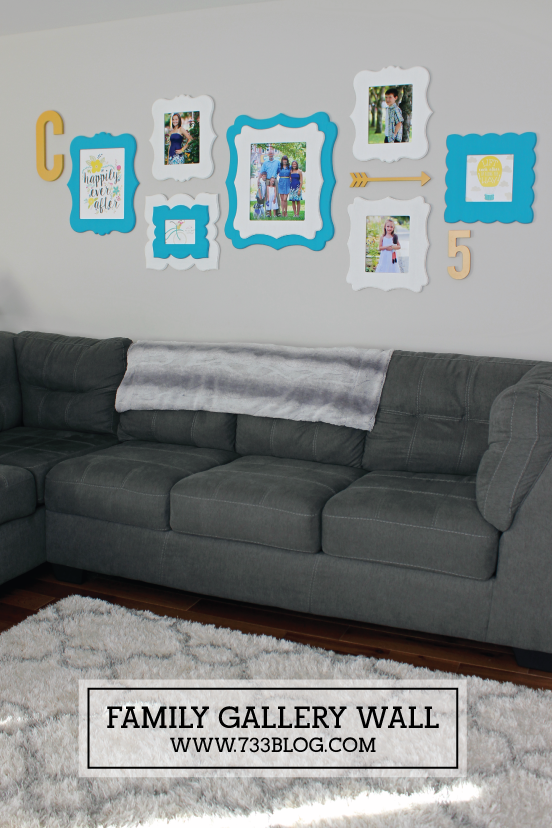
Large Family Picture Frame: 16×20 Newport Double Layer Frame
Kid Picture Frames (2): 8×10 Balboa Single Layer Frame
Kid Picture Frame (1): 8×10 Newport Single Layer Frame
Hot Air Balloon Frame: 8×8 Brooklyn Single Layer Frame
Bicycle Frame: 5×7 Preston Double Layer Frame (I actually received a 5×7 and an 8×10 Preston Single Layer frames, but decided on a double layer instead, so put them together!)
Happily Ever After Frame: 8×10 Balboa Single Layer Frame (Mine is actually an 11×14 though I made the Happily Ever After print as an 8×10 download for easy of printing)
The “C” is Bebas Font and was a custom piece, as was the arrow.
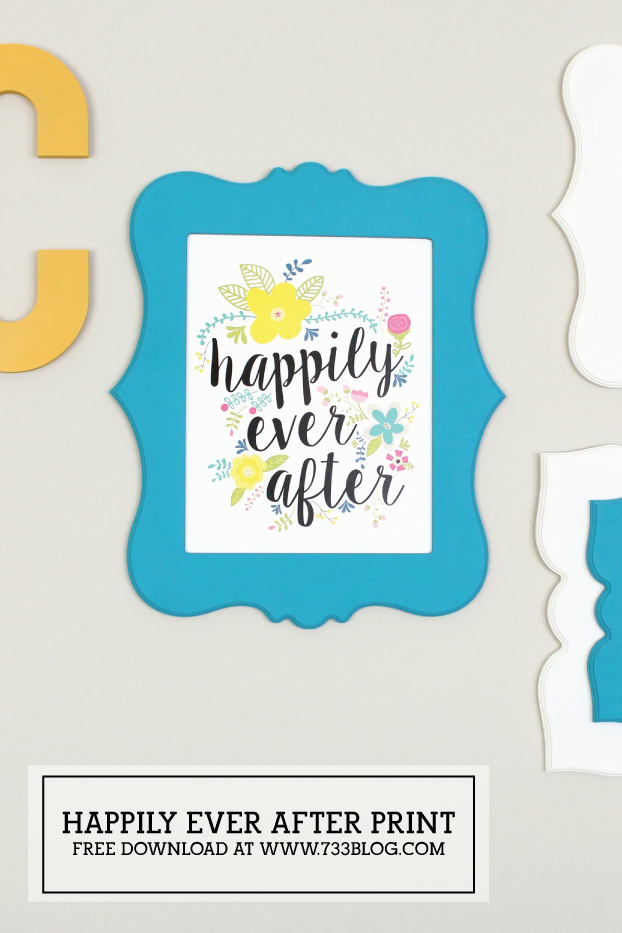 Download the 8×10 Happily Ever After Print in pdf format.
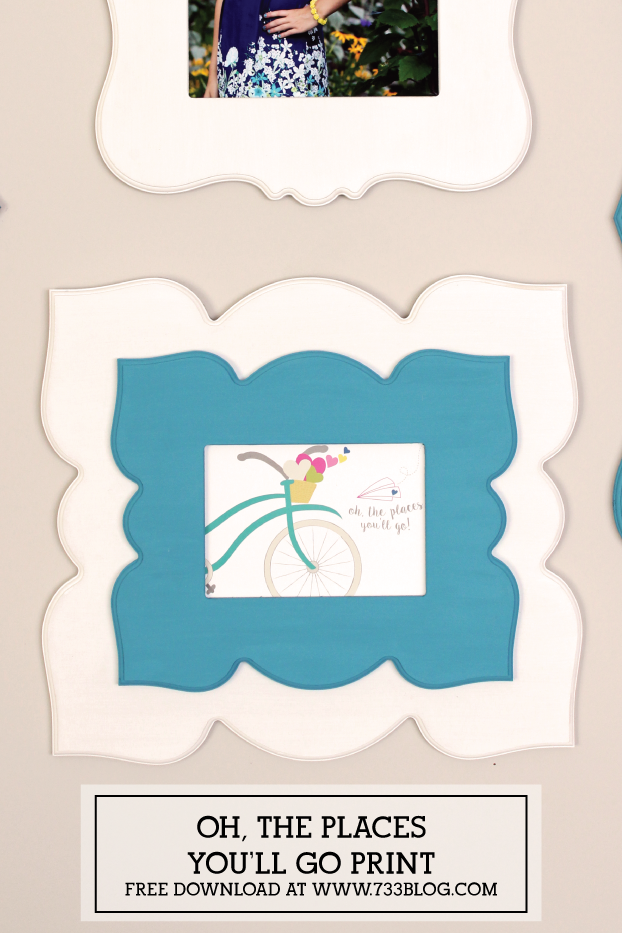 Download the 5×7 Bicycle Print in pdf format.
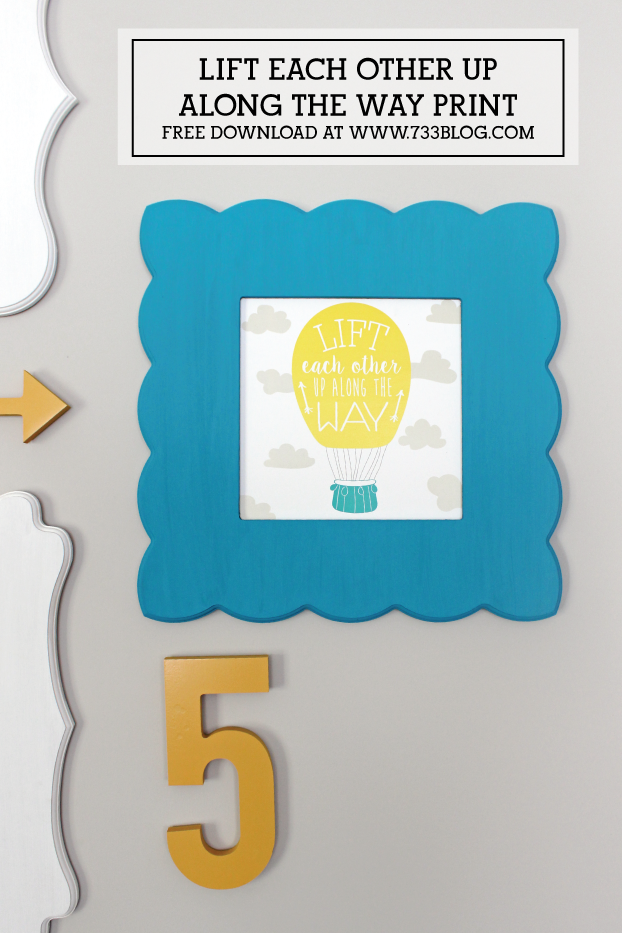 Download the 8×8 Hot Air Balloon Print in pdf format.


