

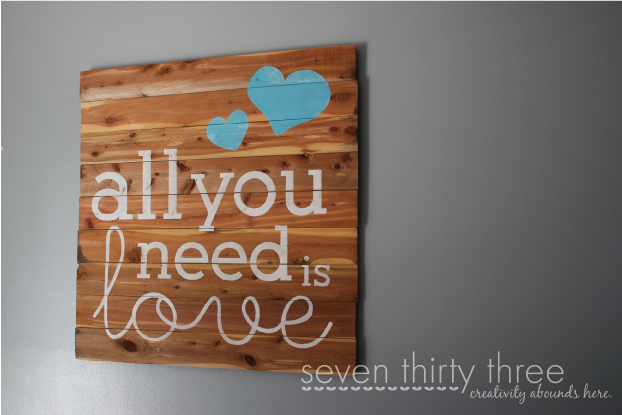
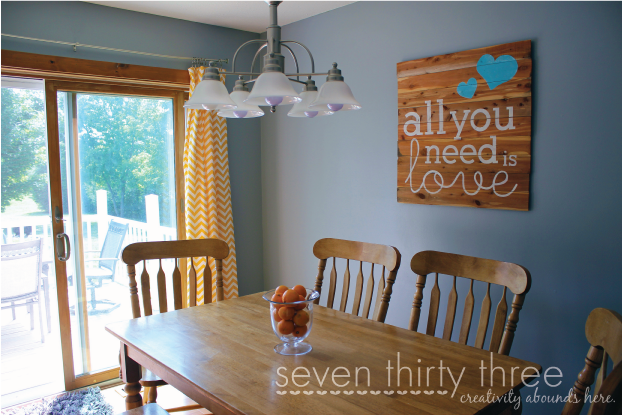
Yesterday I shared with you my new kitchen makeover. Today I’m going to share how I created the star of the show, my “All You Need is Love” Wood Plank Sign:
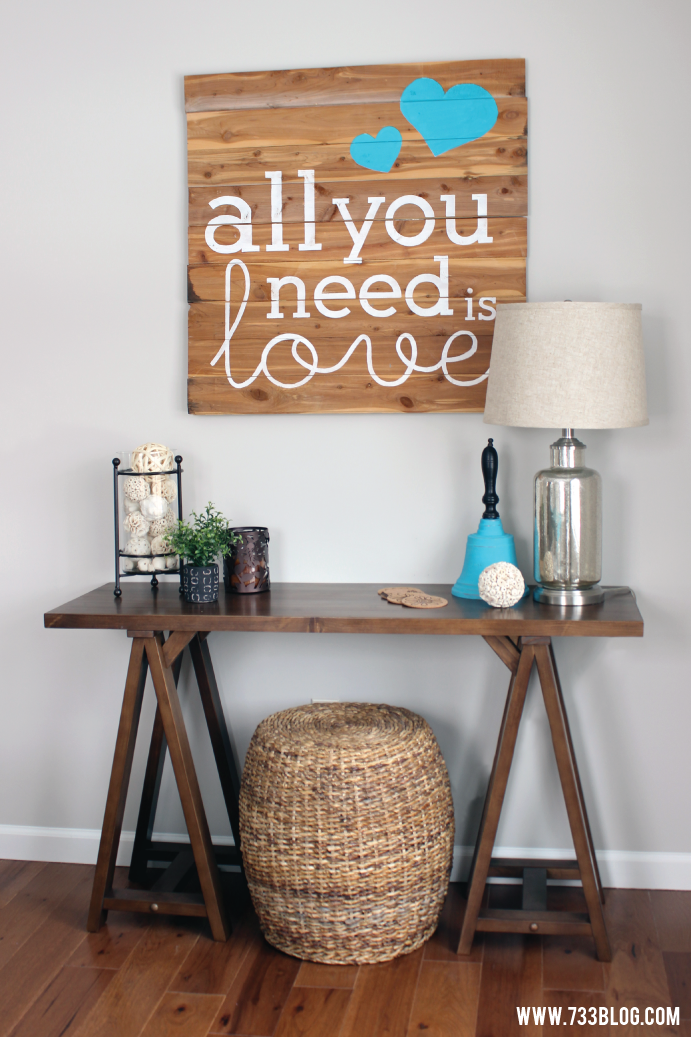 (Update: We’ve moved and my sign came along. It is now hanging in our danging room and I love it just as much as when I first made it!)
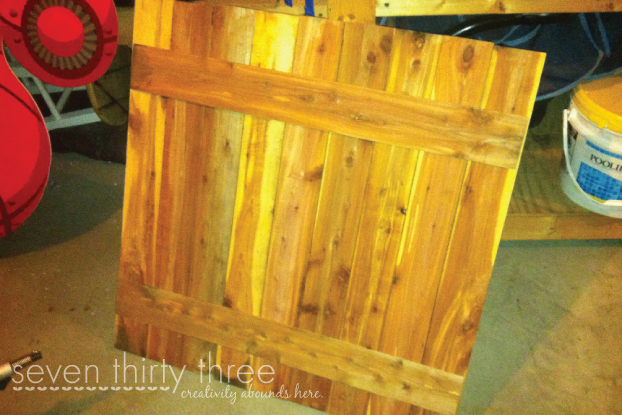
The cedar planks have been in my dad’s garage for the last twenty years! They were from the master closet makeover he did and were already cut to the perfect length – 30″ long! If you can believe it, they still give off a little of their fabulous scent! New boards would be such an air freshener!
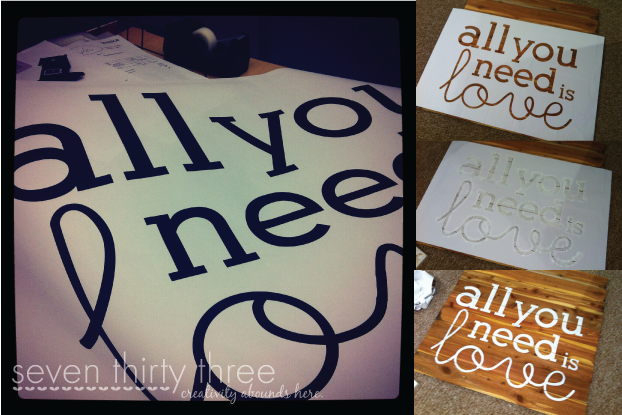


Download the All You Need is Love Stencil.
The stencil is large – sized 28.50″ x 21.96″ – you can print it as an Architect print at Staples for inexpensive!
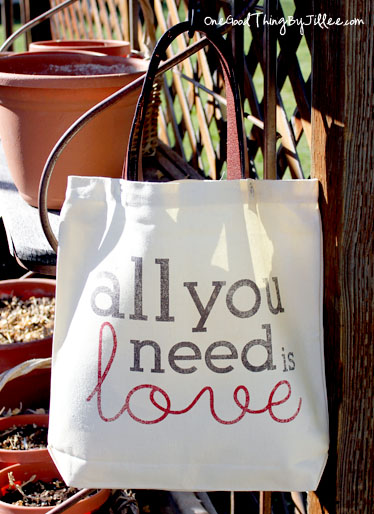 Love the “All you need is love” design, but don’t have use for a sign?
Download the 8.5×11 All You Need is Love Stencil and use it to create an adorable tote like One Good Thing did!
Have a cutting machine? Download the All You Need is Love SVG file!


Love this Kim! Thanks for sharing!
What a beautiful project! Megan
Thank you so much for this post. I want to let you know that I posted a link to your blog in CBH Digital Scrapbooking Freebies (please, notice the new url for my blog), under the Page 2 post on Jul. 23, 2012. Thanks again.
Perfect…I would love to make one of my own!
I am definitely going to make my own! I love it!
Your sign is gorgeous!! I love the cedar, the fonts, the hearts, everything!!
Absolutely beautiful sign! Pinning this!
Blythe
LOVE LOVE LOVE it!!!!! Thank you for sharing!
LOVE it!! Super cute. I need one!
I <3 this with my whole heart! I Love Beatles I love wood I love signs it’s beautiful!
Pamela
PBJstories.com
Beautiful job, Kim! Love it!
You;ve totally inspired me! Now I just have to go get the wood, paint, picture and stencil( i had no idea there was such a thing) adhesive.
Yay! 🙂 I use Martha Stewart Stencil Adhesive – you can get it at Michael’s and it works perfectly!
Woah, I love this! I had no idea there was such a thing as stencil adhesive either! Wow I would love to do something like this. Pinning…
This is fantastic! My dad has a workshop full of great wood! I am going to have to visit his stash!
I love this! This is a favorite quote in my family too. I’m getting ready to do a stenciling project so I will definitely try some of the Martha Stewart adhesive. Thanks for the tip!
-Erin @ DIY On the Cheap
I love the sign … It is so simple & cute! Visiting from SomedayCrafts linkup 🙂
So pretty! I love the wood left natural. Great quote too!
Ginger
Love your sign – pinning this to do! Thanks for sharing! Found you on I Heart Naptime and would love if you stopped by my party to link this up!
Stacey of Embracing Change
http://staceyembracingchange.blogspot.com
This is gorgeous! The painting is lovely and the finish on the wood is so nice.
I’m a bit smitten with this saying – such a great reminder!
Stopping over from So You Think Your Crafty. =)
I love this, Kim!!
When you download the SVG file it just downloads as a pdf….. Any way to fix that?? I love the fonts used here and really want to use this with my cutting machine
Oh no! I just added that in and I guess I had the wrong link. Sorry about that! I’ve corrected the link, so give it another try. 🙂
I know this sounds like a stupid question, but when you use the adhesive spray to keep the stencil on the board, how difficult is it to remove the stencil from the wood/board once you’ve colored everything in….I would think the stencil paper would still want to stick to the wood. Thanks for sharing your beautiful work.
There are different types of adhesive spray. There is actually kind made for stencils, which works well, and there is also a re-positionable one that allows for peeling away. I believe I just used regular old spray, just a very fine coat to keep the paper from wiggling, but not enough to really cement it in place. Does that make sense?
Yes, thanks so much for your very helpful and quick response. Have a blessed day!
LOVE This!!!! Super Cute. I want to make one for my kitchen!
How thick are your cedar planks? Do you have an estimation on the weight? Last question… did you have to find a stud or use drywall anchors to secure it?
Thanks!
Liz
My plans were .25″ thick. I would say it’s between 5-10 pounds. I’ve used anchors in both houses where it has been hung with no issues.
–Kim