
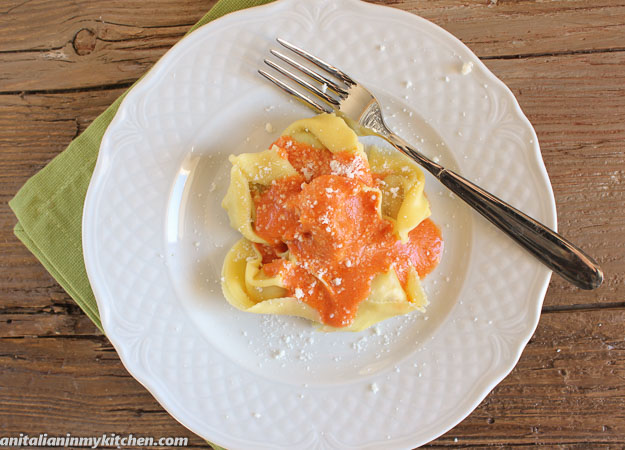
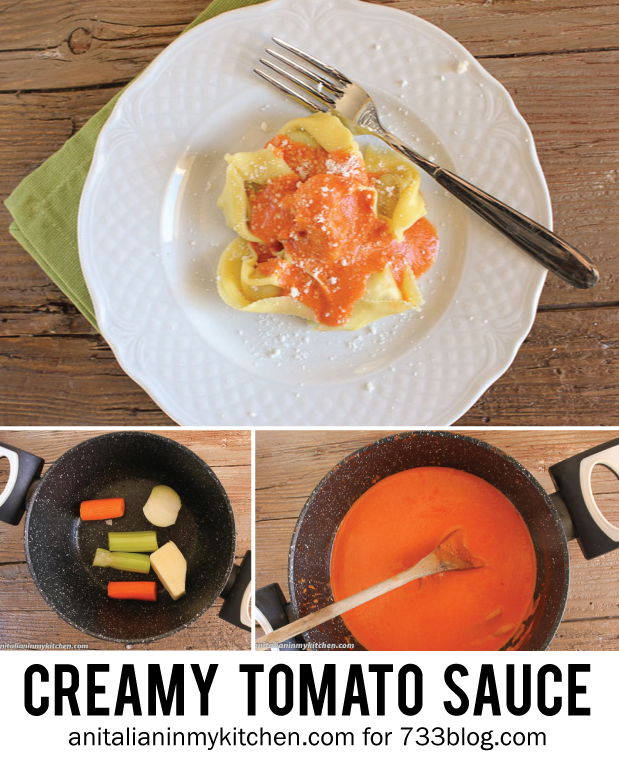
Hi everyone, it’s me Rosemary from An Italian in my kitchen and I am back from having a very Merry Christmas and a fun New Year’s Eve with friends. I hope all of you had a wonderful holiday and a great New Year to you all. I decided to share a delicious sauce that I tried on my first visit to my husband’s family so many years ago, when I first arrived in Italy. My sister-in-law made this creamy sauce out of this world tomato sauce to accompany ricotta and spinach ravioli. It is fast and easy, and so yummy!
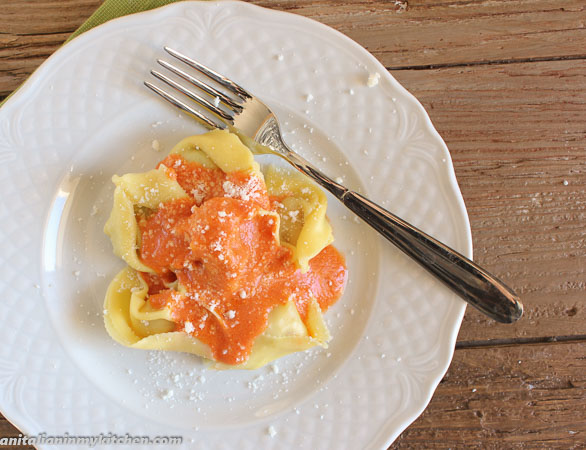
 So when you are looking for a sauce for those homemade or Italian style spinach and ricotta ravioli or better still, you make them yourself, you will be happy you served them with these Creamy Tomato Sauce. And watch out! You may have them fighting over the delicious tender pieces of carrot or celery.

 To tell the truth I don’t even wait to buy or make ravioli. This sauce is a great accompaniment for even a simple pasta. Just remember to cook your pasta al dente. Buon Appetito!
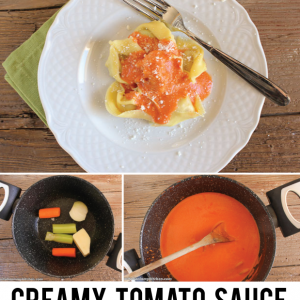
Creamy Tomato Sauce
Ingredients
- 2 1/2 cups 680 gram bottle tomato puree
- 1/2 onion cut in half
- 1 carrot quartered
- 1 small stalk celery quartered
- 2 tablespoons butter
- 1/2 teaspoon salt
- 1 1/2 cups 345 grams water
- 1/4 cup 60 grams whole cream
Instructions
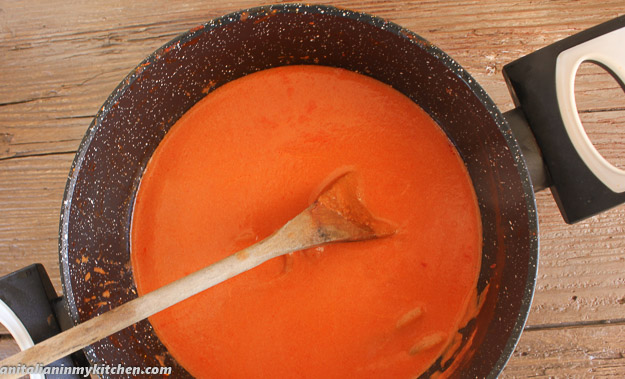
- In a medium pot add butter, tomato puree, onion, carrot, water and salt, stir and cook on low to medium heat, half covered till thickened, for approximately 30-40 minutes, stirring occasionally, once thickened add the cream, stir to combine and cook for about 1 minute, turn off heat. Serve over cooked ravioli or pasta. Enjoy!


