
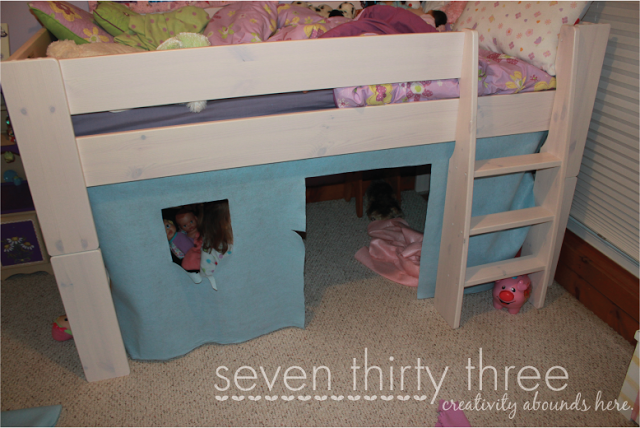
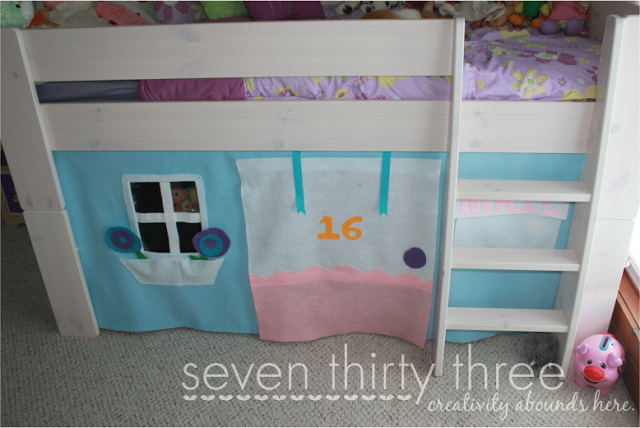
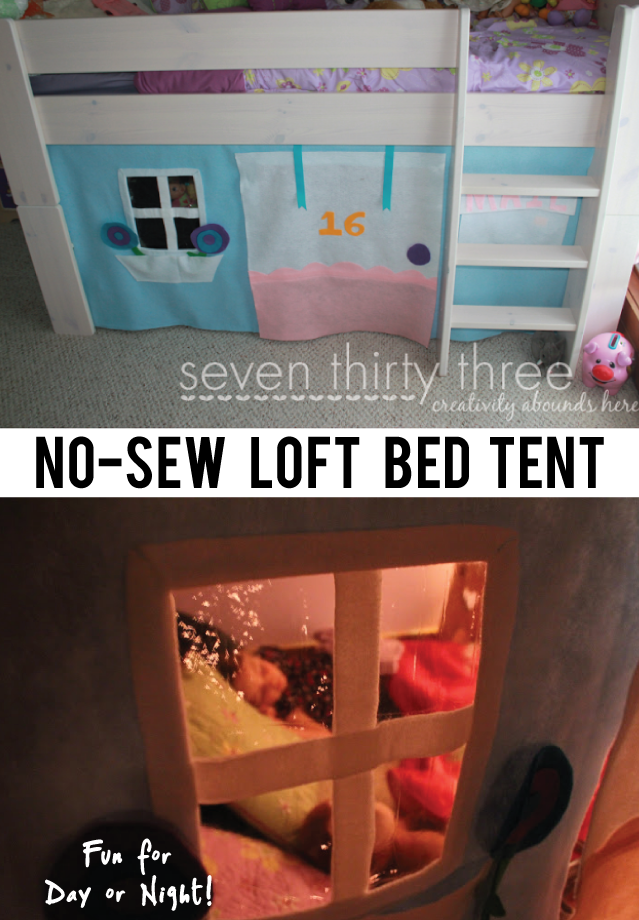
Looking to transform your child’s loft bed into a magical hideaway? Skip the expensive store-bought tents and create your own with this fun and easy DIY project! This no-sew loft bed tent, perfect for bunk beds as well, is a breeze to make and uses simple and inexpensive materials.

UPDATE: Lots of people have emailed me asking where I got the bed – it is the Popsicle Mid-Loft Sleeper and I bought mine through O.co (AWESOME customer service at that site!). I had a promo code and it was free shipping, so it was the best deal on the bed I could find, but you can find it all over online. There is even a version with a slide which we did end up purchasing later. I do want to mention that the first bed we received was missing the headboard and the footboard, and four of the pieces (I think it was the four bottom legs) didn’t have holes on one side. O.co was amazing and shipped us a new bed OVERNIGHT and paid for the old bed to be shipped back. The second bed came in and there were no issues.
How to Make a DIY Bed Tent
Several sheets of colored felt
Hot Glue Gun & Lots of Glue Sticks
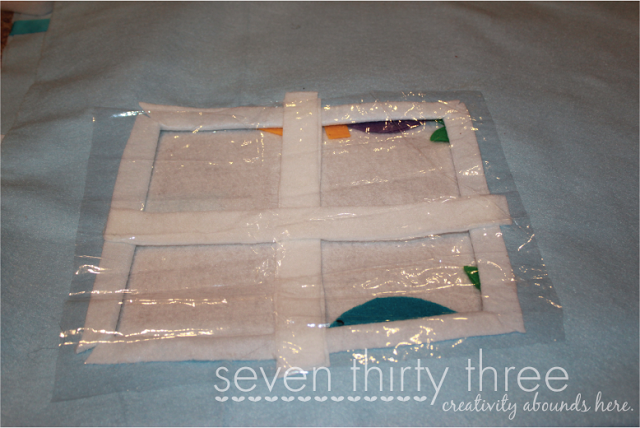
Clear Plastic Sheeting/Vinyl (optional)
Ribbon
Velcro
Scissors
Crafting the Play Tent
With your materials gathered, it’s time to unleash your creativity! Here’s a general guide to get you started:
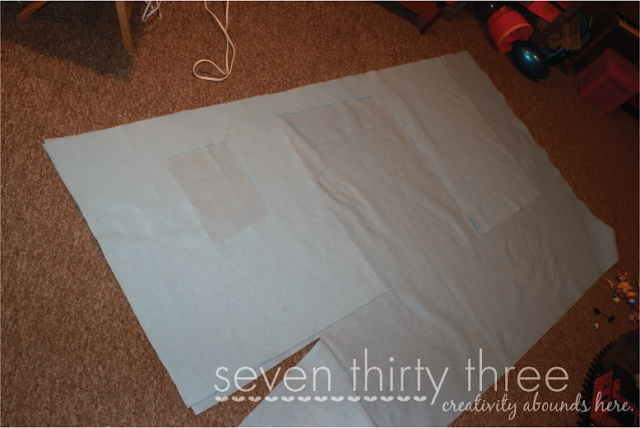
We now have our measurements and materials for the tent’s main panels. Using your fabric scissors, cut a large rectangle following the dimensions you noted earlier (73″ x 29″ in this case).
Here’s a handy tip: to create a more substantial and sturdier tent, double up on the felt!
Cut another identical rectangle and use your hot glue gun to carefully adhere the two pieces together along the edges – don’t forget to include the window and door seams for a complete enclosure. This will give your child’s hideaway extra durability and allow it to hang better.
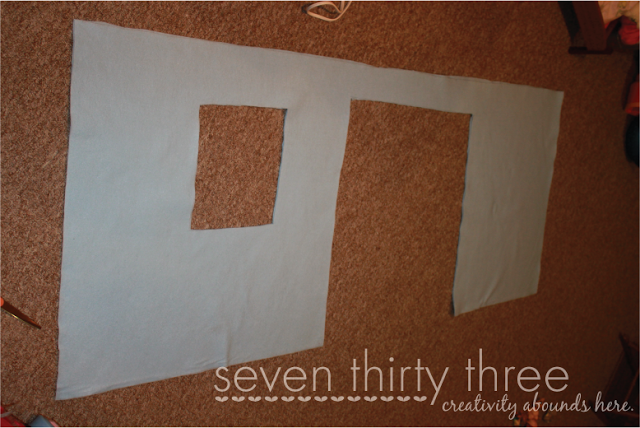
Let’s just say there’s a reason for the, ahem, “unique” window shape and slice in the door in the photo above. In a moment of forgetfulness (thanks Mom brain!), I left the scissors within reach of my resident two-and-a-half-year-old interior decorator. Apparently, she wasn’t a fan of the standard door and window dimensions and decided to implement some “improvements” of her own. While this did add an unexpected design element, it also meant the door construction required some on-the-fly adjustments. We’ll tackle those in a bit, but for now, this serves as a friendly reminder: toddlers and scissors don’t mix! I’m just glad she didn’t get injured.
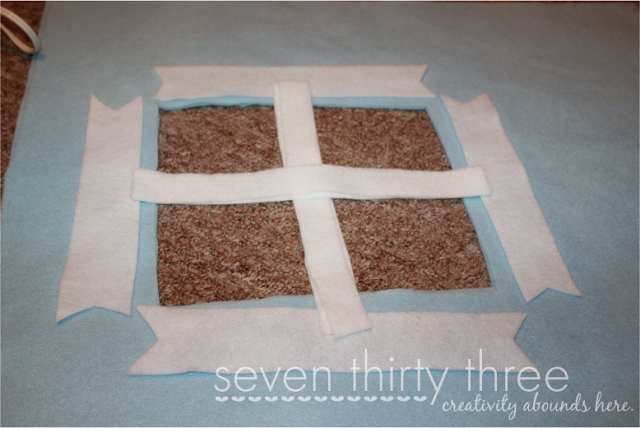
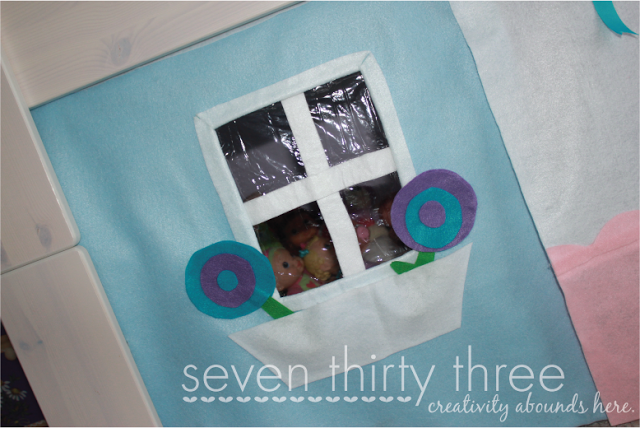
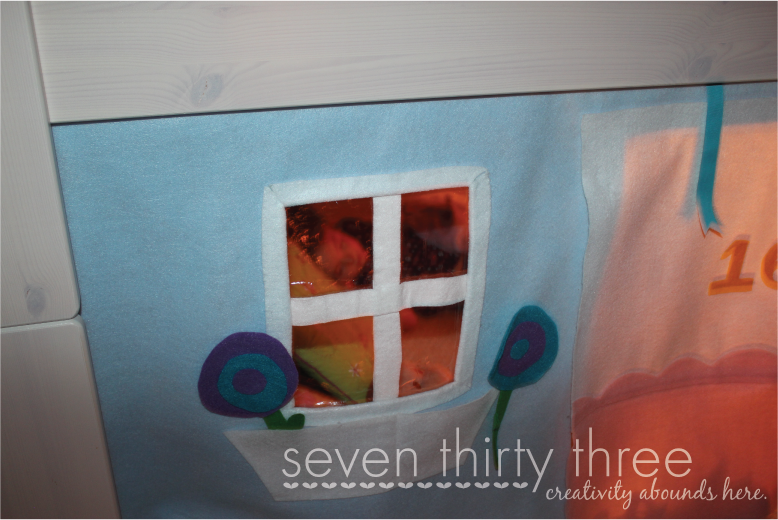
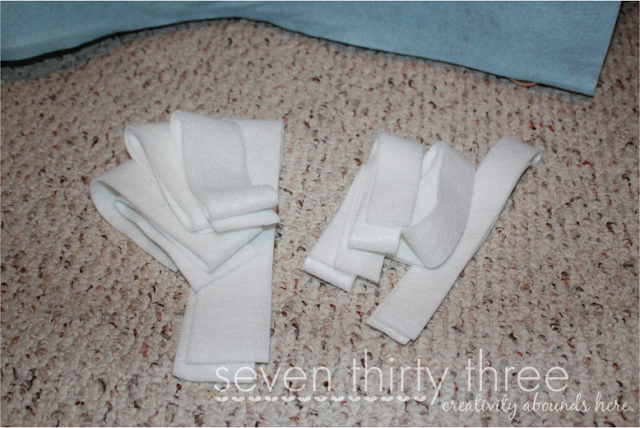 Now it’s time to add some definition to our windows! Cut four strips of felt for the window liners, each approximately 2.5 inches wide. For the window bars, you’ll need four more strips 1 inch wide and slightly longer than the width and height of your windows.
We’ll use a clever trick to achieve nice corners on the window liners. Take one liner piece and position it along the edge of the window cutout. Carefully snip a small triangular section from the shorter edge, and repeat for the other side, as shown in the picture below. This will allow the felt to fold nicely and create a clean corner when glued in place. Repeat this step for all of the short edges of each liner piece.
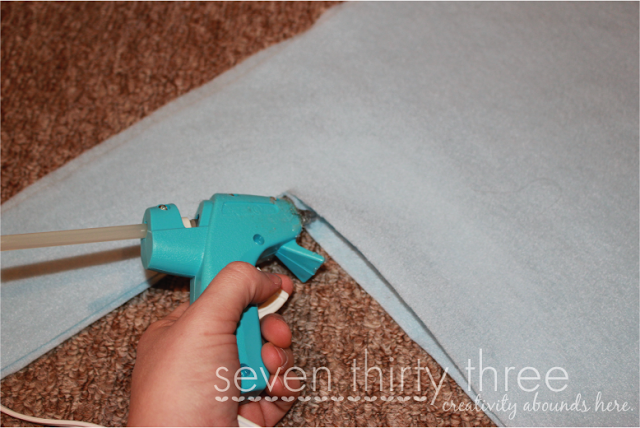
Apply a line of hot glue along the raw edge of the liner piece. Carefully position it along the window cutout on the front of the tent panel. Once secure, gently fold the liner piece around the window edge and onto the back of the tent panel. Add another line of hot glue to secure the liner in place on the back. Repeat this process for all four window liners.
For the window bars, we’ll create a bit more stability by doubling them up. Apply hot glue along one long edge of a felt strip (1-inch wide). Carefully place another strip on top, lining them up evenly. Press them together to form a thicker bar. Now, line up the doubled felt bar in the center of the window opening, on the inside of the tent panel. Use hot glue to secure the ends of the bar to the felt liner on the back of the tent panel.
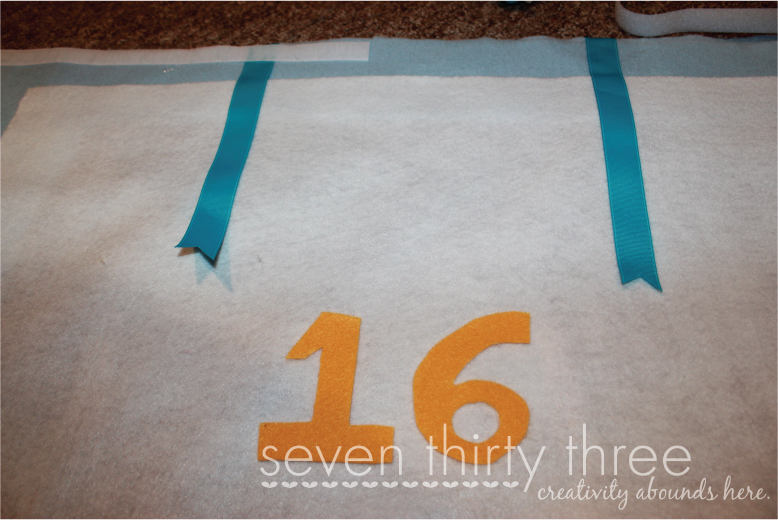

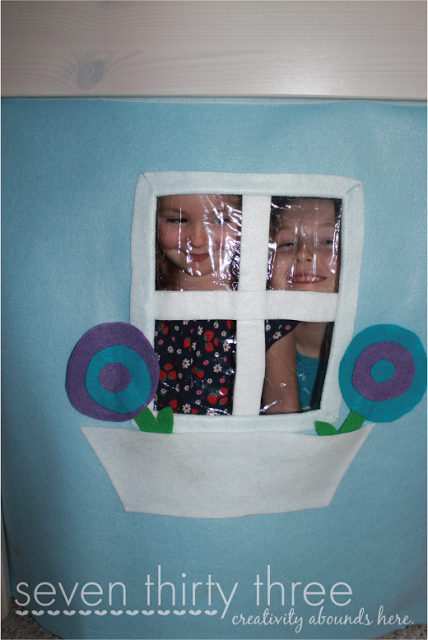
Now on to the fun part! Decorate the DIY loft bed tent as desired. This is where you and your child’s imagination can truly take flight. Here are some ideas to get you started:
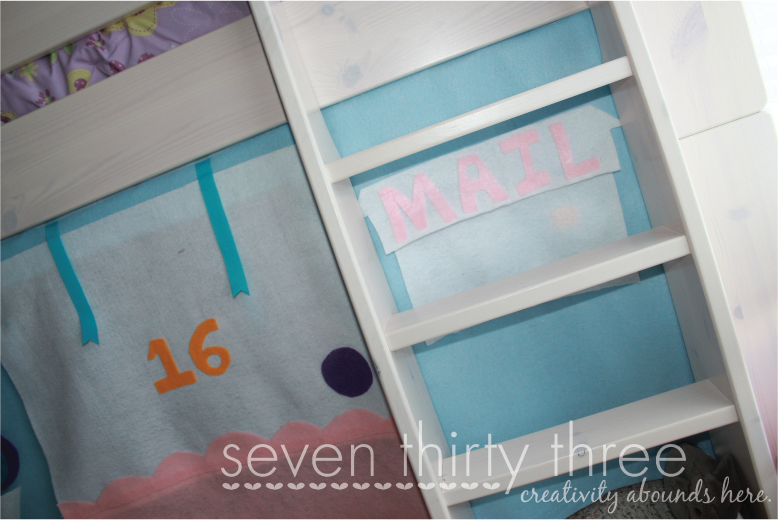
Create a charming mailbox using felt scraps and decorate it with the word Mail, their initials, or favorite colors.
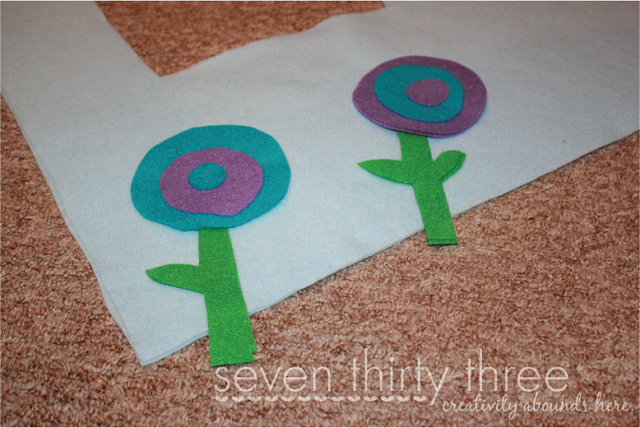
Craft a simple flower box with colorful felt flowers (circles glued together with attached stems). These can be permanently glued on or attached with velcro for easy rearranging.
Add string battery-operated fairy lights inside the tent for a touch of starry magic (adult supervision required for young children!).
Attaching the Play Tent to the Bed

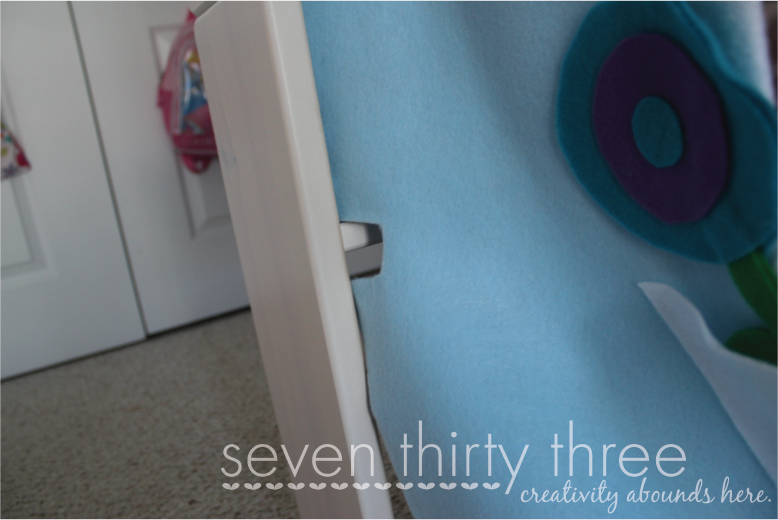

UPDATE: We’ve had the tent for almost 3 years and it is STILL in perfect shape. My daughter chose to remove it for a few months (yay to me for being smart and using a velcro attachment!). When I reminded her about it she got excited all over again and played in her clubhouse ALL afternoon! I haven’t made any changes or additions since the original install. Definitely worth the small amount of money, time and effort that it took to create.


It’s really nice! Congratulations for this lovely creation!
Hey Kim
This looks really great! The best part is that no one has it. In terms of the price of the mass- produced piece… I can only be jelaous of the low prices in the US- sniff sniff- here something like that costs about 350 Euros! I won’ t even ask how much the bed was. Here about 800:) well great job and greetings from Germany
WHERE DID U GET THE BEDD?????? my son wants one for Christmas but i don’t wanna get a cheap made one from ikea
That is awesome! Lucky girl! Love what you made!!!!
Brilliant, I’m going to do this for my son…it will have a little different look to it though 🙂
Where was all this fun stuff when I was a kid…:)
You did a great job…Would love for you to share it at… http://shoprubyjean.com/2011/12/sew-crafty-tuesday-linky-party1/
So cute! I love that bed and the tent is awesome!
HI, Kim! I love this tent. Would you mind adding a link back to my party as well? Thanks!
I love this idea, so much cheaper and more personal than the store bought ones. Do you think that having the fold down the bottom might make it more sturdy? As soon as I read that I thought, then you could slide a piece of dowel through the hole and the wall would hang straight – is that an issue or am I making things more complicated than they need to be?
Thanks so much for sharing your ideas and allowing us the chance to make something without having to do all the thinking.
Mhairi – I suggested having the fold at the bottom. I don’t have a problem with it hanging so I don’t think a dowel is necessary. The only issue we have is the door hangs funny, but that is due to my daughter cutting the opening and me having to adjust its size. I then didn’t have enough felt left for a one piece door and had to create one out of two pieces and I obviously didn’t cut each piece a straight line. Totally my fault and I may fix it in the future, but really, it isn’t a huge deal.
Such a great idea to make the bed a cozy and fun space for kids! Thanks for sharing!
What a beautiful and creative project! The kids must love it : )
Lovely DIY, the kids must be loving it.