
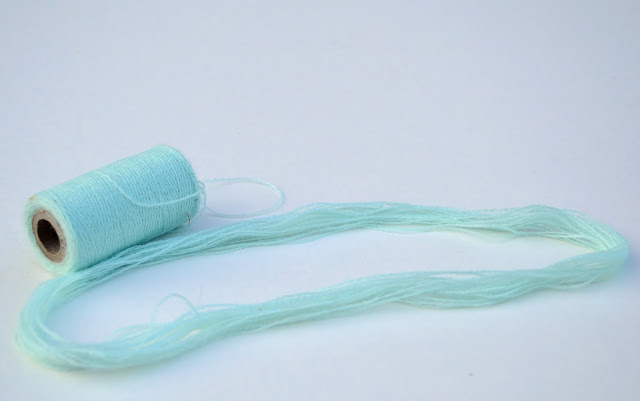
I had no idea embroidery thread existed, but I suppose since it comes on a spool that’s exactly what it is! Not to worry…
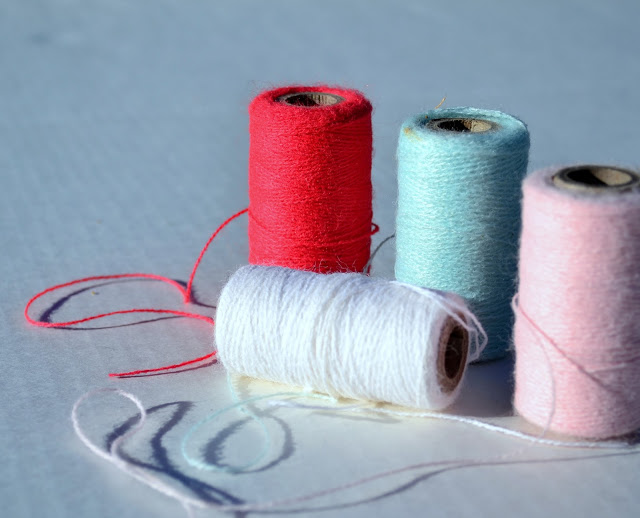
If you weren’t lucky enough to find embroidery thread at a garage sale like I was, you can pick up embroidery floss at your local craft store pretty cheaply too! I will show you how to make that variation as well.
Start by taking your embroidery thread and looping it around in a wide circle. It doesn’t need to be too big since you really don’t want a very big tassel.
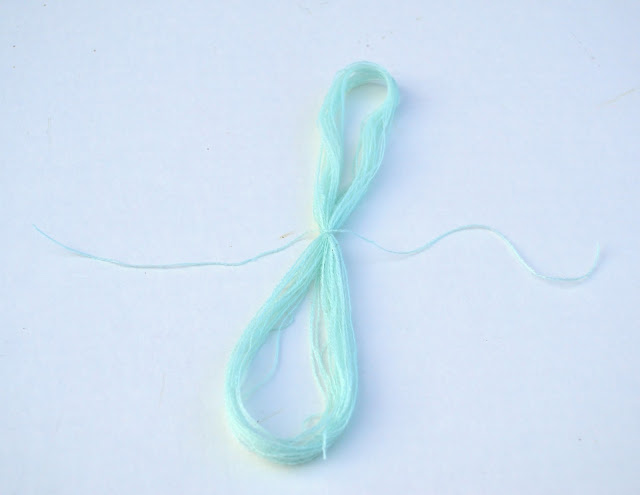
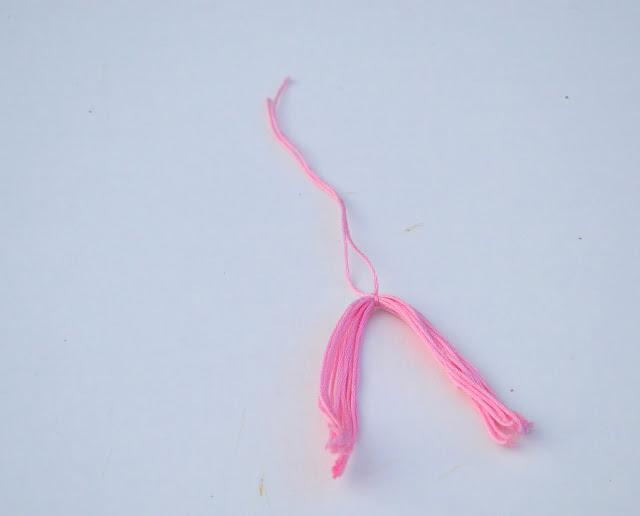
Cut the thread from the spool and set it aside and then cut an 18 inch string from the spool and tie it twice in the middle of your loop. Fold your loop together in half keeping your long strings separate as much as you can.
Cut the end of your loop apart and you will be left with what looks like a pretty epic mustache or hair for a dolls head.
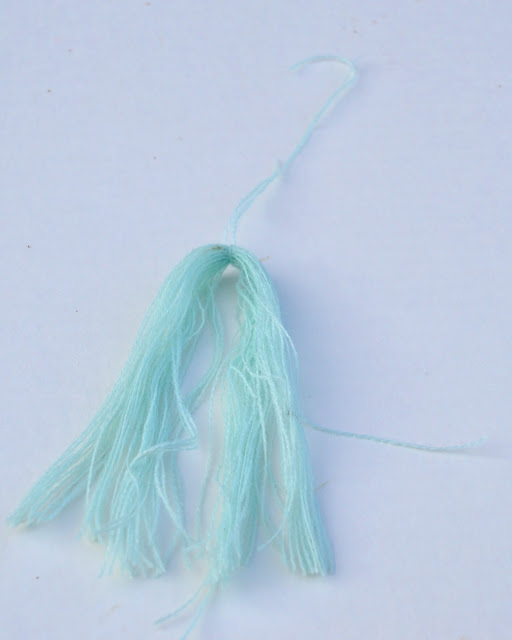
Take a long string from your spool {about 12 inches} and start wrapping it around the top to form your tassel. Tie it in place and cut off any loose ends.
Trim the ends of your tassel to make it the length that you want. That’s it!

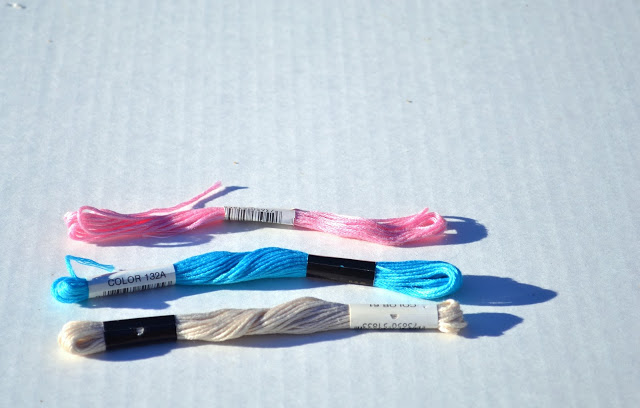
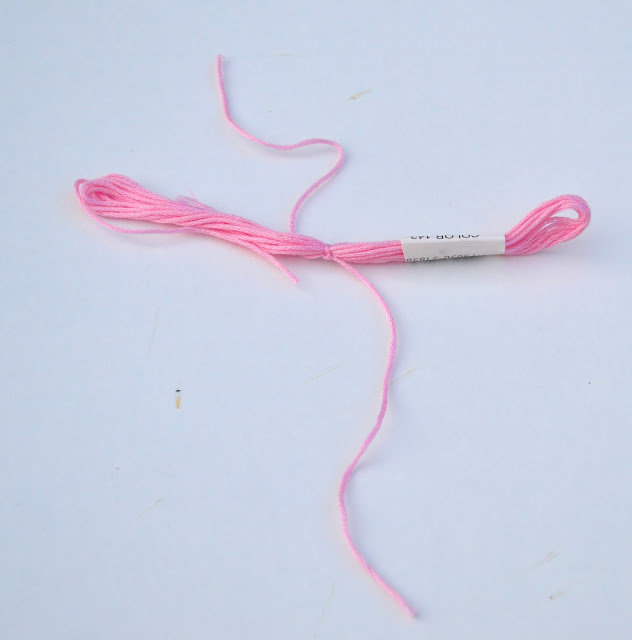
If you want to go the embroidery floss route, there isn’t too much of a difference.
Leave your floss wrapper on one end and find your thread end.

Cut off a length that you can use to tie in the middle like we did with our embroidery thread. Cut the two looped ends of your floss and remove your wrapper.
Separate your tied middle section and fold your ends together. Cut off a length of thread for the top tassel like I did before and secure it in place. Easy peasy!
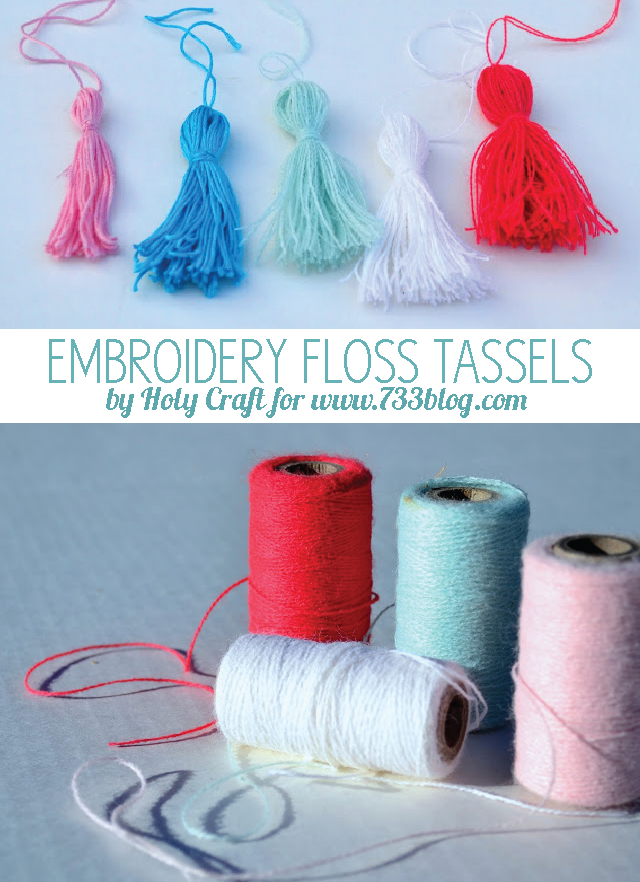
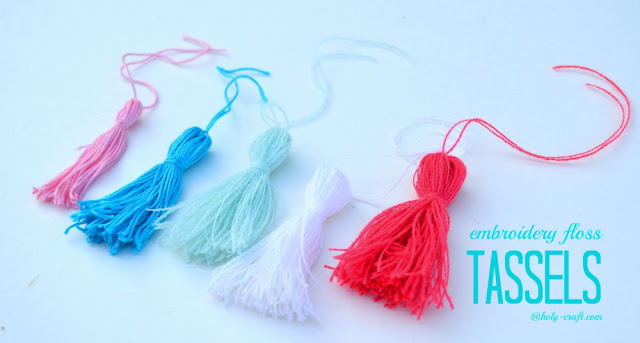
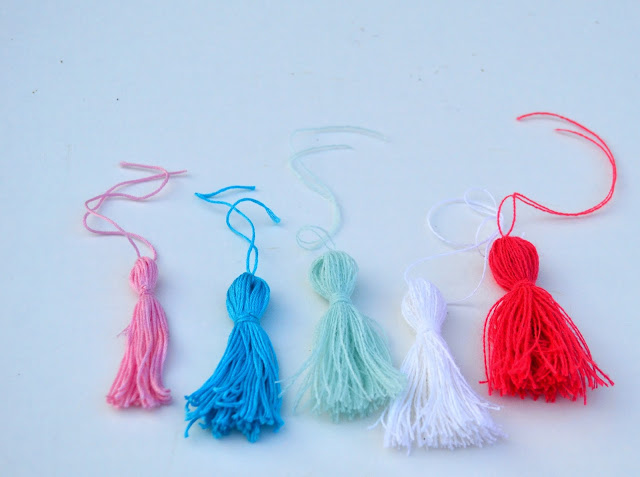
I really liked using the embroidery thread much better than the embroidery floss because I could make a much fuller tassel. The two tassels on the left are from floss, the three on the right are all made from embroidery thread. It’s all a matter of personal preference and using what you have on hand.
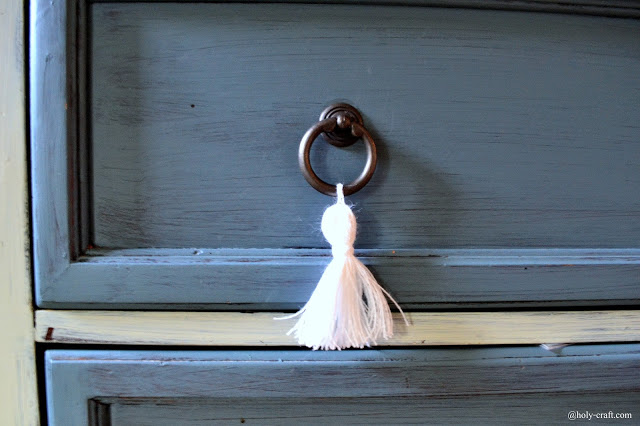
Now you can take your tassels and tie them anywhere you want!
They can find their way into a book as a bookmark, or onto a key chain, or they can hang on a knob on a dresser
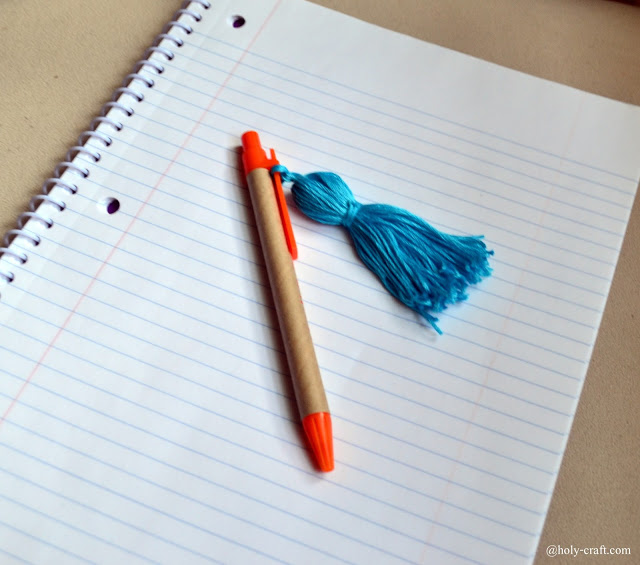
or on the end of a pen cap
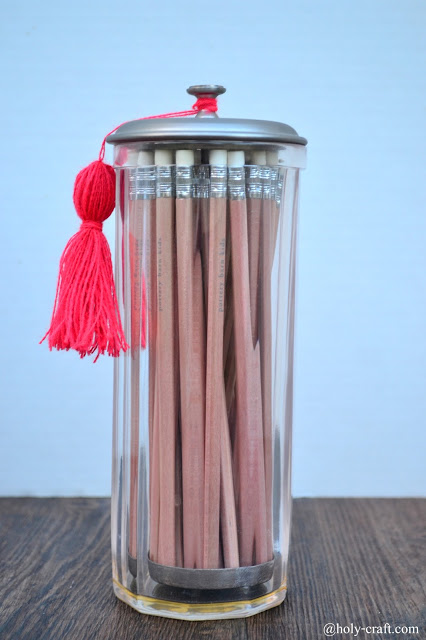
or maybe on the top of a jar.


