
This post brought to you by Cricut. All opinions are 100% my own.
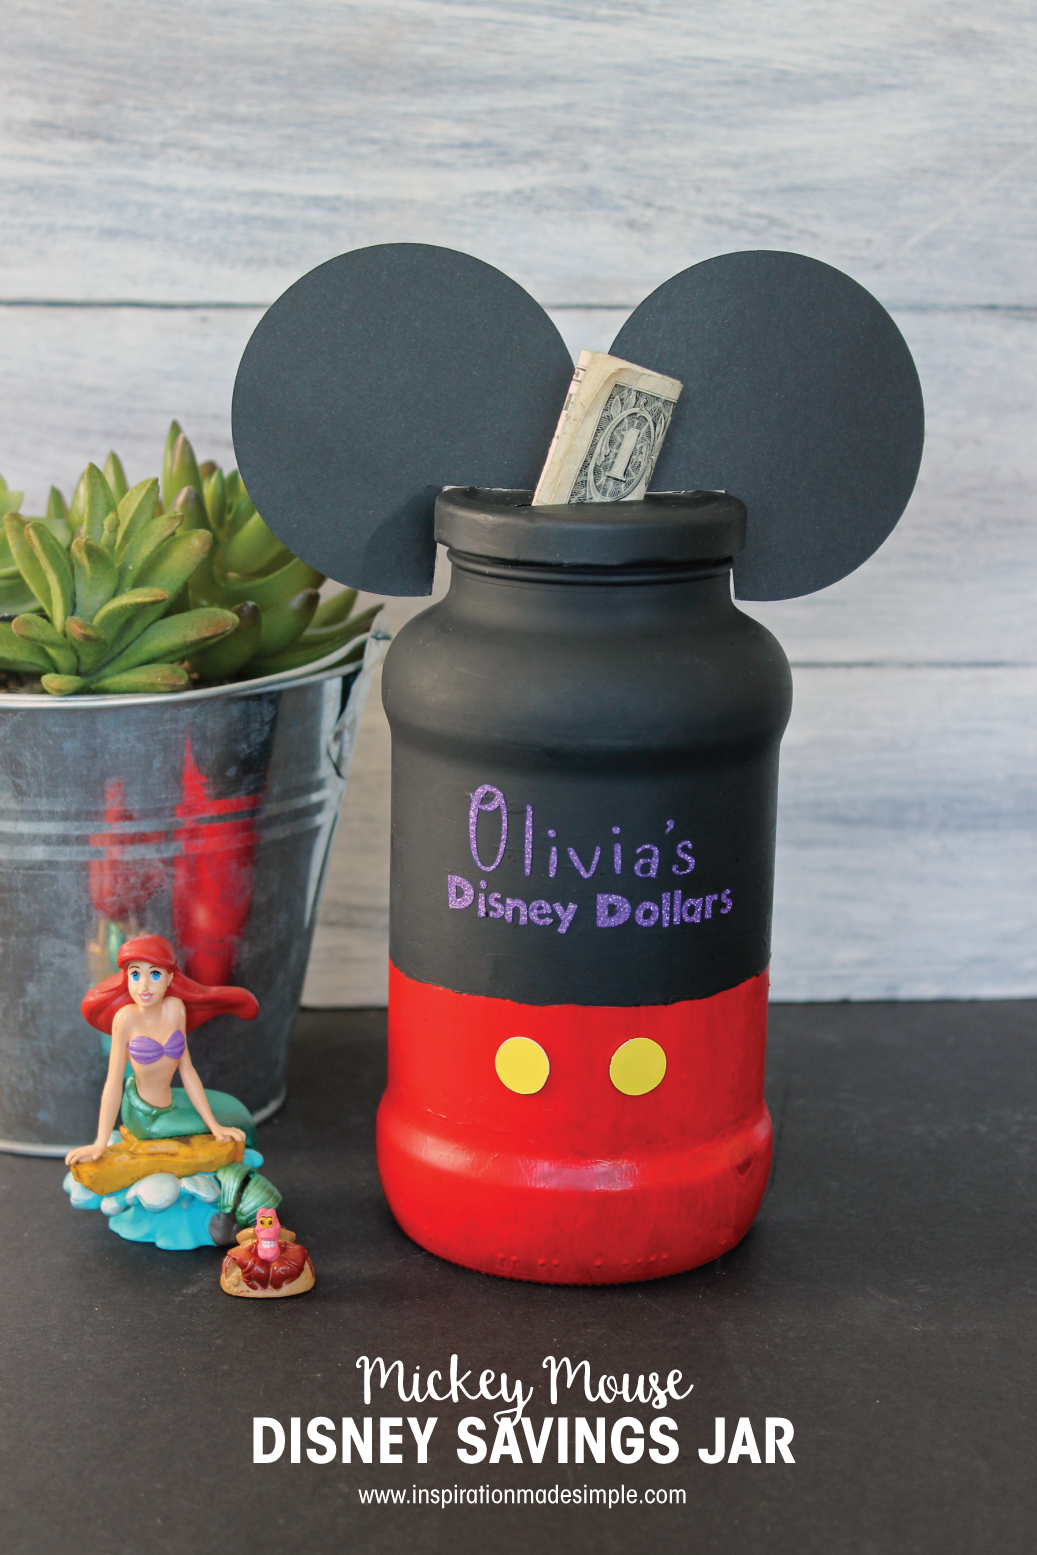
Our family will be hitting up Disney World with our good friends in November and we are all quite excited. It’s been 4 years since we last went and the kids are at the perfect age for it. Over the summer they held a Sno-Cone Stand to earn spending money for Disney and Disney Springs, and they have been saving their allowance as well. But they’re find it really hard to not spend their hard earned money when it just sits in their wallets. My son said he was fine, but my daughter asked for a little help, so I whipped her up a DIY Disney Savings Jar so that her money is out of sight and out of mind. We placed it on a shelf in her room and she loves it. So much so that she raids the laundry room and my husbands truck hunting for change just so she can add it to her jar! Before we get to the project, there is a fun giveaway at the bottom of this post, so make sure to scroll on down so that you can enter to win a bunch of supplies so you can make this project and more with your Cricut Explore!
This is a super easy project to make, so follow along as I show you how!
SUPPLIES: (affiliate links)
Cricut Explore
Cricut Design Space Mickey Jar Cut File
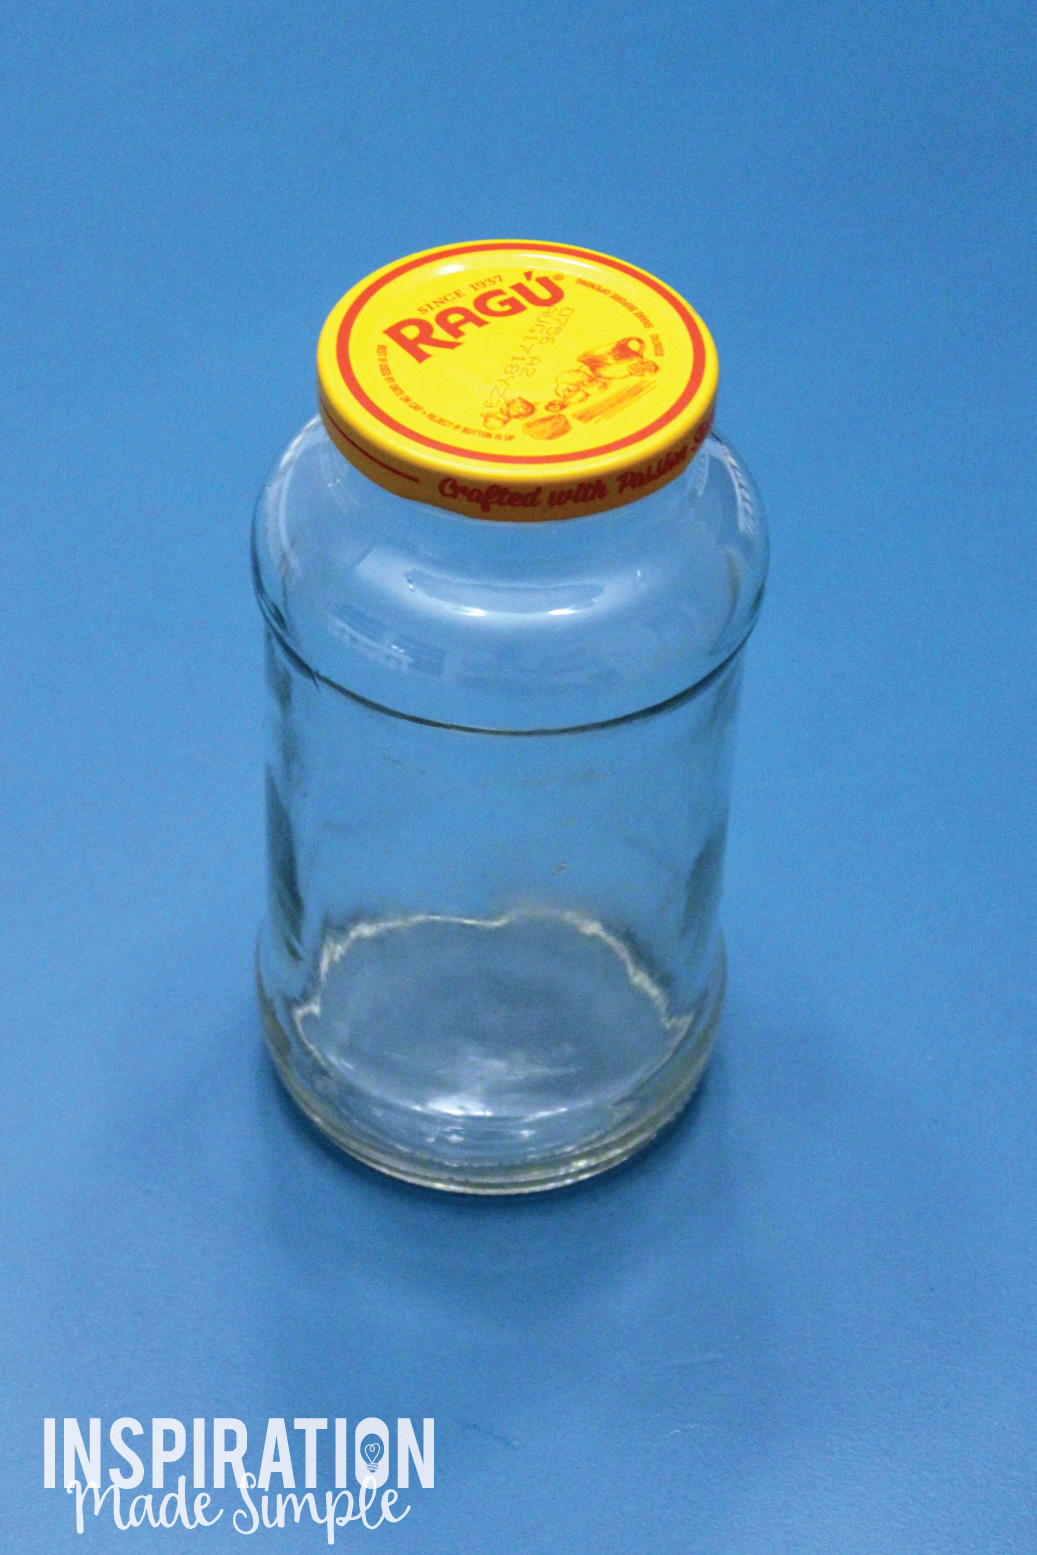
Jar
Acrylic or Chalky Finish Paint in Black and Red
Yellow Posterboard or Buttons
Black Cardstock
Glitter Vinyl
Vinyl Transfer Tape
Hot Glue
Painters Tape
Paint Brush
Craft Knife
DIRECTIONS:
 Two-thirds of the way down the jar, place a strip of painters tape.
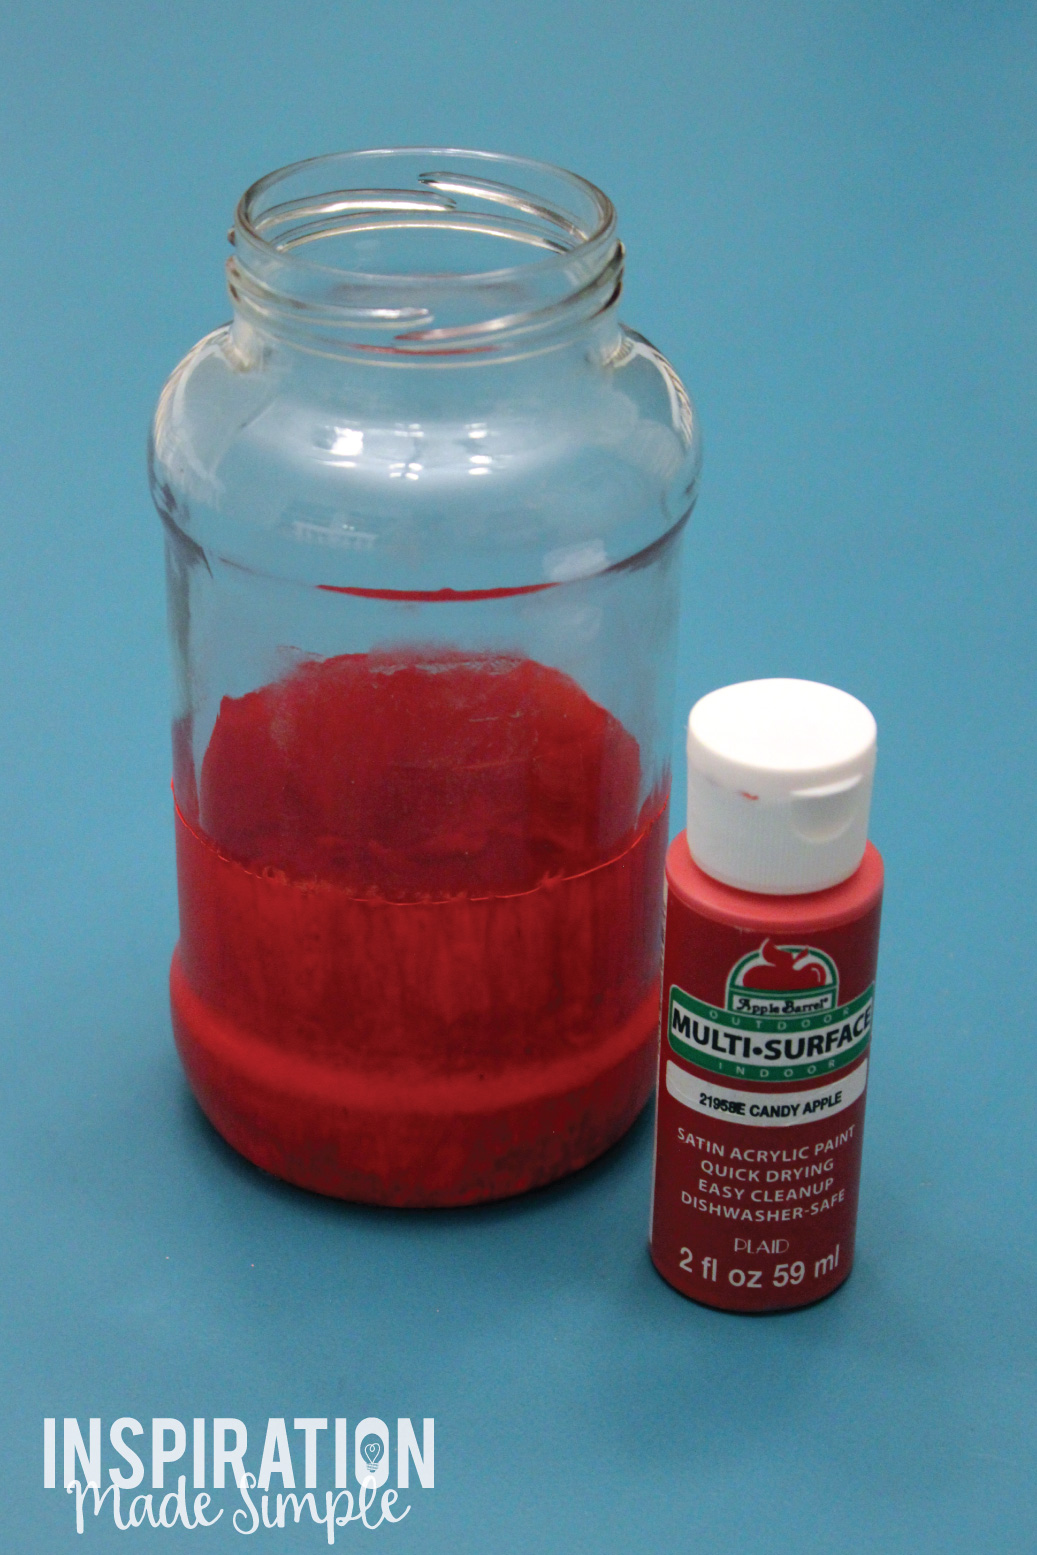 Paint the bottom 1/3 of the jar red. Let dry. And paint another coat. Continue until you have complete coverage. (I did three coats).
Tip: If you want to finish the project in one sitting, use a blow dryer to speed up the drying time.
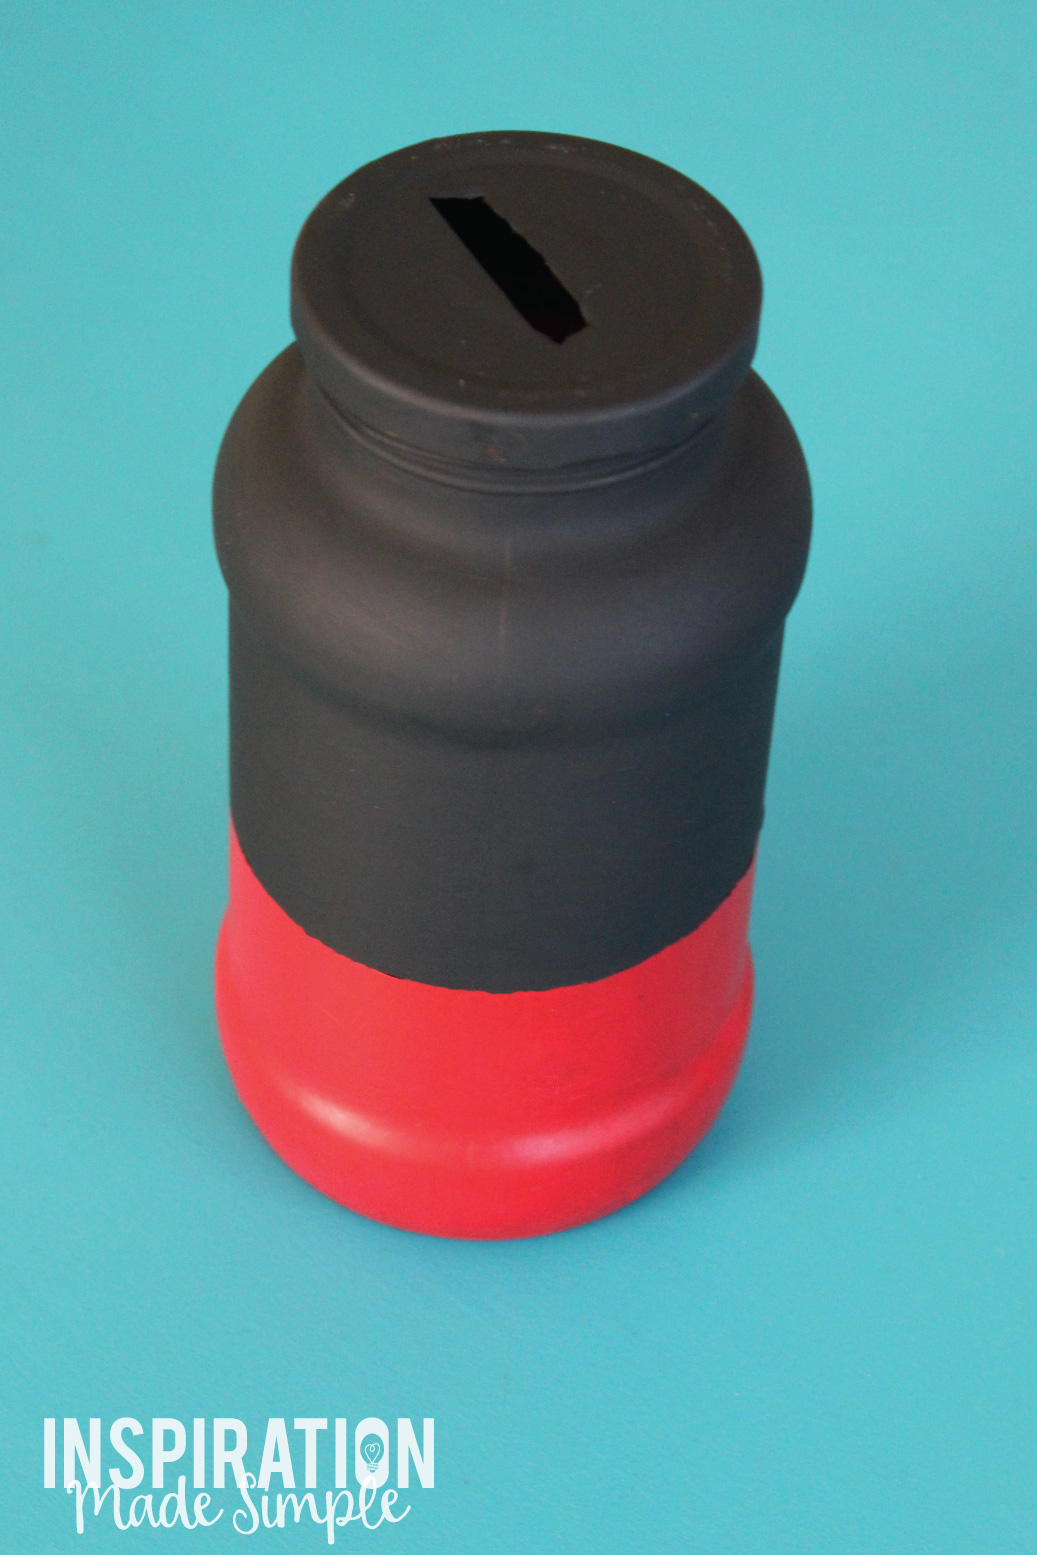 Paint the rest of the jar, and the lid, black. Again allowing to dry between coats.
Note: I used acrylic paint, though I prefer to use chalky finish paint. The black paint turned out to be matte and does scratch fairly easily. If I make another I would definitely not use a matte black.
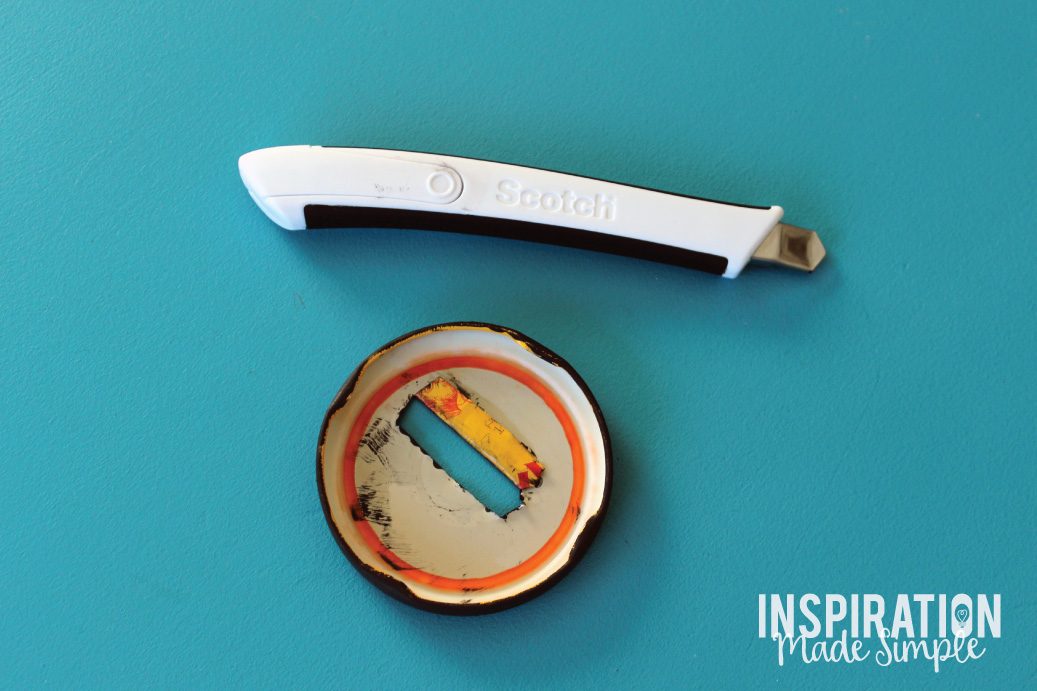 Using a craft knife, carefully cut a small hole in the lid that will fit coins and folded dollar bills.
Open the Cricut Design Space file I shared in the supplies list. Detach the text and Change “Olivia” to your child’s name and then attach the two pieces again.
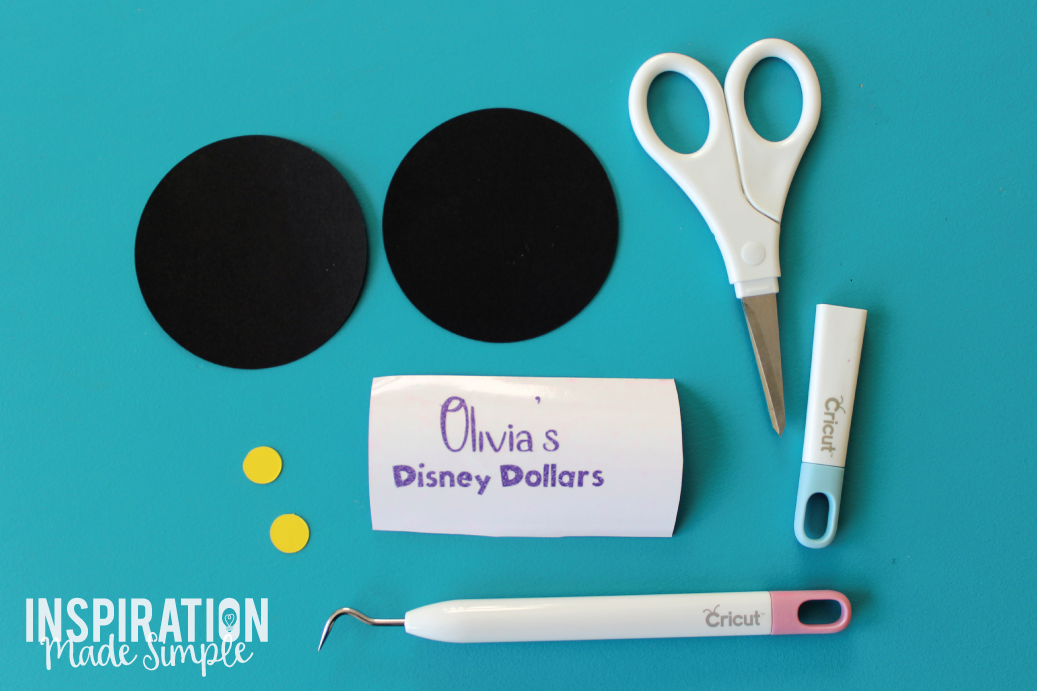 Using your Cricut Explore cut the two 3″ circles out of black cardstock, the 2 .5″ circles out of yellow posterboard, and the lettering out of a vinyl of your choice.
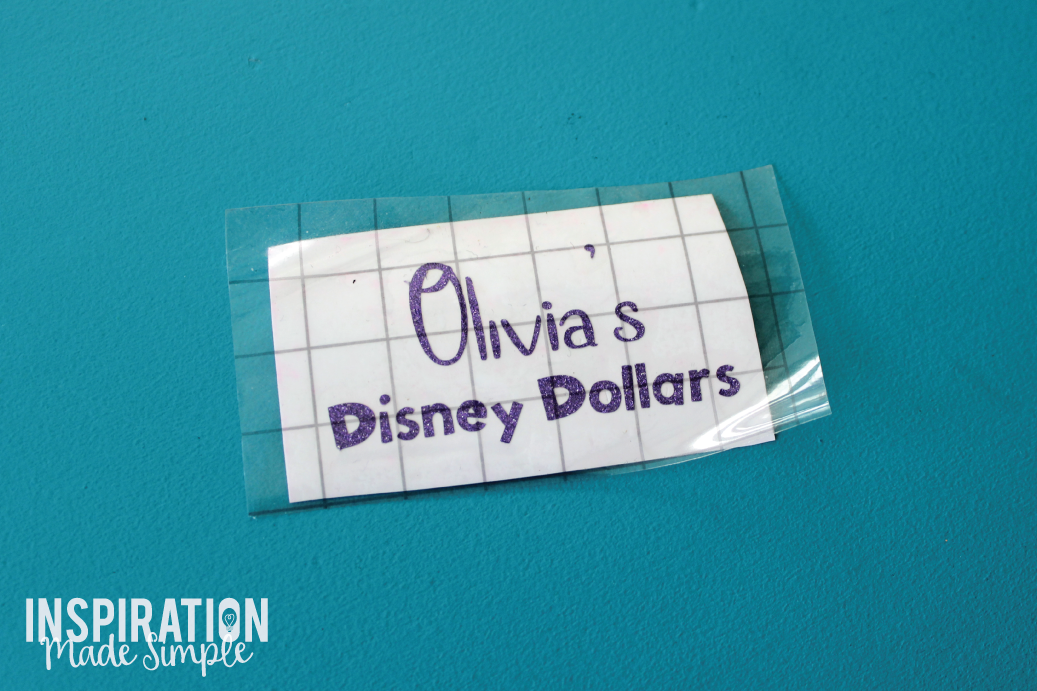 Weed the vinyl and then use some transfer tape to stick the vinyl to your jar. Note: I COULD NOT get the transfer tape to adhere to this vinyl. I’ve never had this issue, so I ended up just sticking it like stickers. So if you don’t have transfer tape, just do it that way.
 Using a hot glue gun, attach the yellow circles to Mickey’s pants.
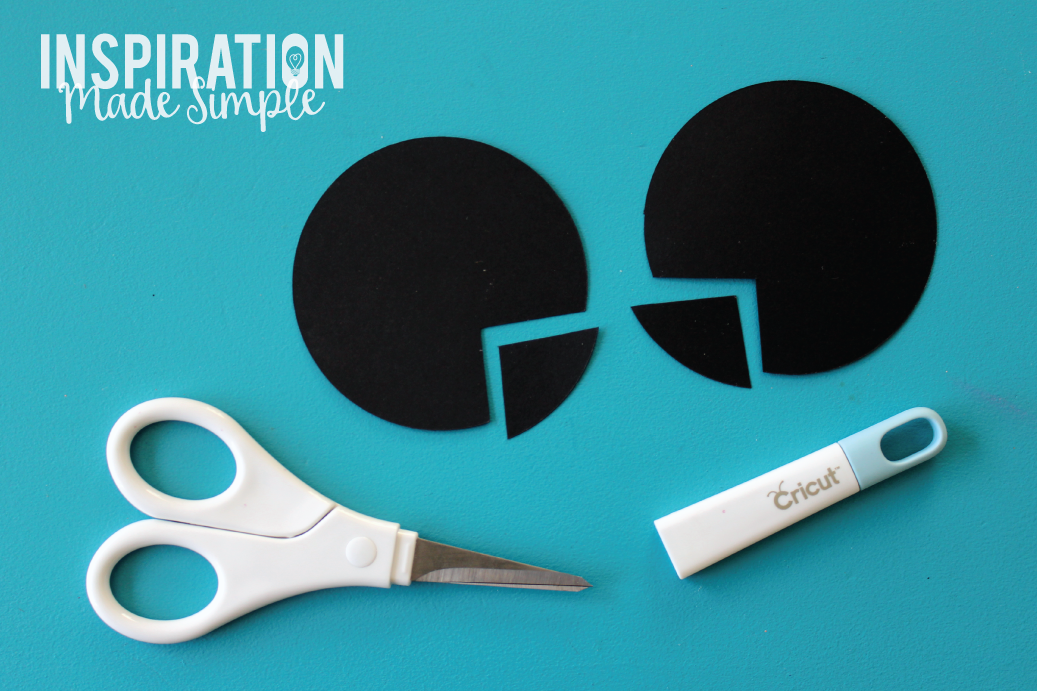 Cut a small triangle out of each of the ears so that they can fit over the top of the lid and down the neck of the jar.
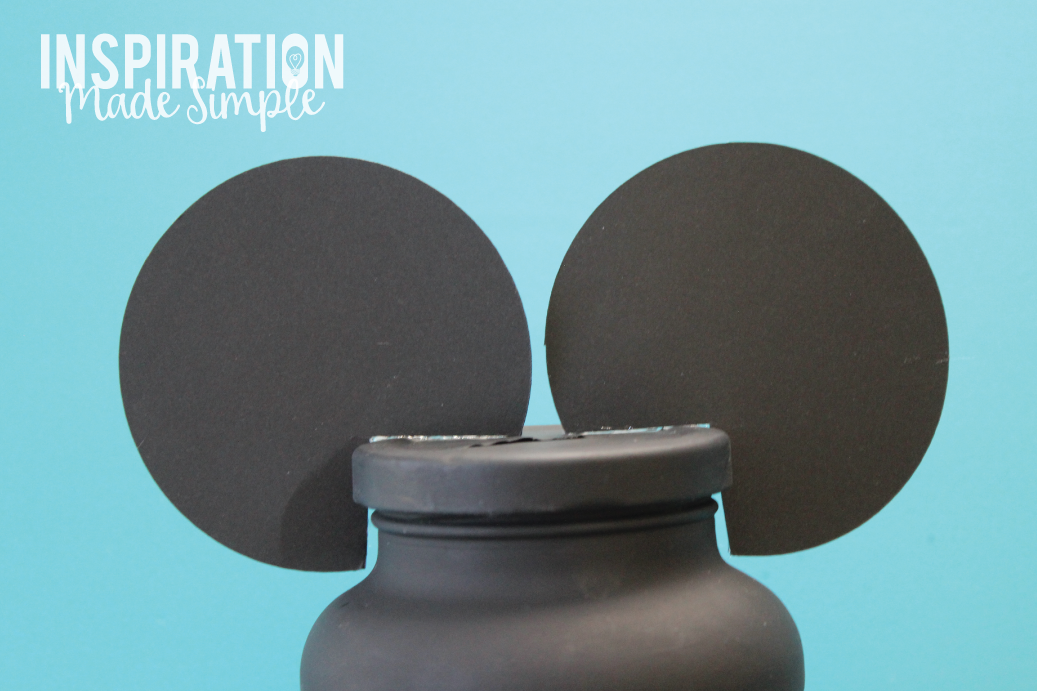 Hot glue Mickey’s ears to the top of the jar.
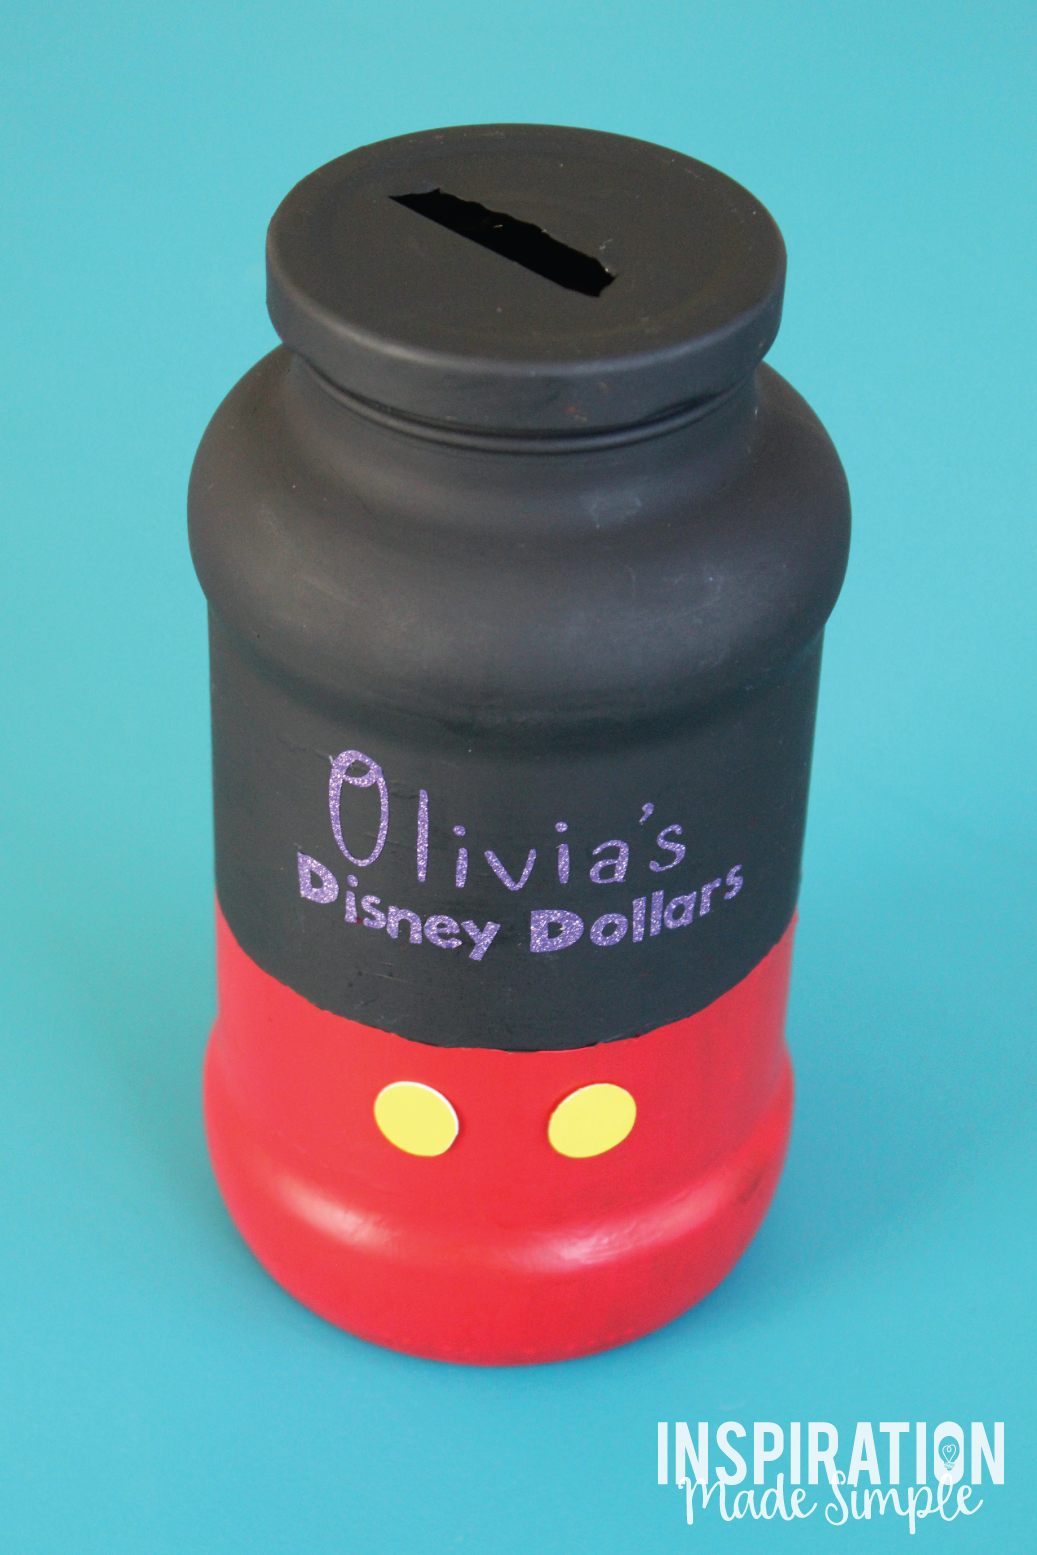
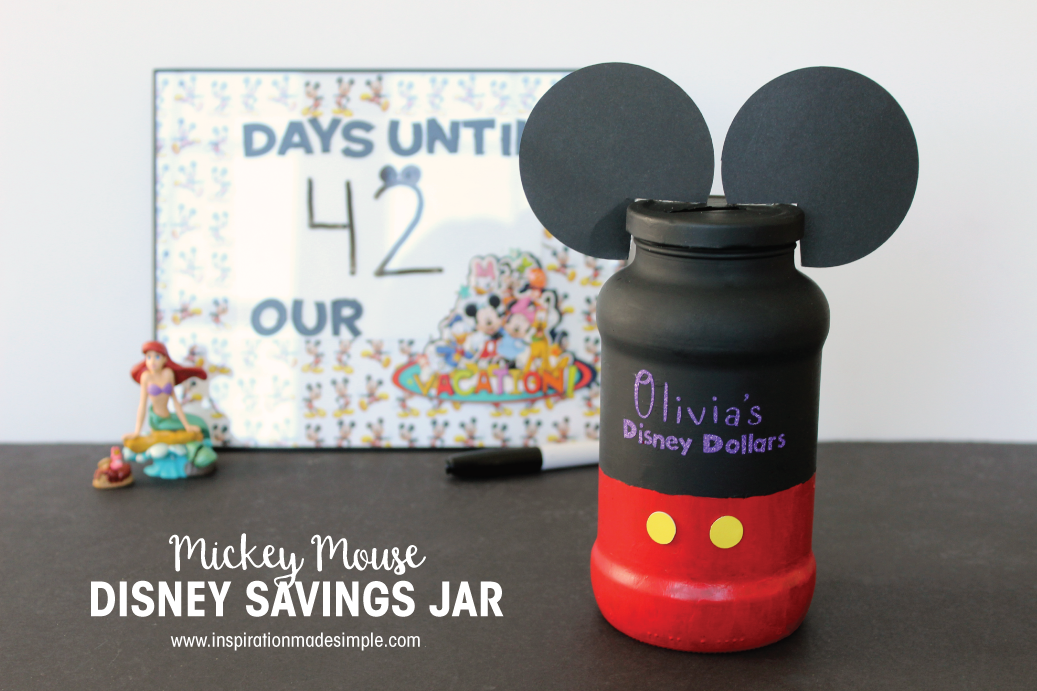 That’s all it takes to make this Mickey Mouse Disney Savings Jar! If you prefer to make a Minnie Mouse Jar, just add white vinyl dots to the bottom red portion and add a red bow between the ears!

I’m excited to join 23 other super talented bloggers for the Fall Cricut Challenge. Check out what these talented ladies created below and enter to win a HUGE box of supplies from Cricut!
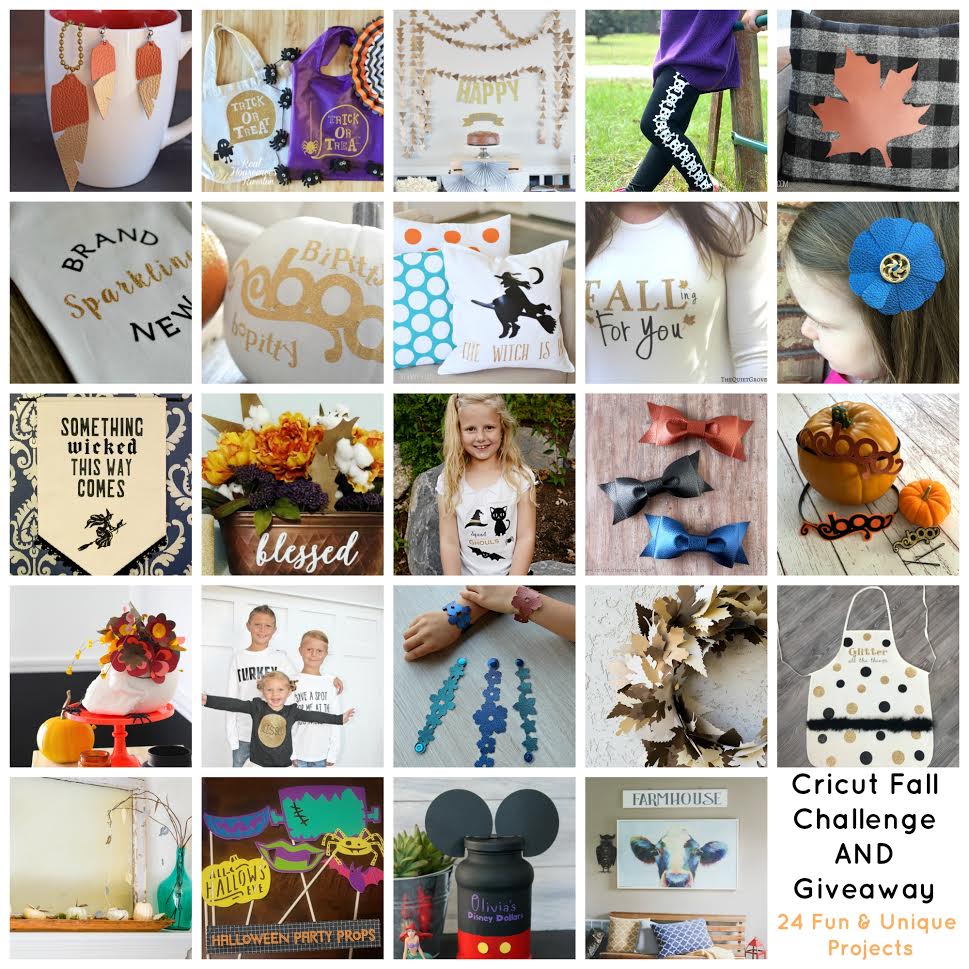
DIY Faux Leather Jewelry from It Happens In A Blink
DIY Trick or Treat Bags from Housewives of Riverton
Easy Triangle Garland from Our Thirfty Ideas
Halloween Skull Leggings from 7Alive
Fall No Sew Buffalo Check Pillow from Lydi Out Loud
Brand Sparkling New Onesie from Tastefully Frugal
Cinderella Pumpkins from Auntie Tay
DIY Halloween Pillow from The Happy Scraps
Falling For You Shirt from The Quiet Grove
Faux Leather Flower Clips from 5 Little Monsters
Something Wicked This Way Comes Banner from Albion Gould
Blessed Flower Arrangement from Crafting In The Rain
Squad Ghouls Halloween T-Shirt from Housewife Eclectic
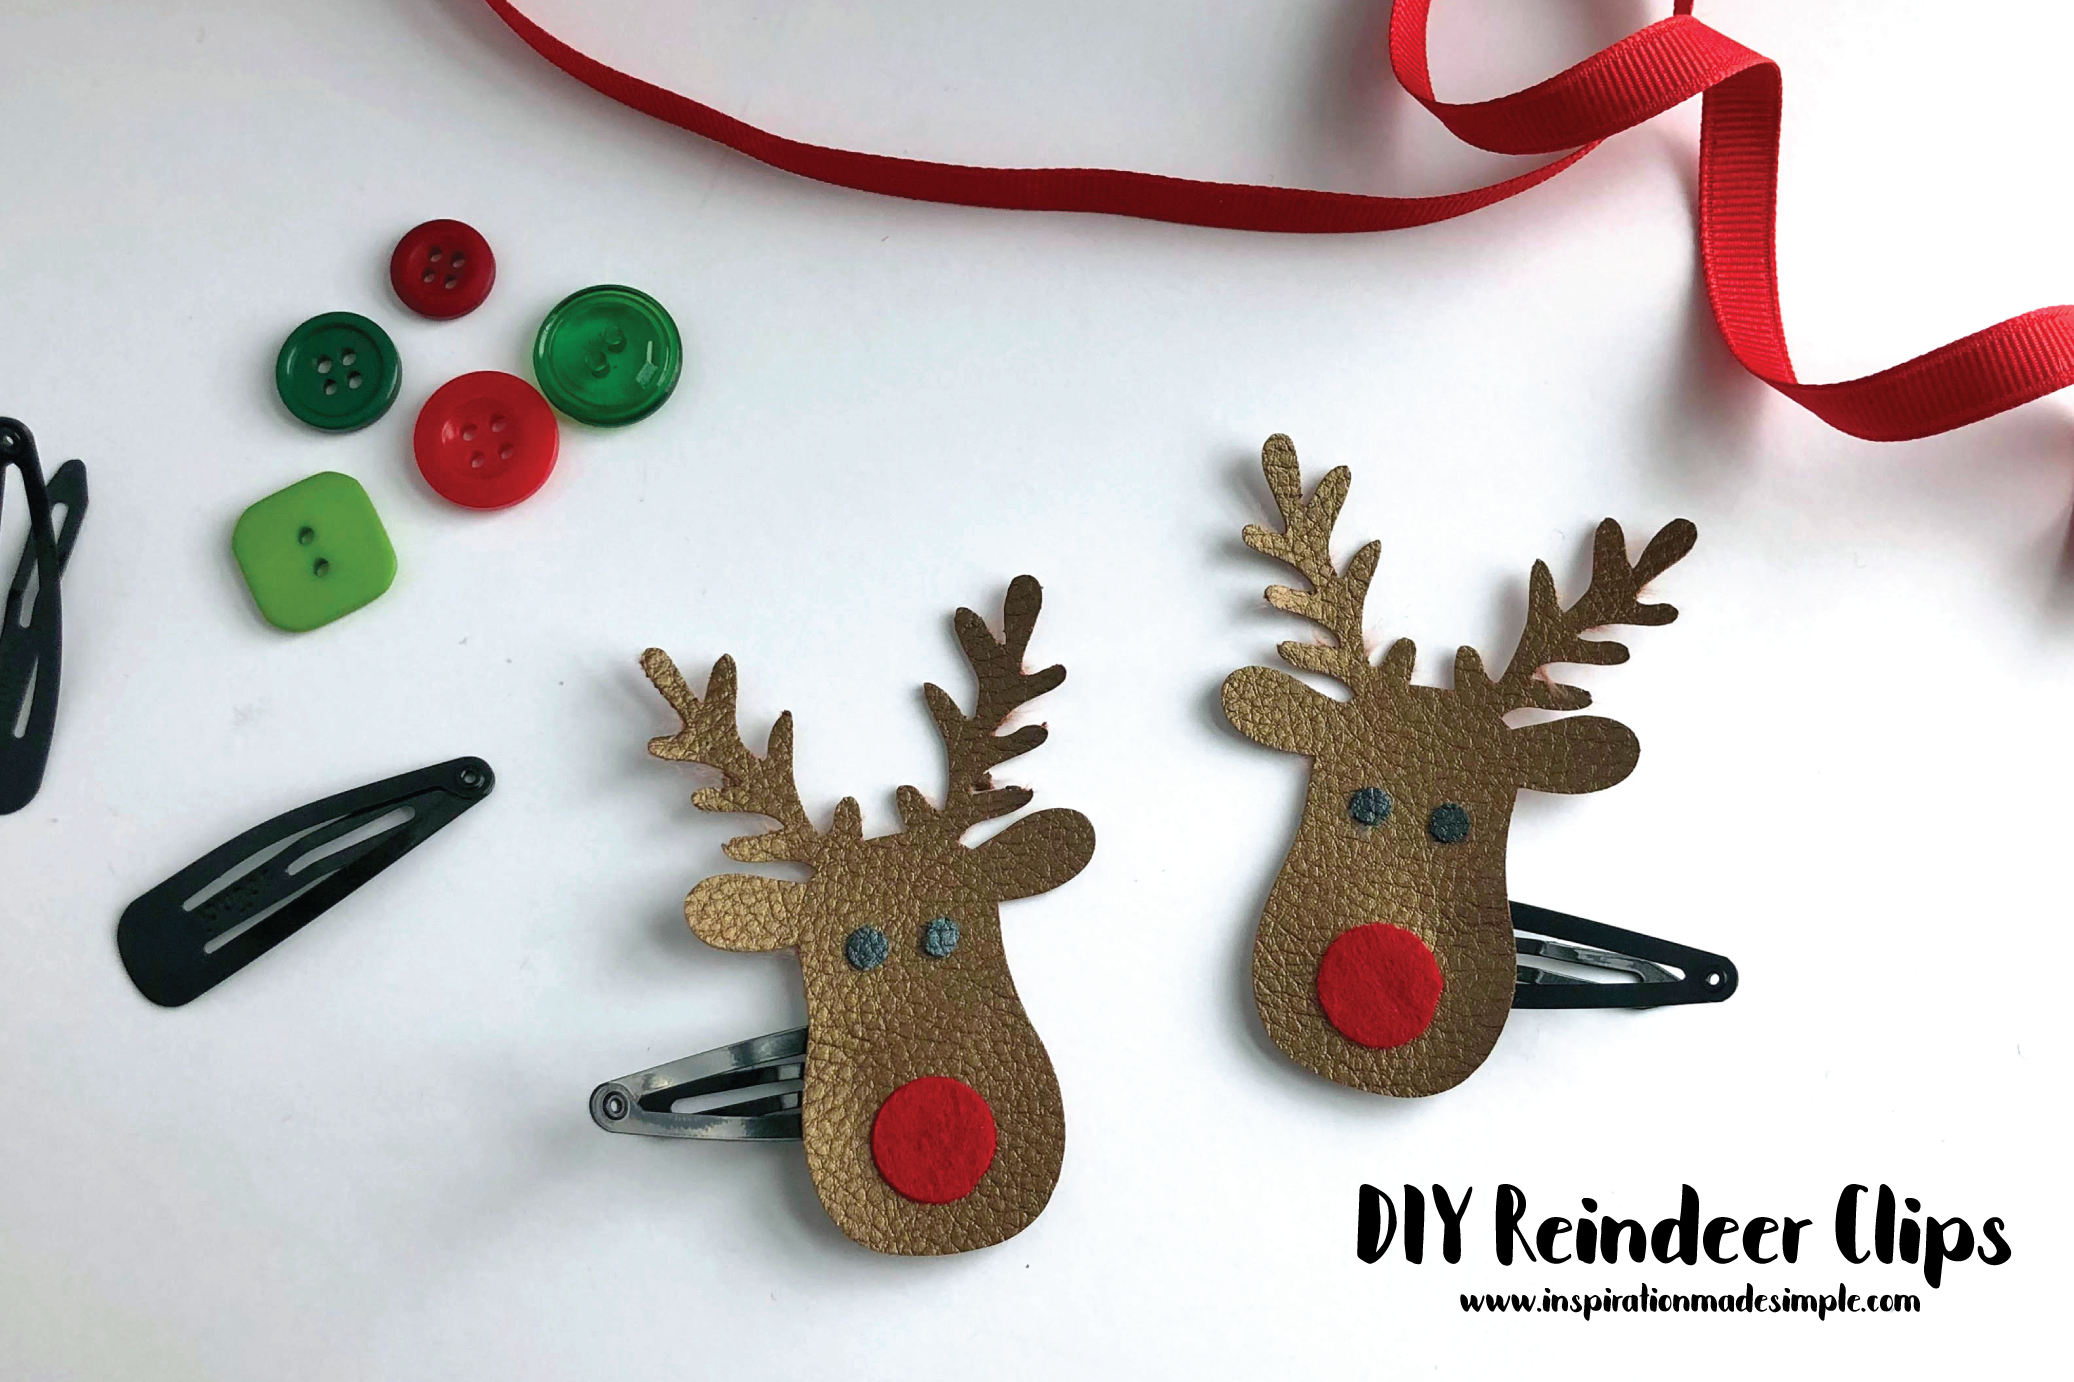
DIY Leather Bows from Artsy-Fartsy Mama
BOO Halloween Headbands from RaeGun Ramblings
DIY Flower Skull From Cloudy Day Gray
Kids Thanksgiving Graphic T-Shirts from Over The Big Moon
Faux Leather Floral Cuffs from Hello Creative Family
Fall Paper Leaf Wreath from Frenchie Wraps
Glitter Apron from Midge and Madge
DIY Fall Mantel from Major Hoff Takes A Wife
Halloween Party Props from Nite Owl Creates
Disney Savings Jar from Inspiration Made Simple
DIY Farmhouse Sign from A Southern Mother
Want to make one (or all) of these projects? We’ve teamed up with Cricut to help with that! Enter through the widget below to win a HUGE box full of supplies including: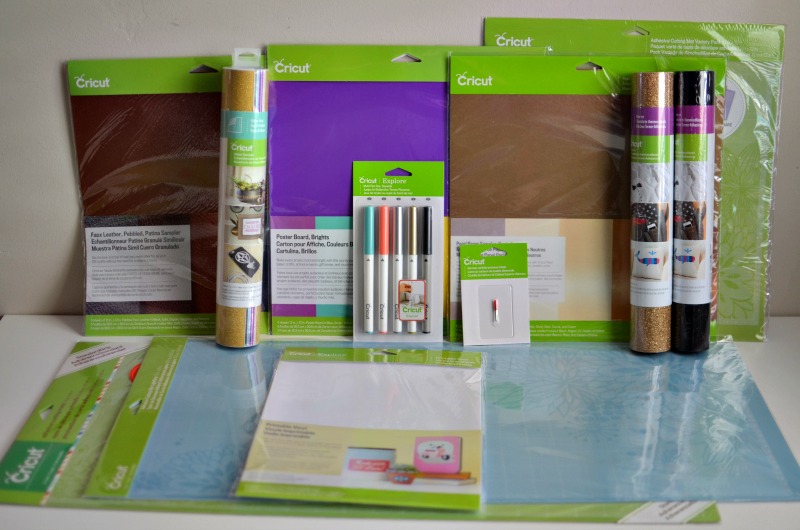
Variety 3 Pack of Cutting Mats
Patina Pebbled Faux Leather Sampler
Giveaway is open to residents of US and Canada ages 18+. Giveaway ends on 10/21/2016 at Midnight MST. Winner will be notified within 24 hours and has 24 hours to respond.

Very cute idea! It was fun doing the Fall Challenge with you!
What a cute idea! I’m sure it makes saving much more fun for kids!
Thanks Lydi! My daughter absolutely loves it… and now my son has requested one. 🙂
So cute! I bet she loves putting money in there!!