
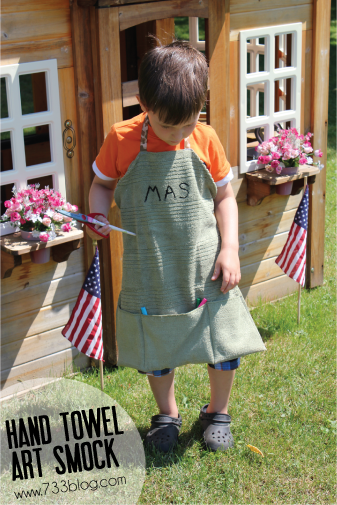
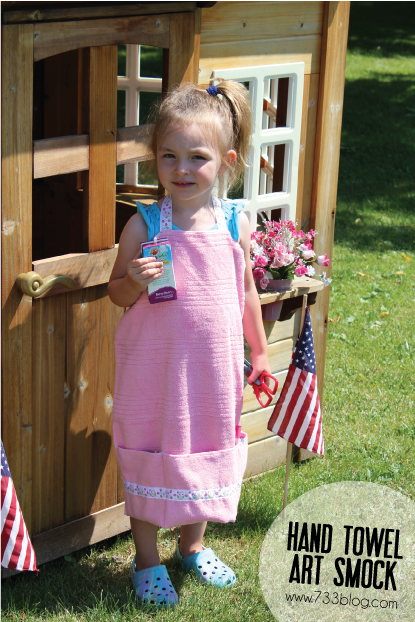
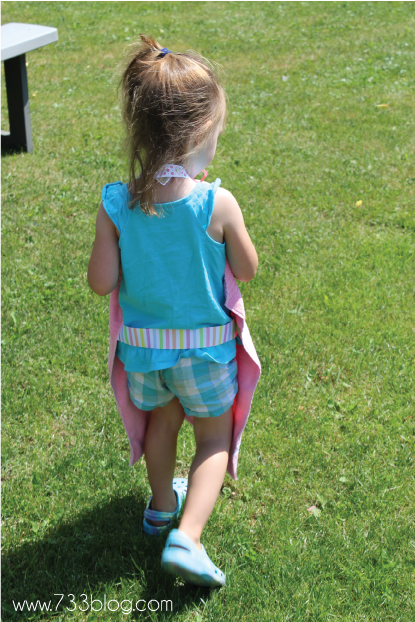
My two young kids were in desperate need of aprons for when we craft, especially while camping.
We love to paint rocks and many of the campgrounds have arts and crafts hour and we ruined a shirt or two, you know, since there is no laundry and I didn’t have any stain sticks. I decided that the easiest way to create an art smock would be out of a hand towel. I didn’t have any extras on hand, so I stopped at Goodwill and picked up two microfiber ones for $2.50 each. Using ribbon, velcro and my sewing machine I put together a very simple art smock.
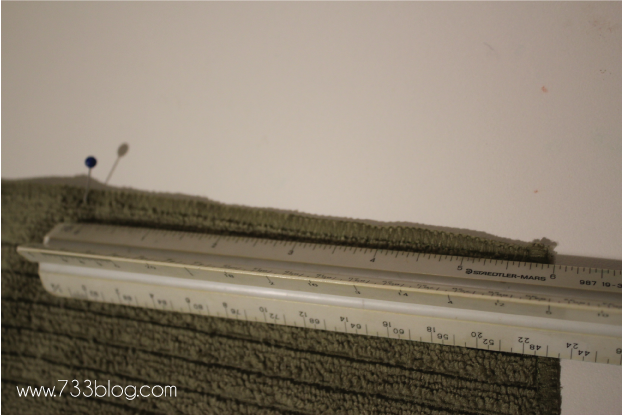
My towels were 18″ x 24″ and fit my almost 5 year old perfectly.
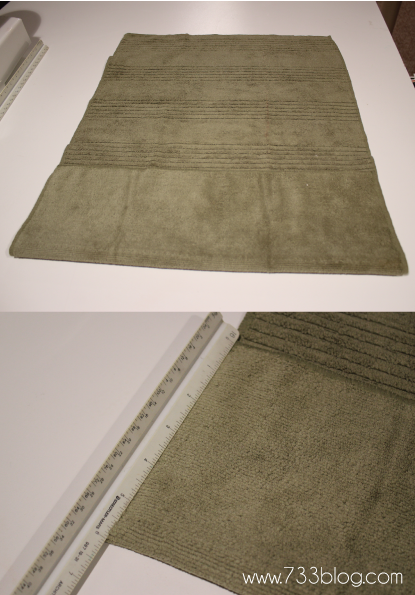
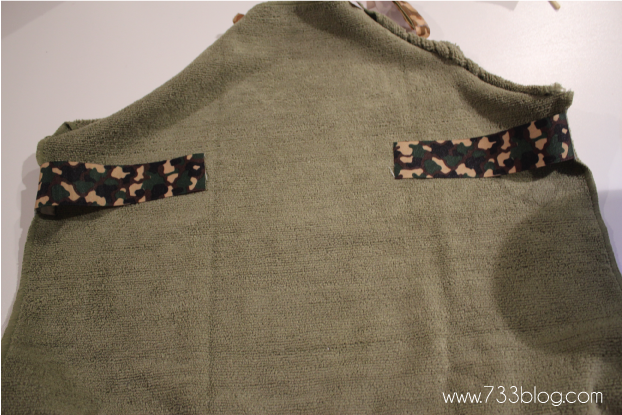
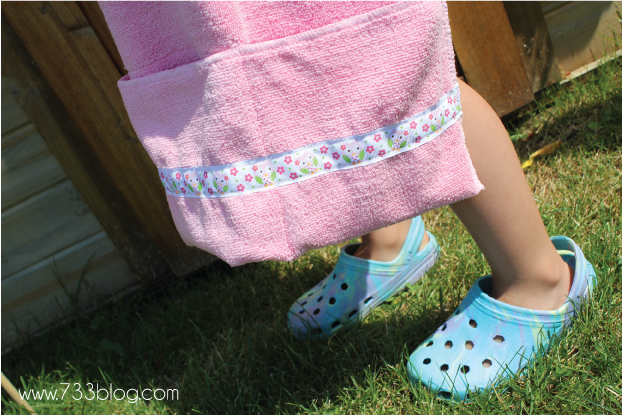
To start, lay your towel flat. Flip up the bottom portion to create the pocket, mine was 6″ tall.
{If you want to add a ribbon on the pocket you would do so now, making sure to do it on the wrong side of your apron}.
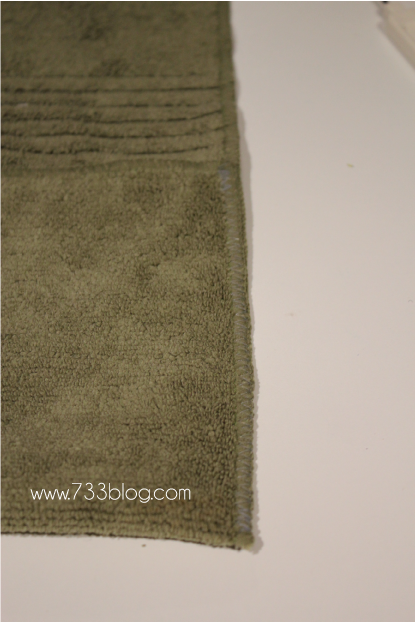
Pin the sides and using a zig zag stitch sew up each side of the pocket.
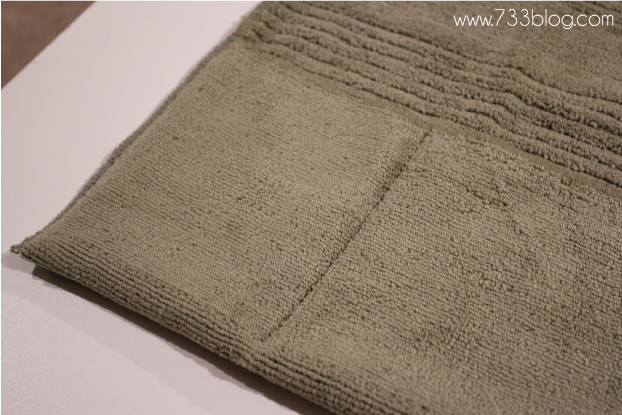
To create three sections of the pocket just use a straight stitch, starting a the bottom of the pocket, sew a straight line up until you reach the top of the pocket.
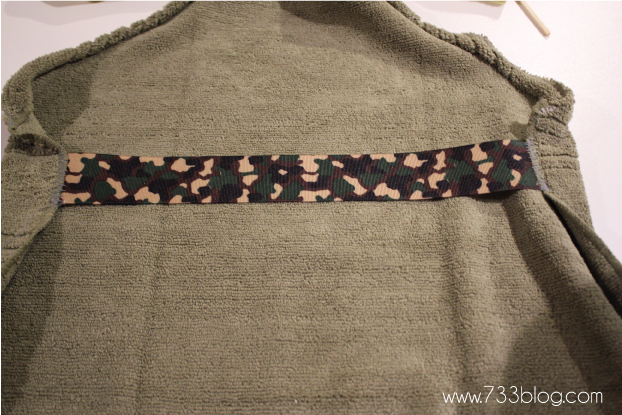
Now we will move onto the neckline of the apron. From the top corner, measure in 6″ and fold at a 45 degree angle. Do the same for the other corner.
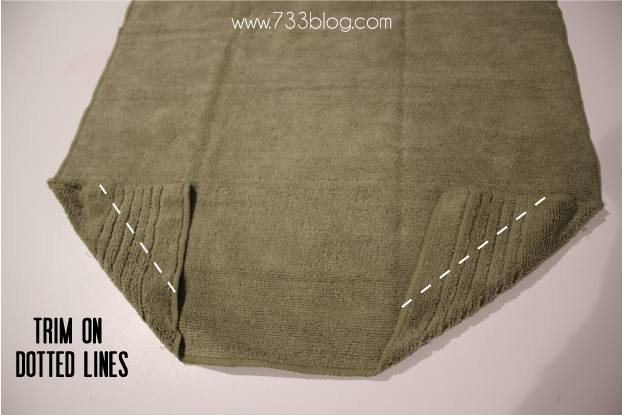
Trim off excess fabric, so that you have about an inch of fabric.
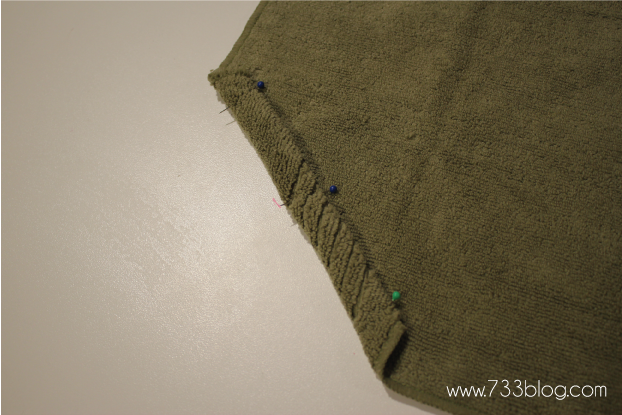
Fold under and fold again so the unfinished edges are hidden, pin in place.
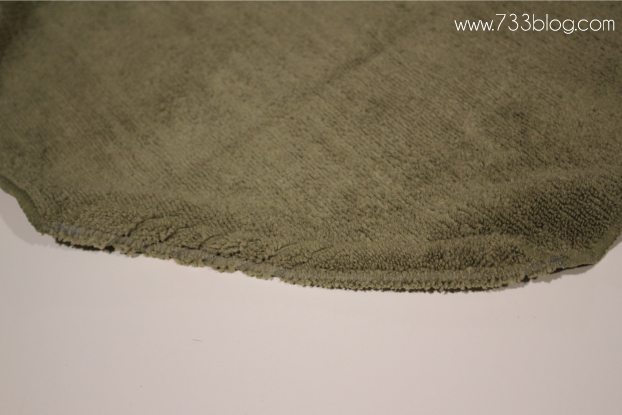
Using a zig zag stitch, sew down the sides the angled sides you just created.
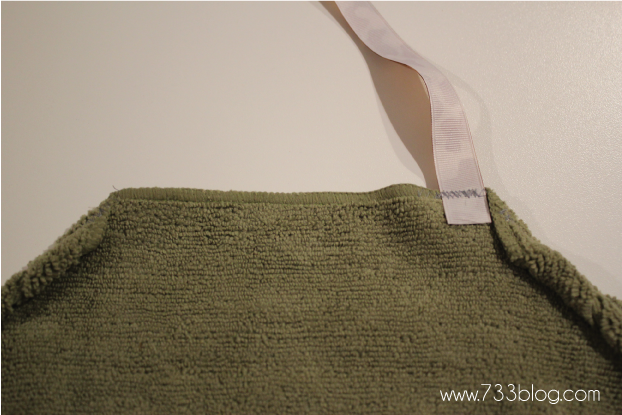
Measure the length of ribbon you will need to go around your child’s neck. Line it up at the top of the apron right next to where the corner angles down, pin in place.
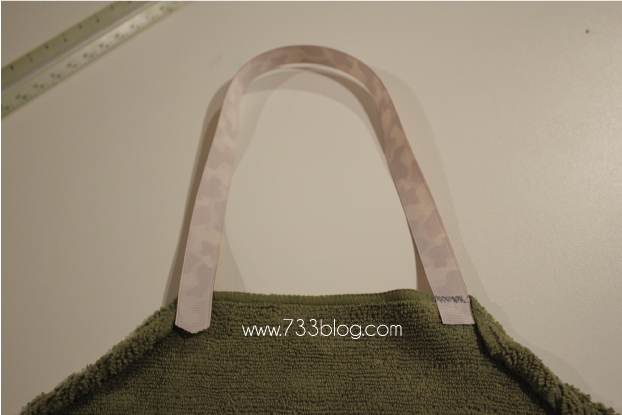
Do the same for the other side. Using a zig zag stitch, secure to the apron.
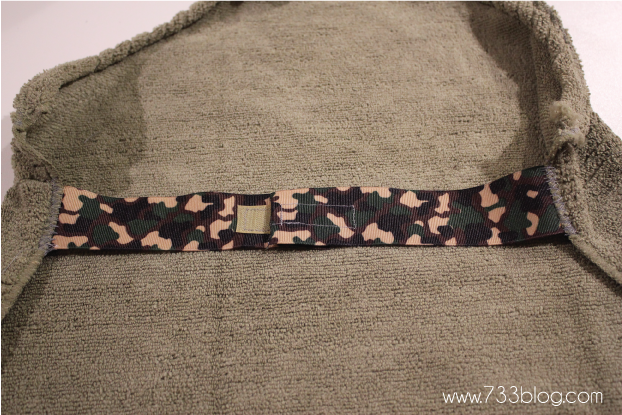
Cut the ribbon in half, burn the edges and add velcro for easy on/off.
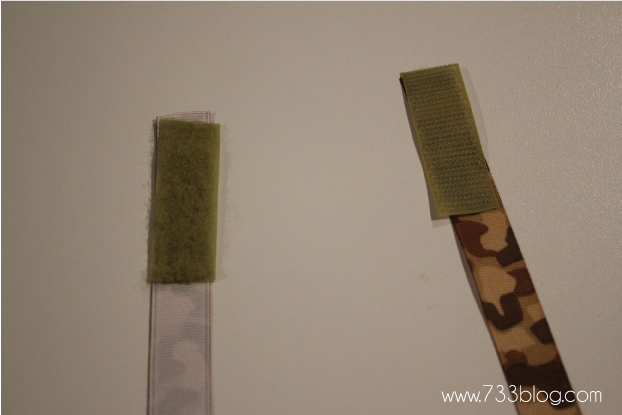
I put the loop (soft) portion of the velcro on the wrong side of the ribbon, and the hook (scratchy) side on the right side of the ribbon, so that if any of the velcro touches their neck, it is the soft side.
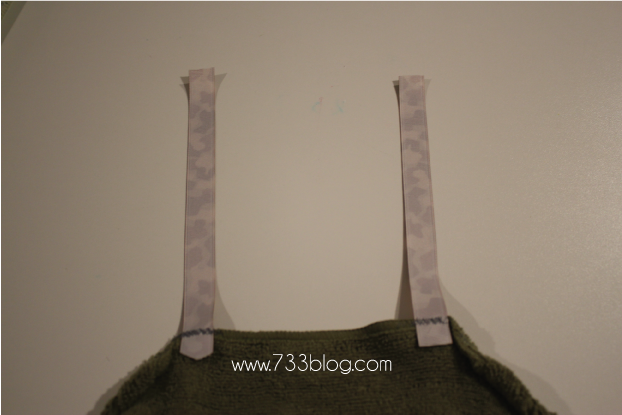
Next cut a length of ribbon that will secure the ribbon at the waist. With the right side of the ribbon, line it up to the wrong side of the apron along the side at the waist and using a zig zag stitch attach to the apron. Do the same for the other side.
Cut the ribbon in half, burn the edges and add velcro.
{I did it the above way for the green one. For the pink one I sewed the ribbon toone side of the apron.
Add a section of velcro to the other side of the apron, and one piece to the right side of the ribbon.}
That’s it, you’re done!


 Kim is a Marketing Director by day and Crafter/Blogger/Blog Designer by night. She lives with her husband, three beautiful children, and her dog and cat. You can also visit her design site, seven thirty three – – – creative blog design. For even more seven thirty three fun, like her on Facebook or follow along via Twitter!


Happy Birthday to your son. This would make a great apron for an adult using a bath towel.