
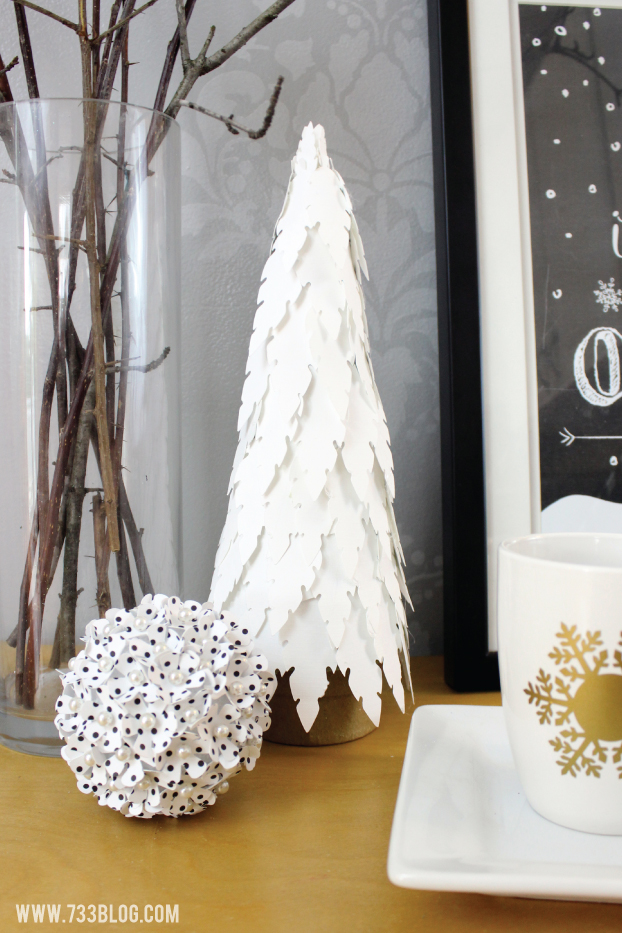
Today I’m going to share with you how I made the Feather Christmas Tree that you saw in my Holiday Hot Cocoa Bar a few days ago. This is a super easy piece of Holiday decor to make. It can be done with burlap or linen, or paper as I have done.
 Supplies Needed:
Styrofoam Cone
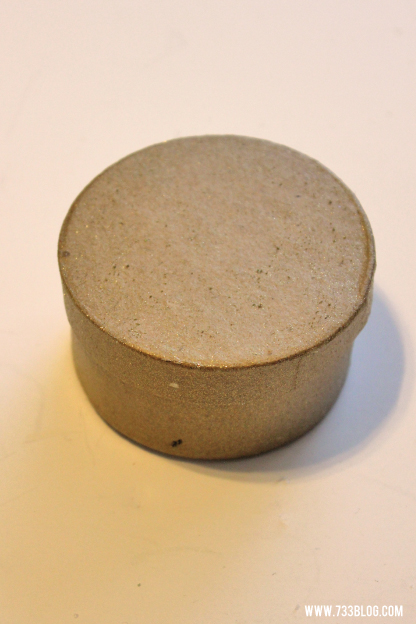
Small Base – I used a plain round box from Michaels that cost $1
Cardstock or Fabric
Hot Glue
Paint – if you have a plain base
Cricut Explore (affiliate link for your convenience).
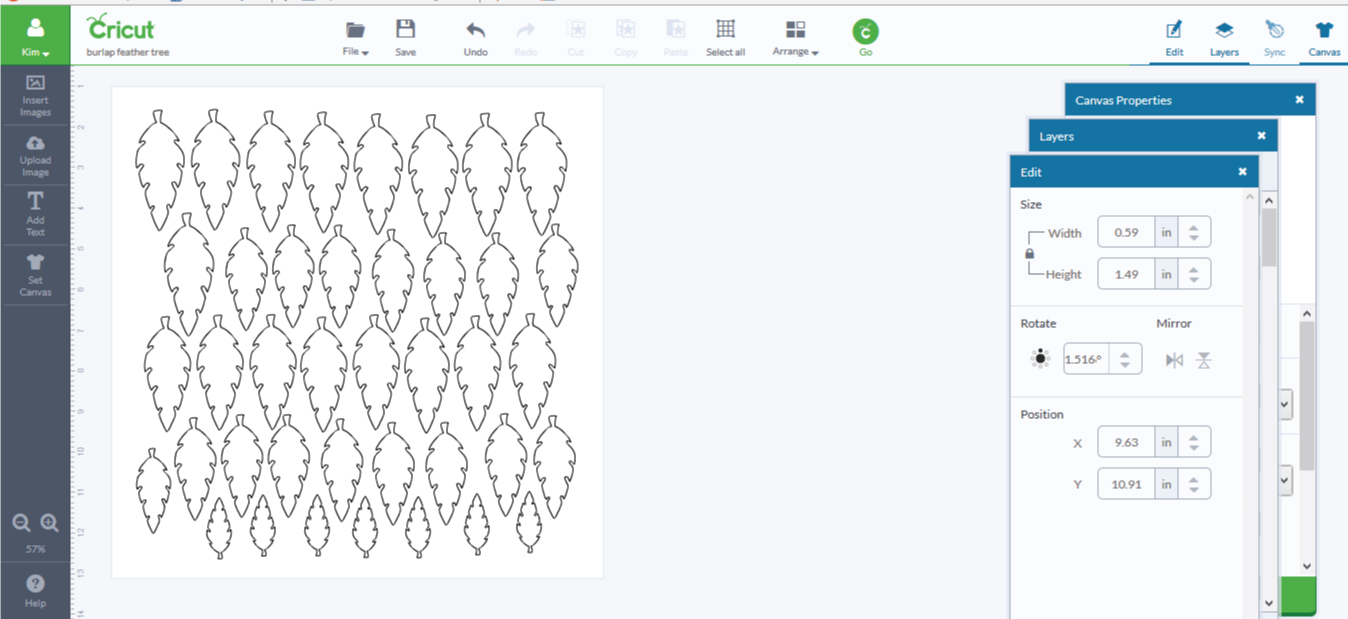 The first step is to cut out a ton of feathers! I chose a simple feather from the Cricut Design Space Image Library and inserted it onto my 12×12 canvas. I made it several sizes and then duplicated those to fill the canvas. My biggest feather was 1.19″ w x 3″ h, the smallest was .59″ x 1.49″. Once all of the feathers were cut, I placed them into a pile and set them aside. It took me three sheets of 12×12 cardstock to cover the whole cone.
 If you use the same base as me, you may want to paint it, or add spray glitter like I did, just to add a little sparkle.
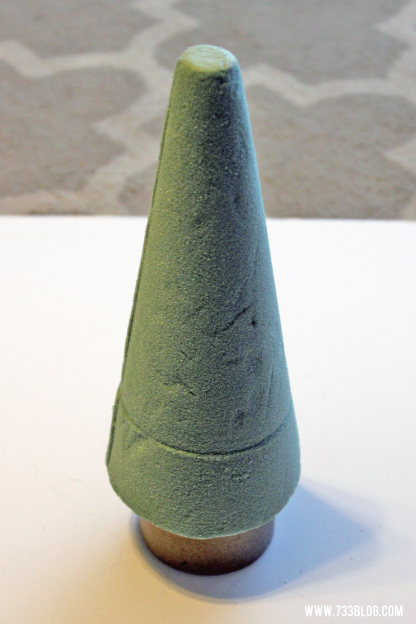 Glue the base to the bottom of the tree.
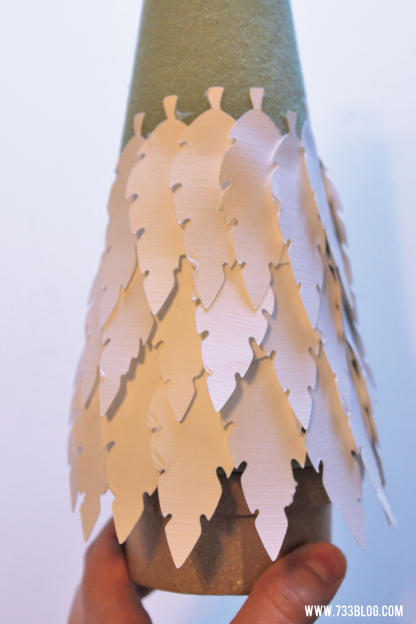 Now it’s time to add the feathers. I started with the biggest feathers and glued them along the edge of the bottom, overlapping so no styrofoam shows through. I then just kept adding layers up and around the tree, filling in with smaller feathers as necessary. At the top I used the smallest feathers and had them point up to create the point of the tree. That’s it, you’re done!


This is beautiful! I’m sharing, for sure.
Thanks Sharon! I’ve been having fun working with all my foam. 🙂