
Hi there seven thirty three peeps!
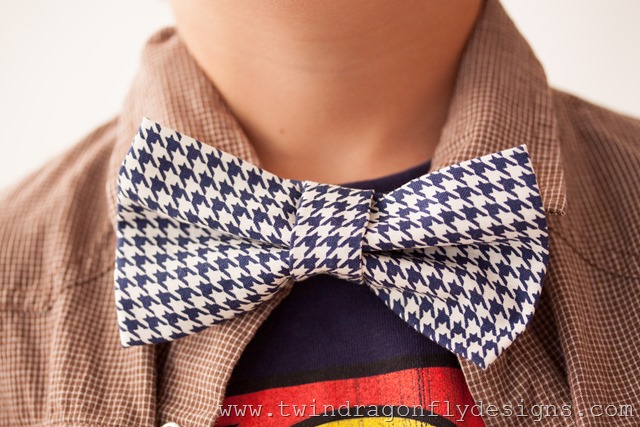
Today I have a super cute Adjustable Bow Tie Tutorial for you. If you stop by Twin Dragonfly Designs you will find all sorts of little boy back-to-school DIY ideas and we hope that you will visit soon.

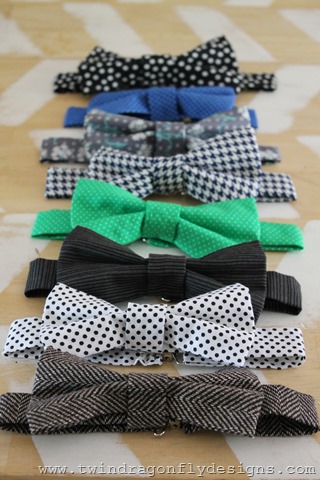
My boys love accessories.
 So with both of them off to Kindergarten this fall I just knew that a few cute bow ties would be needed.
If you would like to make your own, here’s how…

1. Start by cutting out three pieces of fabric in the following dimensions: 6″ x 11″, 2″ x 3.5″ and 2.25″ x 16″These are sized for a child ages 4-10 years old.

2. Fold each piece of fabric in half lengthwise, right sides facing and sew the longest unfinished edge together using a 1/4″ seam.

3. Invert each piece of fabric so that right sides are now facing out.

4. Iron each piece so that the seam is centered at the back.

5. Fold the largest piece and smallest piece in half with the seam on the outside. Sew the unfinished edges together.

6. Invert the large and small pieces to create tubes of fabric. Iron the larger piece flat with the seam at the back. Tuck the unfinished ends of the longer piece inside and sew them closed.

7. Use a suspender/paci clip to create an adjustable neck portion. Fold one end of the long piece of fabric through the clip and sew it into place.

8. Squash the center of the largest piece in the center to create a bow shape.

9. Tack the center of the bow into place with a needle and thread.

10. Tuck the bow into the smallest piece of fabric and sew that into place in the center.

11. The longest piece of fabric through the small center loop and you are all done!

Using a suspender clip makes the tie totally adjustable. Simply fold and clip the end of the fabric to make the neck portion smaller. I found clips at our local fabric store and even upcycled some from a pair of thrifted suspenders.

This little superhero loves his assortment of ties.
Be sure to stop by Twin Dragonfly Designs to say hi sometime.
And check out our What We Wore Wednesdays posts every Wednesday for more DIY, thrifted boy fashion.








Love the tutorial! Do you have any measurements for a younger child? Such as a baby or toddler?
Can i ask what your sizes would be for a child 3 years and younger.
Heather from Twin Dragonfly Designs shared this as a guest post. I would recommend contacting her directly. You can get her contact info via her blog: http://www.twindragonflydesigns.com/ Good luck!