
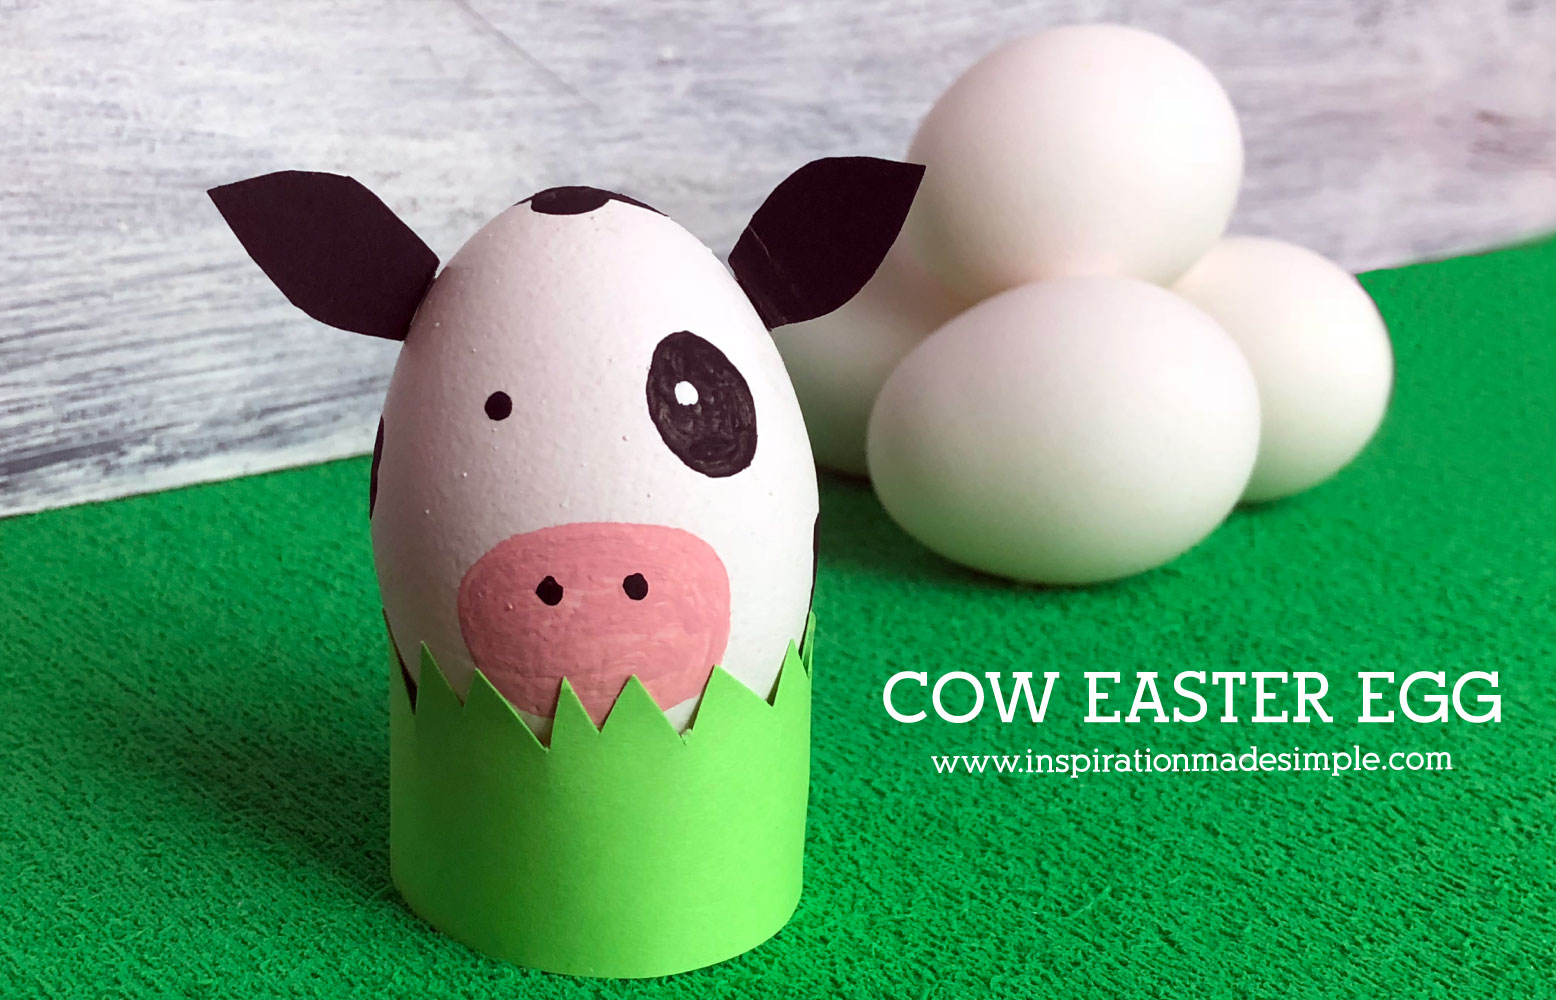
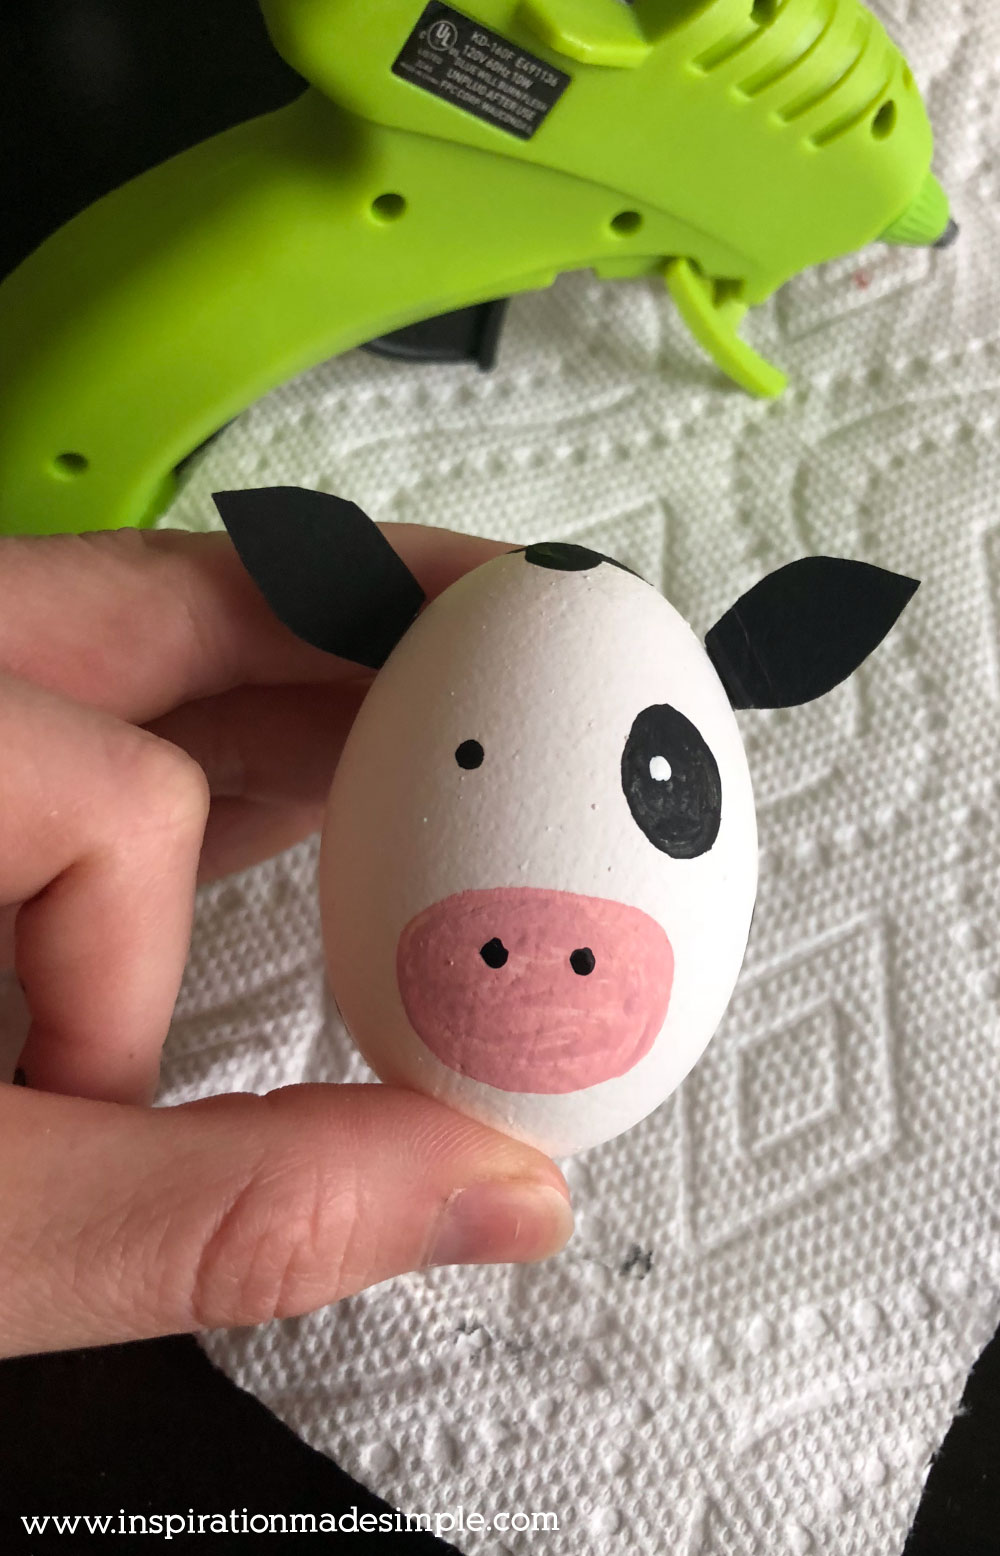
Food Network Magazine reached out to me back in November of 2017 about a feature they were putting together: the 50 States in Easter Egg form! How fun is that? They reached out to creative types from each state to craft up an egg that represented said state. I said yes immediately and began brainstorming my Vermont-themed egg. Since Vermont is famous for its dairy products (hellooo Cabot Cheese and Ben & Jerry’s Ice Cream!), I ended up with the cutest DIY Cow Easter Egg! Meet Mooshell Holstein:
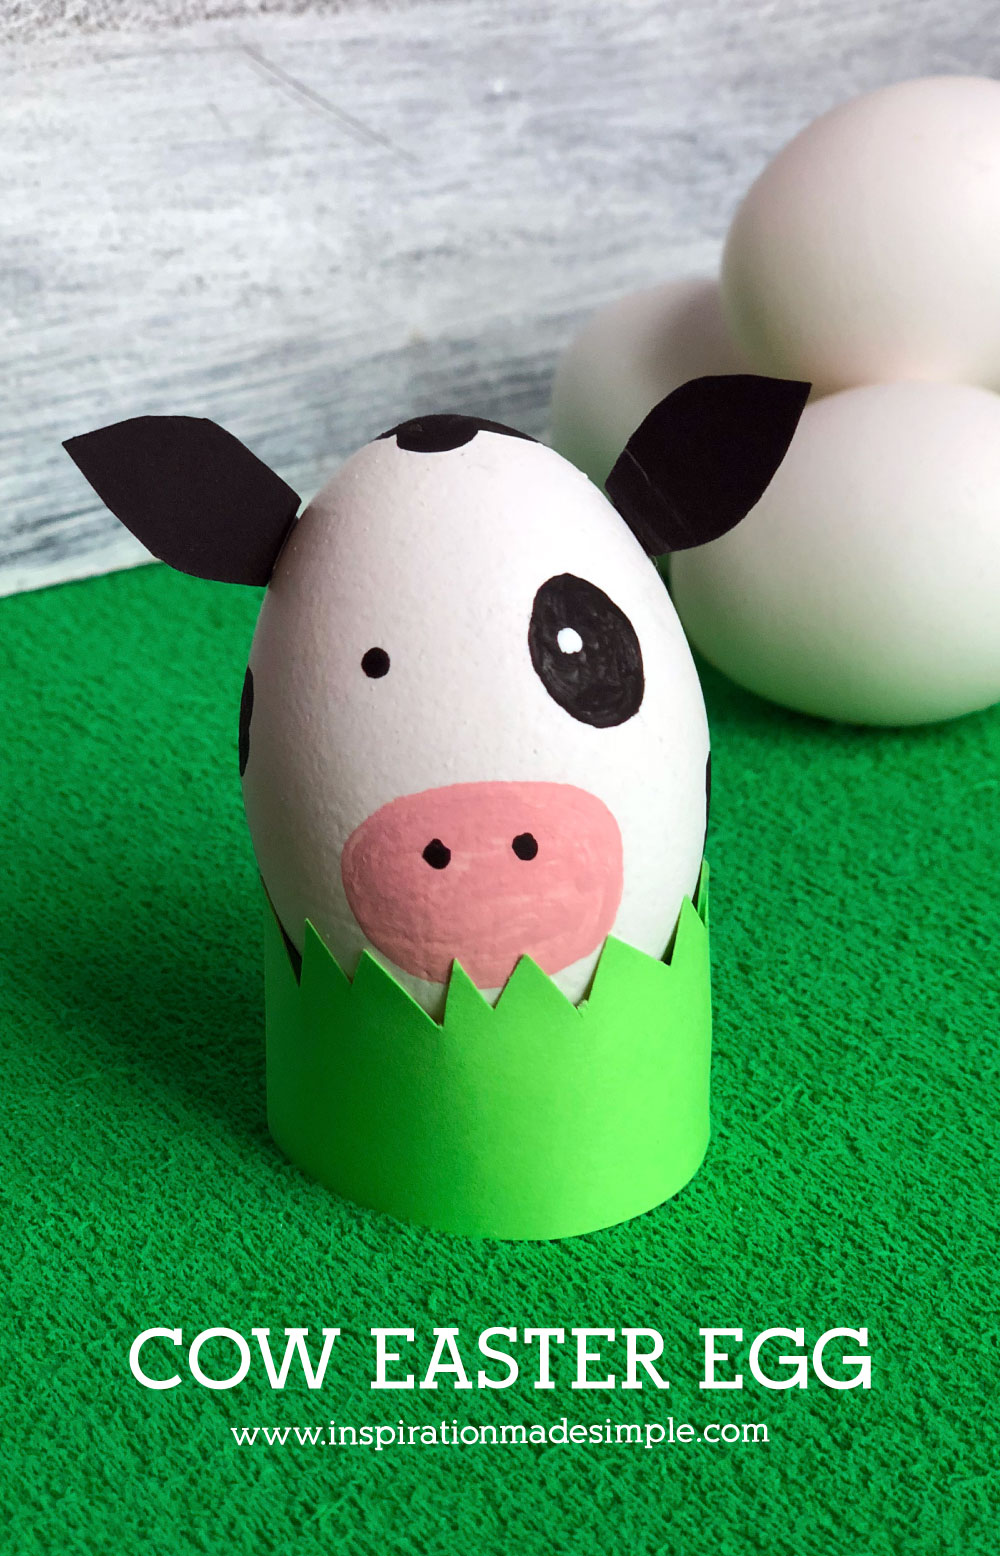
This DIY Painted Easter Egg was super easy to make, and today I’m going to show you how!
DIY Cow Easter Egg Tutorial
Supplies:
- Hard Boiled Egg
- Acrylic Paints
- Paint Brushes
- Cardstock
- Hot Glue
Let’s get started!
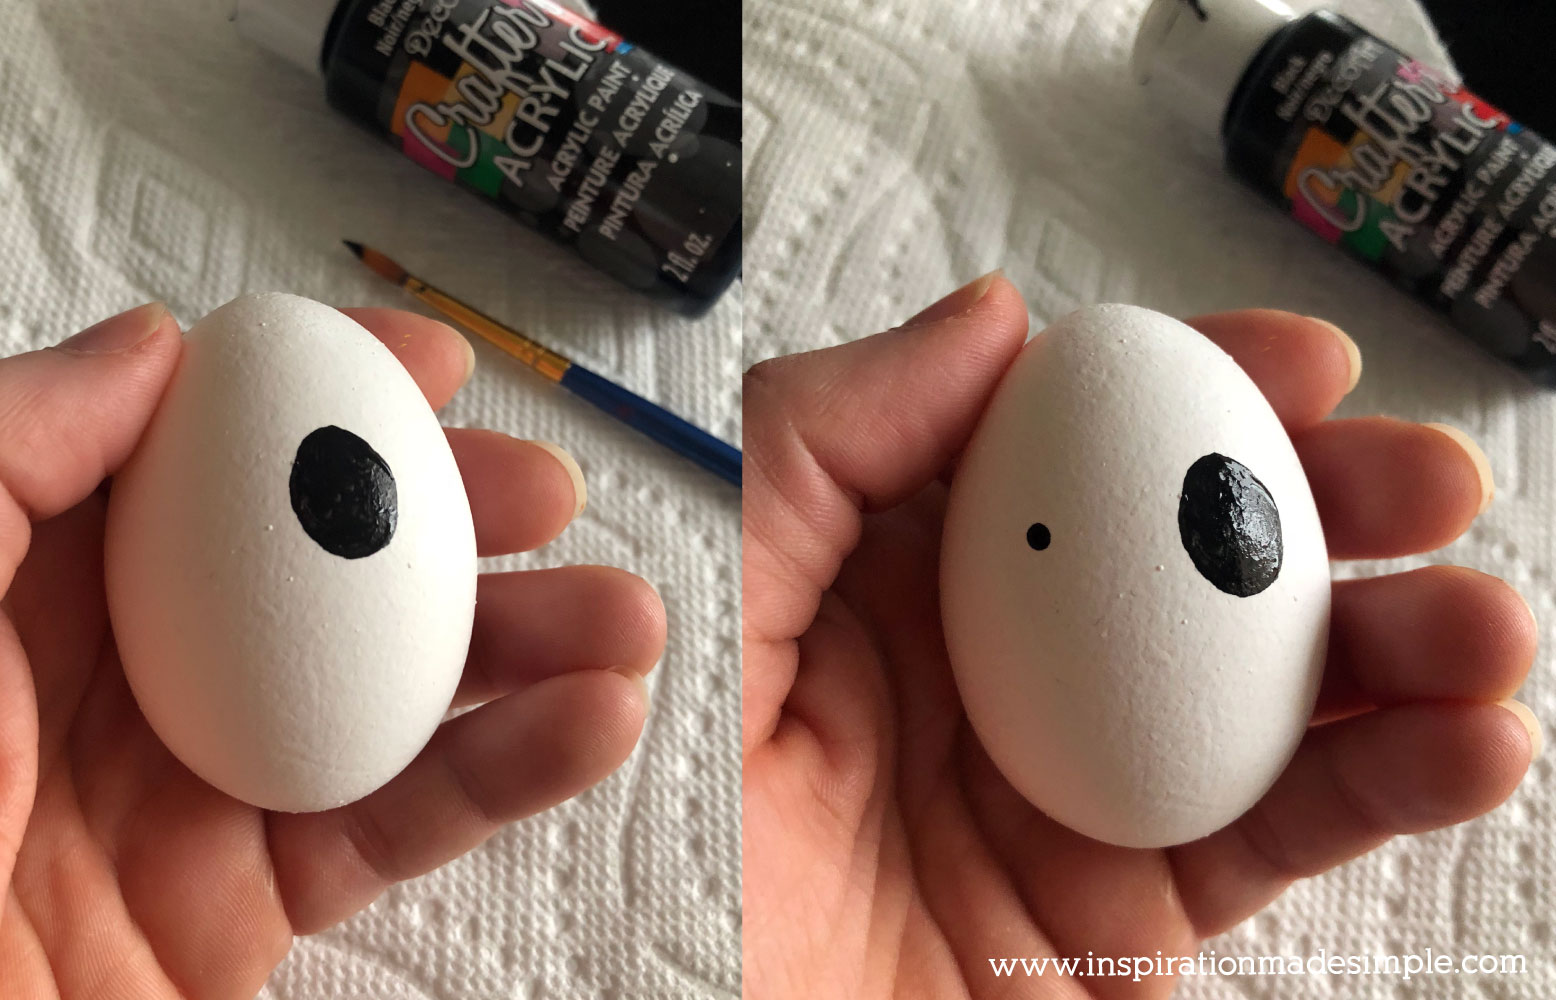
Starting with the eyes, paint a large black circle for one, and a small black dot for the other.
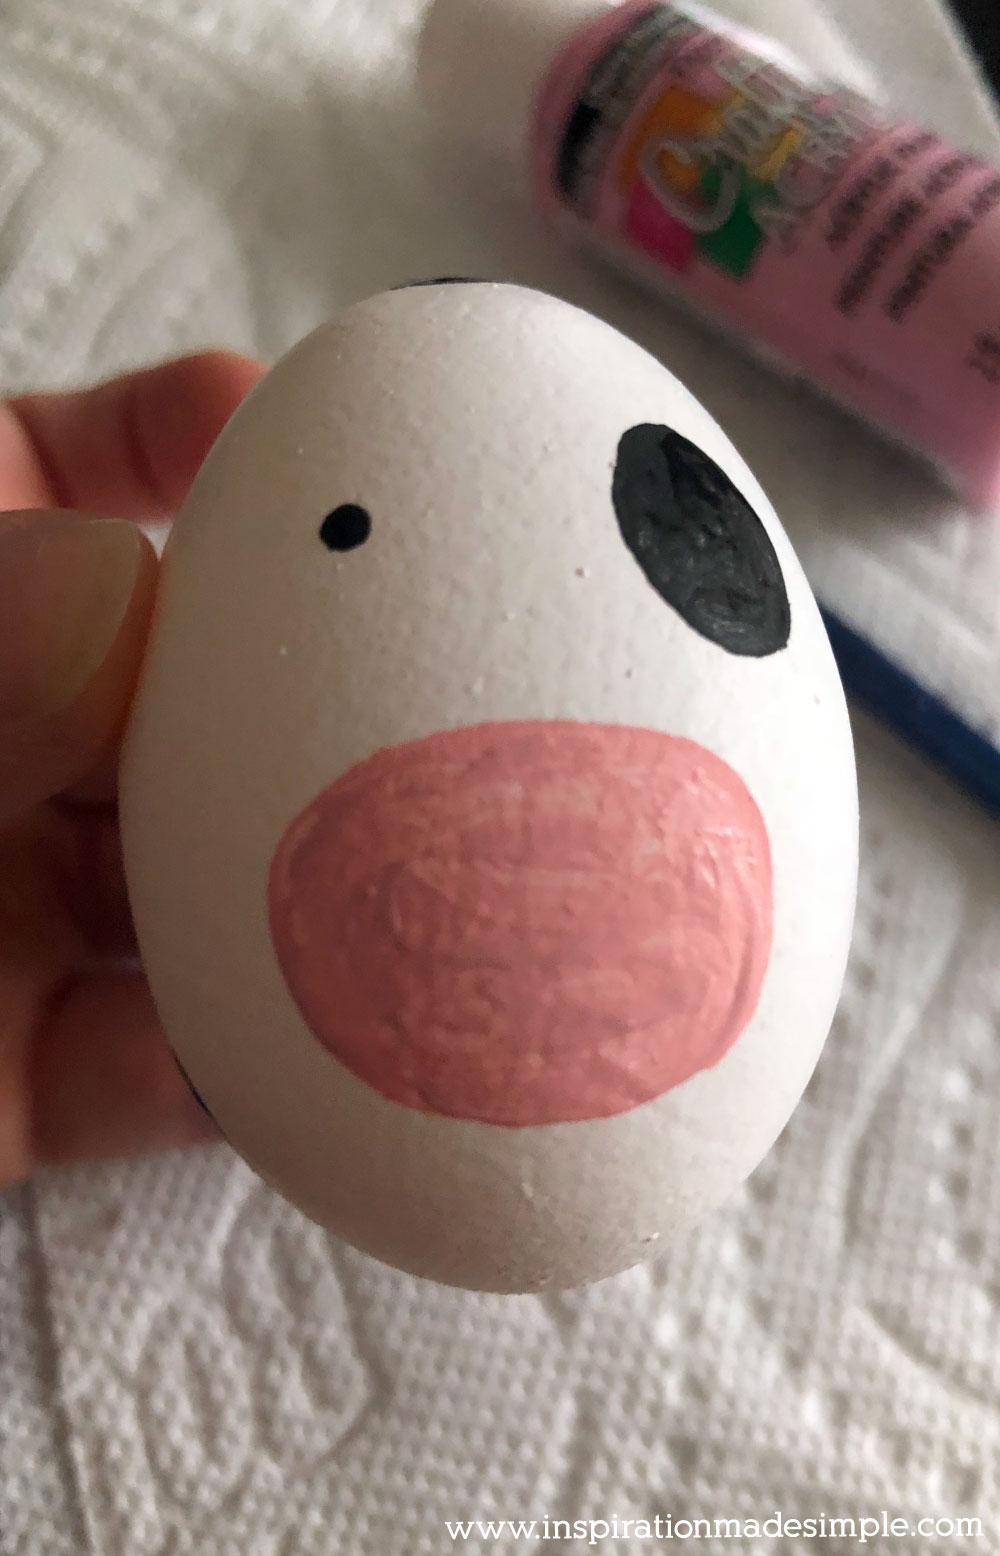
Next, I created the nose by painting a large pink oval-ish shape.
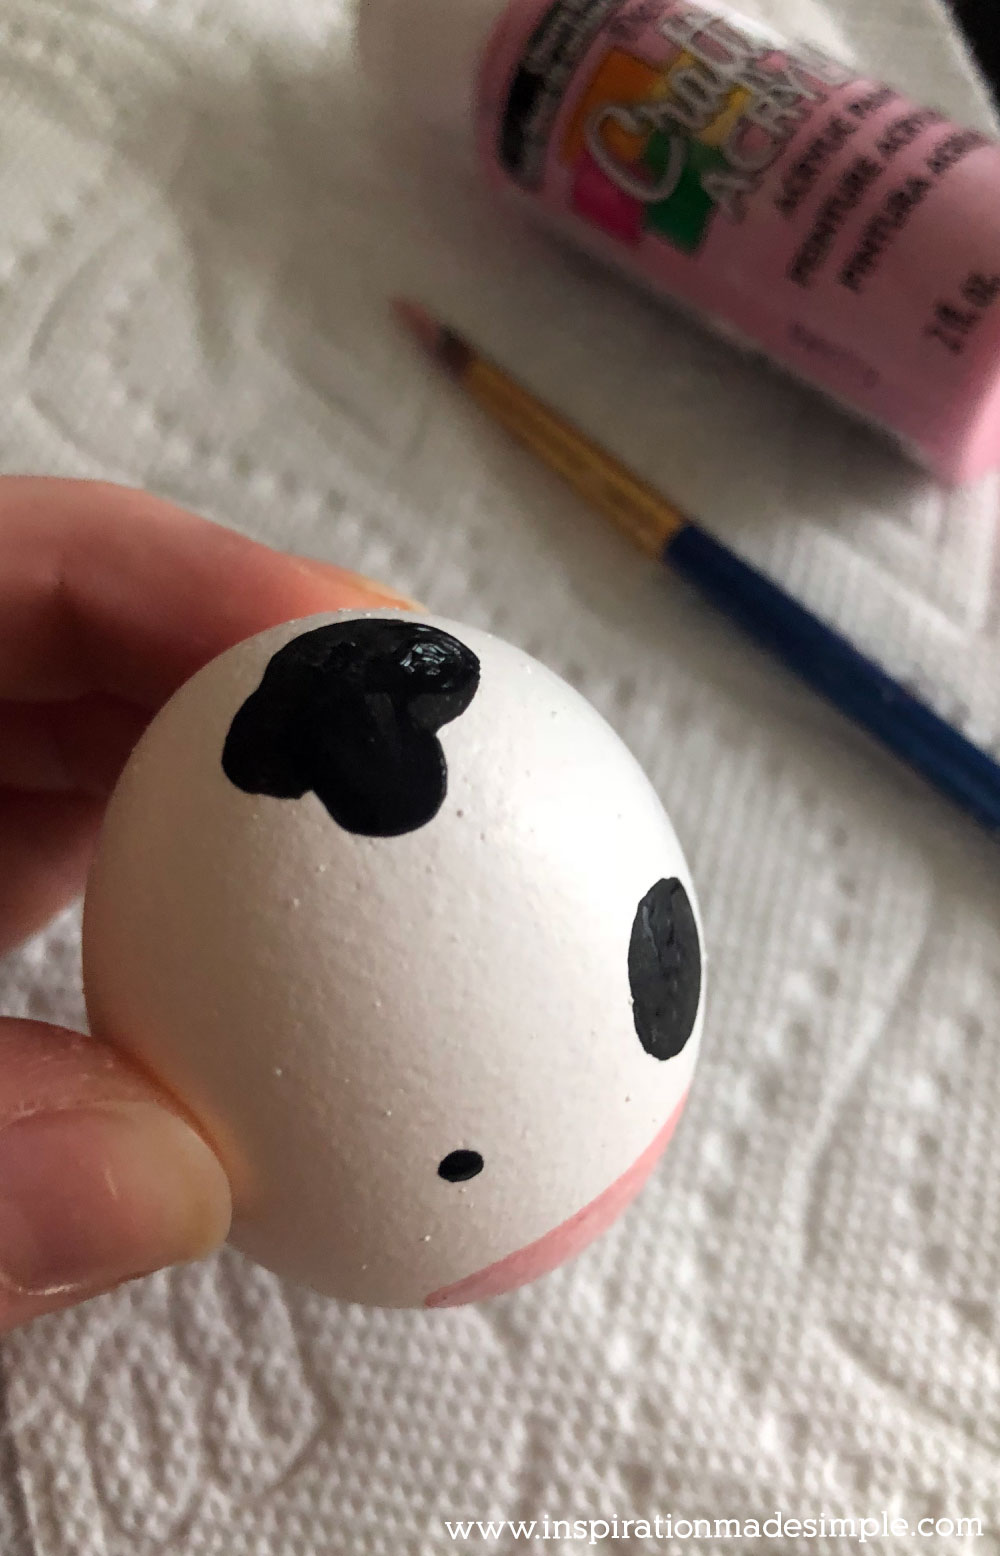
Add in random spots around the egg. I put one right at the top middle because I thought it would look cute between the ears we’ll be adding later.
TIP: Use thin coats. They dry within a minute or two and you’ll be able to add another coat if needed.
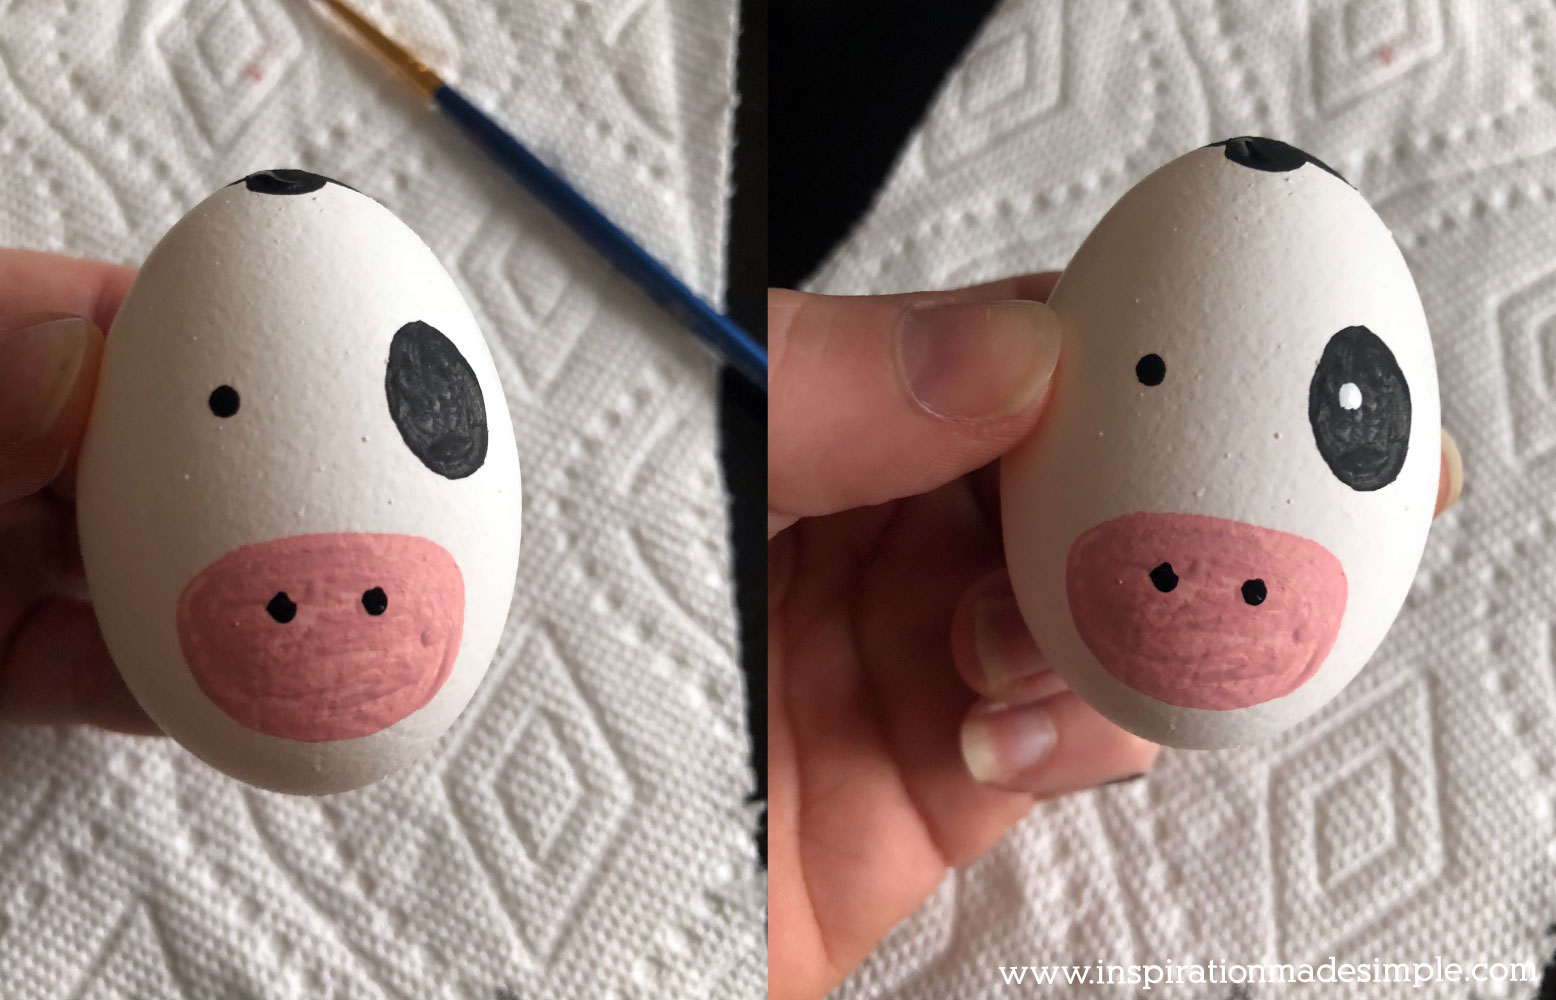
Go back to the nose and add in two small black dots for nostrils. Also add a small white dot to the large black eye.
Set the egg aside to dry.
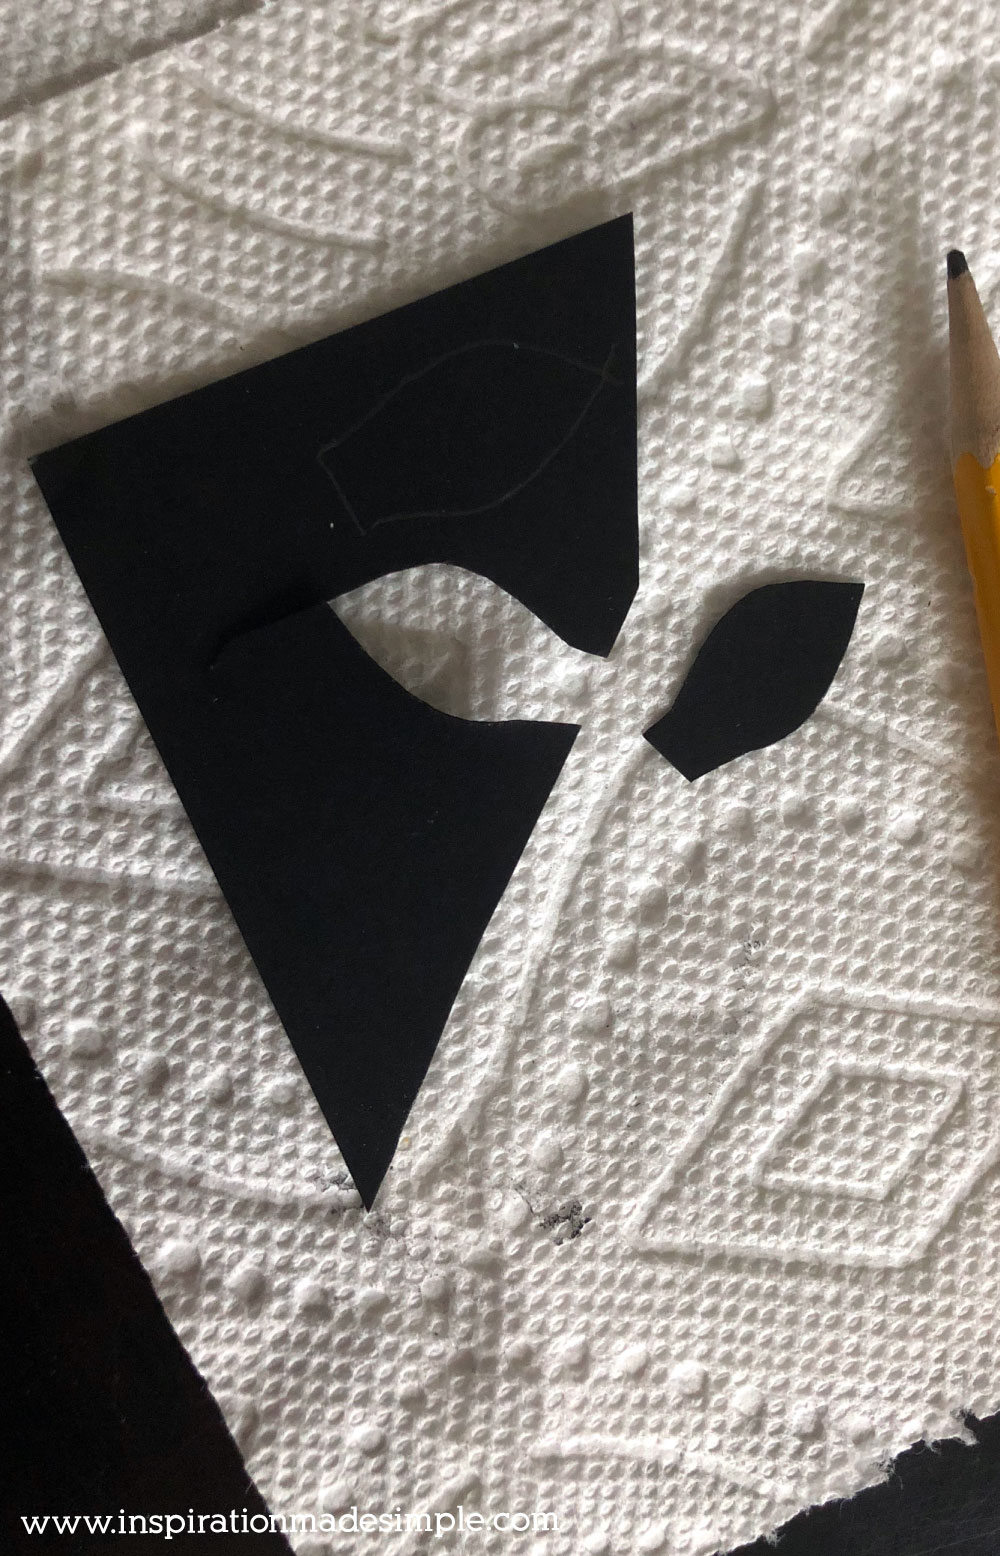
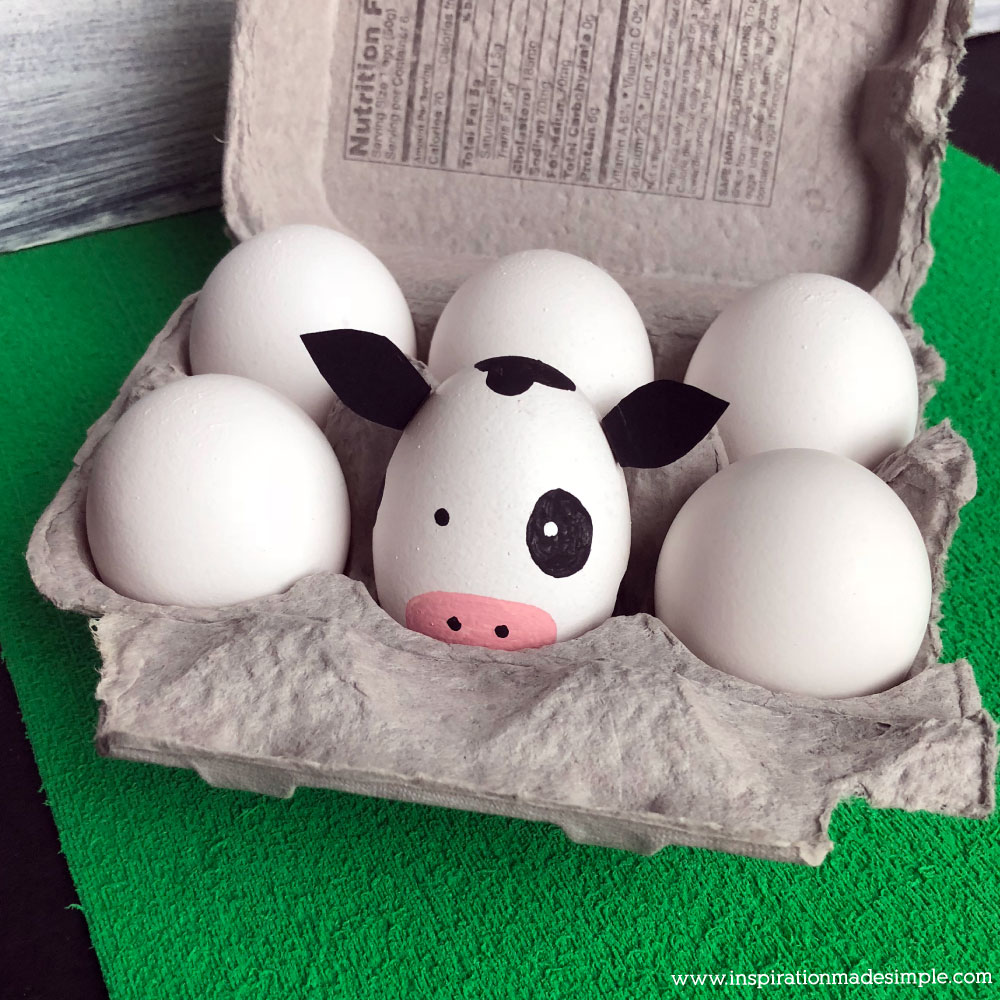
Using black cardstock, cut out two ears.
Fold the end of each ear. Add a dab of hot glue and attach to the top sides of the egg.
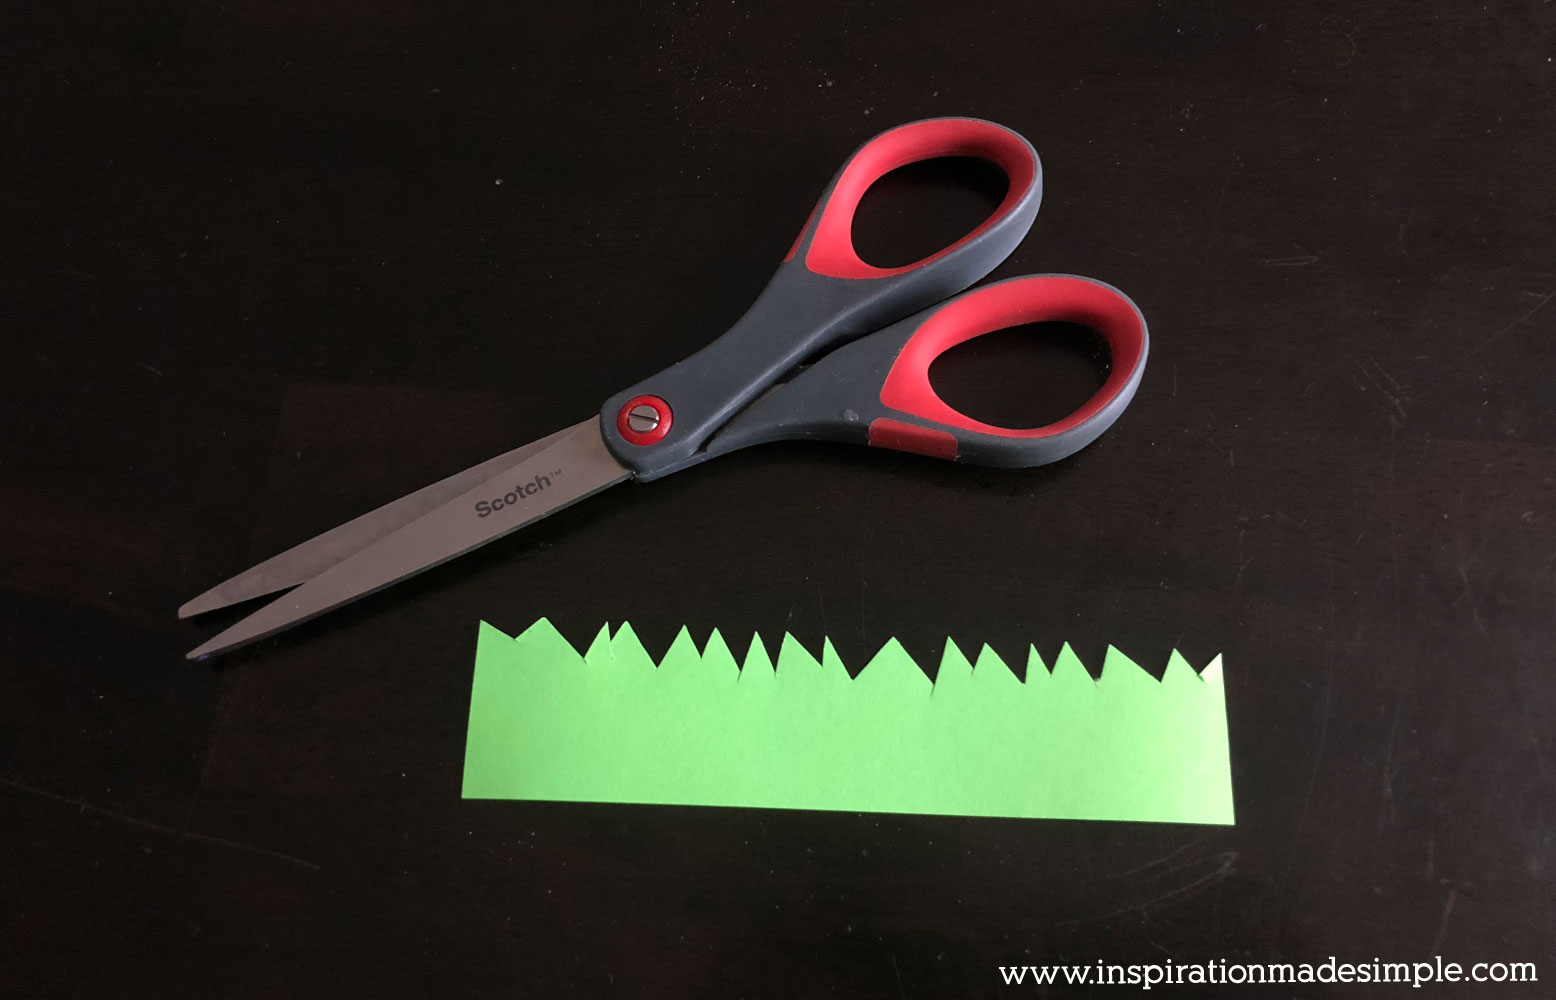
To create a stand for the Cow Egg, I cut a “grass” strip out of green cardstock. Rolled it up to fit the egg and hot glued the edges together! Sit the egg on top and you’re good to go.
That’s all there is to this Moo-egg!
Head over to Food Network to see the other awesome eggs from each of the states!


