
My son chose orange and gray for his new room colors. I found a great comforter that he loved and I made a no-sew flag bunting to hang as a valance on his windows. I also purchased a gorgeous cement lamp and a plain white shade to put on his night stand. The only problem? I could not find an orange lamp shade so I ended up with a plain jane white one. It looked fine on the lamp, but I really wanted to add in some more orange accents. The wheels started turning and I decided to try painting it. The idea sounded good in my head so I gave it a go… And it turned out pretty well, so I present to you the DIY Painted Lamp Shade!
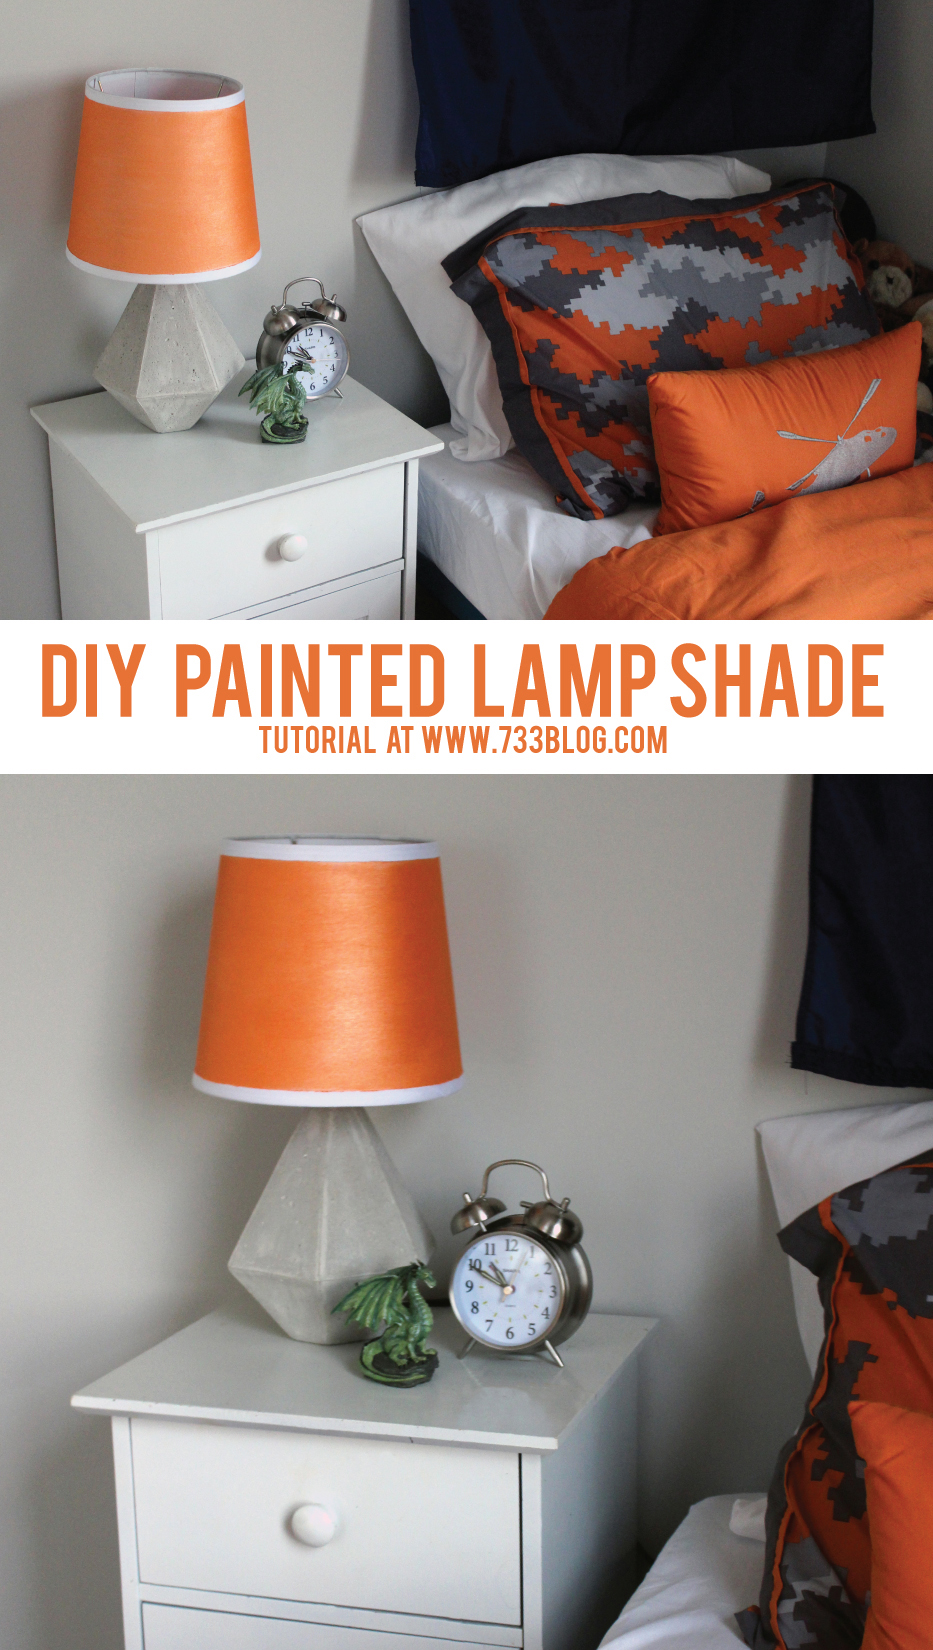 So if you’ve been looking for a custom lamp shade and haven’t found the right one, give painting a lamp shade a try!
Supplies:
Lamp shade
Acrylic paint
Paint Brush
Painters Tape (if needed)
Directions:
I decided I wanted to keep the edges of the lamp shade white. I didn’t have any painters tape, so I ended up using washi tape, which I don’t really recommend. It worked OK, but there was some bleeding – just a tad, and for a kids room, no one will care. So if you want to keep the edges white, cover them with painters tape.
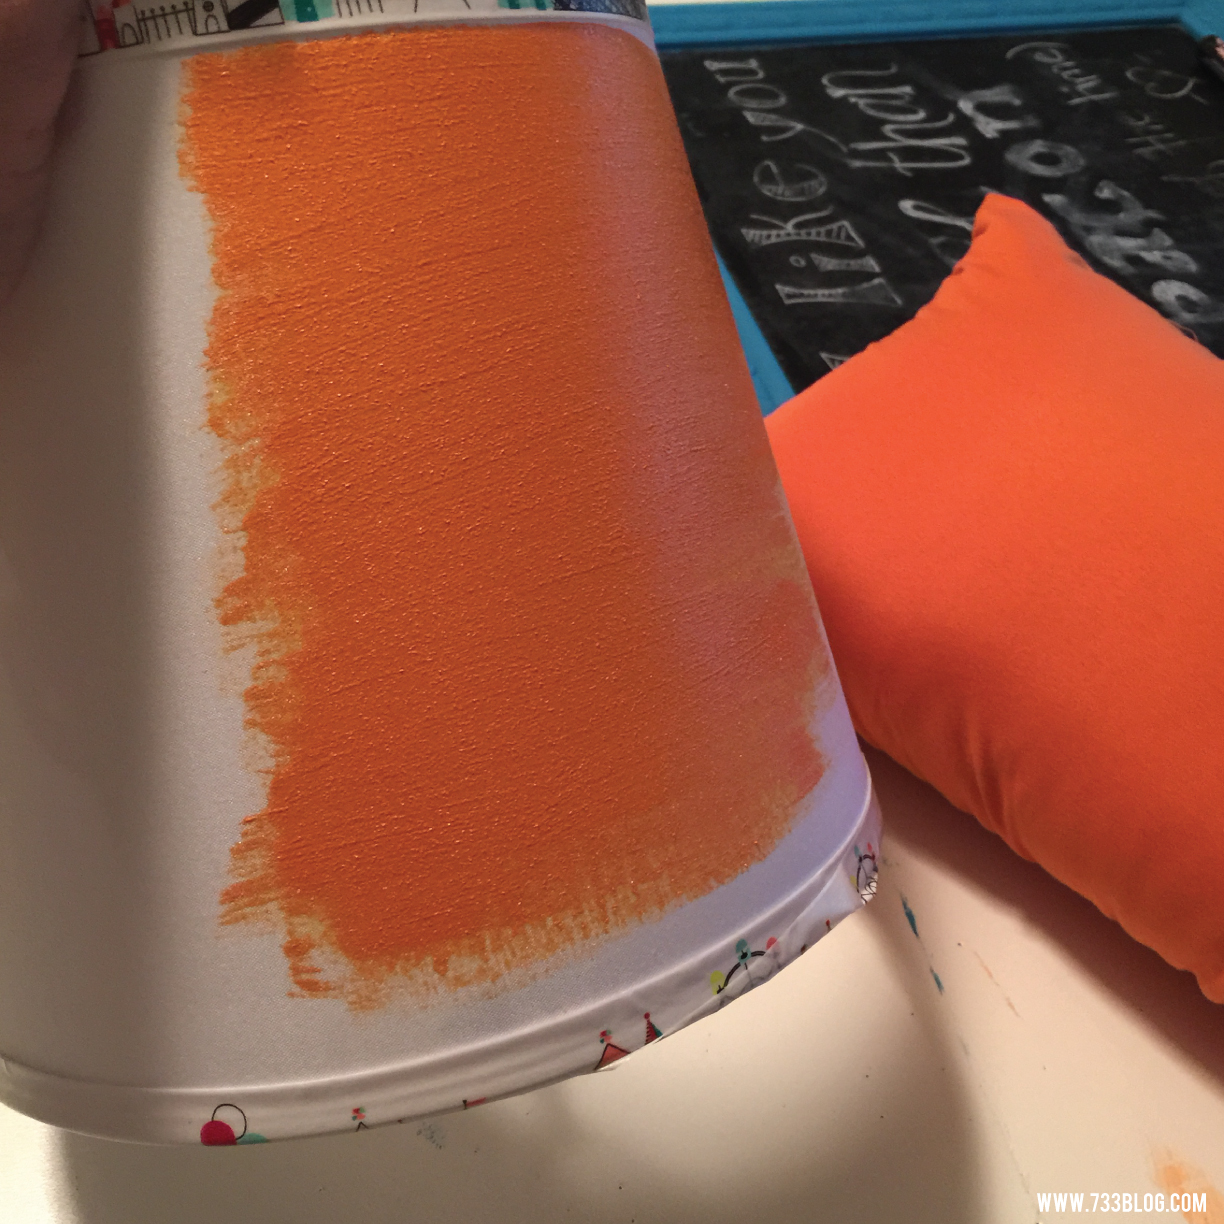
Brush your paint on to the lamp shade in long even strokes. I started at the top, worked my way down and then moved over and did the next portion, making sure to blend well.
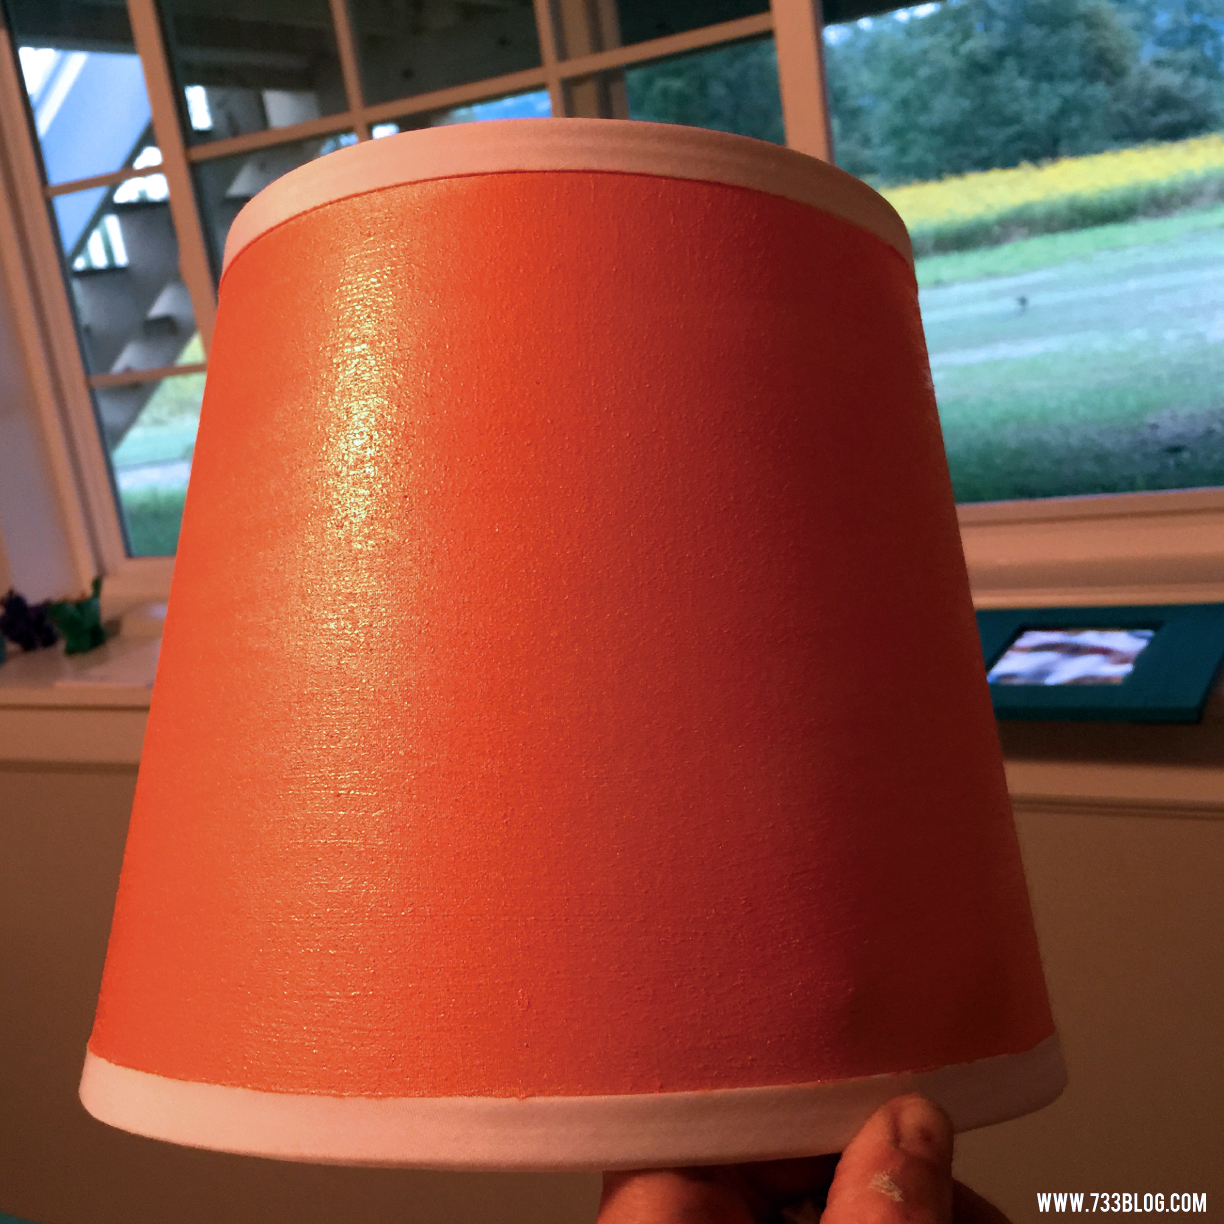
Let dry and then place on your lamp and you’re done!
Here’s what I learned:
If you are mixing paint to get a custom color like I did, make sure to do enough to cover the whole lamp so you don’t have to remix half way through. When the lamp is on you can see a small section that is a darker orange because I didn’t quite mix the same color. Again, not a big deal, but just something to keep in mind!
If you paint any lamp shades, send me a picture! I’d love to see. I could totally see doing a pattern or using a stencil to make this even cooler.
