
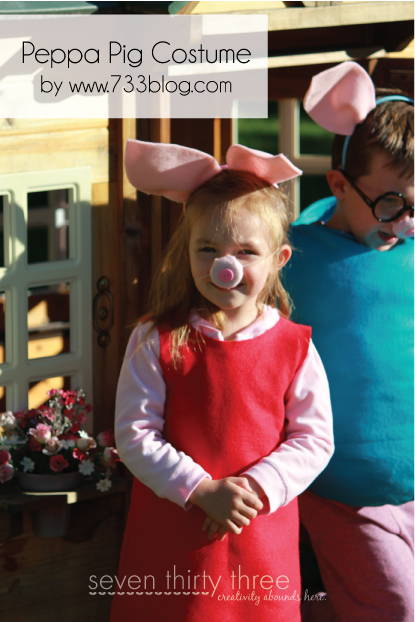
Halloween is about a month and a half away and I am in full costume creation mode. We’ll be gone to Florida in Mid-October so I want to get everything done ahead of time so I have no worries. My two youngest children decided they wanted to be Peppa and Daddy Pig from the Nick Jr. show “Peppa Pig”. I thought this would be a super simple, AND cute costume idea.
Peppa’s costume is very simple to create. She just wears a little red shift dress and either black shoes or yellow boots. I grabbed a yard of red felt and created a pull over dress that only required TWO SEAMS. Doesn’t get any easier, right? Pair it with a pink sweatsuit for warmth and super simple pig ears, nose and tail and you have the perfect Peppa Pig Costume!
Supplies:
Two yards red felt
Sewing Machine
Red Thread
Red Thread
Measuring Tape
Scissors
DIRECTIONS:
To create the dress – measure your child to determine the length of the dress. Double that measurement and trim your felt to size. EXAMPLE: If your child’s measurement is 24″ you would double it to 48″ and trim your 2 yards of felt down to 48″ long.
Fold the felt in half so that you have a fold at the top where the head would be, creating two layers of felt.
Fold the felt in half lengthwise this time. Using a tank top that fits your child, fold it in half and lay the fold against the long fold of the felt and lined up to the top of the dress.
Trace around the armpit area (making a J) extending a 1/2 inch.
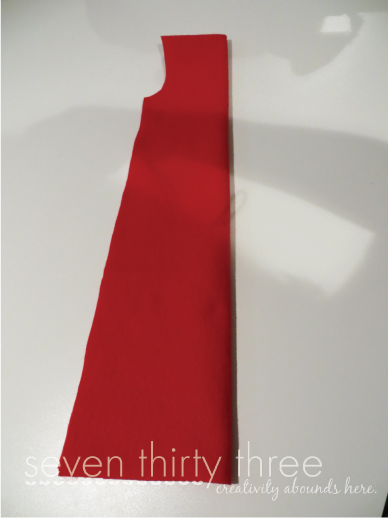
Cut out the armpit area and continue cutting down the length of the felt. You want to create an A line all the way down the length of the dress.
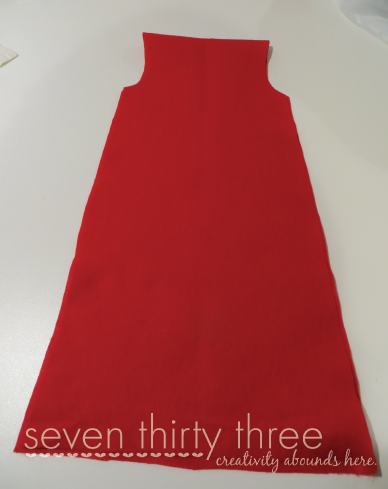
Unfold the dress lengthwise so that both layers of felt lay flat, the two pieces should be connected by a fold at the top. Now we will determine where to place the neck hole area. To do this, I used the same tank top as before. I just measured the strap size and then carefully cut a wide “U” shape, making sure that the front dipped down a bit lower than the back.
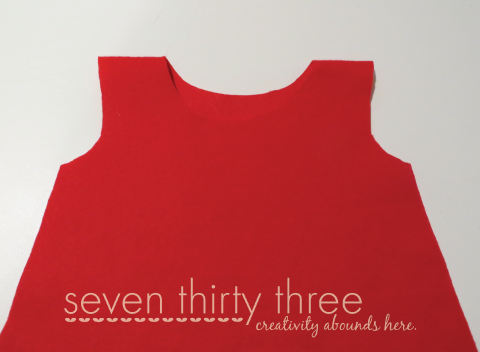
Lastly, sew down each side, starting at the bottom of the armpit and going all the way to the bottom of the dress. Turn right side out and you are done.
EASY AS PIE! Don’t sew? You could totally create this dress with felt and hot glue. No joke.
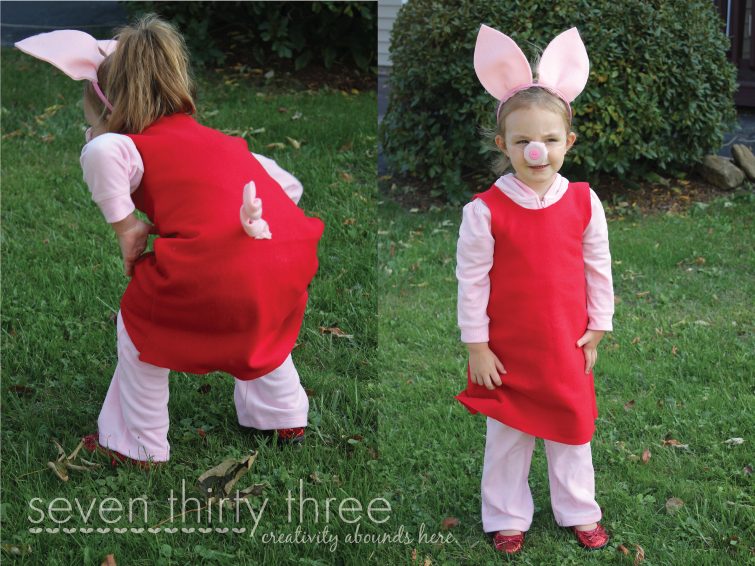
Create your piggy tail and hot glue it to the rear of the dress.
Finish by creating a pig nose and ears.

I also made “Hello! My name is” nametags that I am going to put on the kids that say “Peppa Pig” and “Daddy Pig” just because many people who don’t have young children don’t know this show.
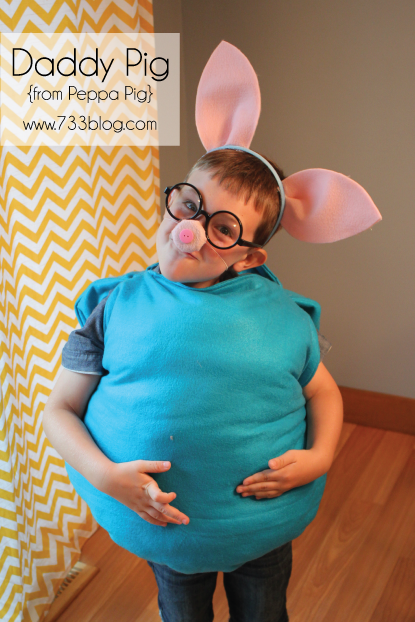
My son’s costume was a little bit more complicated, but still super easy. The measurement’s for this costume fit my 5 year old son. I purchased 2 yards of blue felt and I had plenty left over.
Supplies:
2 yards blue felt
2 yards blue felt
Stuffing
Blue Thread
Blue Thread
Sewing Machine
Measuring Tape
Scissors
Directions:
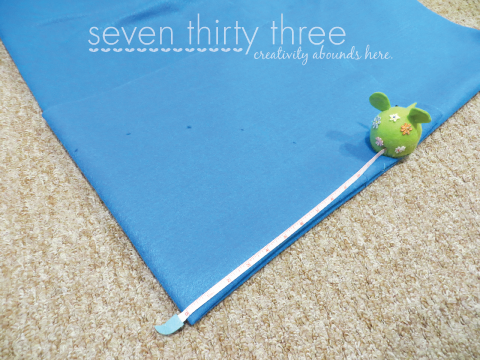
First we need to create 23″ circles. To do this I folded the felt in 4ths, so that you have a right-angled corner to work with. I did not cut the 2 yards of felt first, I just carefully folded it so that all of the extra felt was towards the top. Measure 11.5″ from the center fold, marking every few inches to create a curve until you reach the other side.
Cut along your curved dotted line to create a circle when unfolded. Repeat these steps until you have 4 circles.
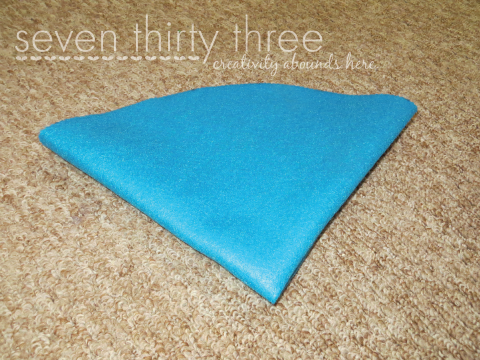
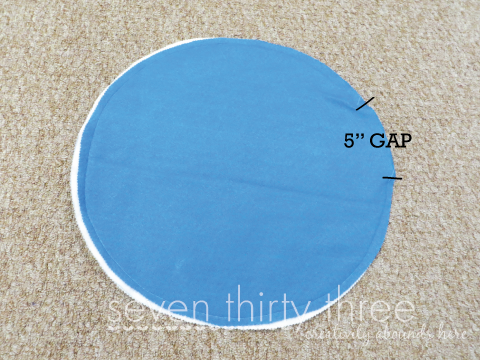
Lay two circles, one on top of the other, and sew using a .25″ seam. Make sure to leave a 5″ gap to turn right side out. Repeat for the last two circles.
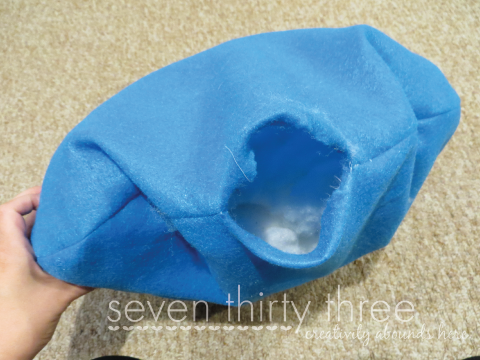 Stuff to desired “chunkiness”, but don’t overstuff! Once your child is in it, it will balloon out more, promise! Using your sewing machine, or just hand sew, close the 5″ gap.
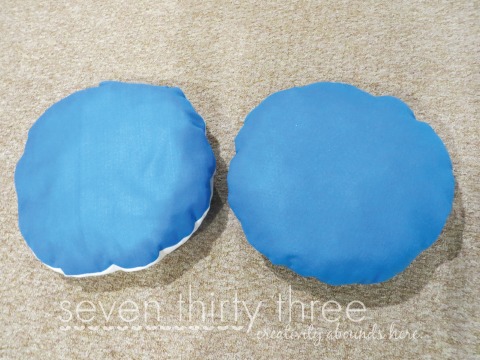
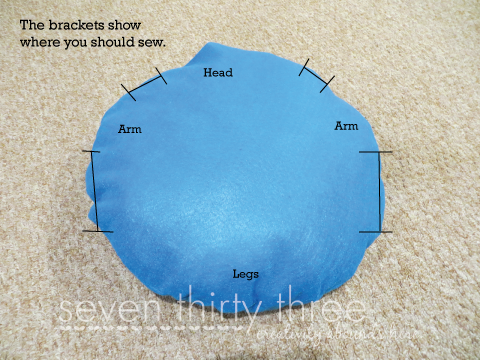
Now you are going to hand sew the front and back of the costume together. I sewed it along the shoulders and down the sides, leaving an opening for the head and arms and a large gap on the bottom so the body and legs have a place to go! I started with the shoulders and then had my son try it on and marked where I should start and end on the sides so that I had the perfect fit.
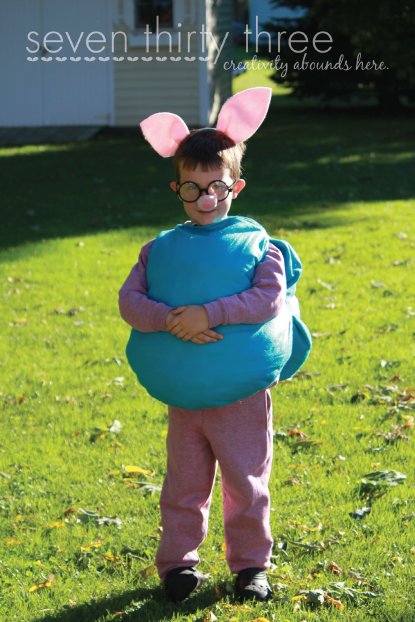

Once that was done, I glued on his piggy tail, added his nose and ears and a pair of black circle glasses I picked up on Amazon for $5 and some black shoes. I also dyed a gray sweatsuit pink for his “skin”… although it turned out a bit more purple… but hey, I was trying to use what I had on hand! We will also add some “Daddy Whiskers” with eyeliner when the big day comes. Aren’t they a cute piggie pair?


Thank you so much for this post. I want to let you know that I posted a link to your blog in Creative Busy Bee Craft Inspirations, under the Page 1 post on Sep. 28, 2012. Thanks again.
The directions for the Peppa dress are very confusing. I feel like many steps are left out. How can the fold be on the right and also at the top of the arm holes? More explicit and clear directions would be helpful.
I do apologize if you felt they were unclear. I did go back and tried to make them a bit easier to read. I’ve enjoyed receiving photos the last four years of others that used this tutorial to create Peppa and Daddy Pig Costumes. If you try to tackle it, I would love to see yours as well.
Thank you– the new directions are more clear, but part of it is still confusing to me. Sorry…. I’m just trying to understand.
“Fold the felt in half so that you have a fold at the top where the head would be, creating two layers of felt.
Fold the felt in half lengthwise this time. Using a tank top that fits your child, fold it in half and lay the fold against the long fold of the felt and lined up to the top of the dress.”
So the fold is at the top, by the head. Then it says to place the fold of the tank top along the fold.
Are there 2 folds?
I did end up making the dress by improvising & just had to sew along the sides & also the top of the straps (at the shoulders) because I had two pieces of felt. I did use your directions for the neckline & arm holes, so thank you. 🙂
Yes, two folds! So you folded the get in half to create two layers of felt. Basically you are creating the front half of the dress and he back half st the same time. So now you fold it in half the LONG way. I’m trying to explain this easily… let’s use measurements. Say you have a 70″ Lx 60″ W piece of felt. Fold the felt in half so that you now have a 35″ l x 60″ w piece. Now fold it in half again so that you have a 35″ l c 30″ wide piece. Does that help clarify? So the folded tank top would be lined up along the side fold and then lined up to the top fold as well. I wish I had taken a picture of he tank top on top of the dress so you could see the visual! The problem is I’m usually just winging the process as I go!
Yes! That makes sense to me now. Thank you. Now I just need to make the ears, nose, & tail. Thank you for taking the time to clarify.