

Hello, hello Inspiration Made Simple friends! Heather from Homemade Heather here. Today I am sharing one of our all-time favorite DIY ornaments! My twin boys and I make these every year for gifts and they are a huge hit with family and friends. I just love how whimsical this homemade Melted Snowman Ornament is!
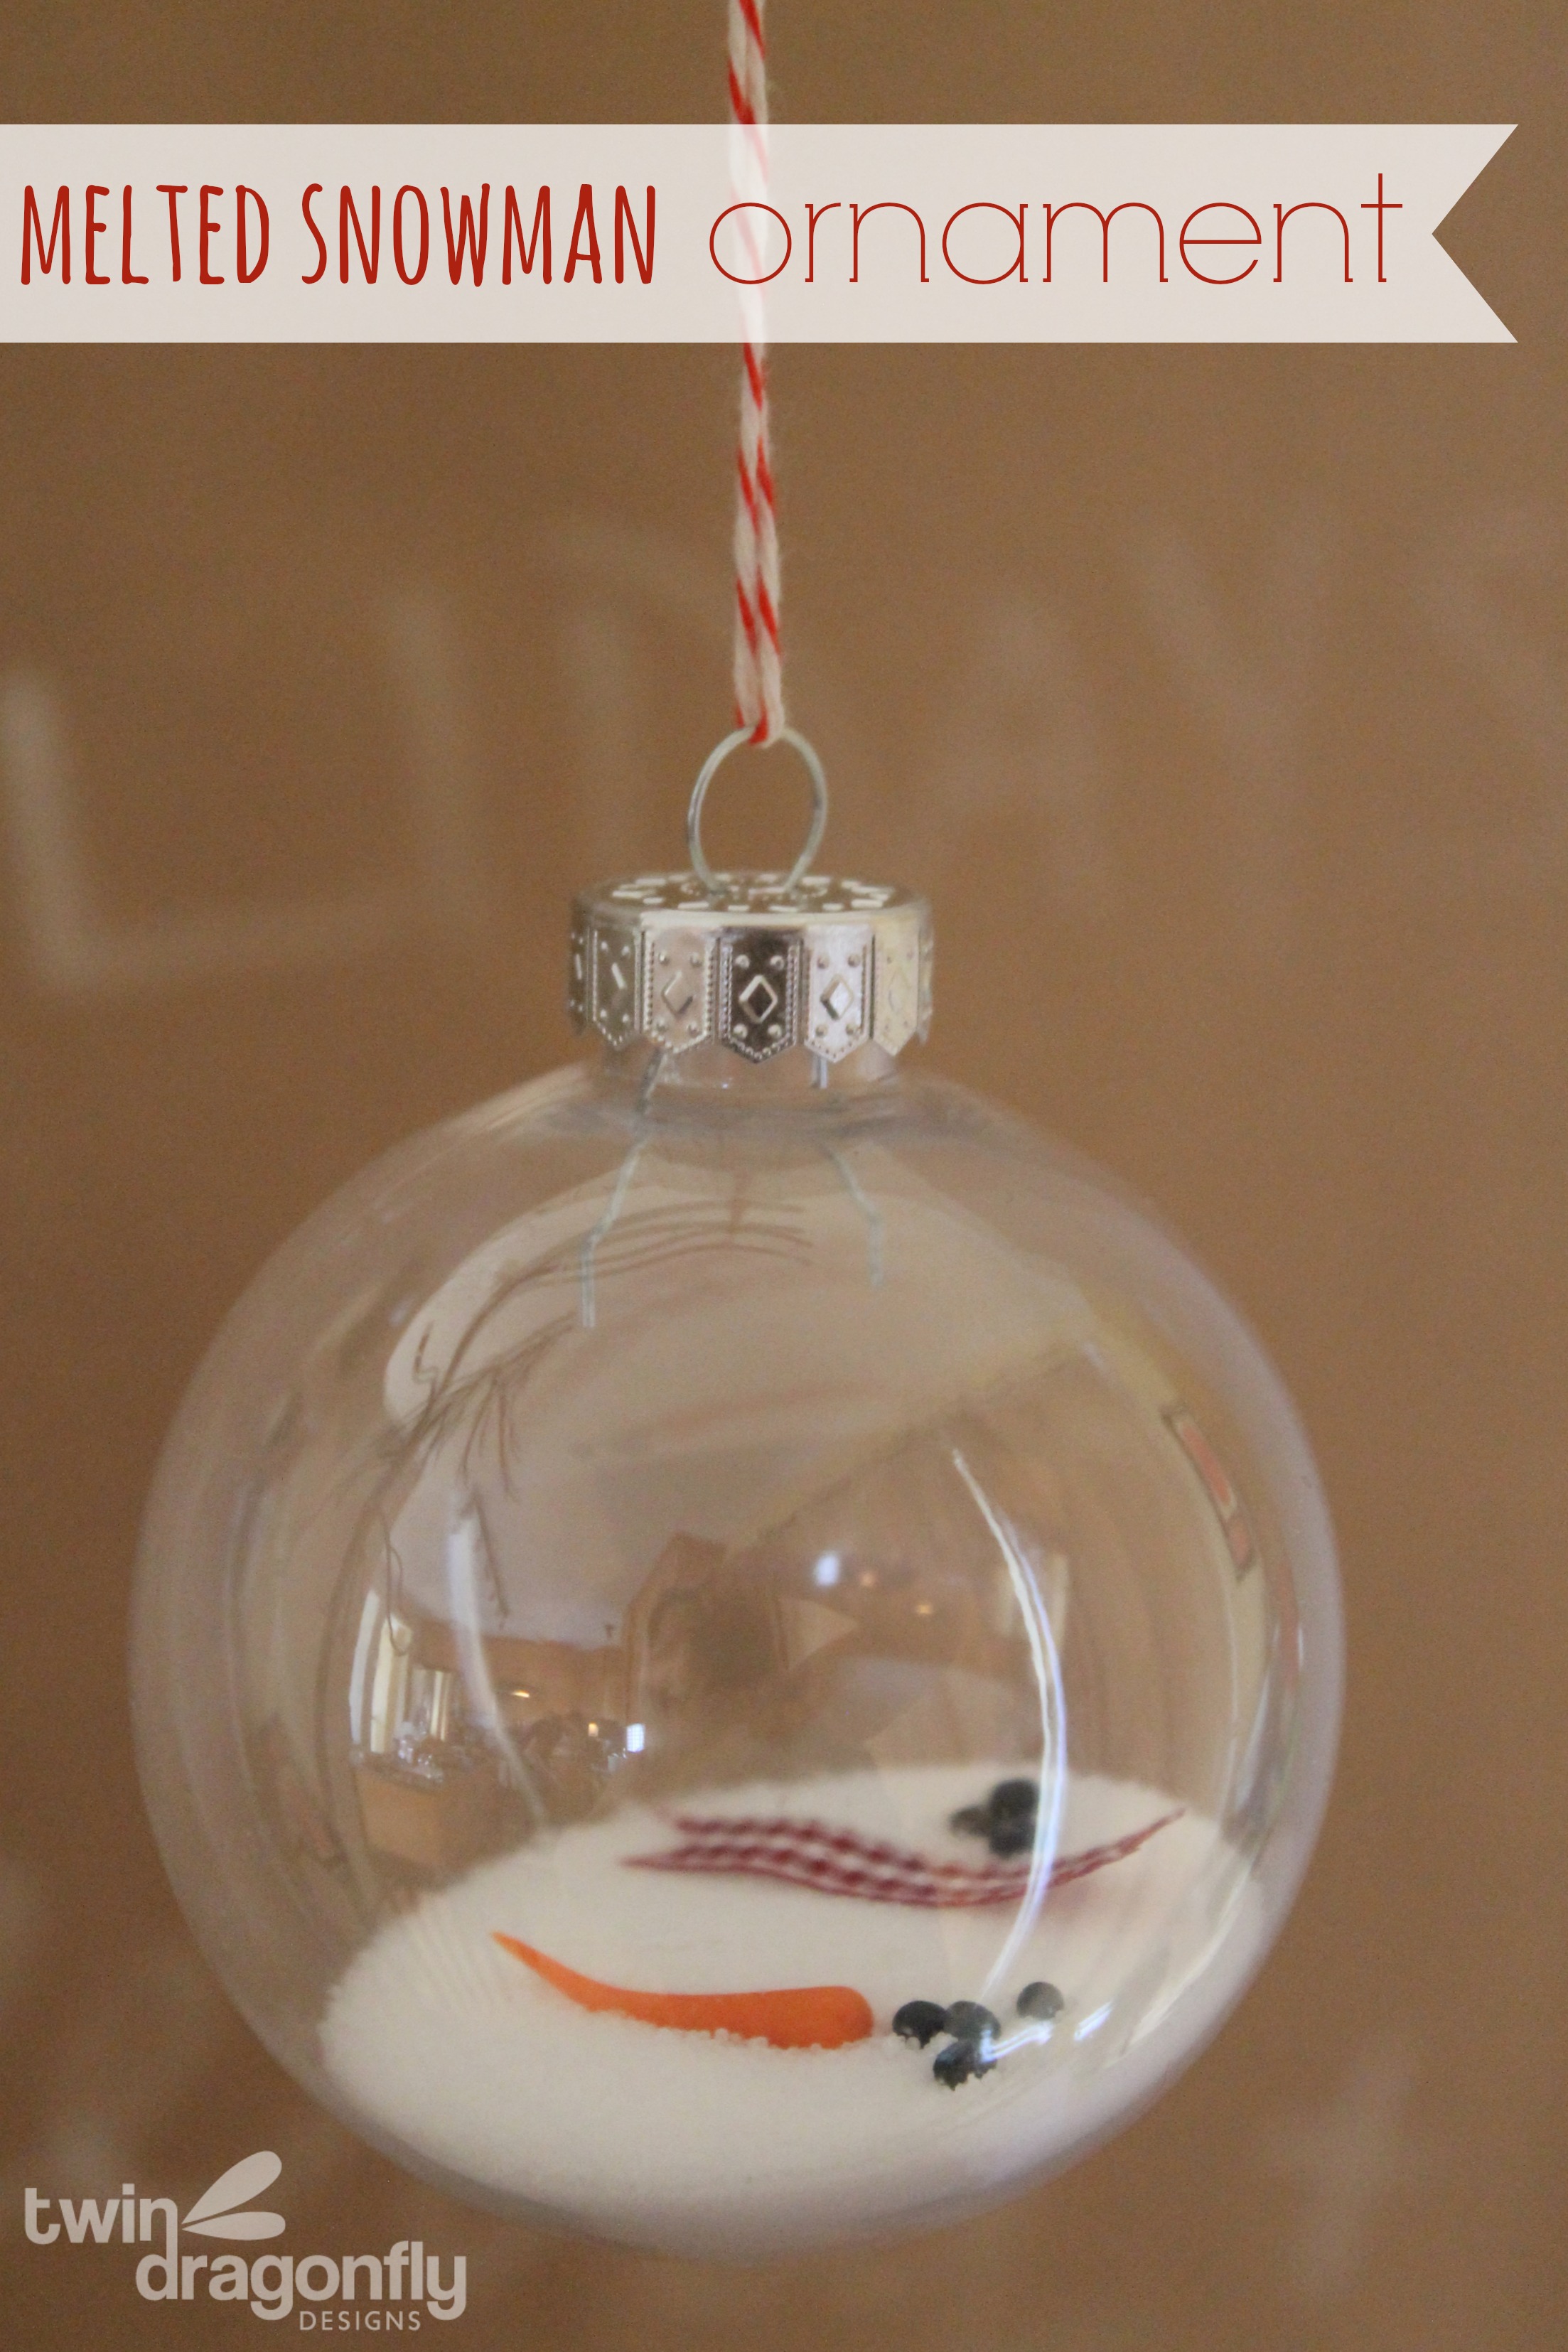
Don’t you just love it? With just a few simple supplies you can make your very own melted snowman ornament! These are as affordable as they are simple and a great holiday craft for all ages.
HOMEMADE ORNAMENT MATERIALS:
Clear plastic ornament balls (found at most big box stores and craft stores)
Salt
Peppercorns
Polymer Clay
Scrap Fabric
Bakers Twine
DIRECTIONS:
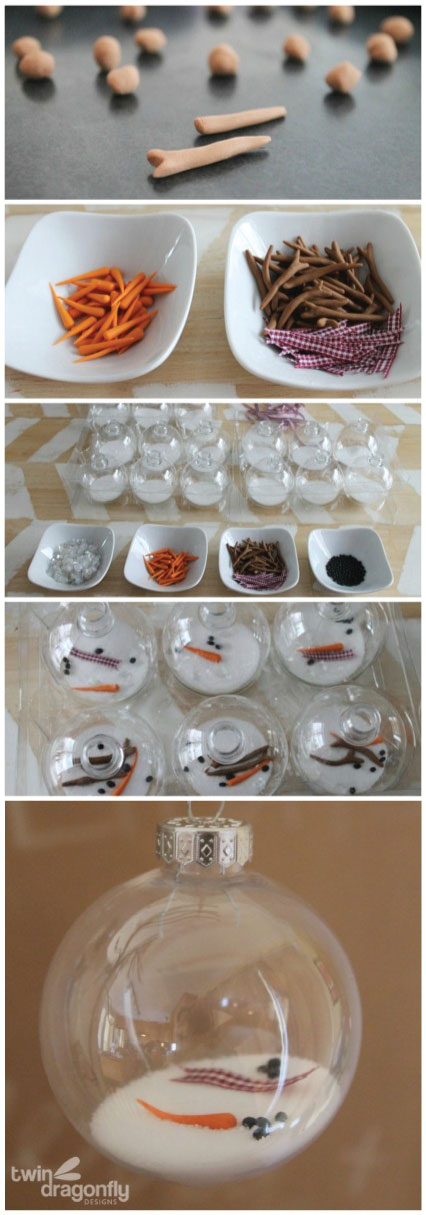
Create carrot noses and stick arms using the polymer clay. Be sure to oven bake the clay to set the shape following the directions on the package. Note: do not bake polymer clay on trays that you bake on. Use a separate tray or line with aluminum foil.
Cut fabric scraps into tiny scarves about 1/4″ x 2″.
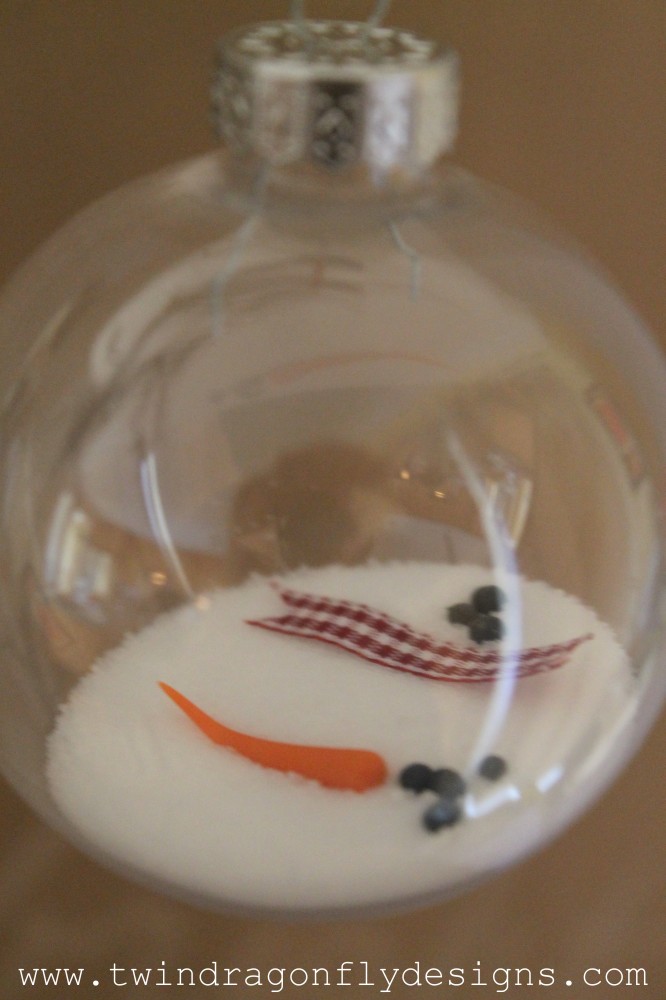
Fill the ball ornament with about 2 Tbsp salt and add in the clay nose and two twigs, the scarf, and several pieces of peppercorn for eyes, buttons ad mouth.
Attach a piece of twine to the top of the ornament for hanging.
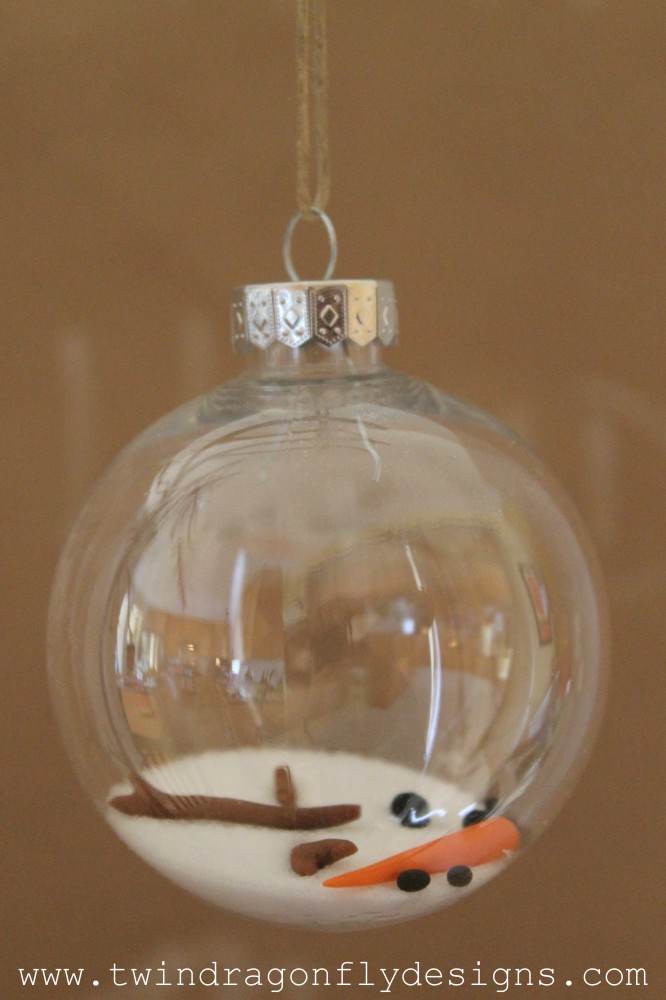
My boys make two versions of this DIY snowman ornament – one with a scarf and one with arms – both are equally adorable. I posted the full Snowman Tutorial to my site a few years ago. This is a great project for kids and parents of all ages.
Now you can save your beloved snowman and bring him inside for year-round fun – hee hee!
Looking for other Snowman Activities? Check these out:


oh my Heather, these are SOOO cute! pinning to make with my kids, probably next year… I need to track down the things to put inside!
Thanks Emily! Let me know when you make them with your boys – I would love to see them! xo