
This post brought to you by HSN and We R Memory Keepers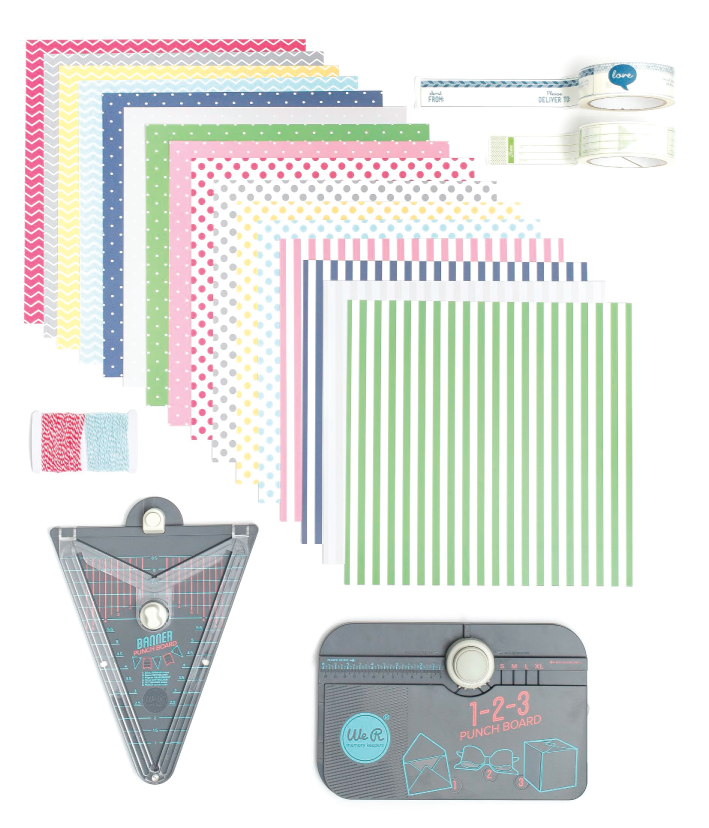
Sometimes having a creative blog gives me access to new and exciting tools… and this is one of those times! I was SO excited when I received the 1-2-3 Punch Board Party Collection in the mail from We R Memory Keepers. What the heck is that you ask? The 1-2-3 Punch Board Party Collection includes: 1-2-3 Punch Board, Banner Punch Board, 12×12 paper pad, packaging tape, baker’s twine, and idea book. Basically, the boards can be used to create paper envelopes, bows, gift boxes and banners… all in minutes! It is SO easy to make party decor and gift items with this tool! I normally don’t gush about a product, but I’m not joking when I say that this really excited me!
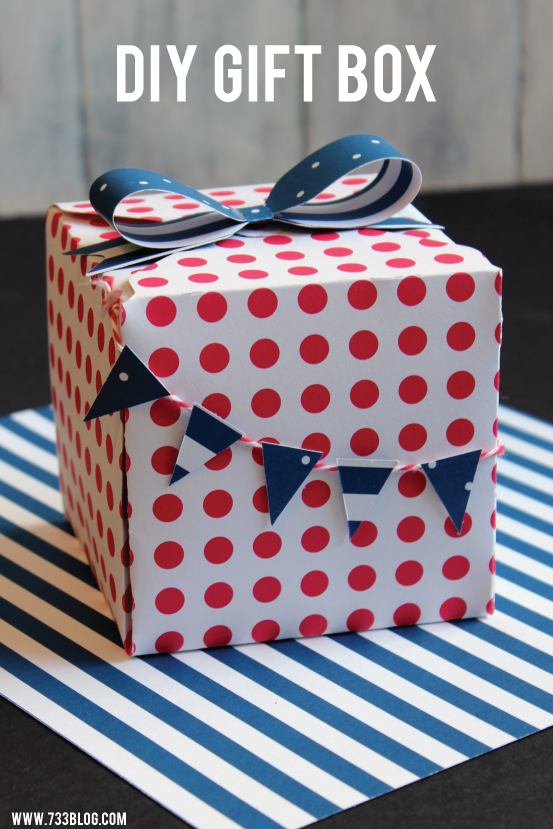
Check out what I made with this collection in about 10 minutes total – my first time!
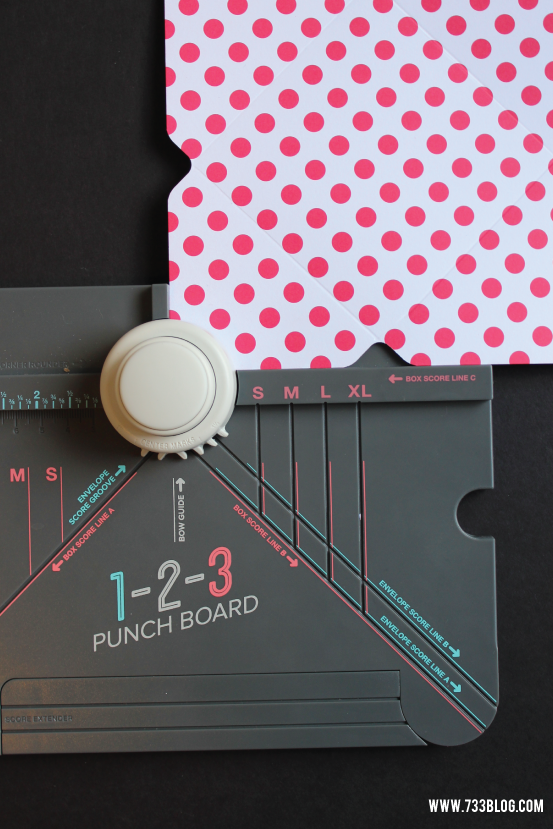
 Let’s take a look at how easy it is. I chose to make a 4x4x4 box, so I simply looked at the inside of the 1-2-3 Punch Board to see what paper size I needed – it said 12″.
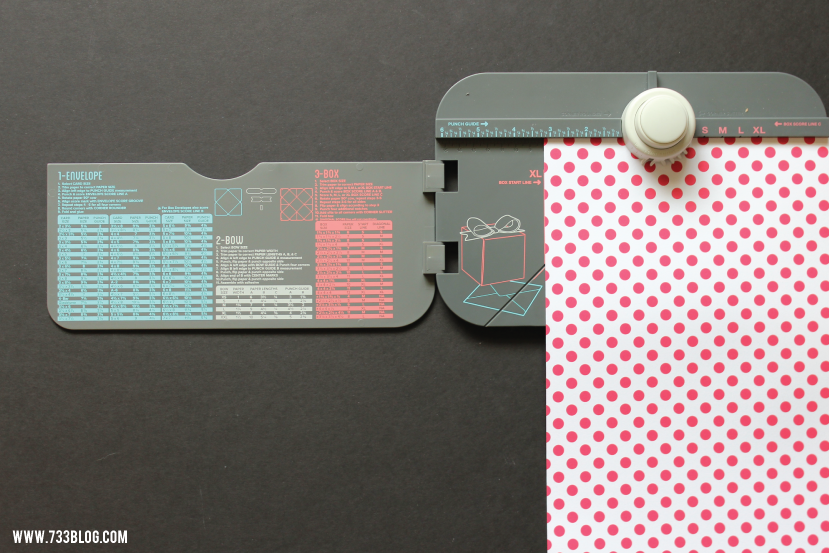 It also told me to align my paper to the XL Box Start Line and then punch.
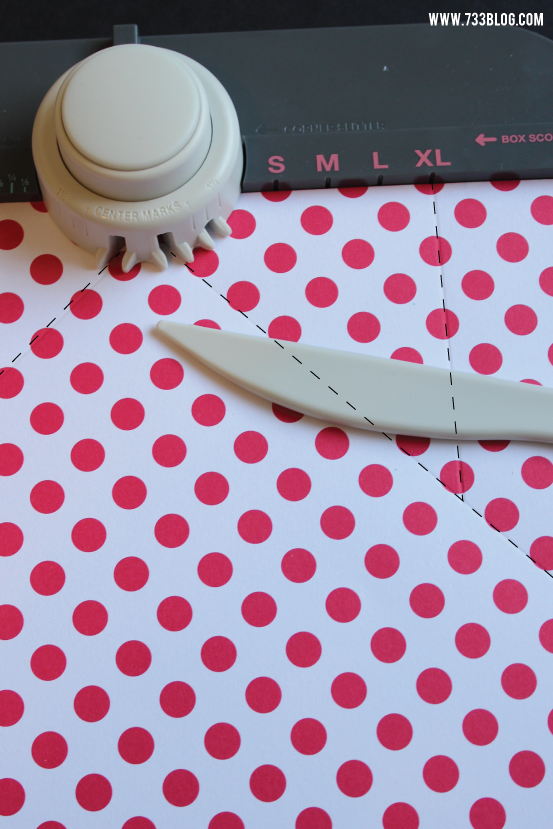 Score the box score line A, B and C (Use XL for the C line). I missed this my first time through, but there is a score extender that can rotate out and will allow you to score all the way down.
Rotate your paper 90 degrees counter clockwise and repeat the process. Continue to do the same for the last two sides.
 Flip the paper over and align to the XL Box Start Line and punch. Repeat for all four sides.
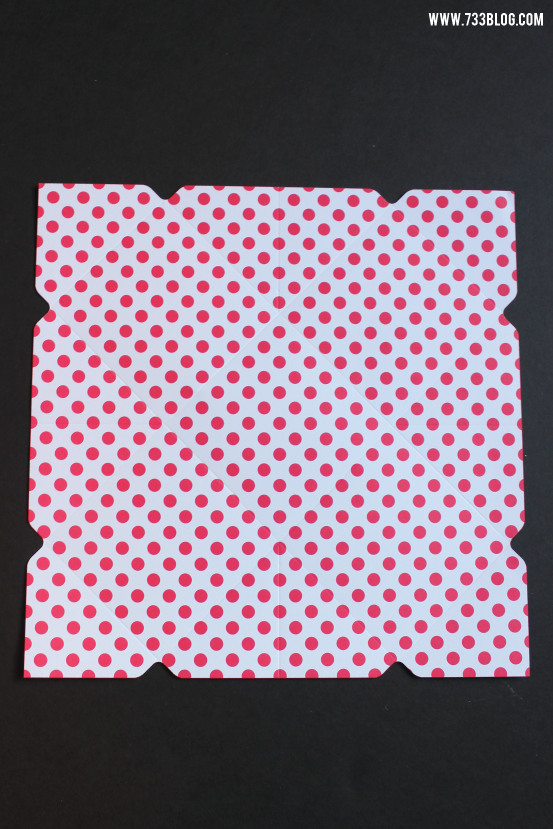
 Using the corner slitter, punch slits in all four corners.
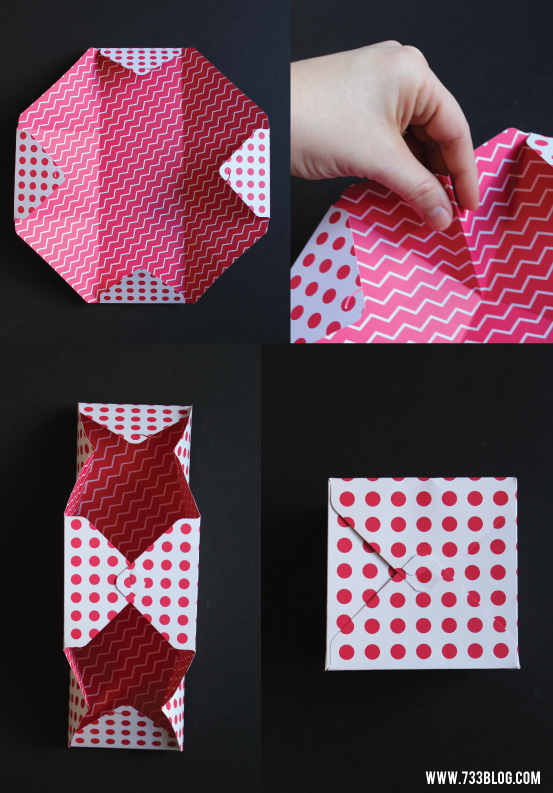 Crease the score lines with the score tool and then fold the box.
Now that we have a fun box, let’s make a pretty bow to top it off!
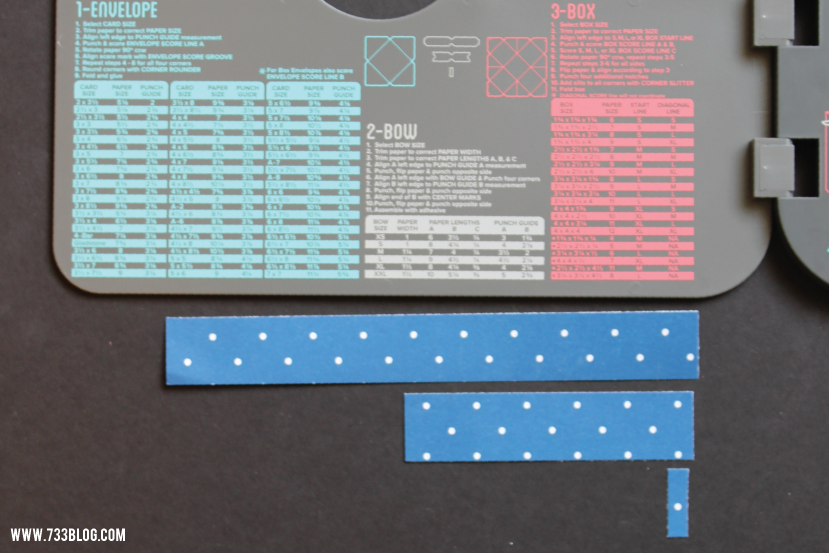 I chose the XL Bow, so we need to kit a 1.5″ strip of paper (oops! I only did mine 1″) and then trim that to 3 lengths: 8″, 4.25″ and 3/8″.
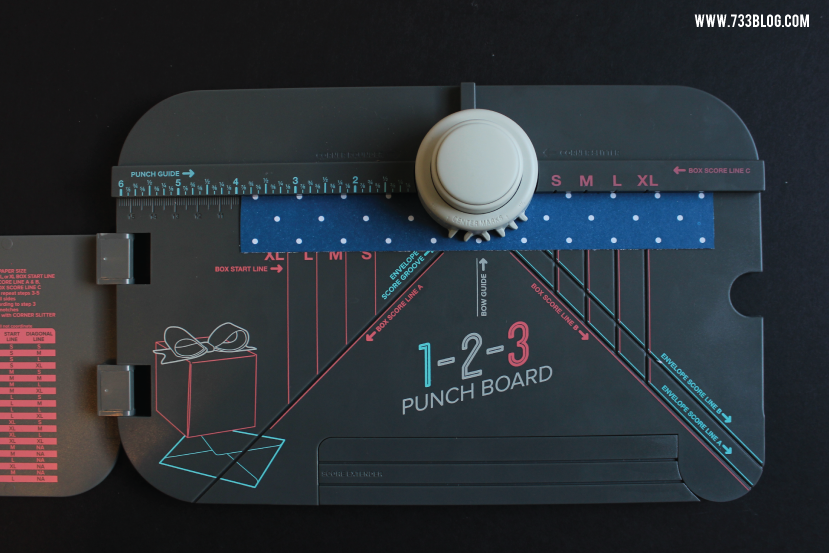 Now align the left edge of the 8″ strip up to the 4″ mark on the bunch guide and punch. Flip paper and punch opposite side.
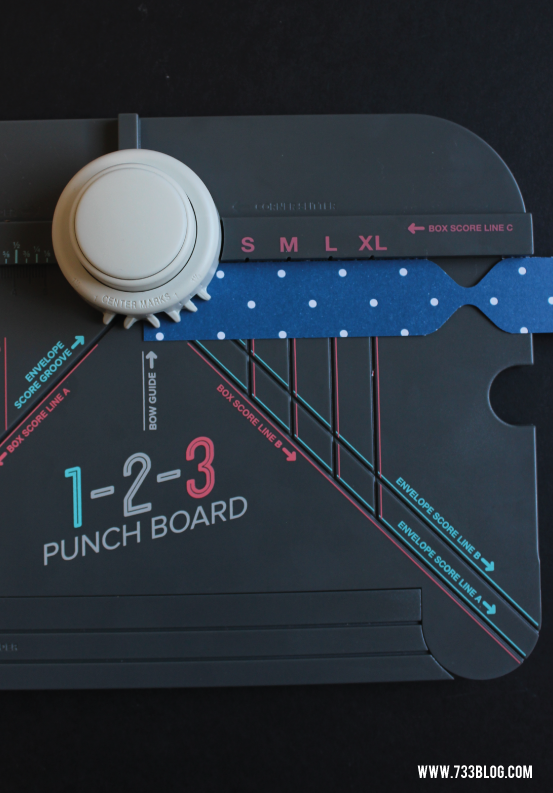 Align the left edge of the strip with the box guide and punch, do the same for all four corners.
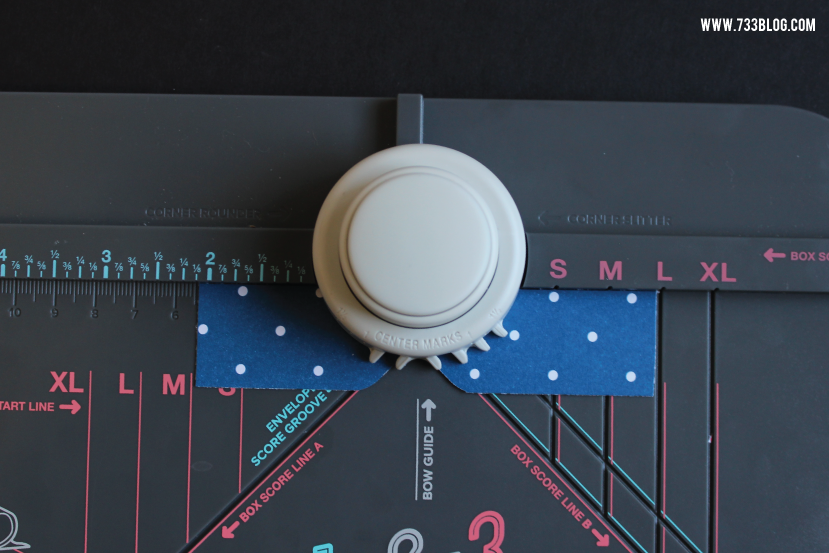 Align the 4.5″ paper left edge to the 2 1/8″ mark and punch. Flip the paper over and punch the opposite side.
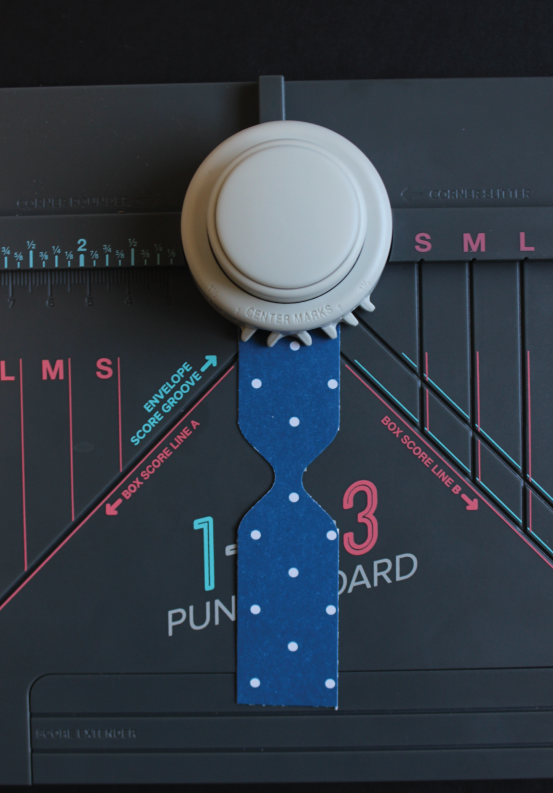 Align the strip up with the center marks and punch. Flip the paper and punch the opposite side.
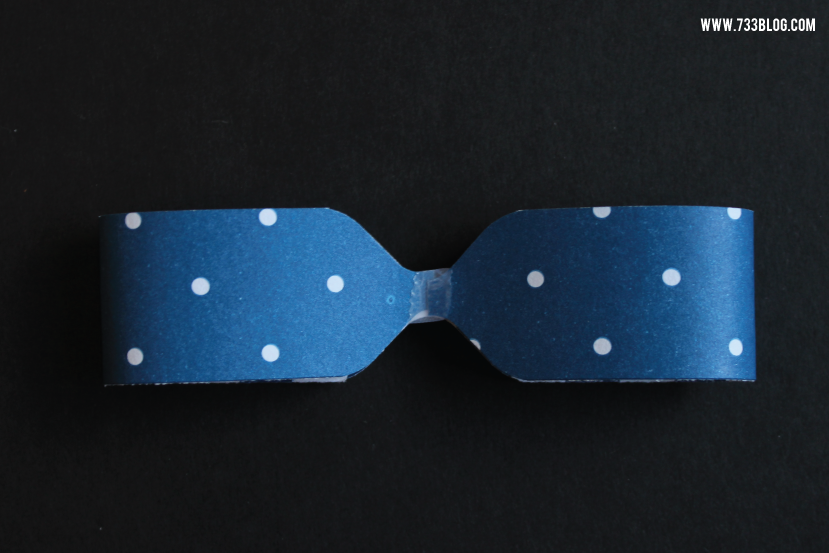 Now it’s time to assemble. With the 8″ strip, fold both edges into the middle and secure (use tape, hot glue or another adhesive).
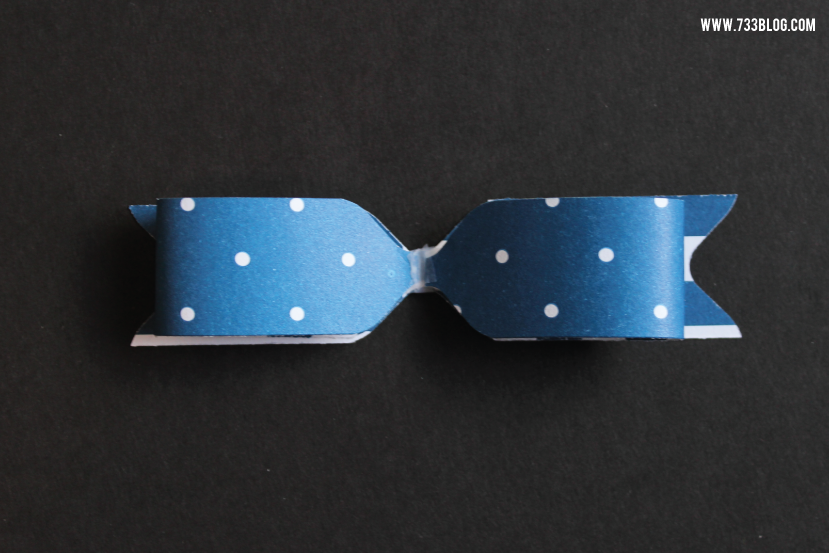 Adhere the bow to the 4.5″ strip.
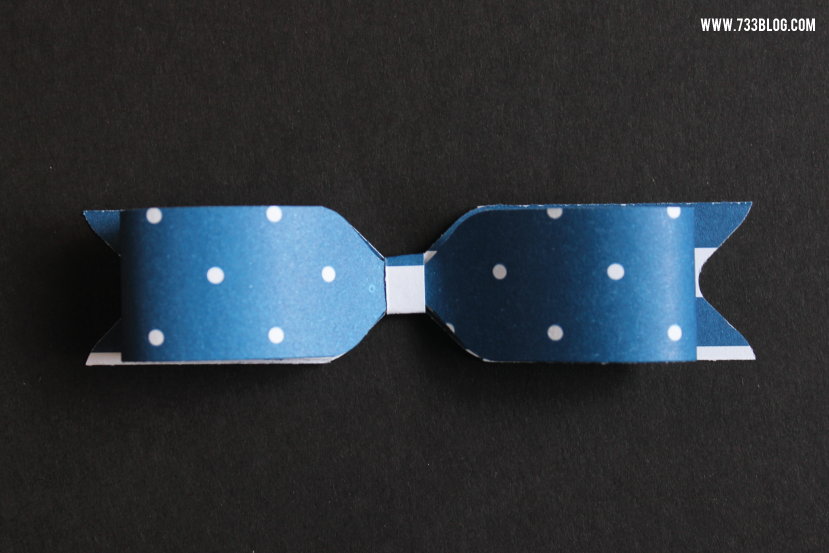 Using the smallest strip, wrap it around the bow and the 2nd piece and adhere in place. That’s it! Adhere the bow to the box and you have an adorable little gift box!
 But I couldn’t stop there! I really wanted to try the Banner Punch Board, so I decided to add a small bunting to the package.
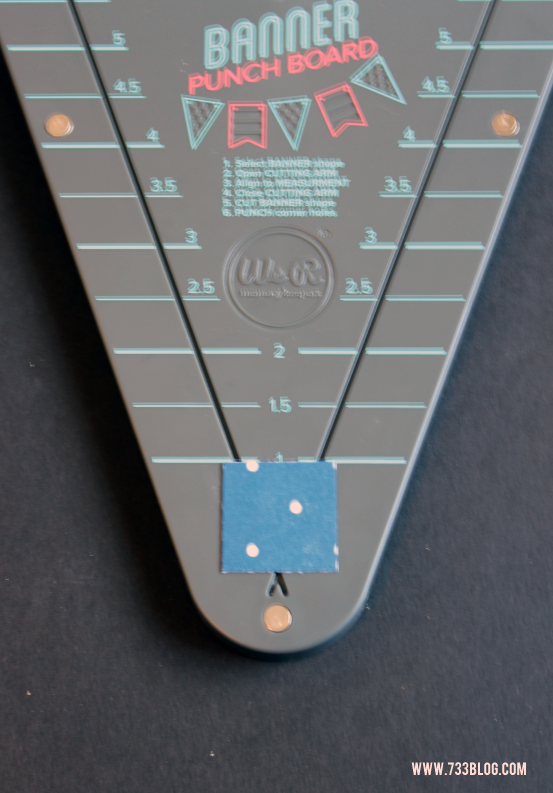 I cut 1″x1″ squares out of the blue paper and then lined them up at the bottom of the banner punch and used the included blade to cut out 5 little pennants. I glued those to bakers twine and added them to the box as well.
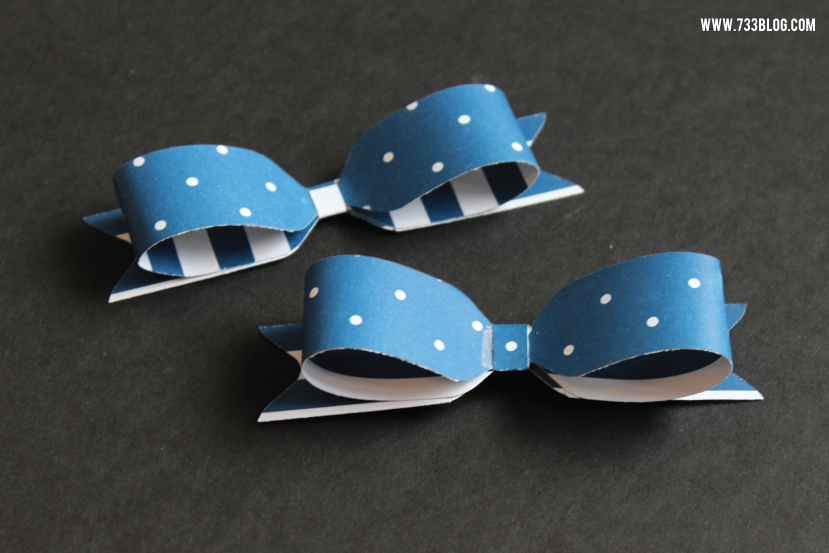
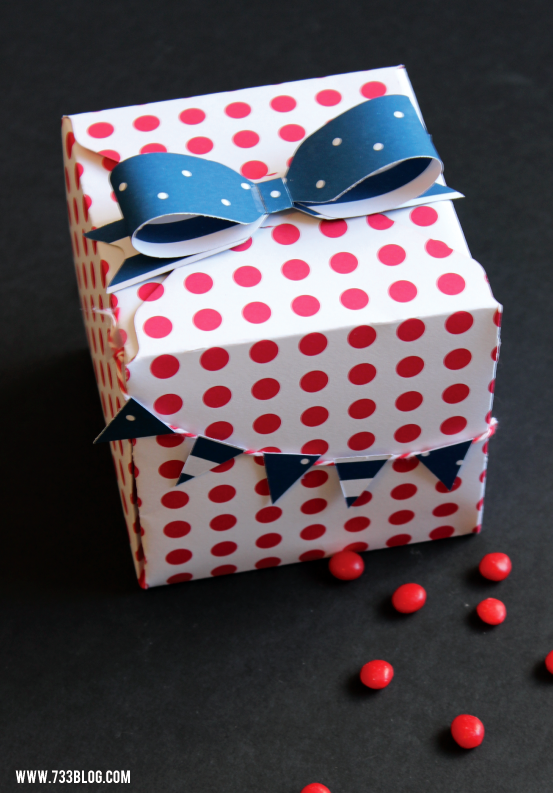 Isn’t this a fun and easy DIY gift box? You can make so many different sizes and shapes that you’ll never be without a small gift box again!
Where can you get this awesome product? The 1-2-3 Punch Board and Banner Punch Board are available as part of a one-time special on HSN in a bundled party pack, for a fraction of regular retail pricing on Tuesday, March 24. Limited quantities of the party pack are available. The 1-2-3 Punch Board and Banner Punch Board are currently ONLY available on HSN as a part of the party pack.
For more paper crafting inspiration and to find out more about the 1-2-3 Punch Board and Banner Punch Board, follow We R Memory Keepers on Facebook, Instagram, Twitter, and Pinterest. You can also follow HSN on Facebook and Instagram.


Wohoo! Cute tutorial.