
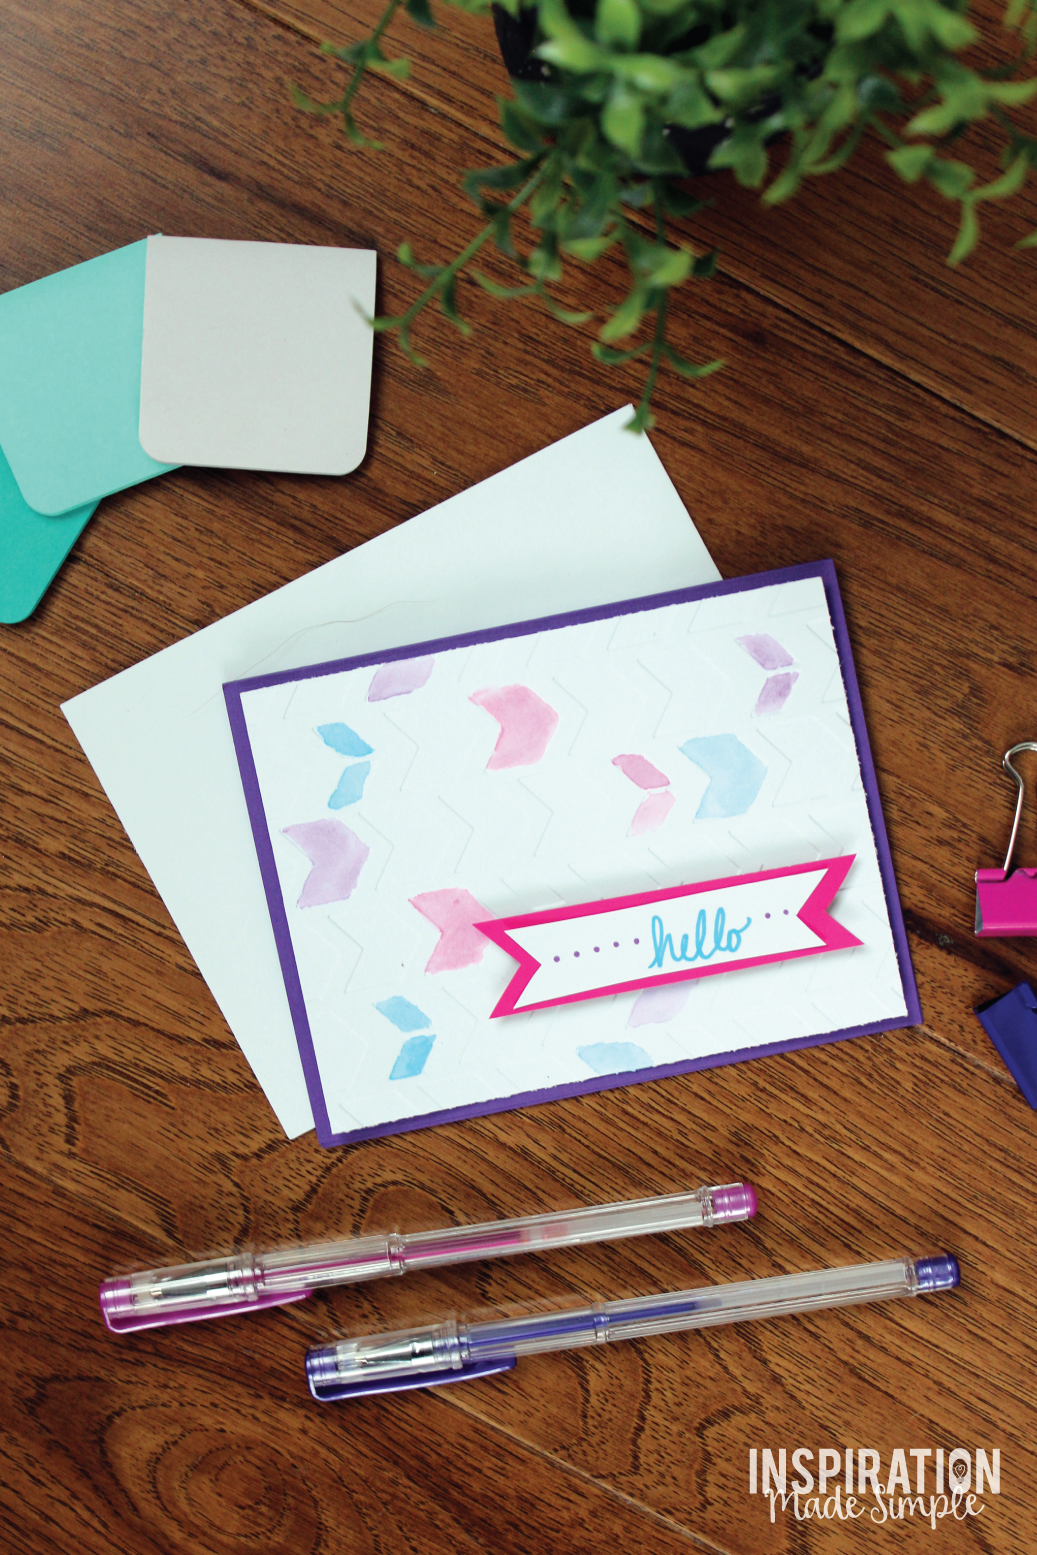
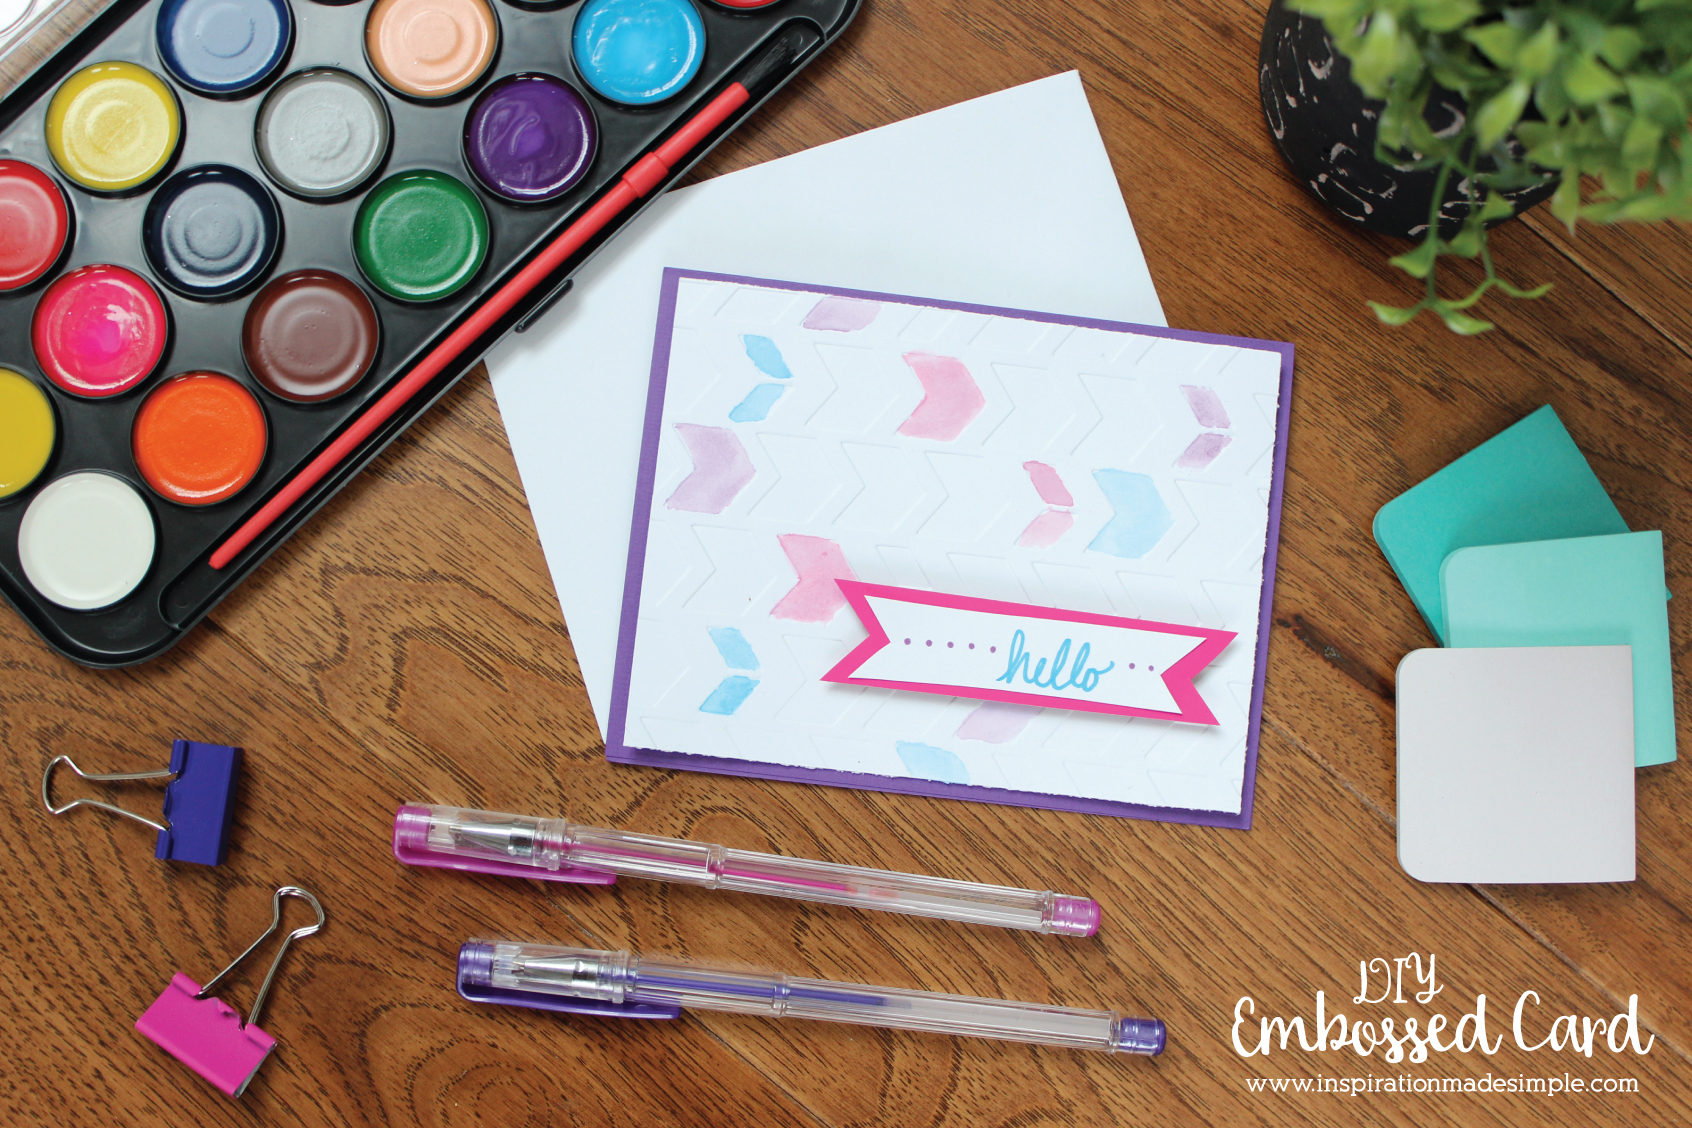
I love making cards at home. There are so many fun and unique ways to customize a DIY card and I think I’ve found my new favorite. These DIY Watercolor Embossed Greeting Cards whip up in just minutes – I promise, any level crafter (or non-crafter!) can make these. I love the soft quality that the watercolor adds and the embossed feature adds a touch of class! Don’t waste anymore money on high-priced store bought cards. If you don’t already have an embosser, you can get the one that I have for under $30! I share a link in the supplies list below. Follow along as I share how to make this gorgeous DIY card.
If you’ve checked out my site before then you know that I love including my children in my crafting endeavors and making these embossed cards are no exception. These are so simple that my 7 year old makes them for her friends birthday parties with just a tiny bit of help from me! Set aside an hour one weekend for you and your child to churn out some cards that you can set aside for when you need them! Quality bonding time at it’s finest.
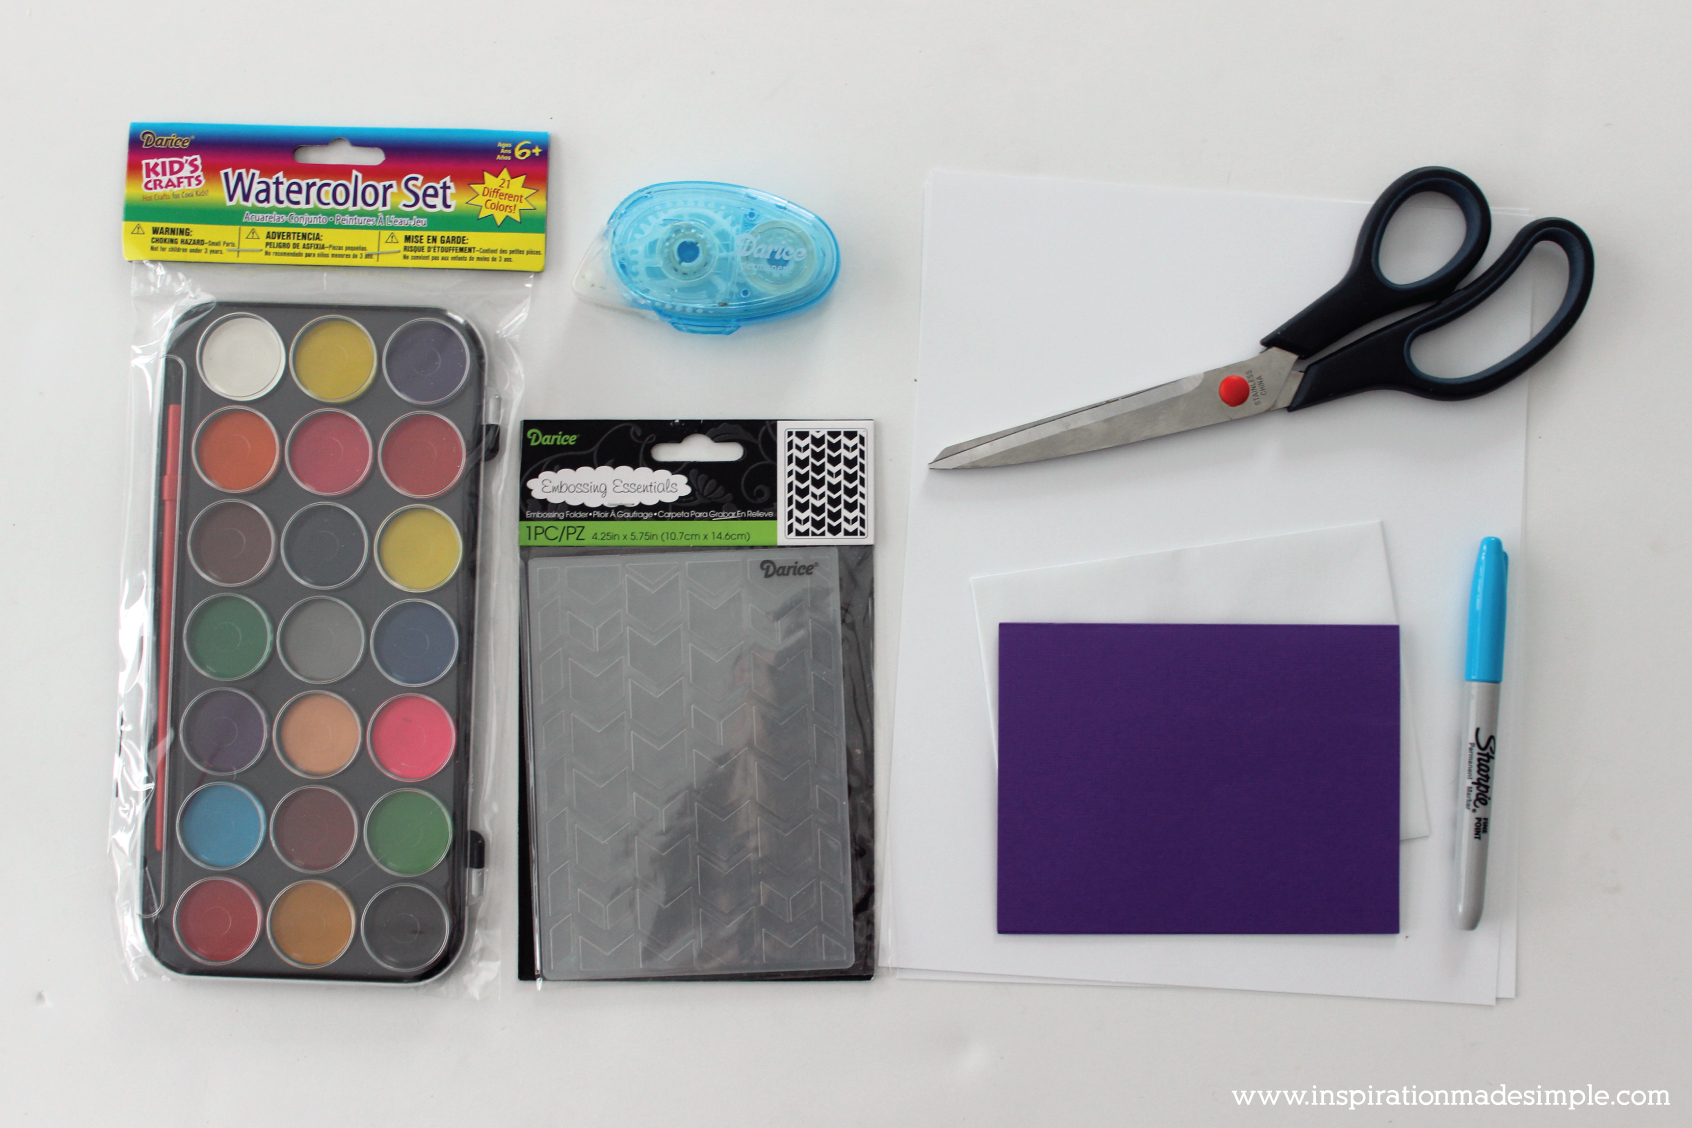
Supplies Needed: (affiliate links for your convenience)
Blank Card
Cardstock
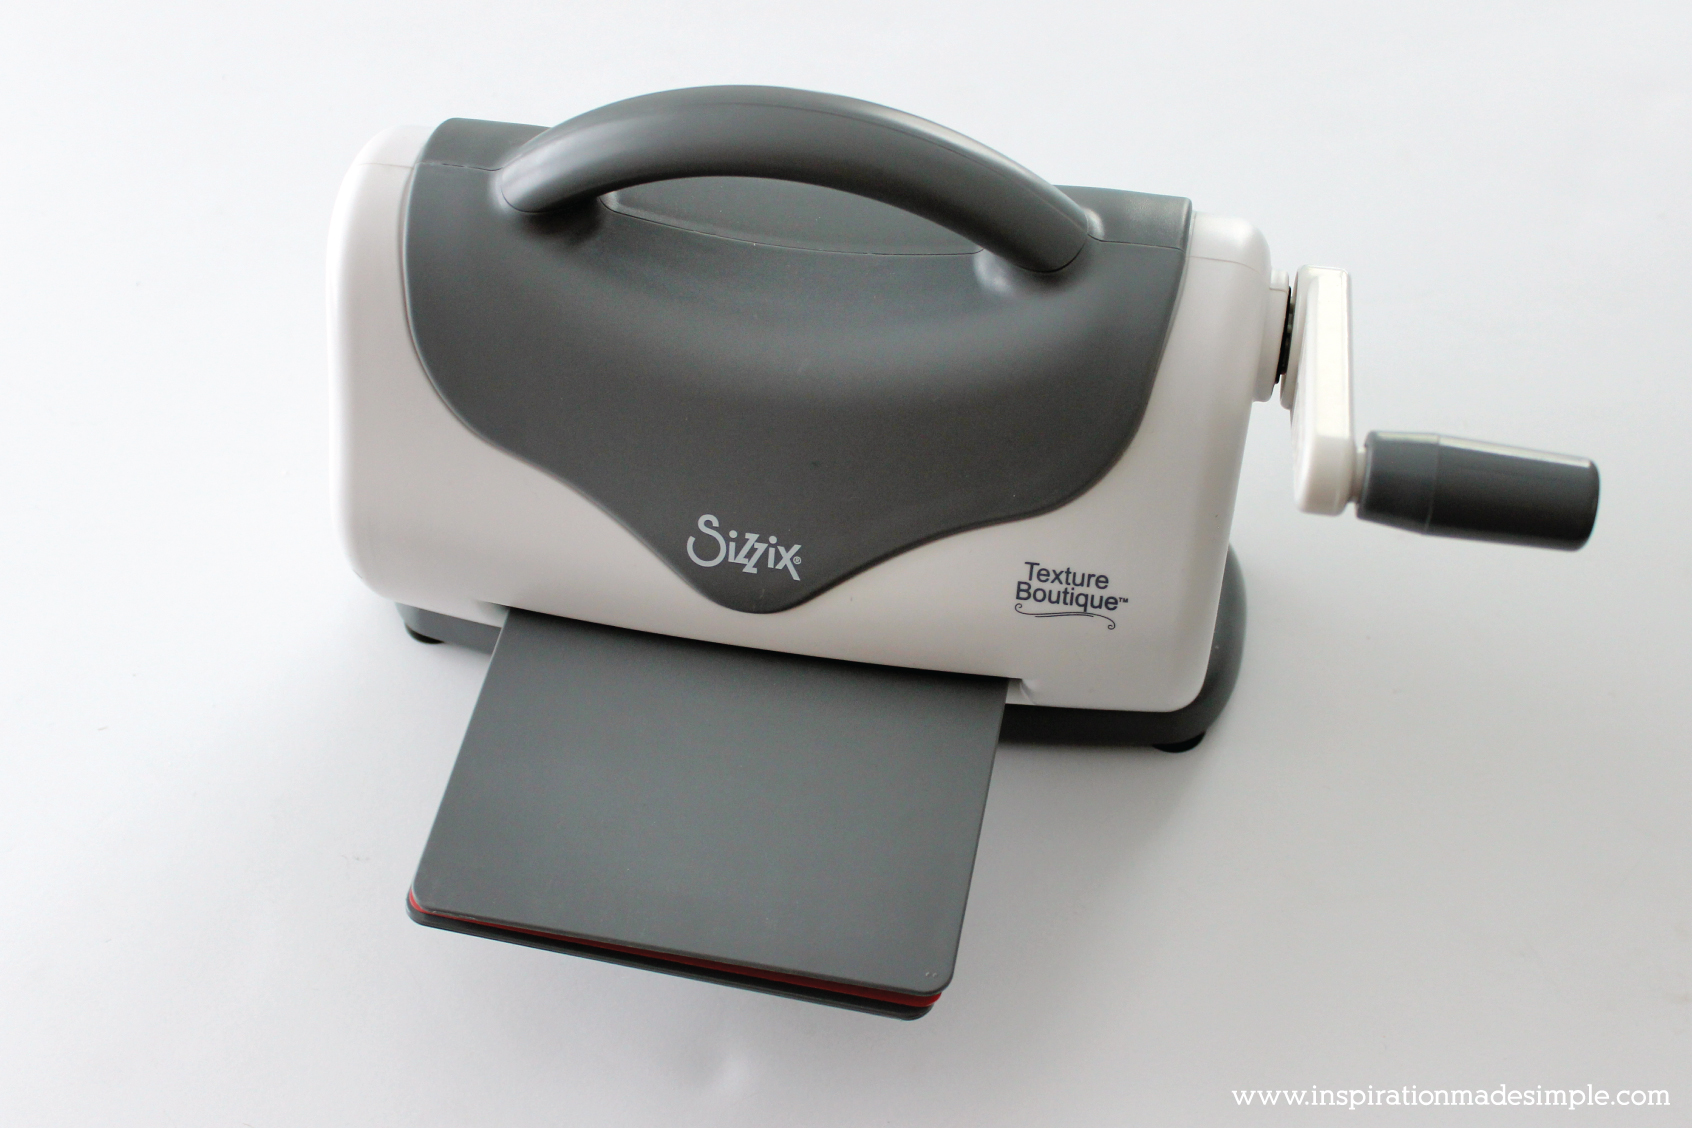
Embossing Machine
Darice Embossing Folder
Darice Double Stick Tape or Foam Dots
Scissors
Darice Watercolor Paints
Marker
DIRECTIONS:
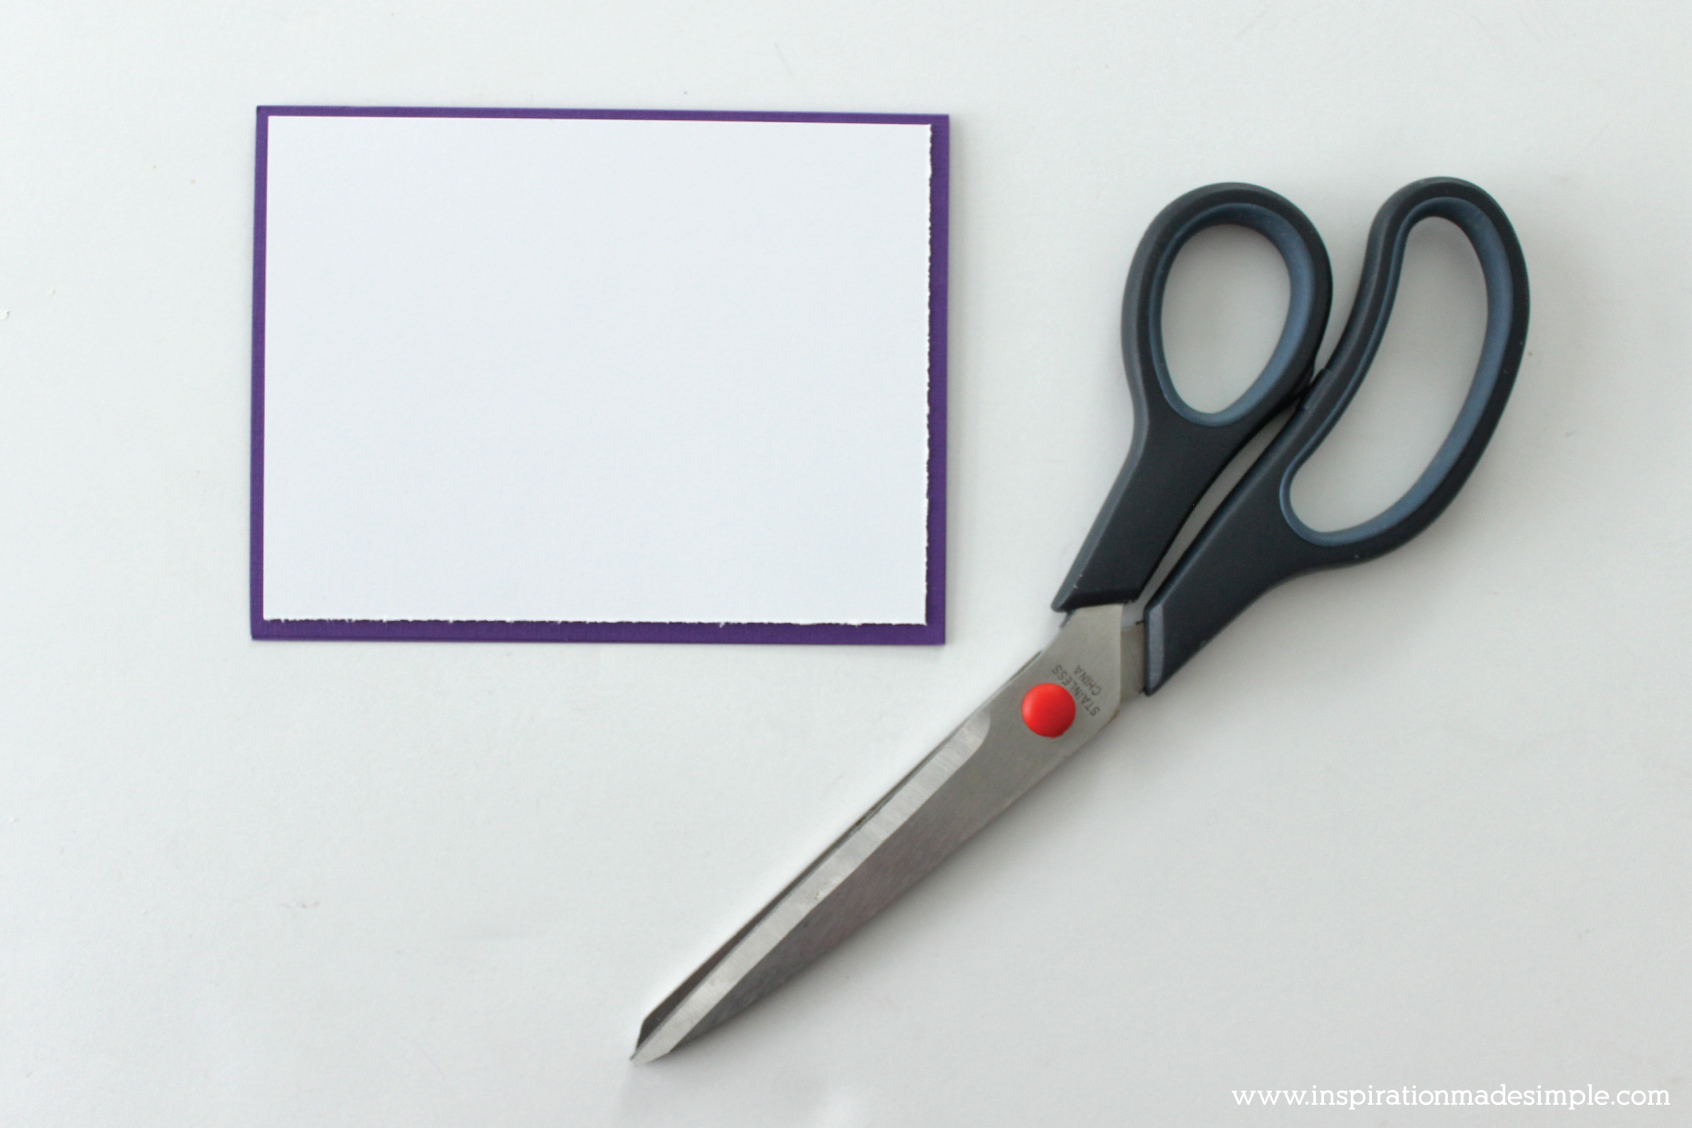
Trim a piece of cardstock to .25″ smaller than the greeting card.
Place the cardstock inside the embossing folder. Place the folder between the two embossing pads, using the shim.
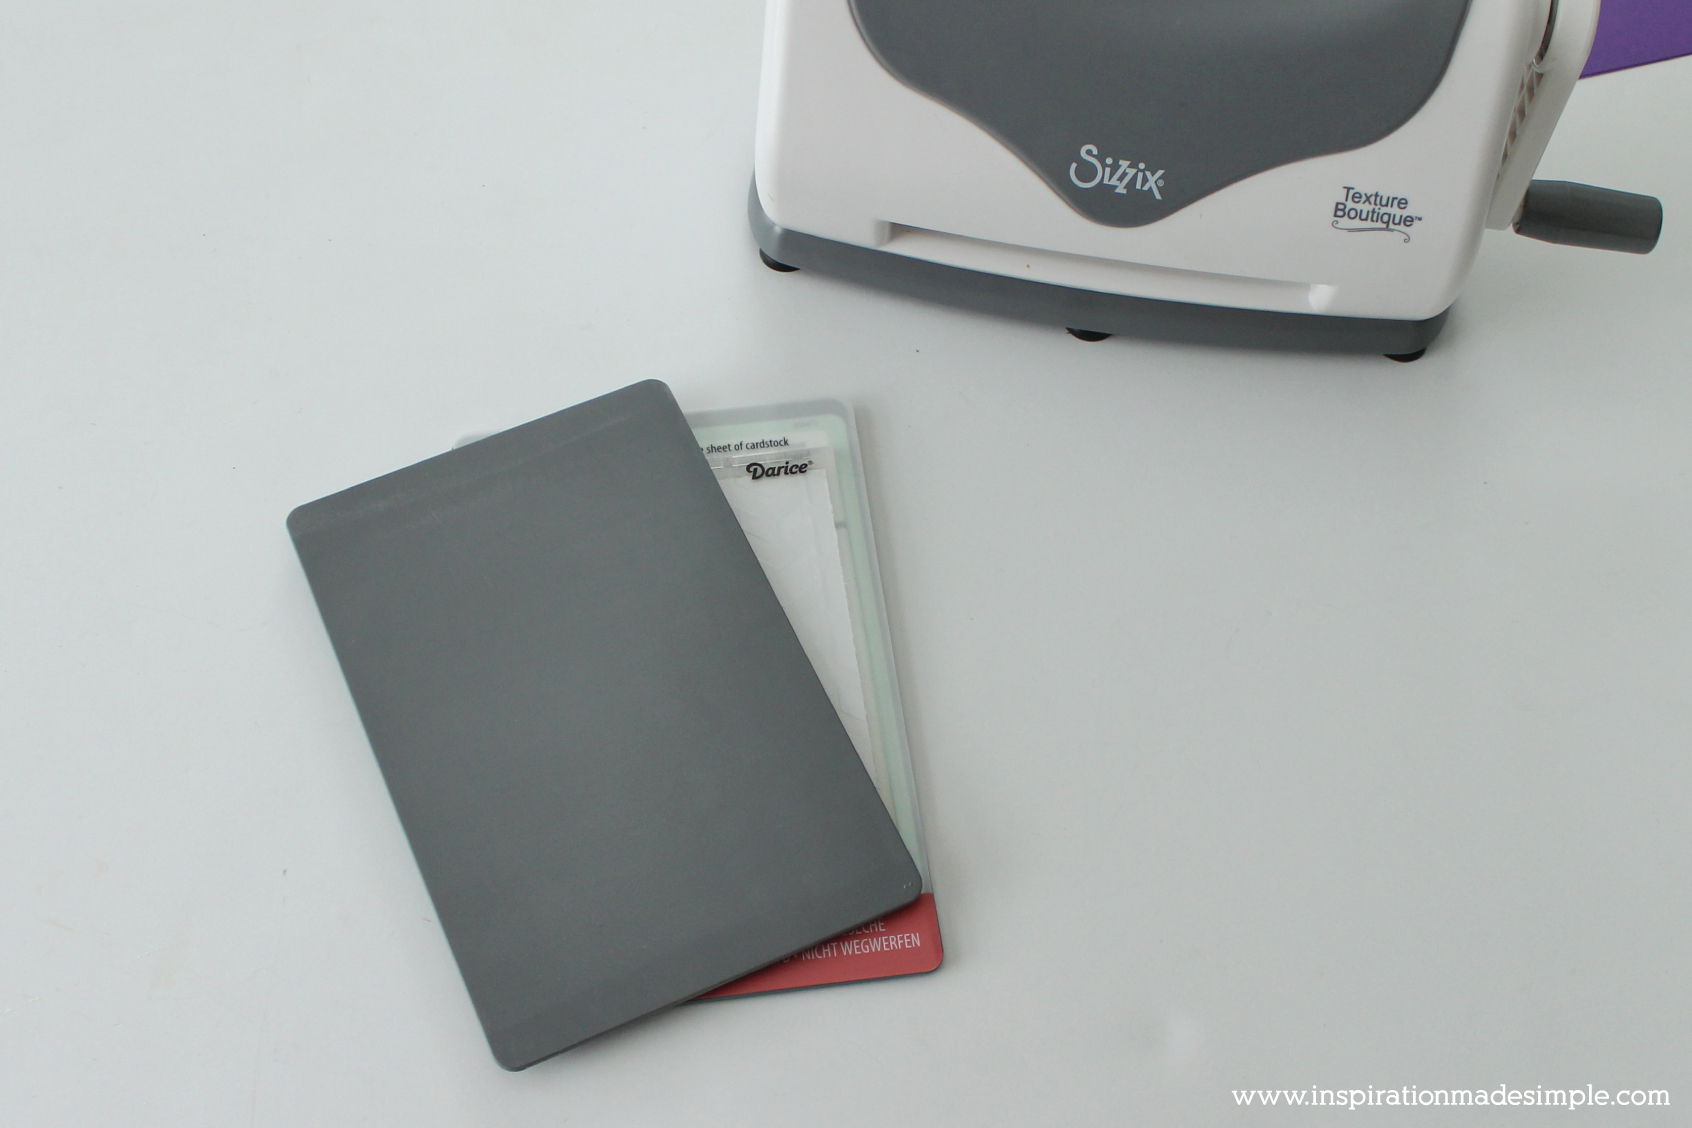
Feed the embossing pads through the machine.
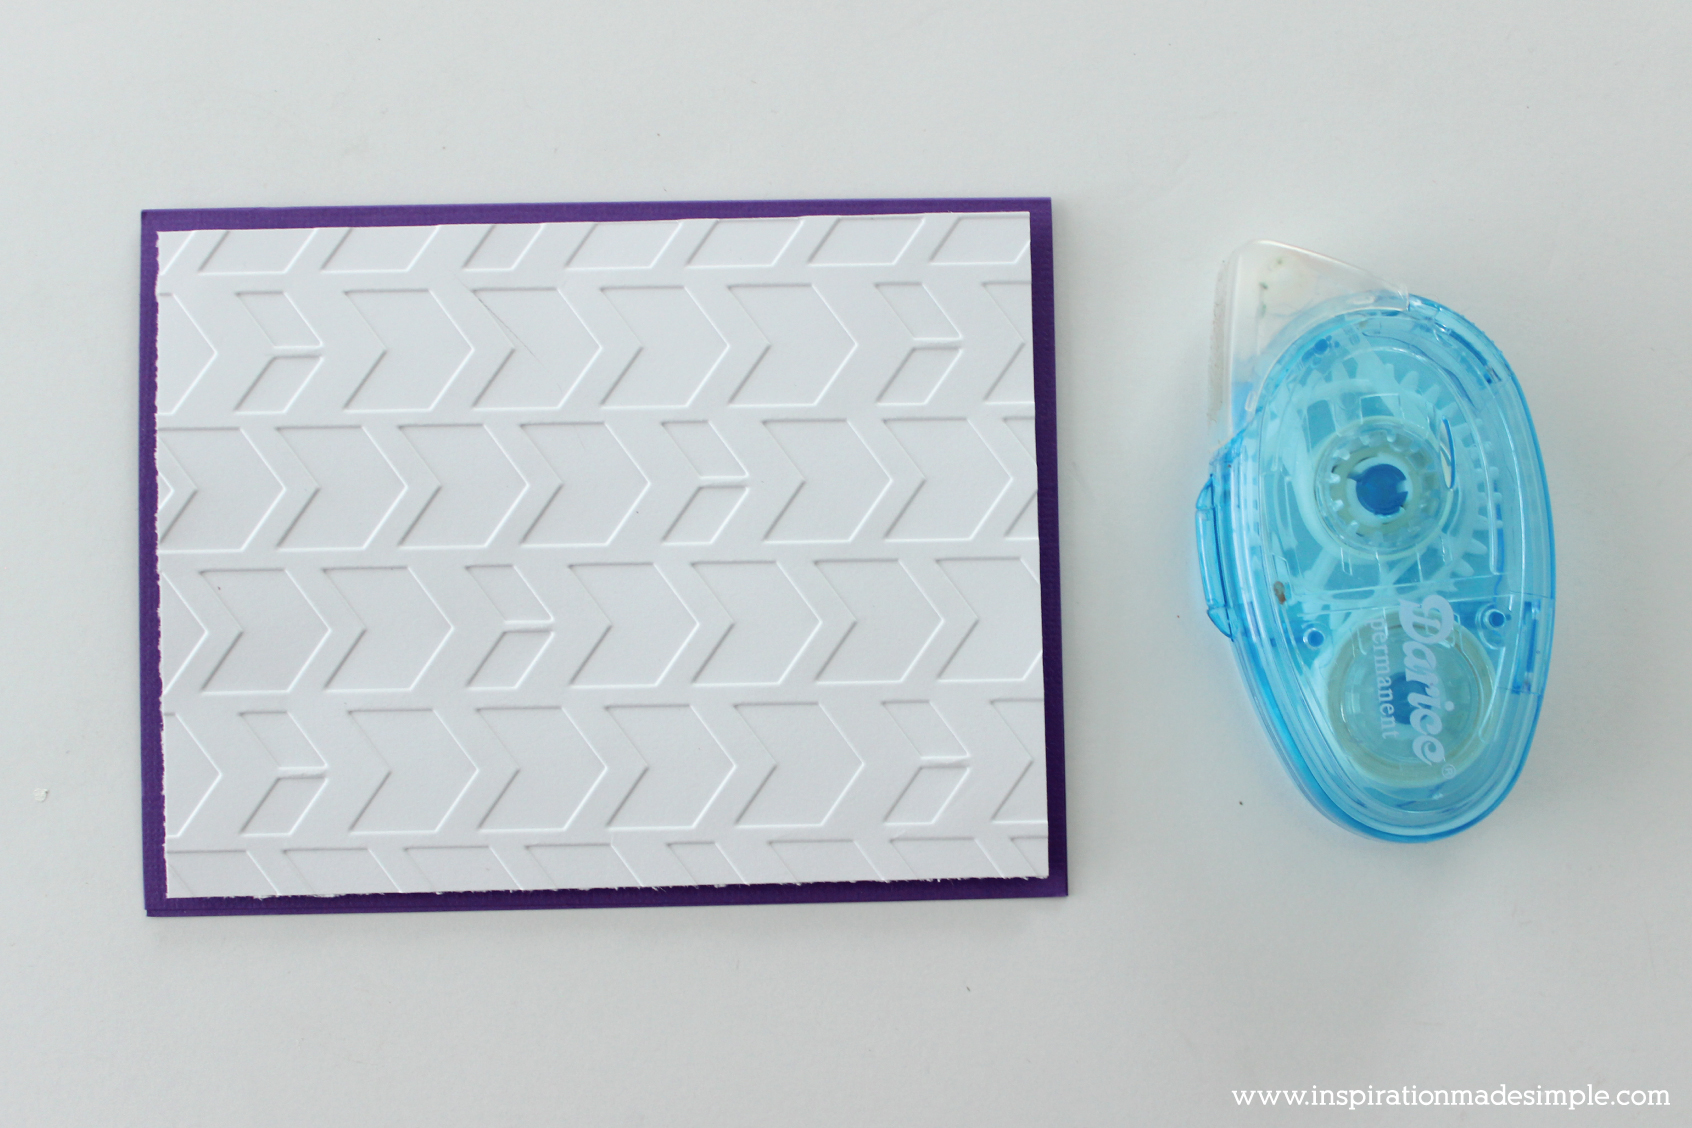
Remove the cardstock from the embossing folder. Using double stick tape or foam dots, attach to the front of the greeting card.
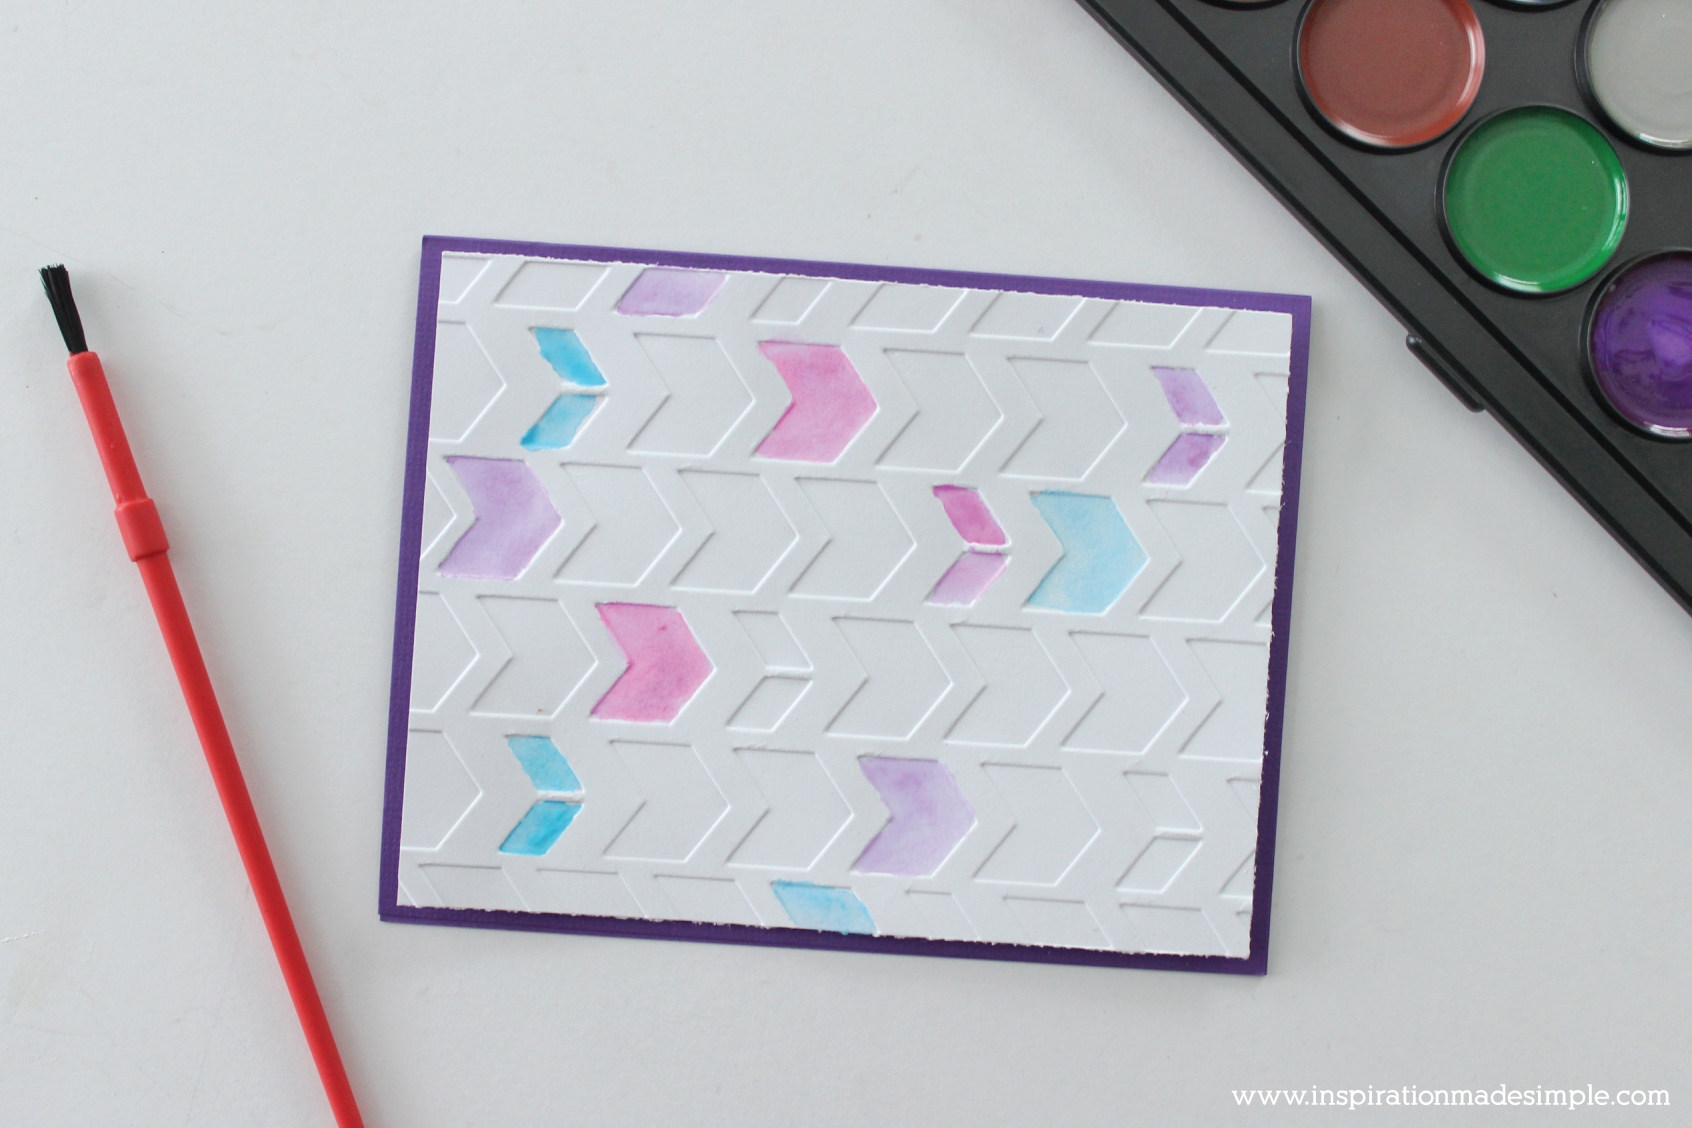
Using watercolor paints, fill in some of the embossed portions of the cardstock.
Cut a small embellishment out of scrap cardstock.
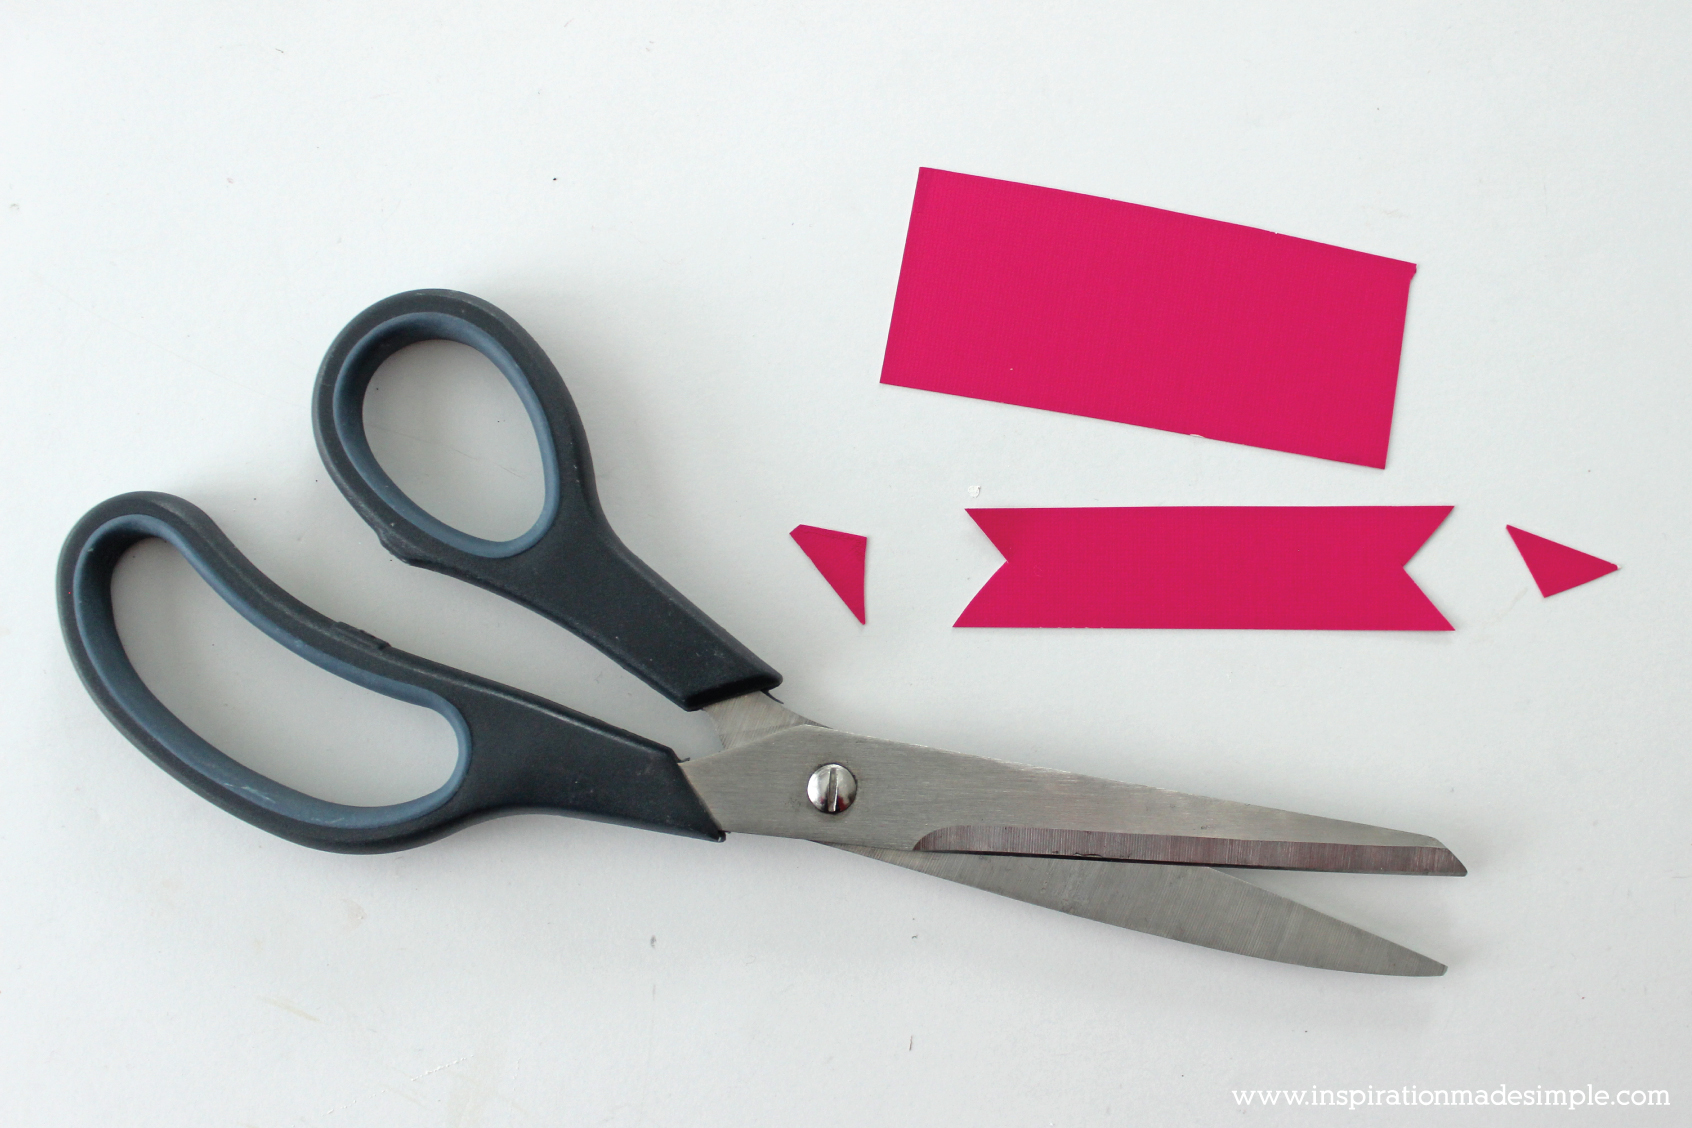
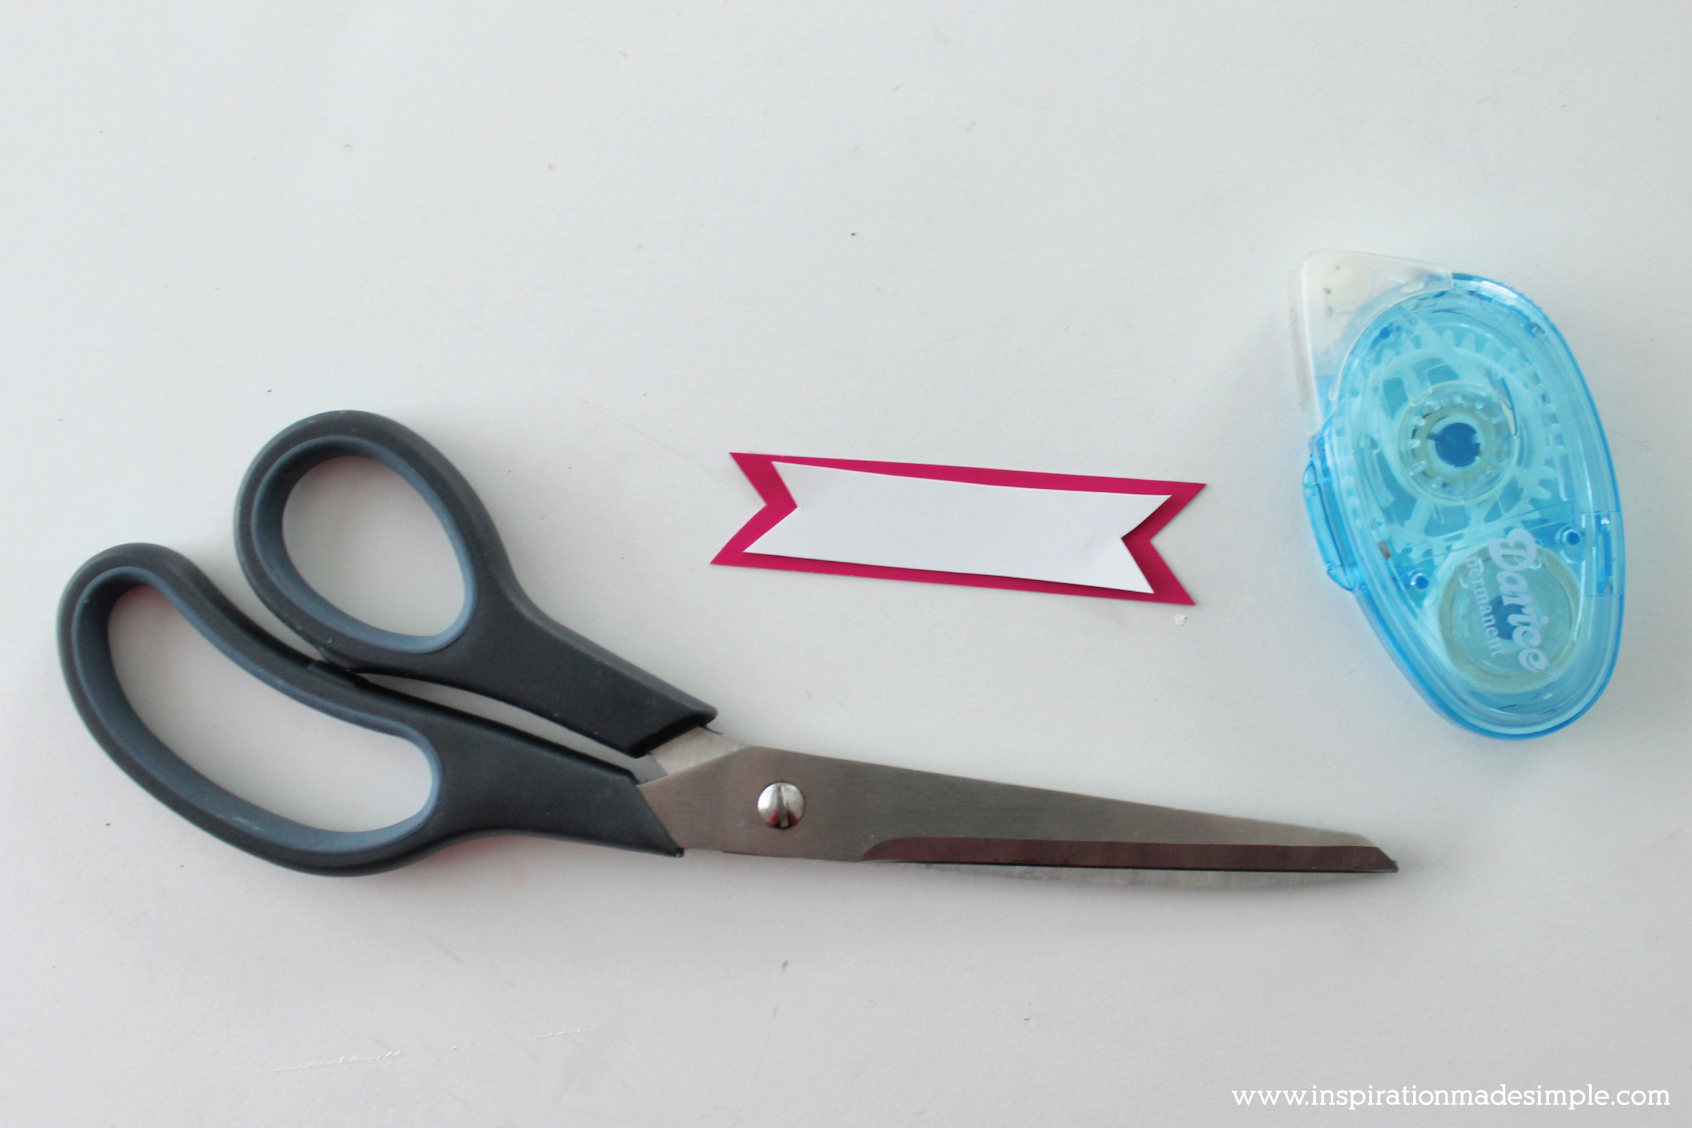
Trace the small embellishment onto cardstock and trim to a smaller size. Use double stick tape to adhere to the first embellishment.
Using a marker, add a saying to the embellishment. Attach to the front of the card with double-stick tape or foam dots.
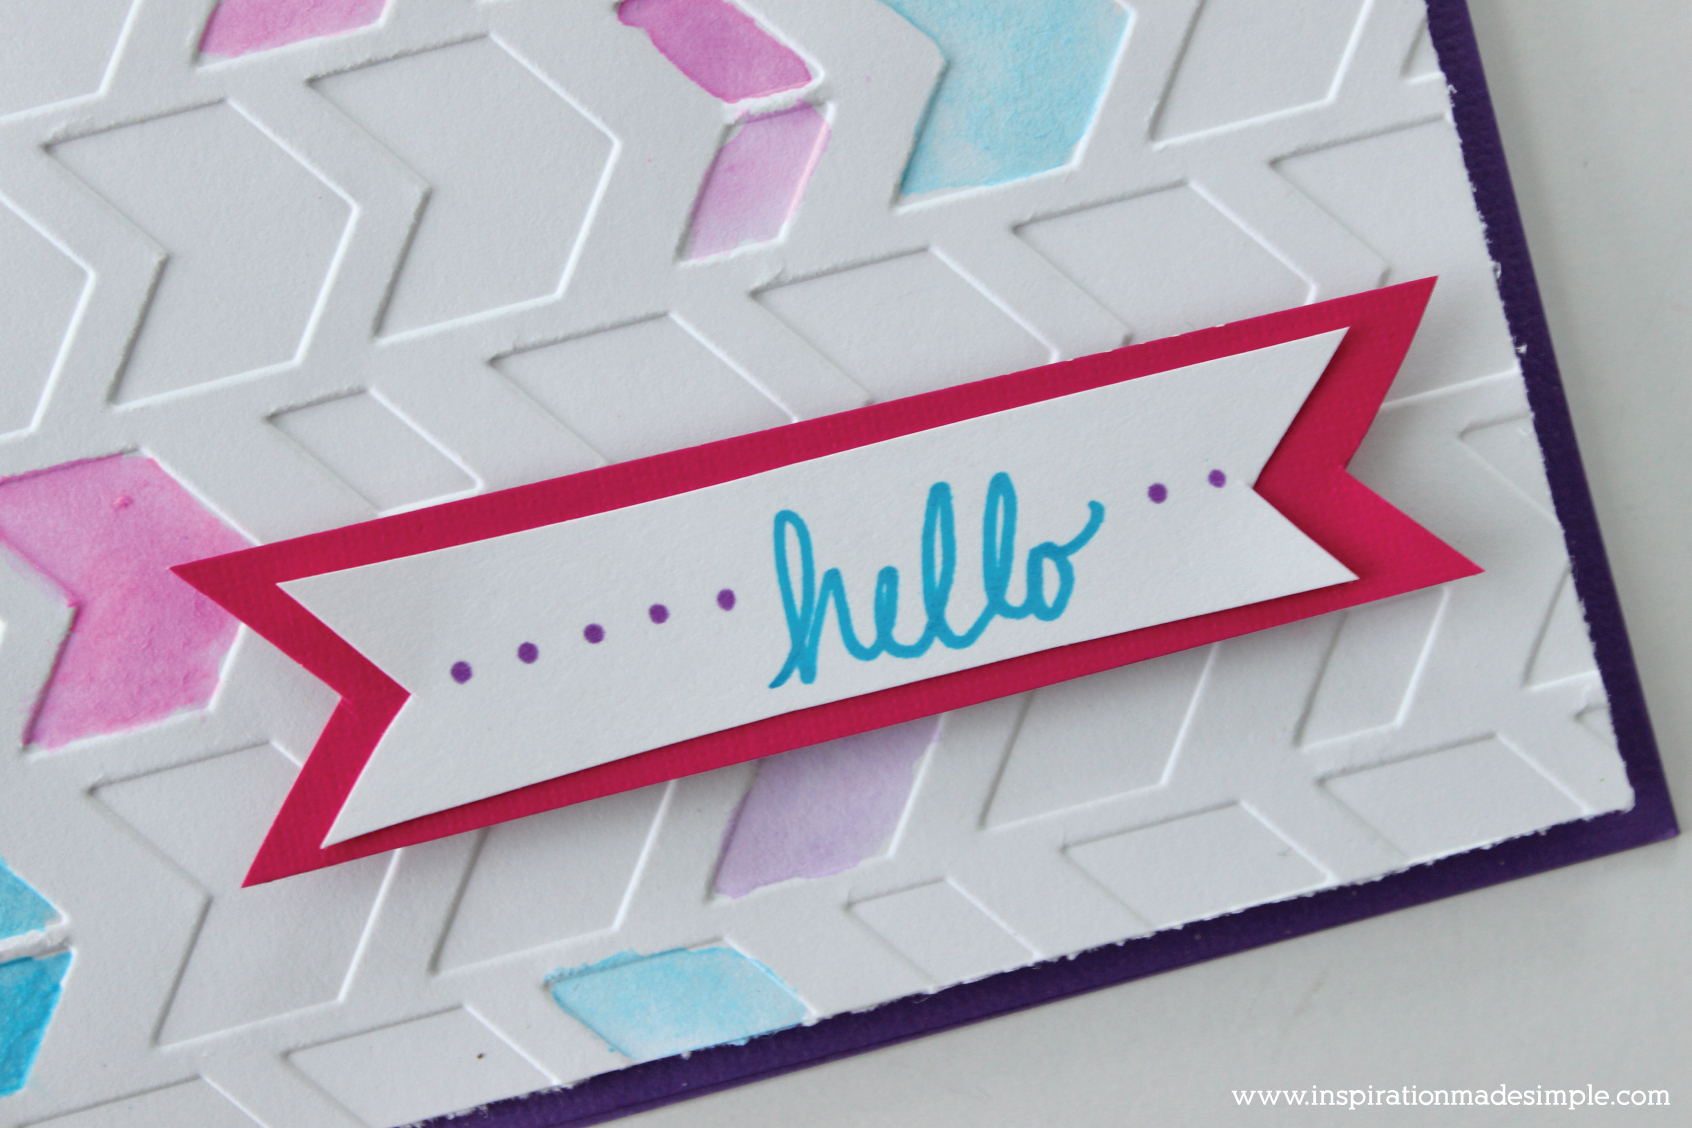
Now you have a beautiful, personalized greeting card that was inexpensive to make, yet sure to make for a happy recipient!
I hope that you enjoyed this tutorial and will give it a try!
What do you think? Would you be proud to give one of these to a friend?
This post originally appeared on Live.Craft.Love where I am a paid contributor in February 2017.

