
DISCLOSURE: This project is being considered for a prize from Cricut. I received a machine in exchange for review. All opinions are my own. I am not being compensated for this post.
 I have some cool news to share! I’ve been chosen to participate in the Cricut Design Space Star Challenge! What does that mean? Over the next four months I will share a project with you once a month – there are different categories each month, like Fashion, Events, etc. I’m part of a team (go Team 14!) and we will decide as a group on a theme to go with the category and then we will get creating with our Cricut Explore cutting machines. Cricut picks the Top 10 projects from each round and then the voting goes out to the masses (AKA you guys) and you pick your favorite. Each round gets a winner and then those 5 move on to the big finale, where they have the potential to win $10,000 and have their designs featured in the Cricut Design Space software! But we aren’t the only winners. You guys win too by getting tutorials of all the cool projects everyone thinks up! Tons of creativity, tons of fun! I hope you enjoy checking out what I create.
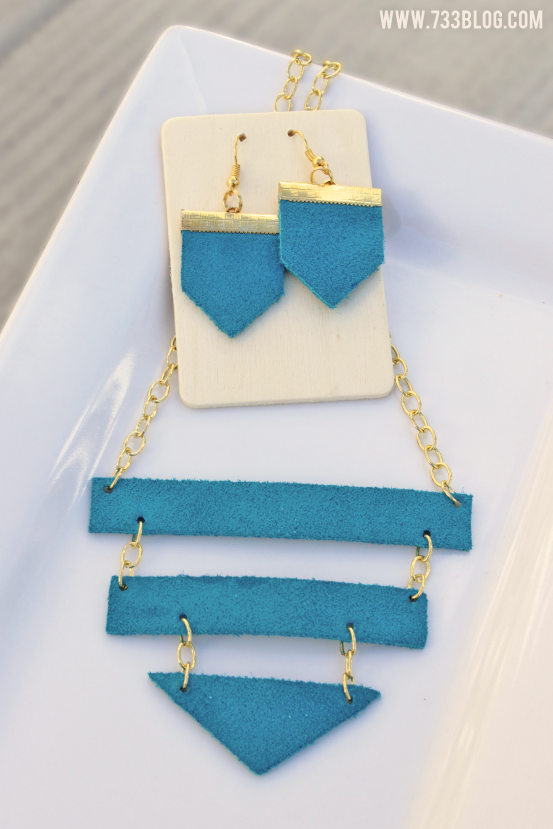
For August the category was Fashion and my team decided on Geometric for the Team Theme. Once I figured out that the Cricut Explore can cut leather I knew exactly what I wanted to make: Geometric Leather Necklace and Earrings!
Supplies Needed:
Cricut Explore (affiliate link for your convenience)
Deep Cut Blade (make sure you get the one made for the Explore – ask me how I know)
Leather – I purchased a bag of scraps at Hobby Lobby
Earring Findings
End Clamps
Jump Rings
Necklace Chain
Pliers
Hammer
Leather Punch
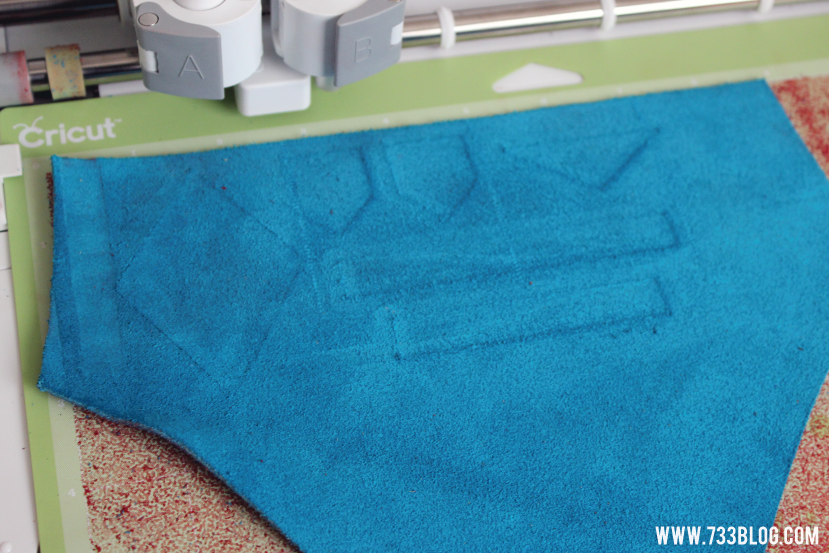 First I created the shapes I wanted to use in Adobe Illustrator and saved them as SVG files. You could also do this in PicMonkey or other design software and save as PNG files. Upload the files into Design Space, an online based software that comes with the machine, and size accordingly. I set the canvas to a Basic Canvas and sized it to 6×6. Next you want to begin cutting – Install your Deep Cut Blade, turn the dial on your machine to Custom Media. In the cutting window on your computer choose Leather – Heavy as your media type.
 Pop your pieces out. (Ignore the blue and red diamonds! That was another necklace I made. I wasn’t as much of a fan of it as the other one though…)
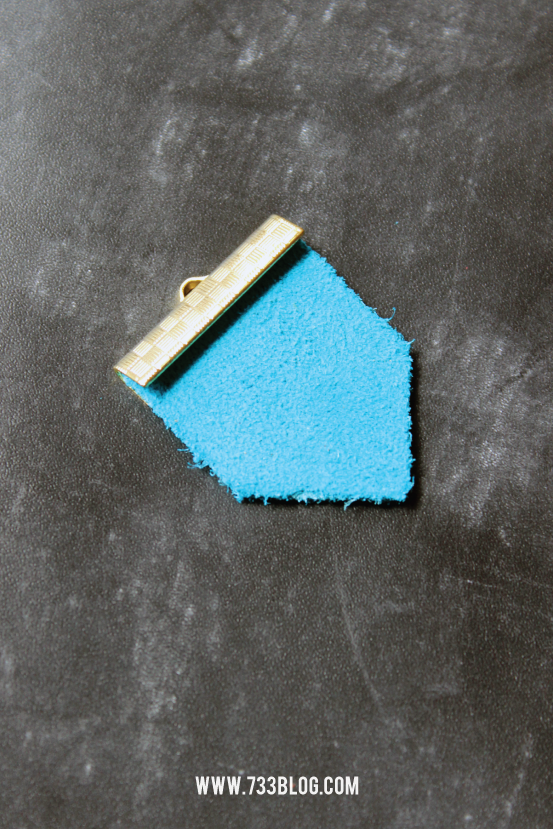 For the earrings I used 1″ End Clamps. Place the leather “arrow” inside.
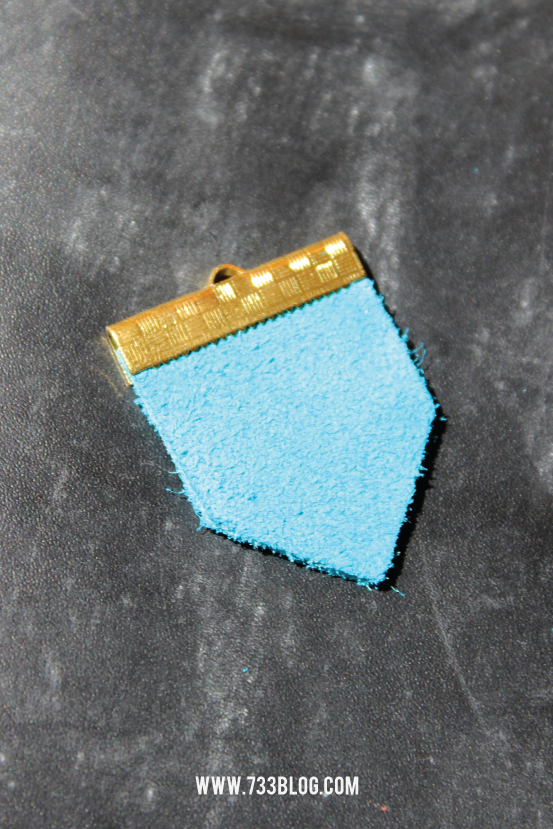 Squeeze the clamp with pliers. Do the same for the 2nd earring.
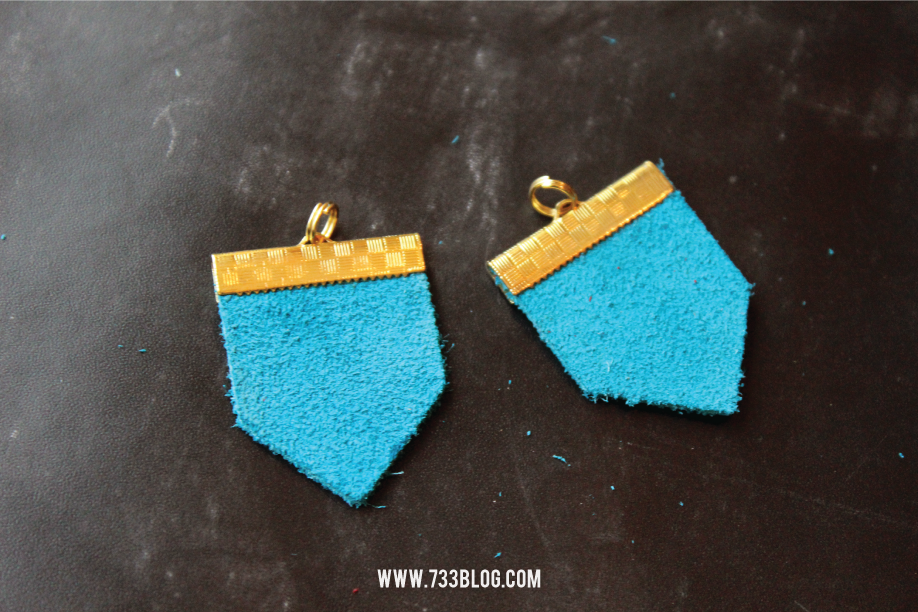 Attach a jump ring to each end clamp.

Attach an earring finding to each jump ring.
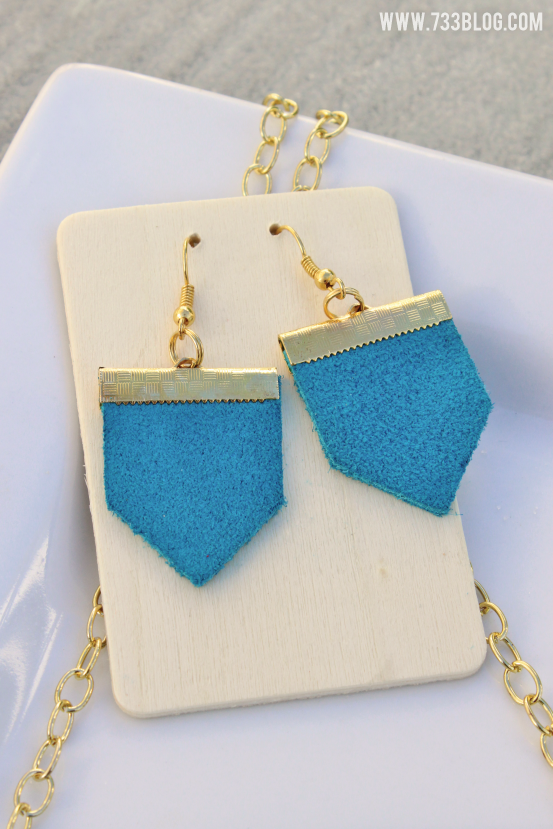 Your earrings are done!
For the necklace –
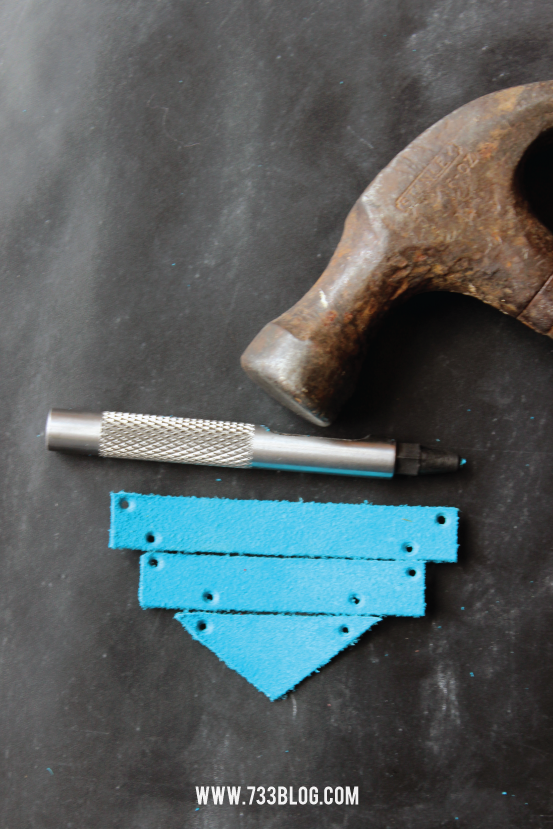 The first step is to punch holes in the leather pieces. For the top rectangle, punch the top two corners with a leather punch. Find the middle of the top rectangle and line that up with the middle of the middle piece. Punch the holes accordingly on each piece. Do the same for the triangle.
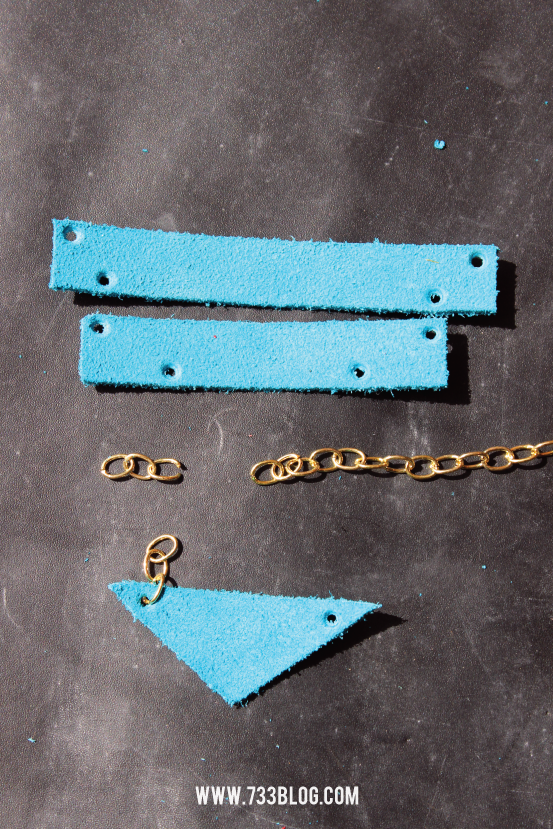 Once you have your holes punched, grab a necklace chain and remove three links. Attach those to the triangle piece. Do the same for the 2nd hole.
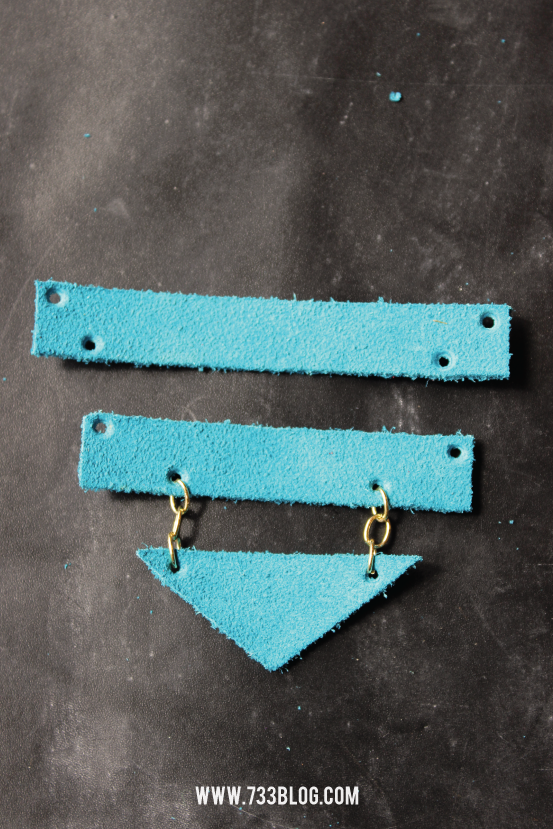 Now attach the other ends to the middle piece.
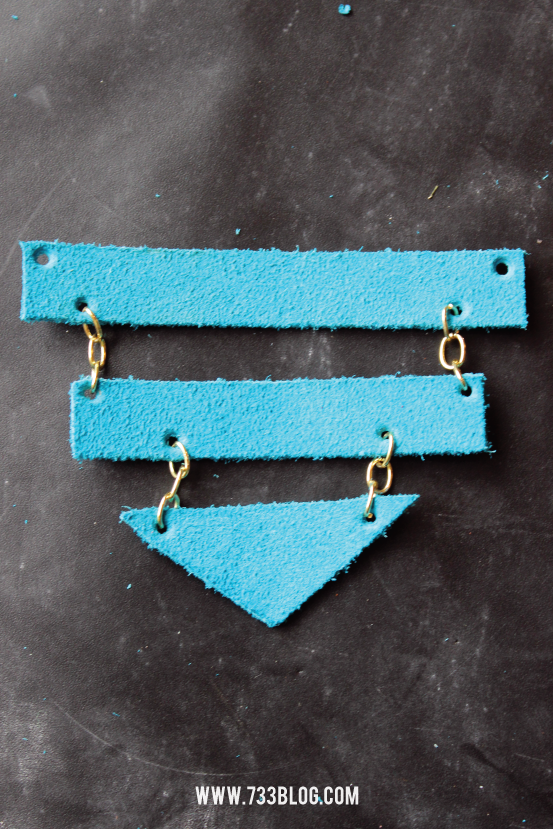 Do the same for the middle to top piece.
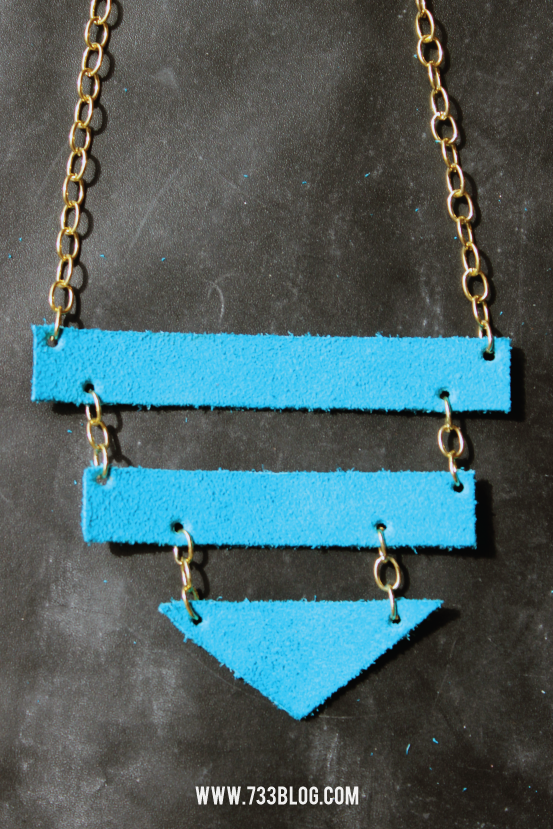 Next you want to measure the amount of chain you want around your neck – I wanted my necklace fairly long. Once you find your length, remove it from the rest of the chain and attach it to the top piece. Find the middle of the chain, open one of the links and attach a lobster clasp.
 Your necklace is done!
 This set looks great on and it saves so much time having the Cricut Explore do all the cuts!
 Here are more DIY Geometric Projects from my Team Members!
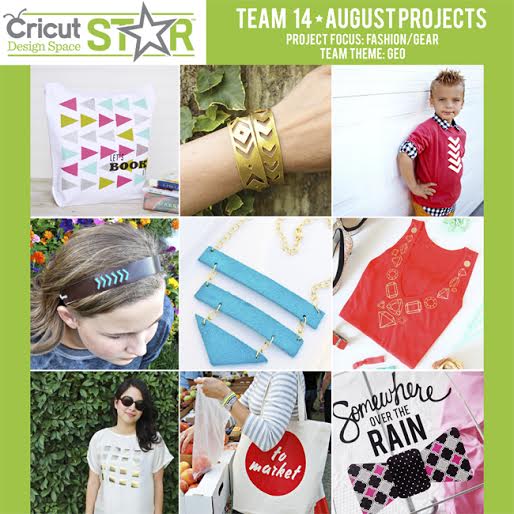
2. Leather Chevron and Navajo Bracelets
3. Boys Tee
5. Geometric Leather Earrings and Necklace
8. Market Tote

LOVE how this turned out. I think you picked a great color to do the set too!! Awesome job!! Beautiful jewelry!! Go Team 14!!!
I just love the turquoise color and love how the jewelry pieces turned out! 🙂
These are so pretty!
Thanks Bethany! I had a ton of fun creating them. 🙂
So cute!
Thanks Alexis! I was so please with how easy it was to make, yet how pretty it turned out!