
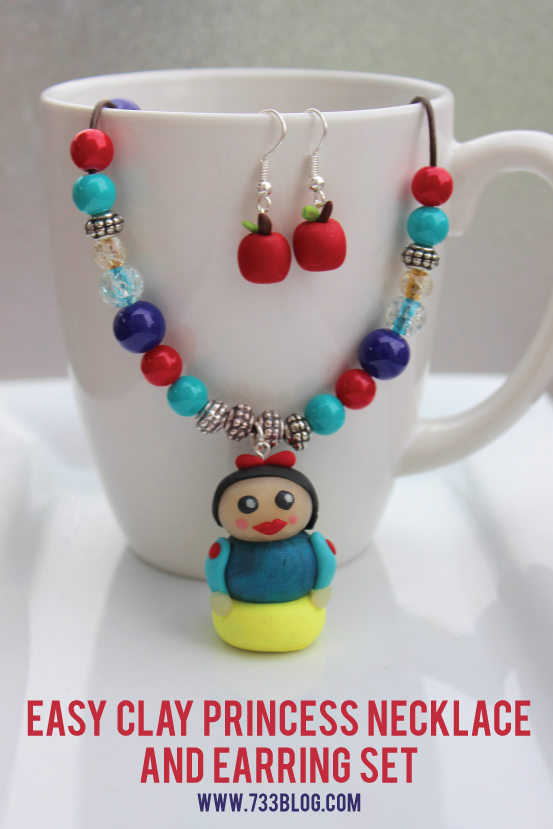
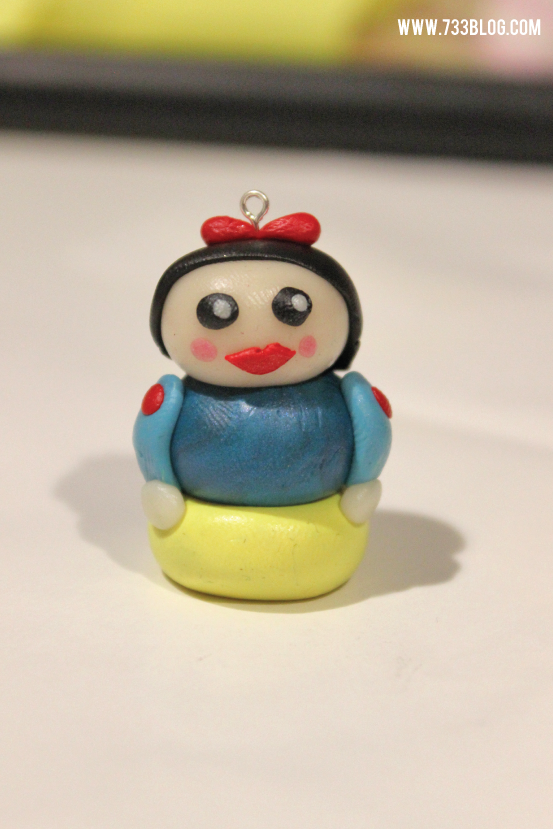
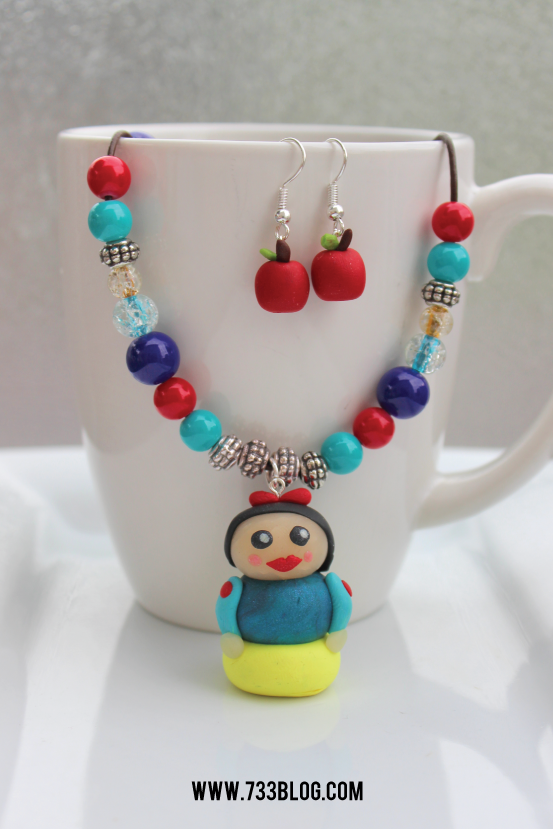
It’s time for another round of #CreativeBuzz with some of my favorite blogging friends. This months theme was Apple. You’d think I’d have an easy go of this, especially since one of my most popular Back-to-School projects is my Terra Cotta Apple… but I struggled a bit! Until I started thinking of Apple Earrings, which I thought could be cute as a Teacher Gift. But Once I thought of those, I started thinking that my girls would love them and how they would be PERFECT paired with a Snow White necklace, and the idea was born.
Want to make your own? This really is very simple to create. It’s basically just a bunch of different sized balls, some get flattened, but that’s about it, so let’s get started! And don’t forget to scroll to the bottom of this post to see 11 other Awesome Apple Projects!
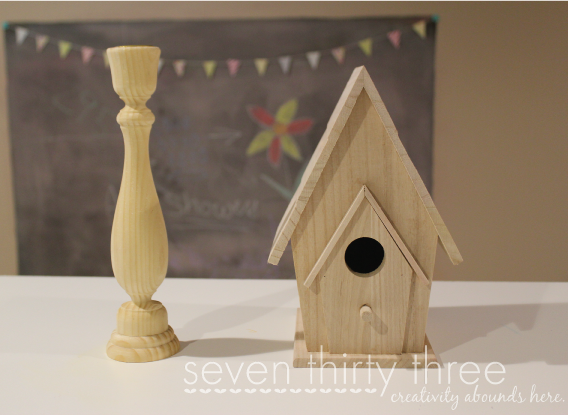
SUPPLY LIST (includes affiliate links):
Beads
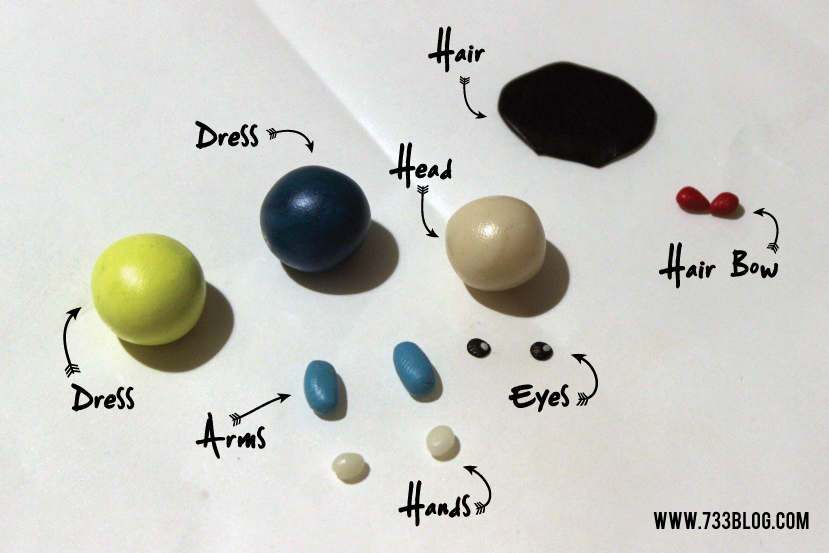 Above is an image of the main parts needed to create the Snow White Pendant. My main dress pieces were about 1″ in diameter.
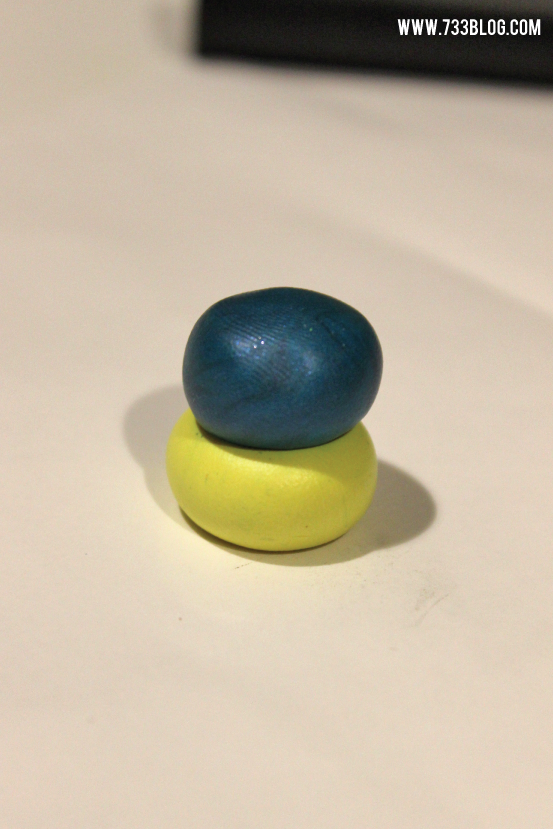 Place the blue “dress” ball on top of the yellow “dress” ball. Press firmly so that they loose a little of their ball shape.
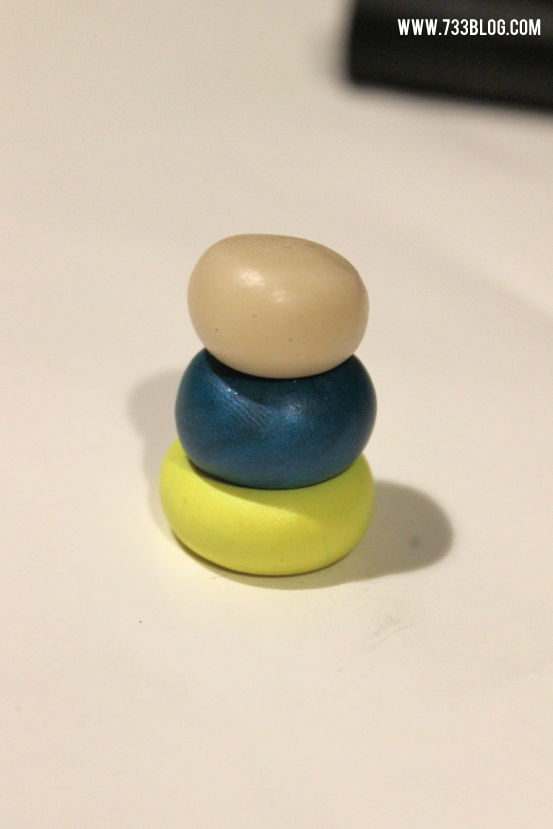 Place the “head” ball on top and press lightly.
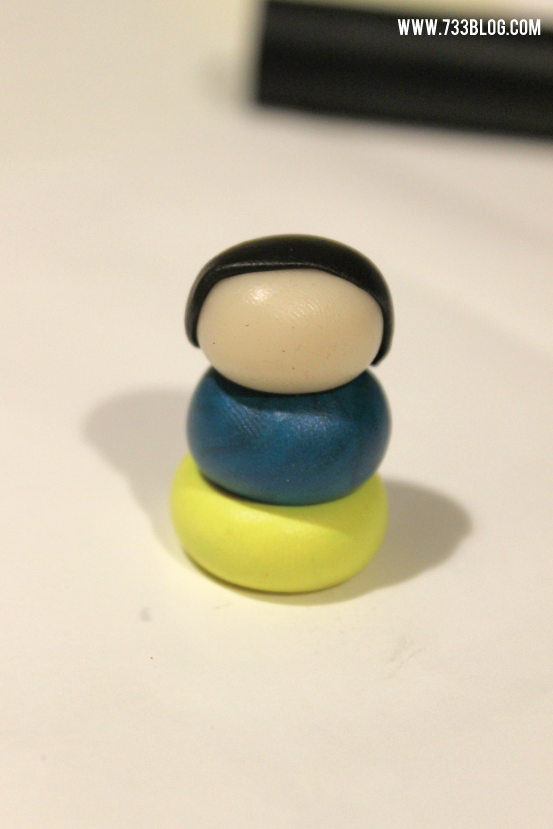 Gently lay the hair onto the head and press it lightly into place. I sort of rubbed it into place. I used a clay spatula to work it into the crevice in the back of the head. Just get it nice and smooth over the head.
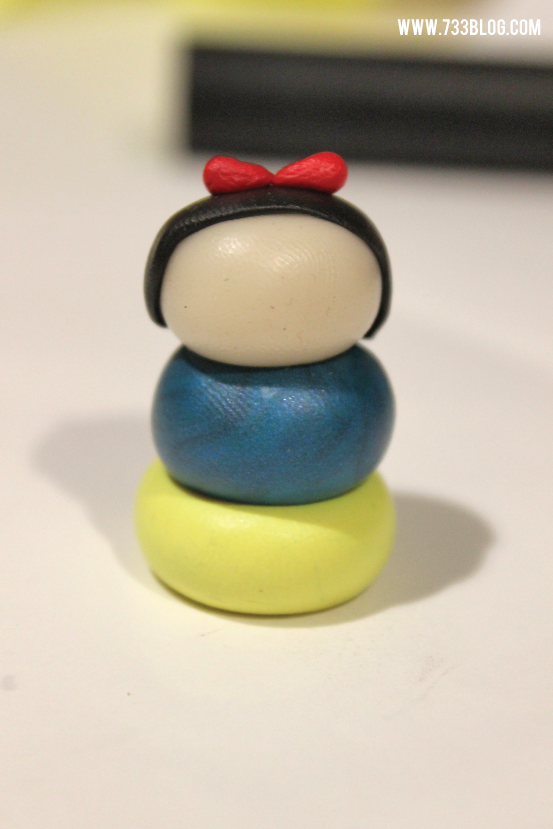 Now gently place the two bow pieces onto the top center of the head.
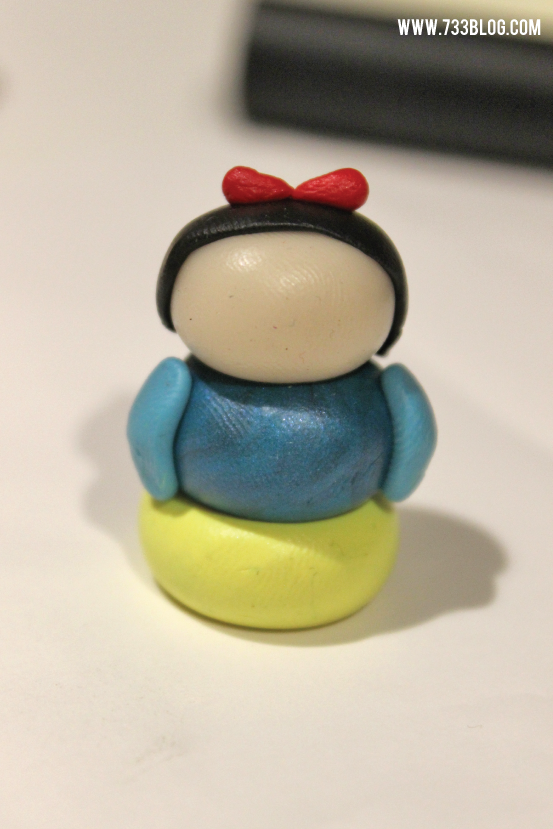 Lightly press the arms onto the blue portion of the body and mold into place.
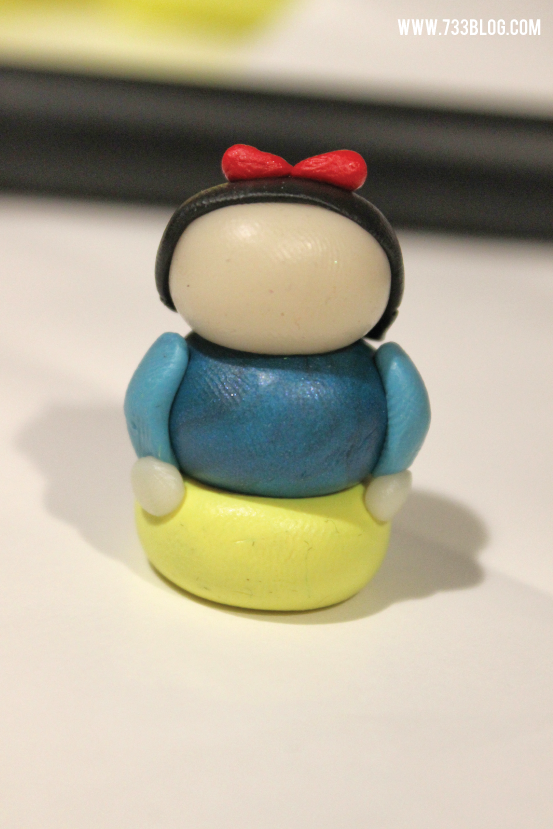 Press the hands into place.
 The eyes are tricky to get into place, so just take your time. Once you get them, press firmly to keep them there!
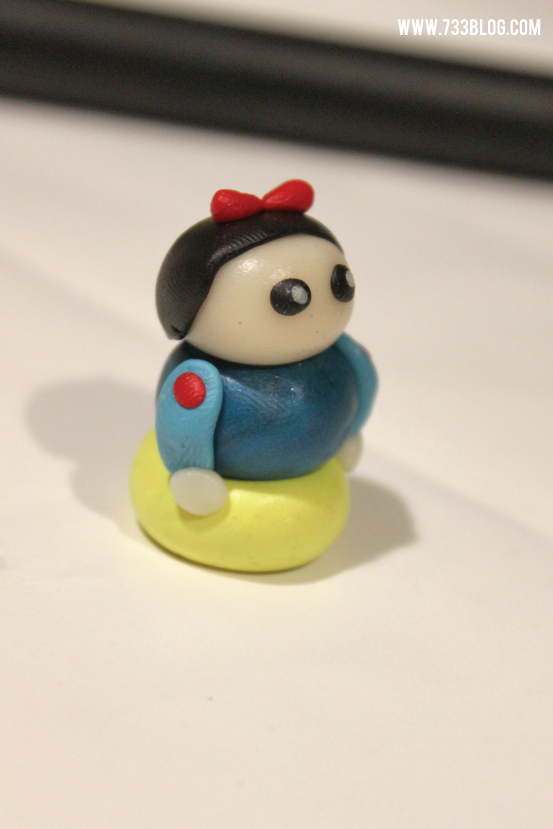 Now let’s add a fun accent to the sleeves, just to give a bit more style, shall we? Roll up two small pieces of red clay – about the size that the eyes were and press firmly onto each sleeve.

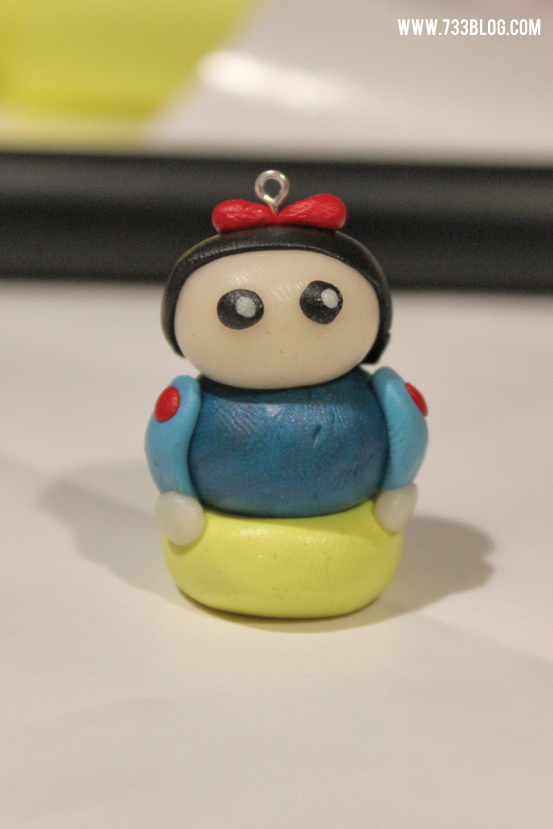 Stick a long eye pin(the kind for making earrings and such) into the head between the bow and all the way down. You do not want your eye pin to pierce the bottom of the pendant, so if it is too long, make sure to trim it first.
At this point she is cute, but I really wanted her to have a bit more expression, so let’s finish off her face:
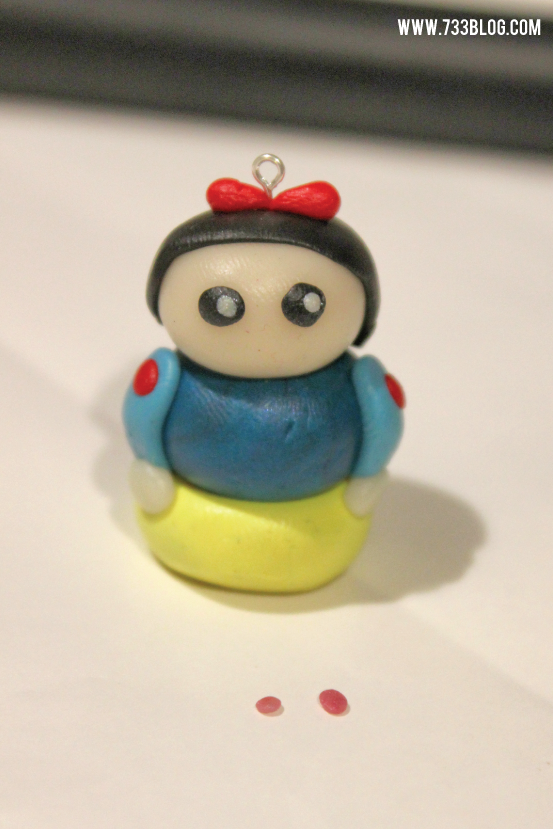 Roll too tiny pieces of pink clay and press them onto the face to create cute little blushing cheeks.
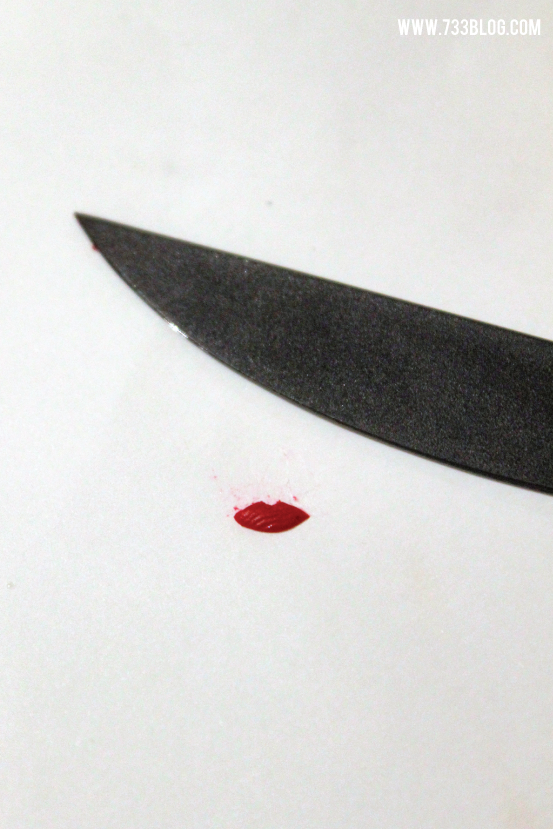
 I used a Clay Knife to shape a flattened piece of clay into lips and pressed them into place. TIP: Take your time, it took a few tries to get the placement right.
Snow White is done and can be set aside. Let’s work on the Apple Earrings:
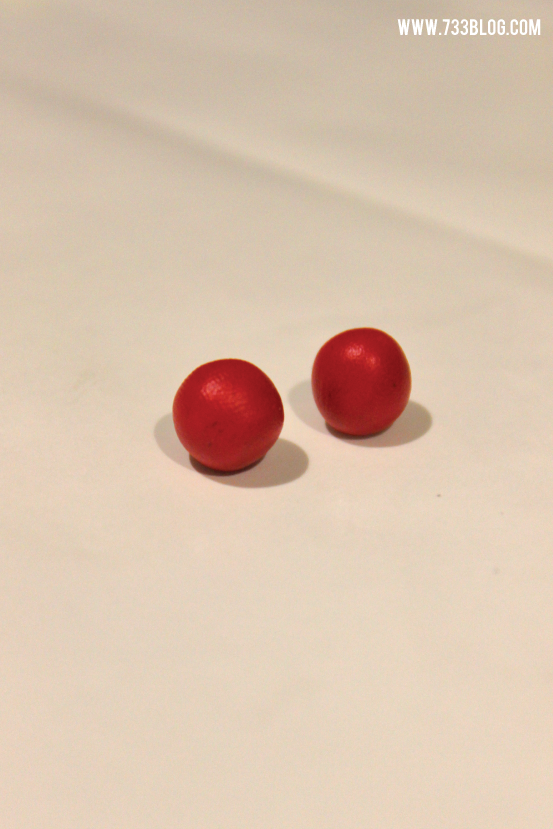 Using red clay, make two small balls. Mine were a little over .25″ in diameter.
 I rolled a tiny “snake” of brown clay and cut it in half to create a stem – make it proportional to your apple.
For the leaf, I rolled out a small flat piece of green clay and just cut out a leave shape.
I first placed the stem on top of the apple and lightly pressed it into the apple with the flat side of my clay knife. I then did the same with the leaf.
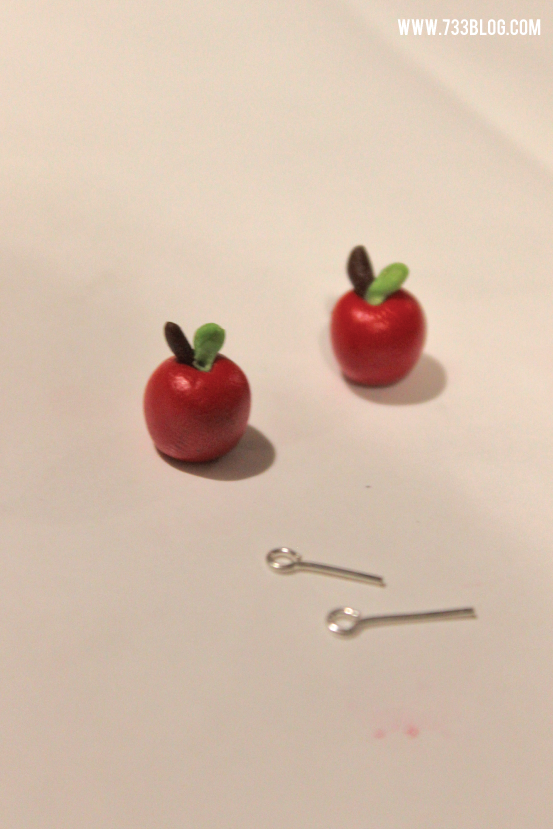
 Now it’s time to add the eye pins to the apple. Mine were too long, so I measured them against the apples and trimmed to size. I then pushed them through the top of the apple. I tried to catch the bottom of the stem and the leaf as well, to help keep them in place.
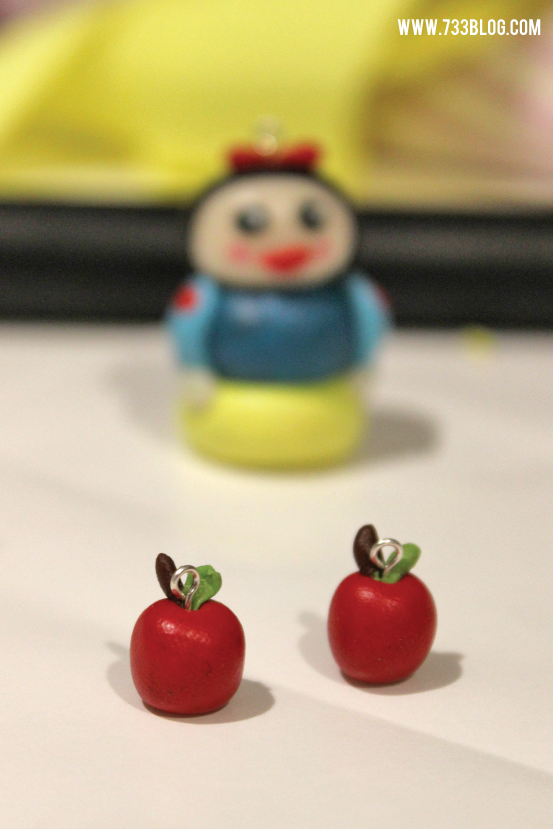
The next step is to bake the pieces. Follow the directions on the box of clay. My Snow White went in for 1 hour, the apples went in for a 1/2 hour.
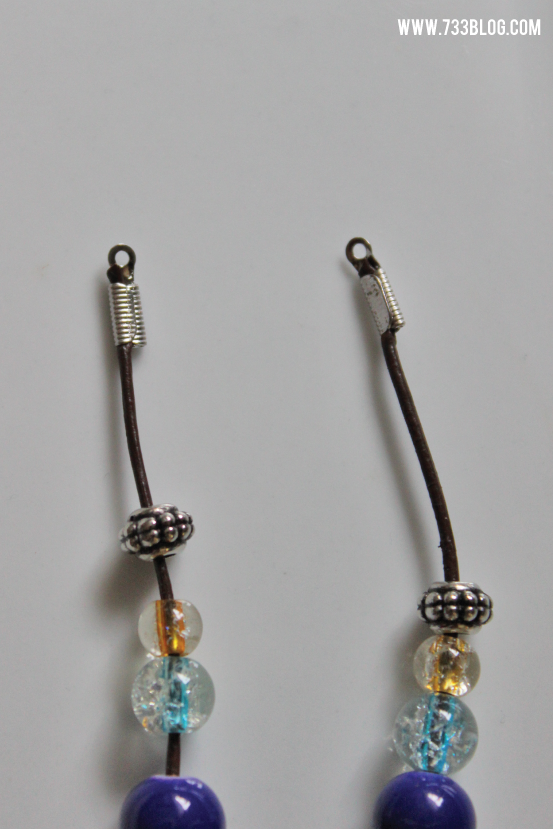
 Once the clay is done baking and cooled, it’s time to make your necklace for the pendant. I chose to use beads and leather cording. To attach the pendant to the necklace I added a jump ring to the eye pin and threaded the cording through the ring. I used clamp closures on the end of the leather cord and a fun clasp piece that I attached to the clamp closures with jump rings.
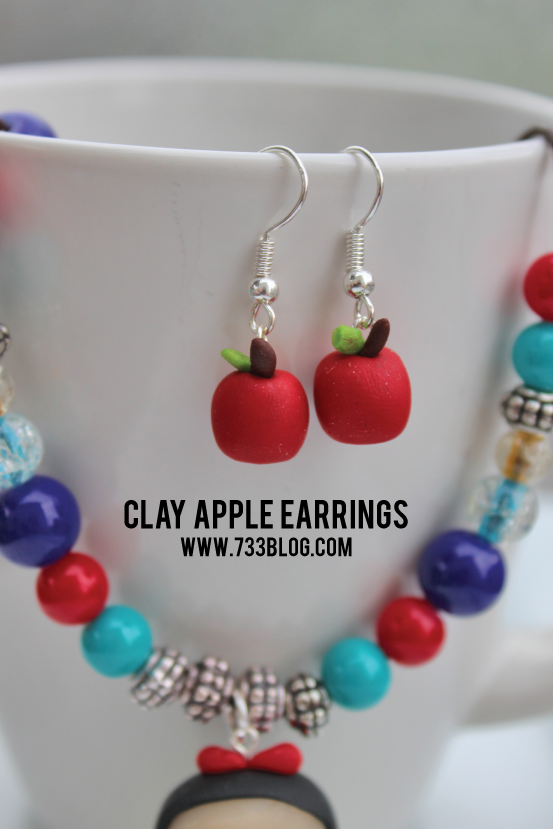
For the earrings, add a earring post to each eye pin and you’re done:
Don’t forget to check out these other amazing Apple Projects from #CreativeBuzz bloggers: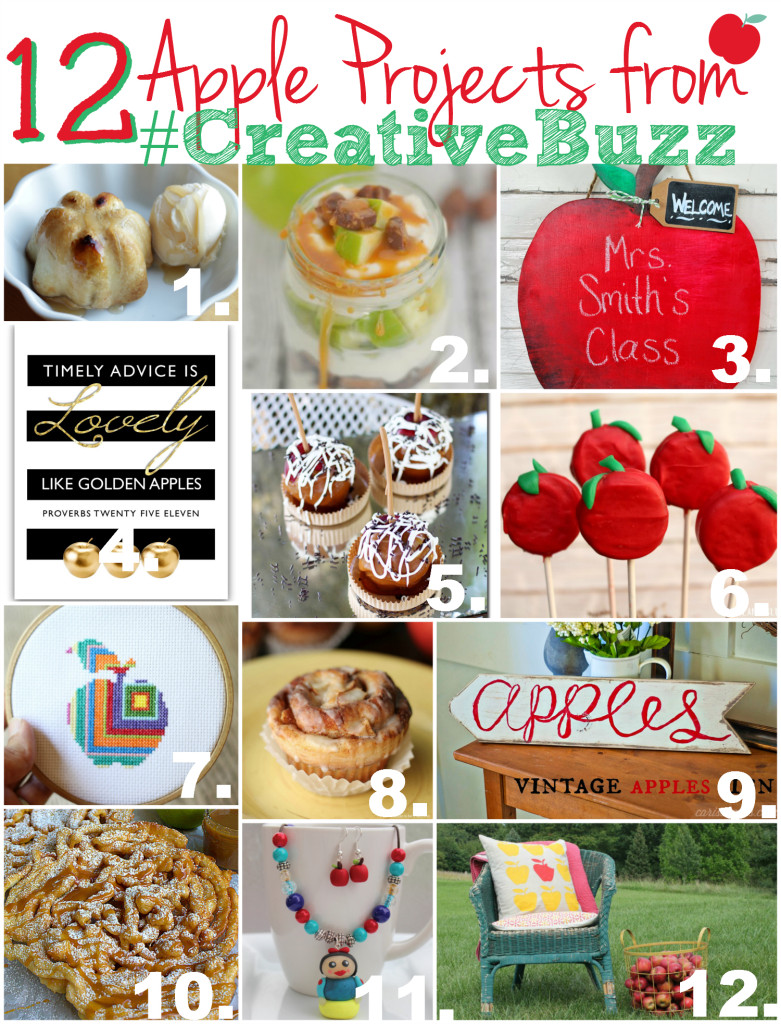
1. Individual Caramel Apple Pies from Handmade in the Heartland
2. Caramel Apple Parfait from Just Us Four
3. DIY Apple Chalkboard Teacher Gift from A Glimpse Inside
4. Apples of Gold Printable from All Things with Purpose
5. How to Make a Simple Caramel Apple from Sugar Bee Crafts
6. Oreo Apples Bouquet for Teachers from A Girl and a Glue Gun
7. Modern Apple Cross Stitch from Do Small Things with Love
8. Apple Cinnamon Cupcakes from Made to Be a Momma
9. Vintage Apple Sign from Carissa Miss
10. Caramel Apple Funnel Cakes from This Silly Girl’s Life
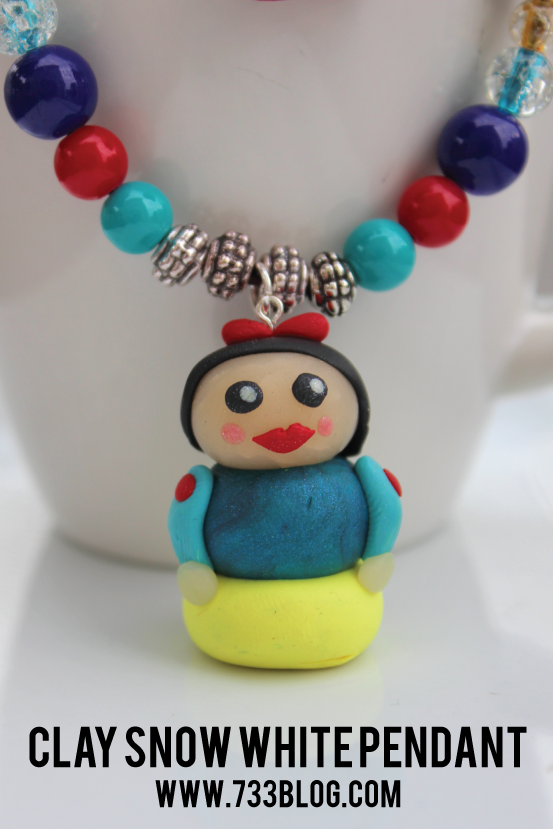
11. Easy Clay Snow White Pendant and Apple Earrings from Seven Thirty Three


way cute!!
So adorable!
Those earrings are too cute!
Thanks Sarah! They were so easy to make and they turned out just as I hoped. 🙂