
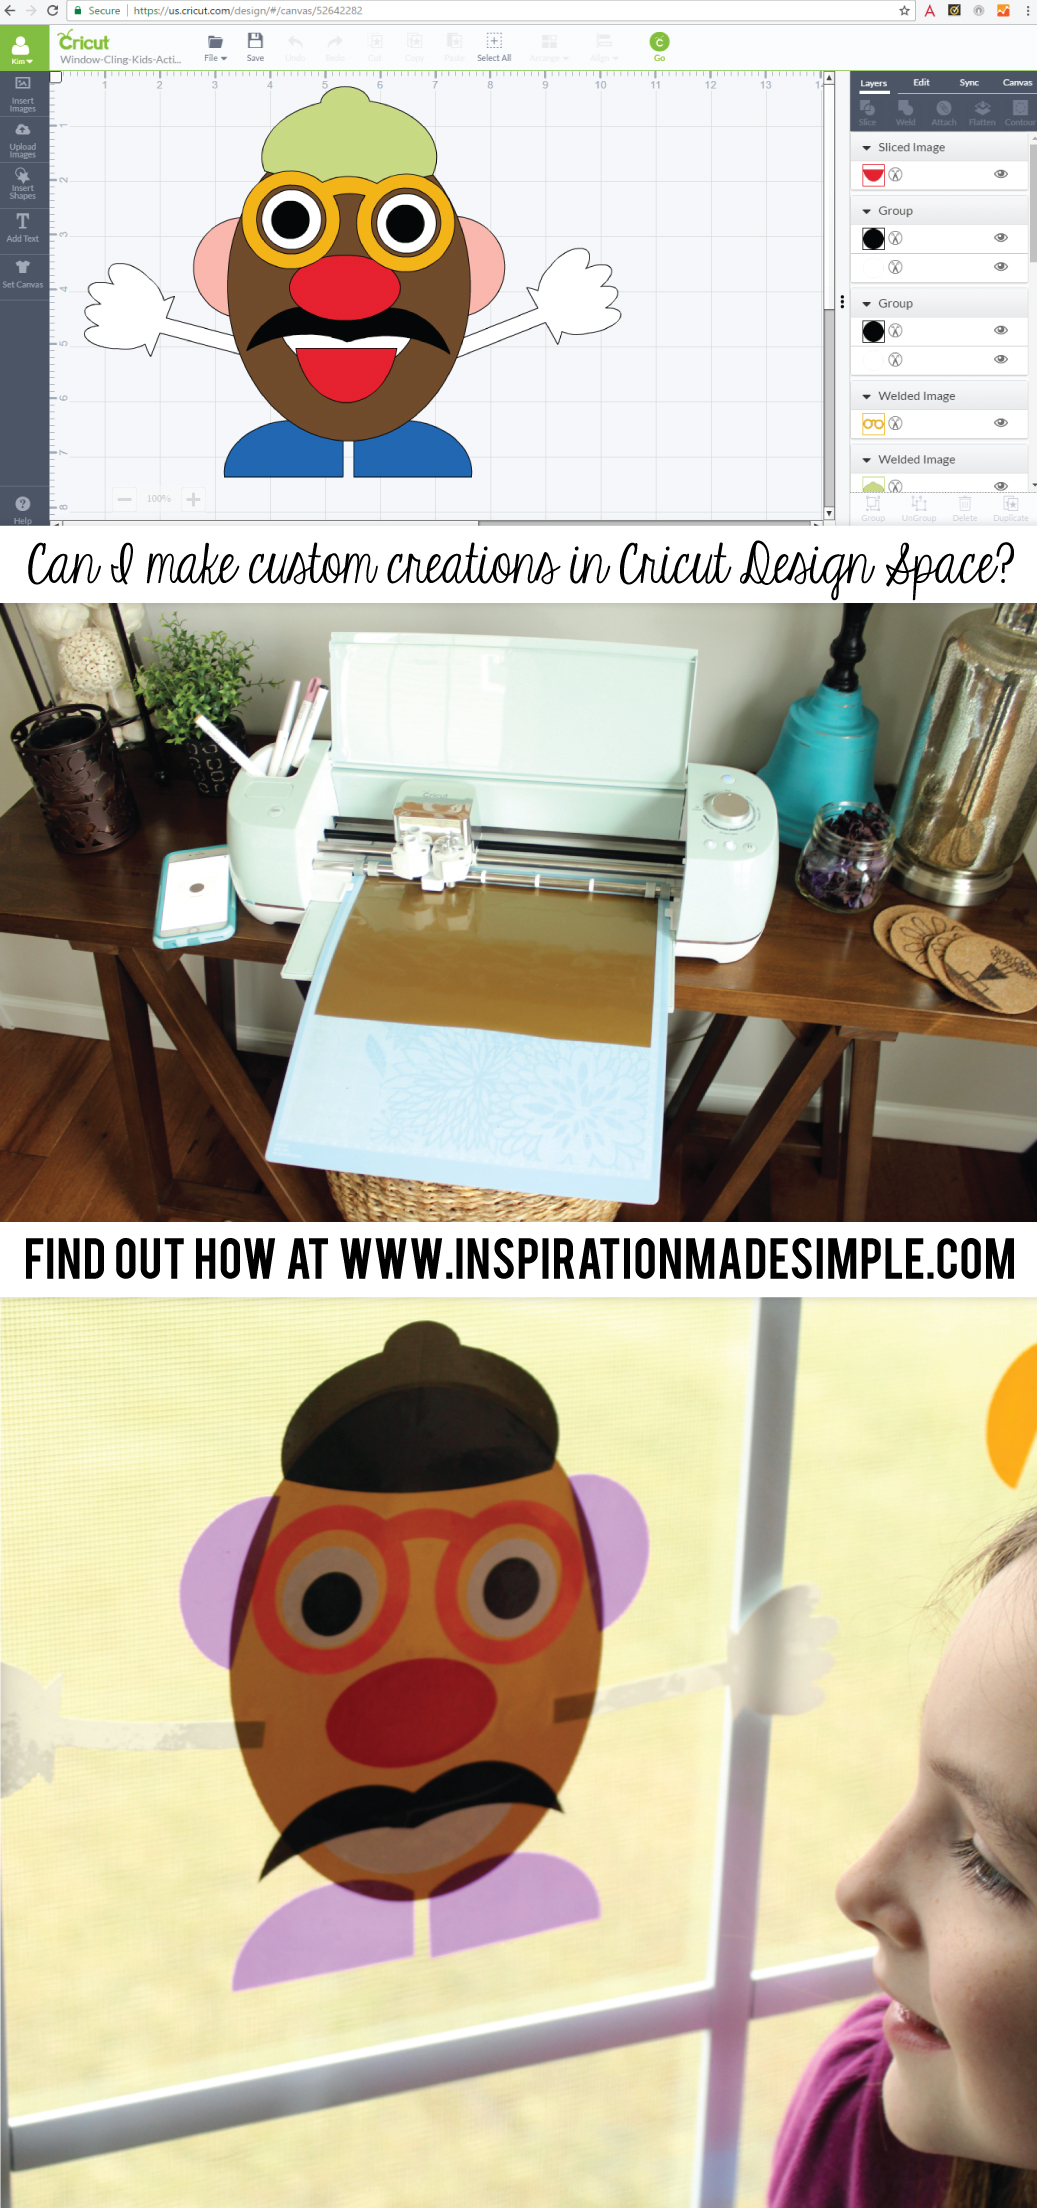
My best brainstorming comes at night as I’m laying in bed getting ready to doze off. This project is a result of one of those nights. I was thinking of my new Cricut Air 2 cutting machine and all of the supplies I have sitting in my craft room for it. I realized I had several colors of Cricut Window Cling material and I haven’t used ANY of it since my daughters Mermaid Room remodel. As I lay there thinking, I realized that it would I could make a fun kids craft with the window cling that could be used at home or on the go. I finally made the project a realty, so follow along as I share with you my DIY Window Cling Activity. And bonus, I made this whole thing right inside Cricut Design Space and I recorded the process to show you just how easy it is to use Design Space to make your own custom creations.

To recreate my design you will need the following supplies (affiliate links for your convenience):

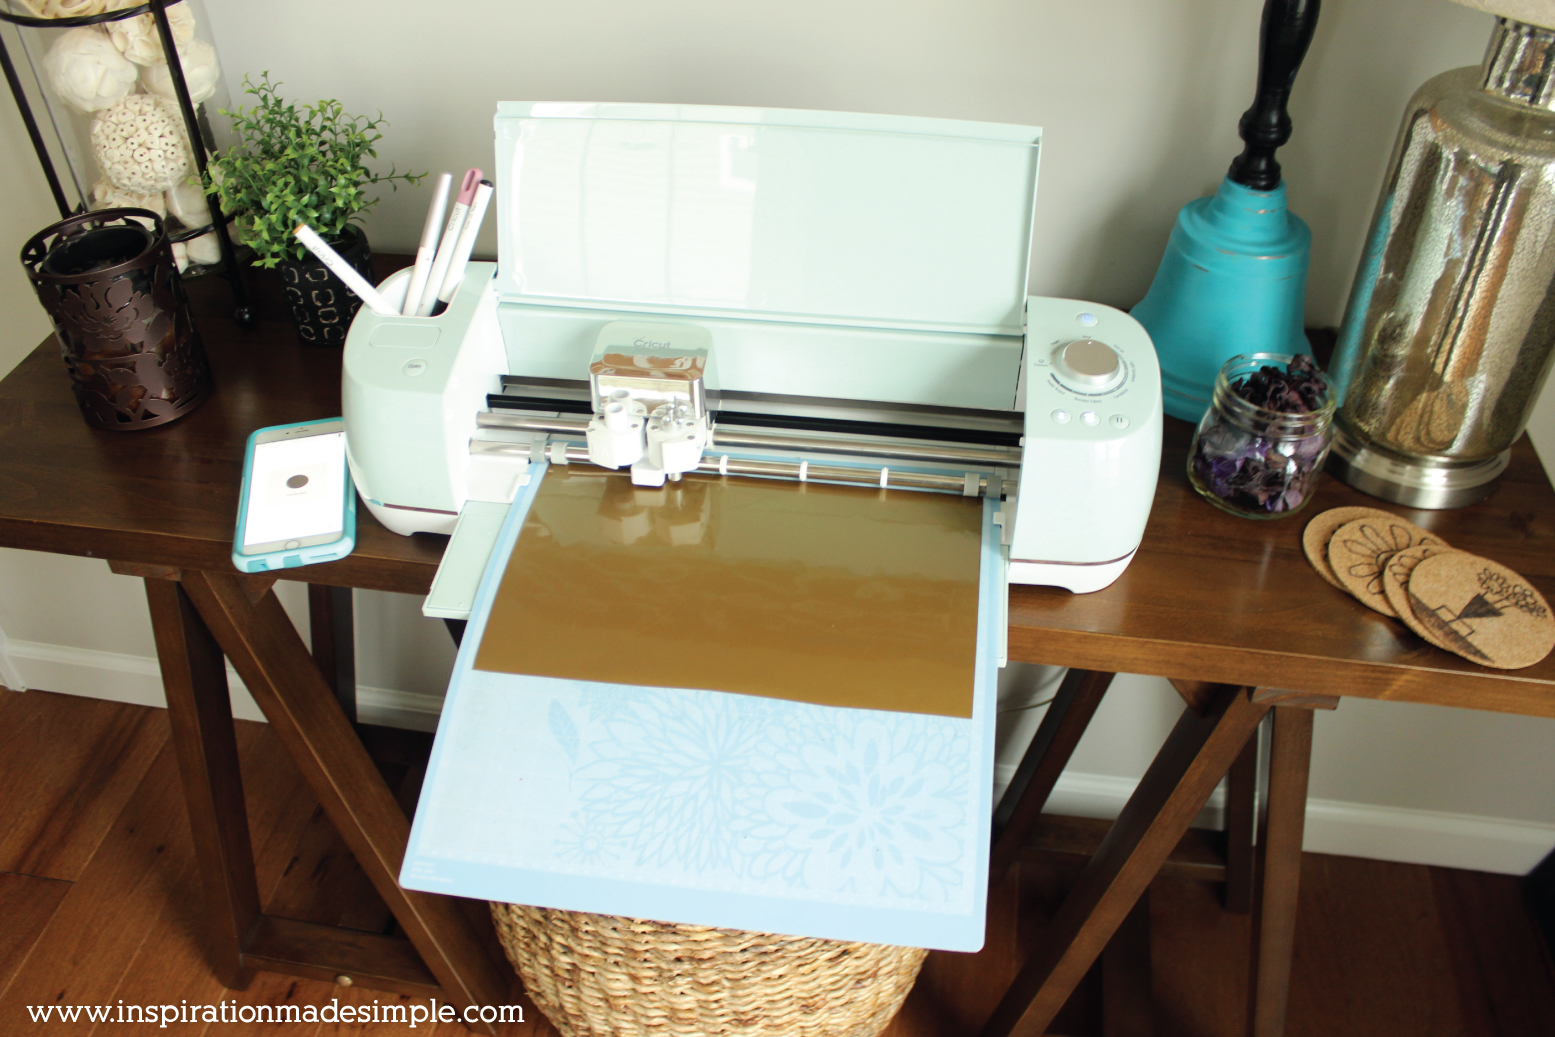
Cricut Cutting Machine
Cricut Cutting Mat
Window Cling Material (I used white, black, green, red, purple, orange and gold)
Dry Erase Material (optional – for on the go play)
Folder (optional – for on the go play)
Cricut Design Space is a fairly intuitive design program. And of course there are the Make It Now projects that you can create just by hitting go! But you shouldn’t limit yourself to just the available images when it really is fairly simple to make your own custom designs once you get the hang of the tools available to you! Follow along as I share how I made these DIY Window Clings within Design Space in the video below.
Short on time? Use my Window Cling Design Space file!
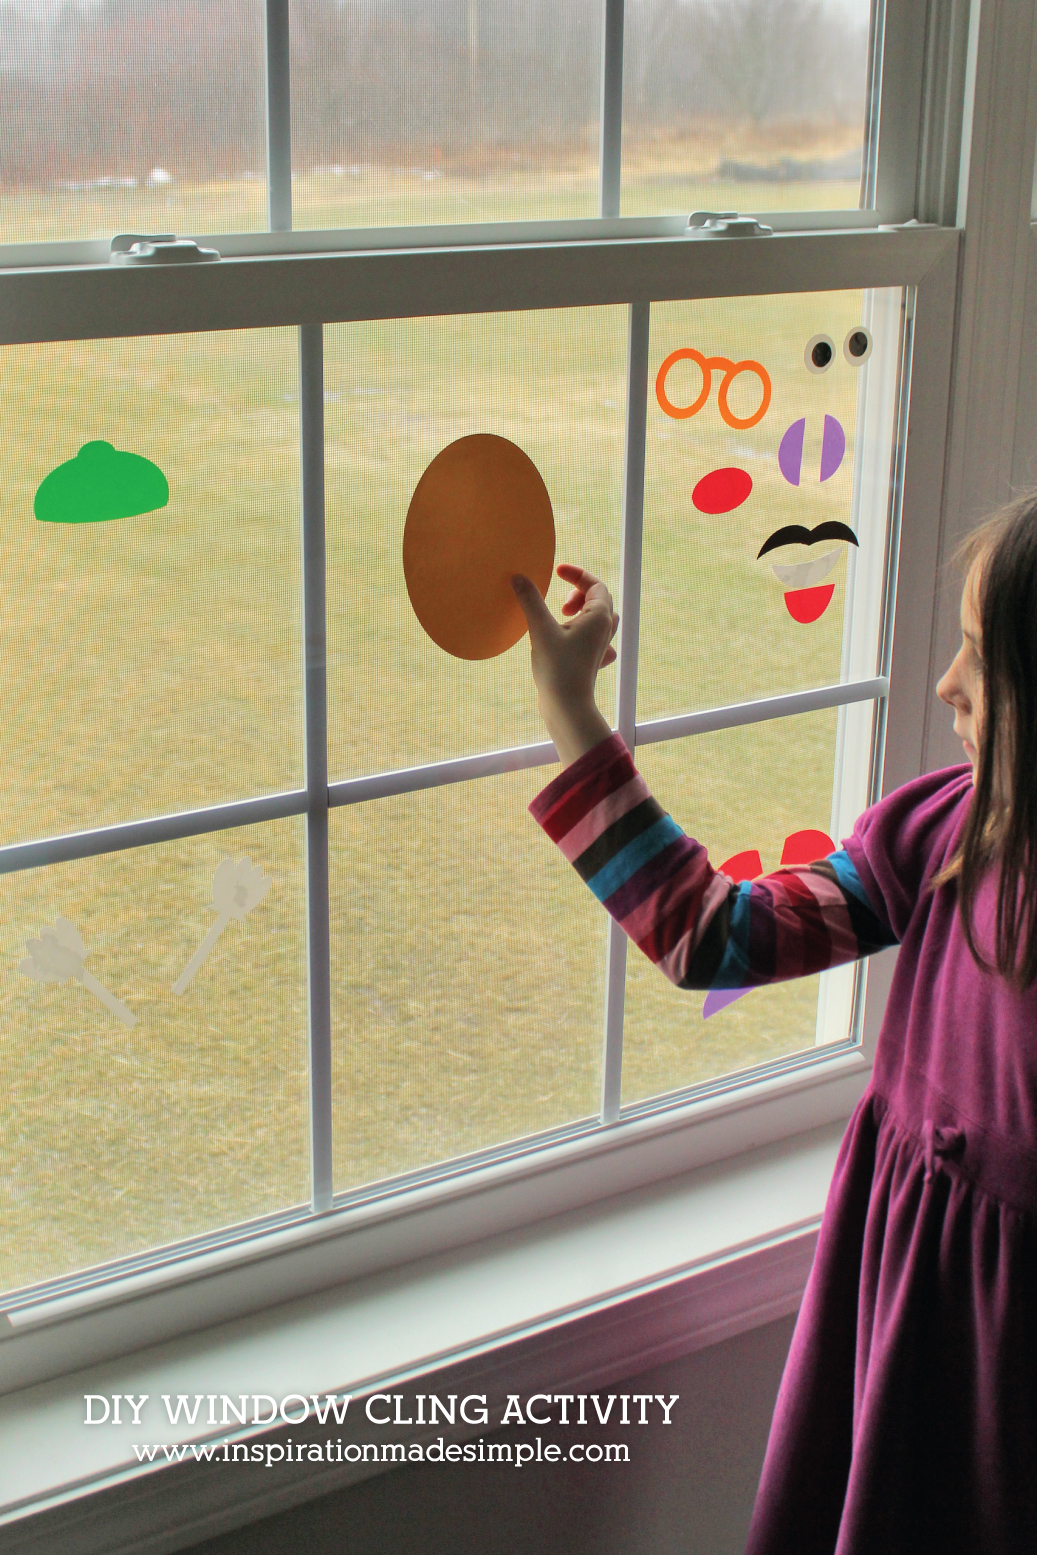
Now that your character is ready, simply send the image to cut. Load the first color of window cling onto a mat and into the machine. Press the flashing button and the machine will begin to cut the shapes. Remove the shapes from the backing material and place on a window. Click OK to move on to the next mat, load the next color of window cling and cut those shapes, until all shapes are cut.
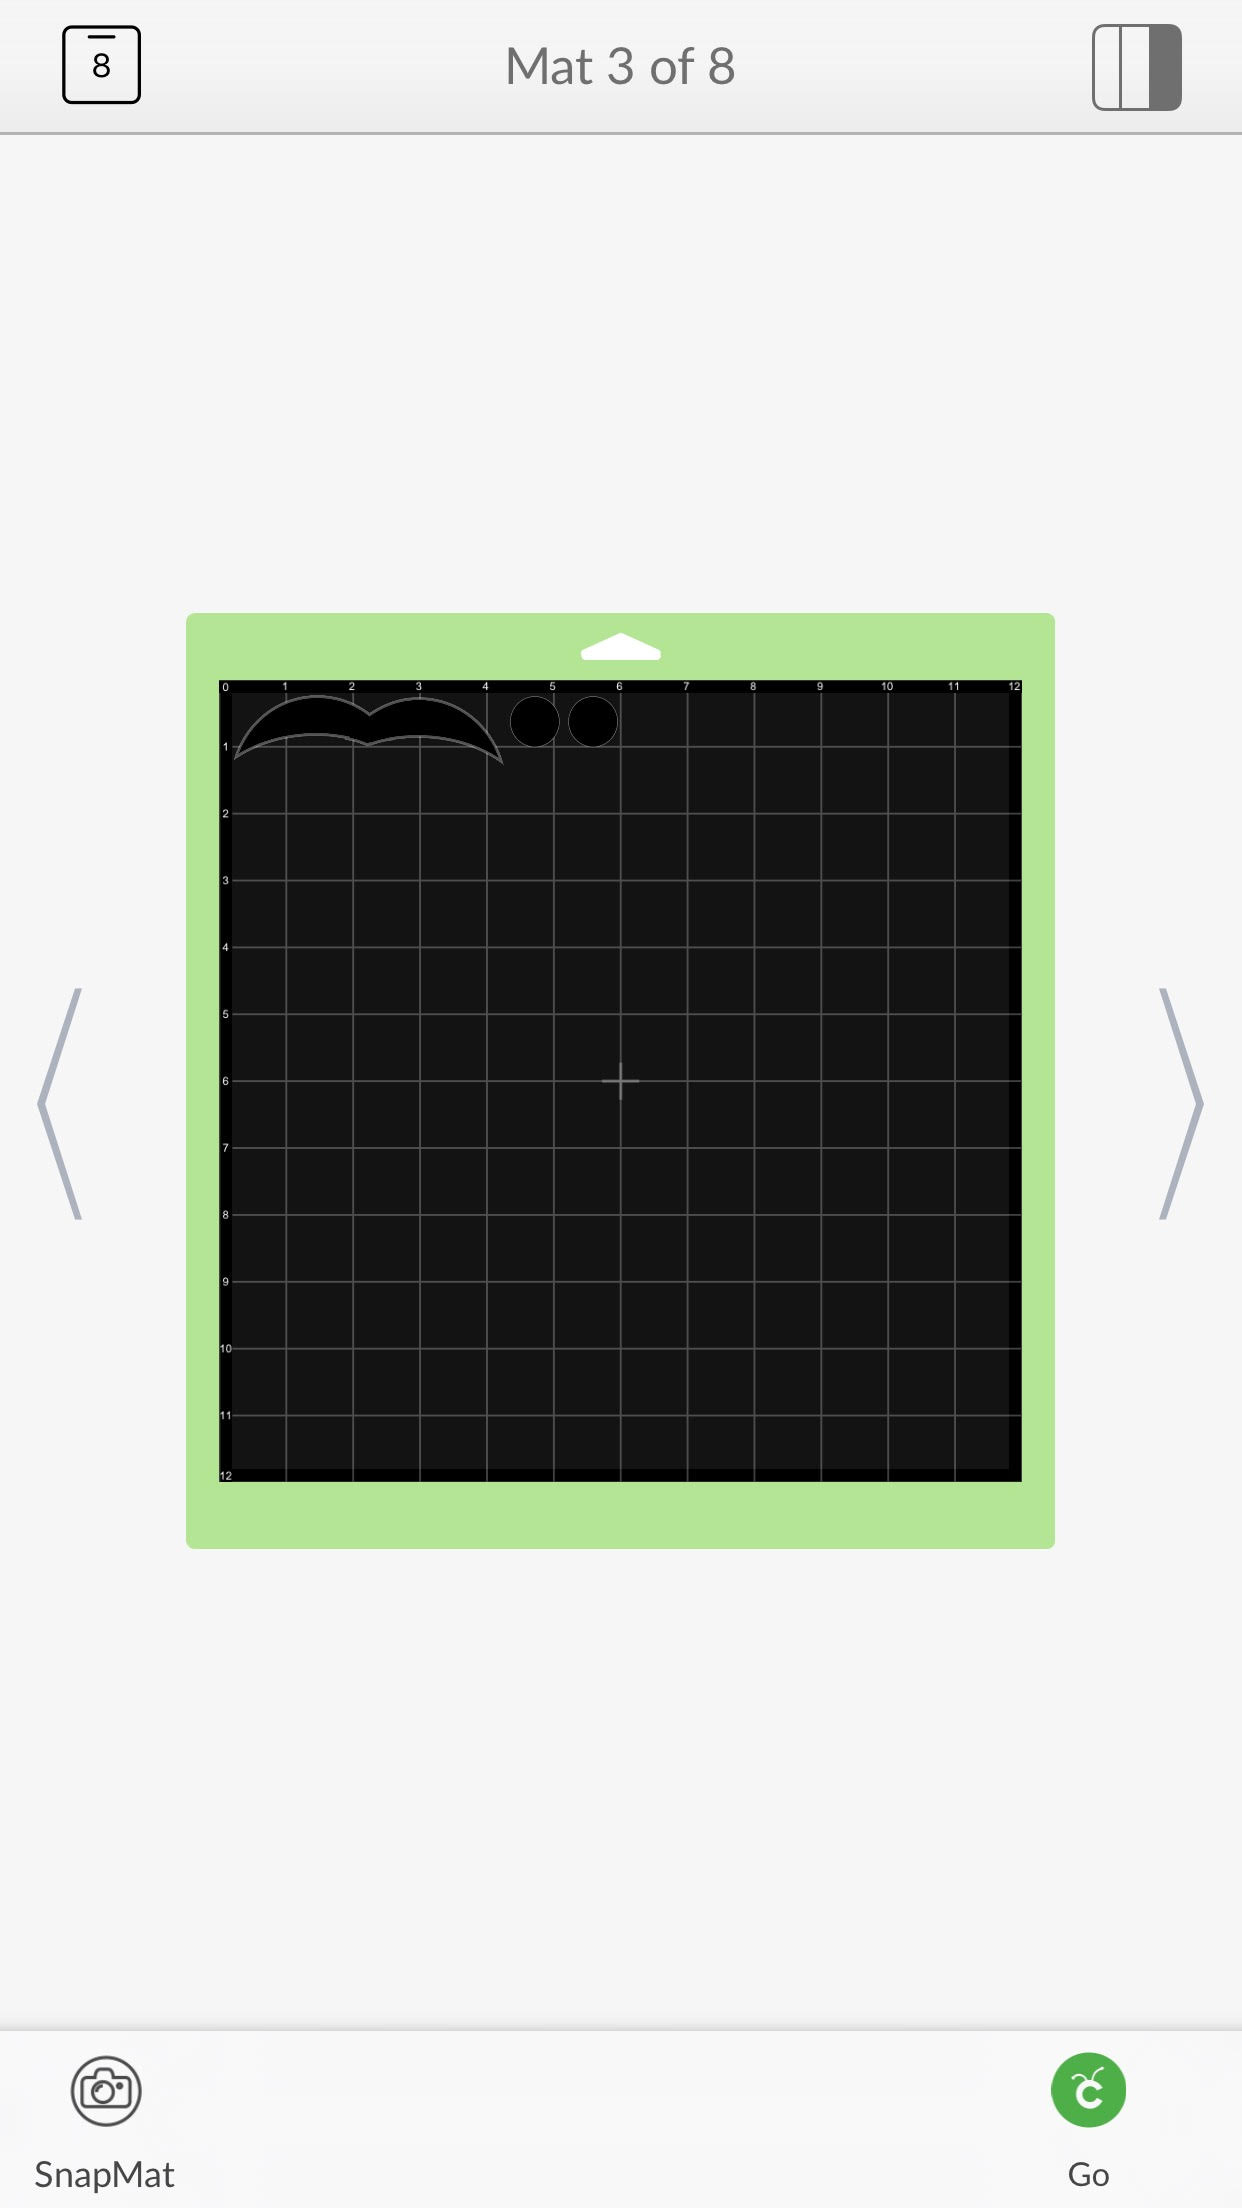
TIP: If you want three different color pairs of shoes, click “ok” to move on to the next mat. Once the next mat appears, simply click the back arrow to go back to the shoes mat, load the color cling you want to use into the machine and click go. Once the cut is complete, the program will automatically proceed to the next mat and you can continue you with your cuts.
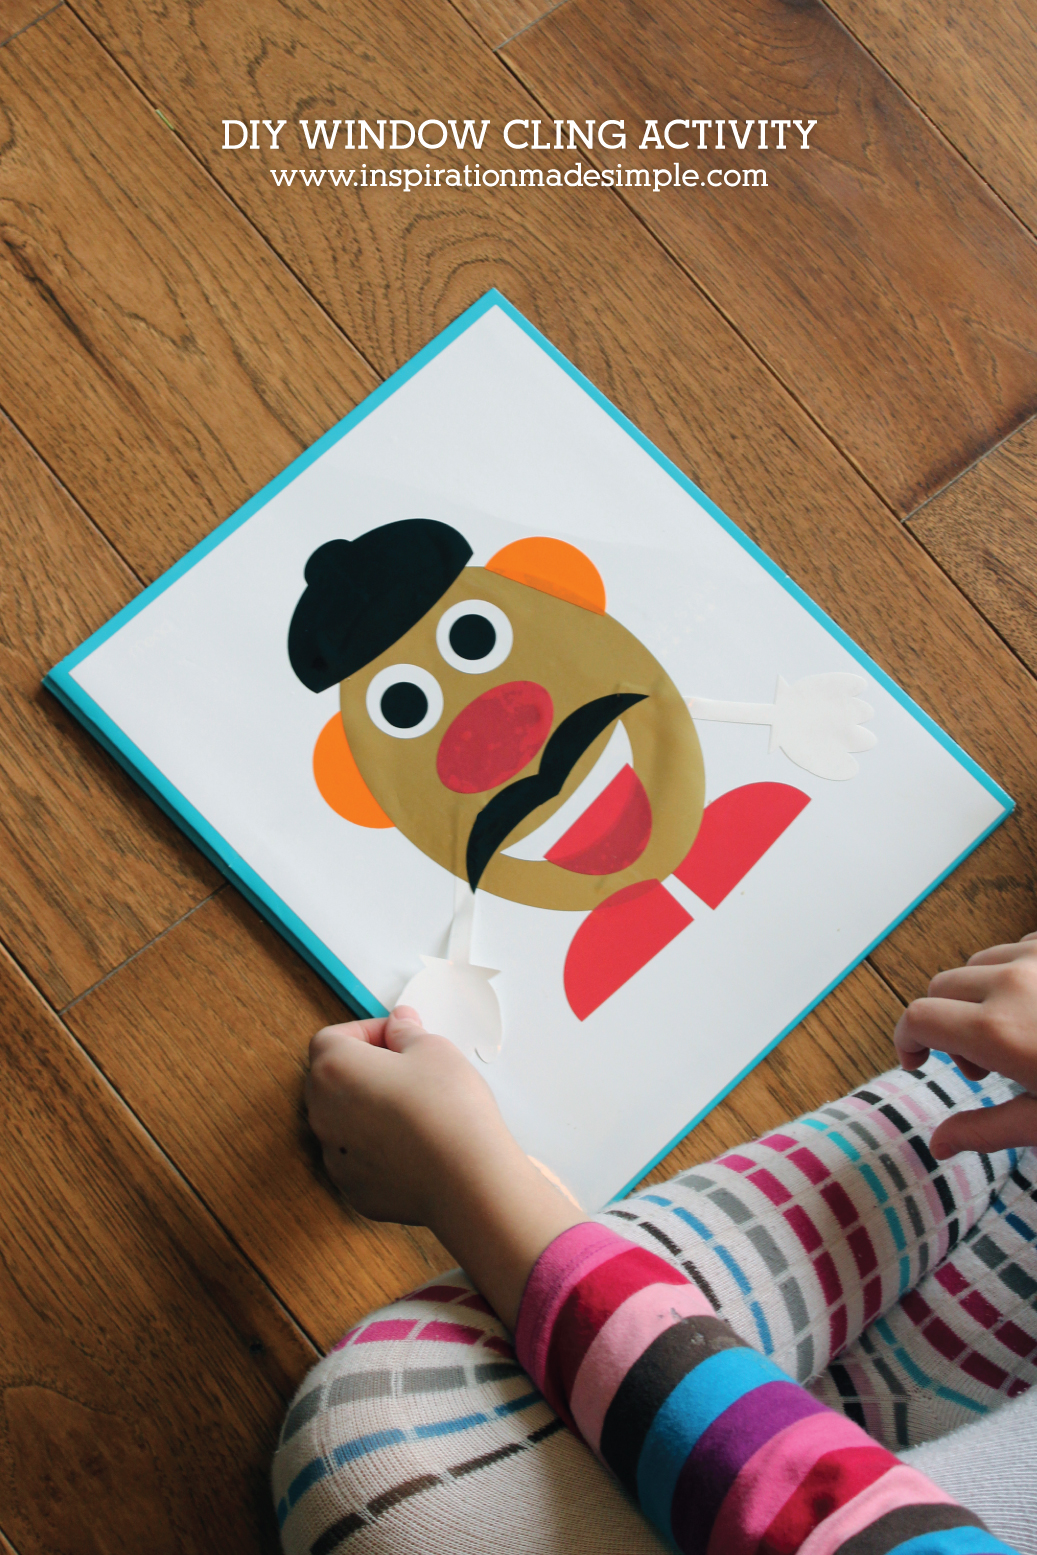
For on the go play: I wanted to make this activity portable for use in restaurants. To do so I cut a rectangle of Dry Erase Material about .25″ smaller than a folder and adhered it to the front. I did the same for the back of the folder so that we could easily store the pieces that aren’t being used. That’s it! The window cling material sticks to the dry erase material perfectly.
Tip: This also makes a great car ride activity by utilizing the cars windows!
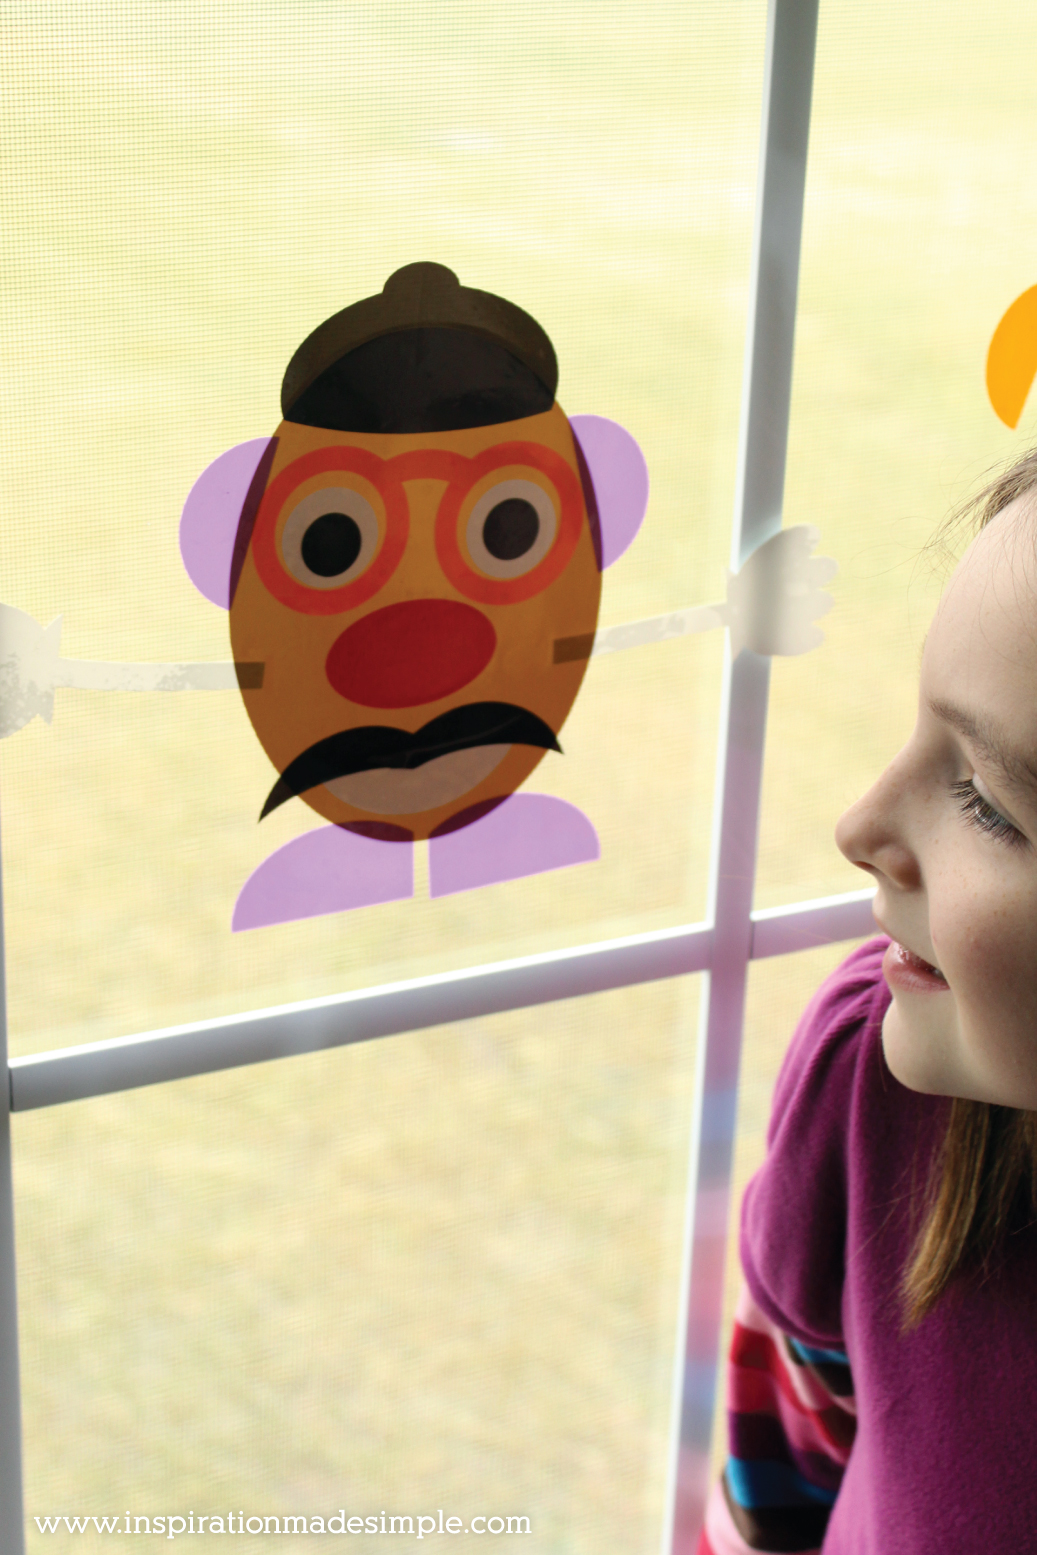
My 7 year old kept telling me that this was the best project I’ve ever made and that she loves it! She played with it at the house, in the car and in the restaurant the day we made it, so it definitely has her stamp of approval!
This is a sponsored conversation written by me on behalf of Cricut. The opinions and text are all mine.


