
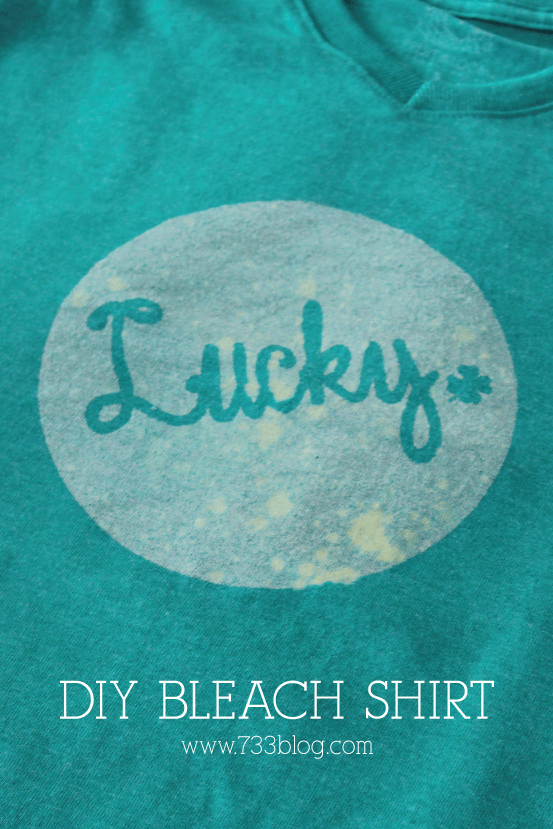
 Have you tried making a bleached shirt before? I’ve made several for my kids and it’s always fun and easy to do. I love how creative you can be with it. Today I’m going to share with you how I made this St. Patrick’s Day Shirt for my daughter.
 Supplies Needed:
Cotton Shirt
Bleach
Spray Bottle
Stencil – made with paper, vinyl or freezer paper
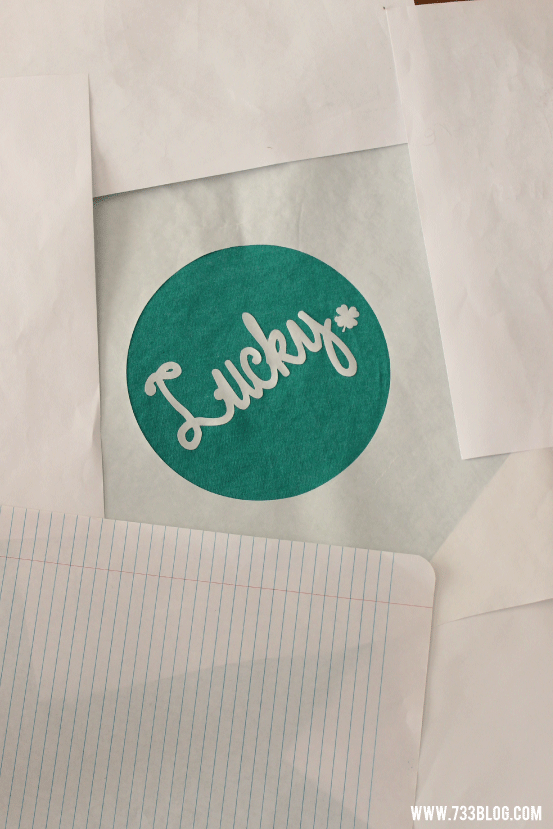
 I created the design for my shirt in Cricut Design Space and then used my Cricut Explore to cut the design out of freezer paper. If you have a Cricut, you can access my stencil via Design Space.
 If you used freezer paper to create your stencil, iron it onto your shirt. If you used paper, use a small amount of spray adhesive to keep it in place.
 Make sure to place a paper in the shirt where you will be spraying the bleach, otherwise it WILL bleed through to the back. I also covered the whole front of the shirt with paper so that I didn’t get any over spray marks.
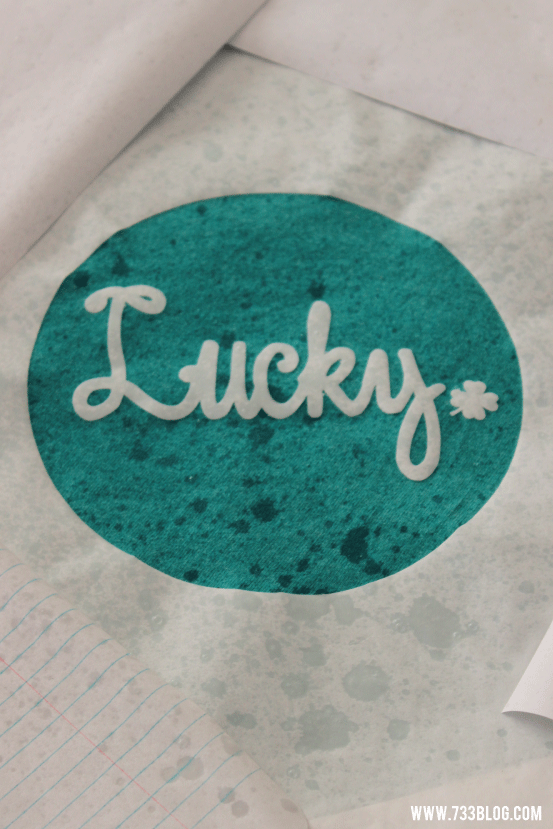 Once the stencil is in place, spray bleach over the stencil. A light misting is all you need.
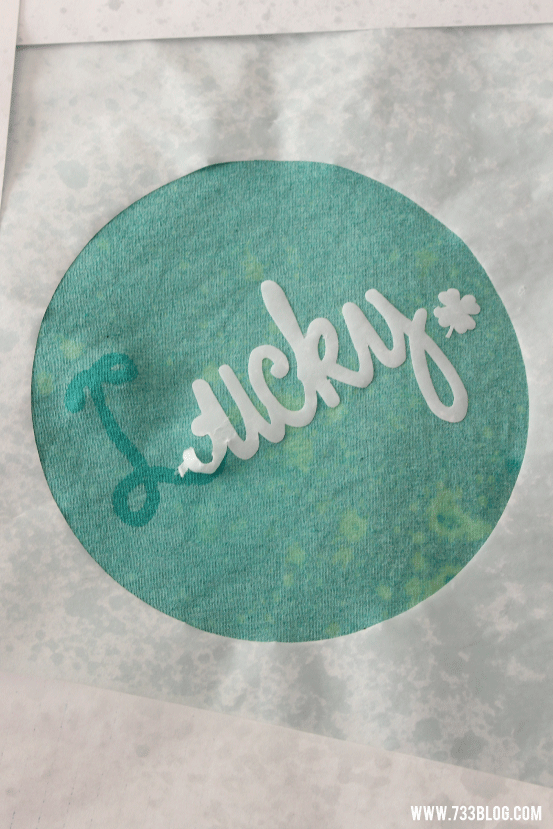 Let it set for 60 seconds. Peel up a small part of your stencil to see if it was lightening up enough – it will continue to lighten for about 2-3 minutes. If it isn’t showing up enough, you can spray it a second time.
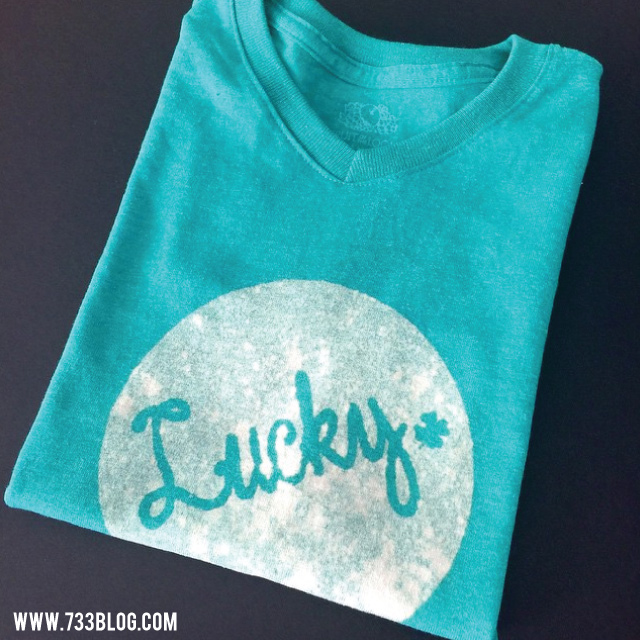
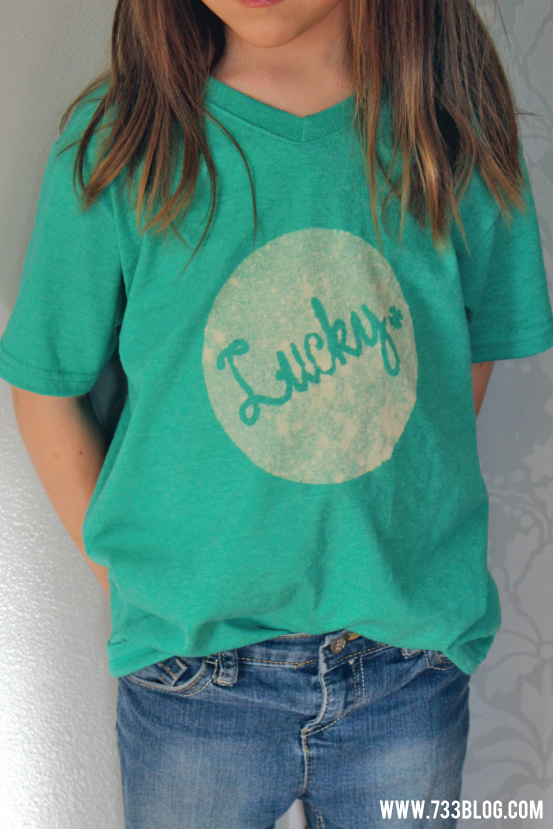 Once you have it the way you want it, remove your stencil and throw the shirt in the dryer for 15 minutes. I then put it through the wash and it’s ready to wear!
Looking for other St. Patrick’s Day Ideas? Check out what some of my blogging friends made:
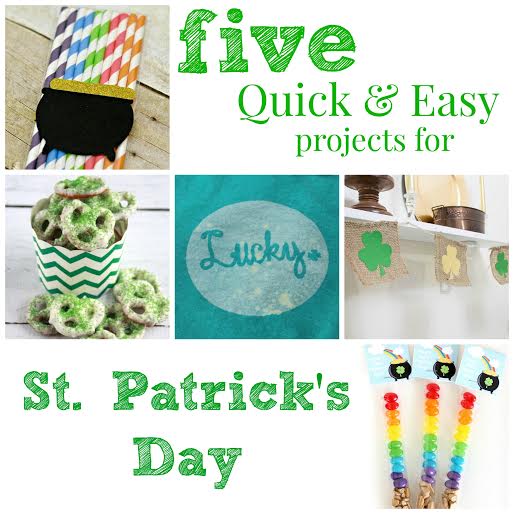
St. Patrick’s Day Paper Straw Gift – Dolen Diaries
St. Patrick’s Day Chocolate Covered Pretzels – Here Comes the Sun
DIY St. Patrick’s Day Shirt – seven thirty three
How To Make A St. Patrick’s Day Shamrock Bunting – Practically Functional
St. Patrick’s Day Candy Treat Bags – Happiness is Homemade


