
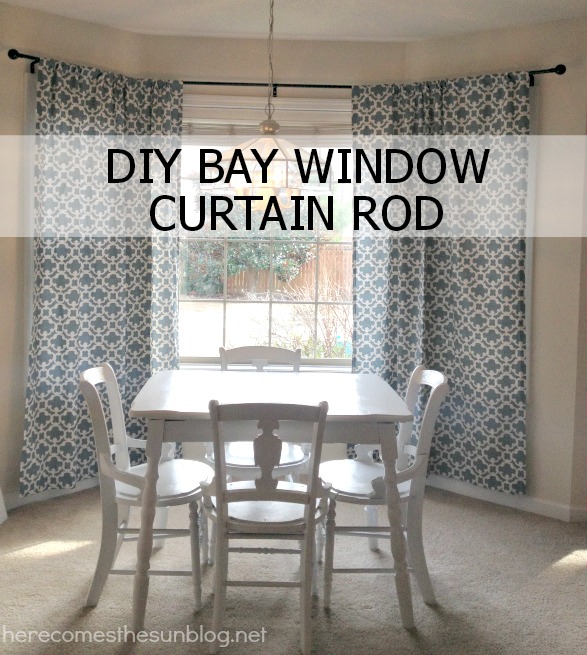
Hello. My name is Kelly and I blog at Here Comes the Sun. I’m excited to be the Home Decor contributor here at seven thirty three! I love home decor. Decorating my house has become a passion of mine and one thing I’m in love with are bold curtains! Curtains are an easy way to add color and pattern into your home and if your taste changes, you can switch them out.Today I’m going to show you how to make your own DIY Bay Window Curtain Rod to hang your beautiful curtains on. If you have ever checked prices on these, you know that they are a pretty penny. Did you know that you can make your own for less than 10 bucks? Yep! Let me show you how. You’ll wonder why you didn’t do this earlier.
1. Measure the distance along the wall from the outside of one window casing (molding) to the outside of the other casing. If you want the curtains to extend beyond the casing, allow for the overhang in your measurements. Purchase this length of metal conduit at your local home improvement store.
2. Measure the distance from the outside of the casing to the first bend in the wall. Add in the amount of overhang that you want. Then measure this distance from one end of the conduit. Using a black Sharpie, place a mark on the conduit. Repeat this for the other end of the conduit. You will be bending the conduit on these marks.
3. Make a template out of cardboard, a nail and a binder clip. Use this template to measure the exact angle of the bend in the wall. Adjust the template to the correct angle and secure with the clip.


4. Now you are going to bend the conduit. You will need help with this. Have one person hold one end of the conduit on the floor and have the other person bend the other end of the conduit (at the black Sharpie mark) until it matches the angle of the cardboard template. Place your your foot on the Sharpie mark for leverage.

After you bend your conduit, hang it up to make sure that you have it exactly the way you want it. You may have to do some more bending to adjust it a bit.
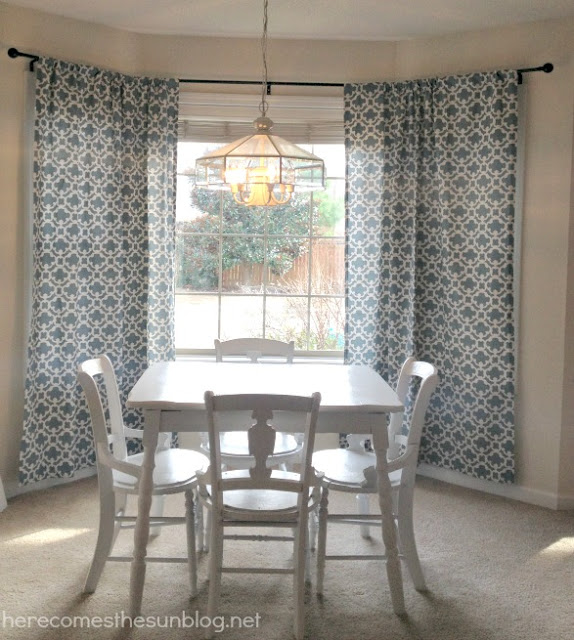
 After you have your conduit bent exactly the way you want it, spray paint it to match the other rods in your house, if needed. I spray painted my conduit an oil rubbed bronze color to match the curtain rods in my living room.
The hardest part was finding finials to fit the ends of the conduit. The finials that we had on hand were attached to a rod that was just the right size to slip into the end of the conduit. We simply cut the rod and slid it into the end of the conduit. You can use any type of finials that you want. Just make sure that you are able to remove them from the conduit so you can take your curtains off the rod when needed.

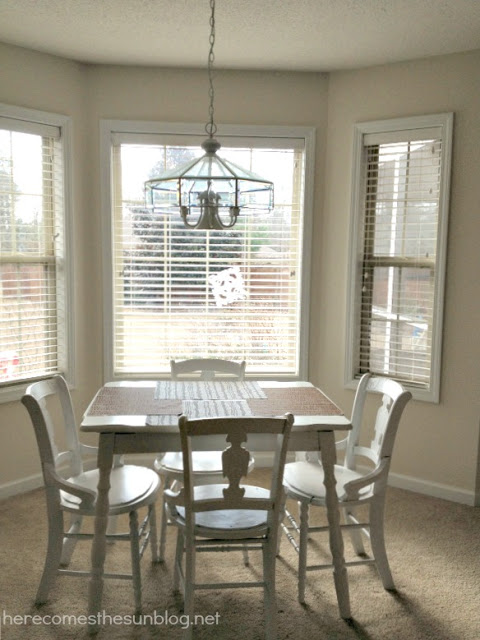
Here is my window BEFORE
And here is my window AFTER

Easy, right? Enjoy decorating your home and I’ll see you back here next month.
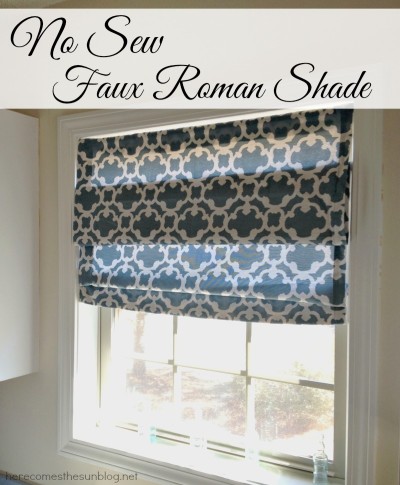
If you liked this post, check out some of my other curtain projects:


This is fabulous! We have a bay window and I’ve never found quite the right thing to work for the space. This is great, thanks!
Thank you for this! I have a bay window in my bedroom that I needed a cost effective solution for. I can do this!
Hi! This looks perfect for my bedroom. How did you hang the bar on the wall? The hangers that are above your windows look like they fit perfectly with the conduit. Where did you get those? Thanks for the great ideas!!!
They are just normal curtain rod hangers – the conduit is the correct size to fit them. Check your local hardware store or big box store.
I couldn’t believe how easy it was to bend the conduit! We simply secured it in a vice and pulled! We needed 13’ of conduit and it only came in 10’ sections, so we added a simple connector with screws to attach them together.