
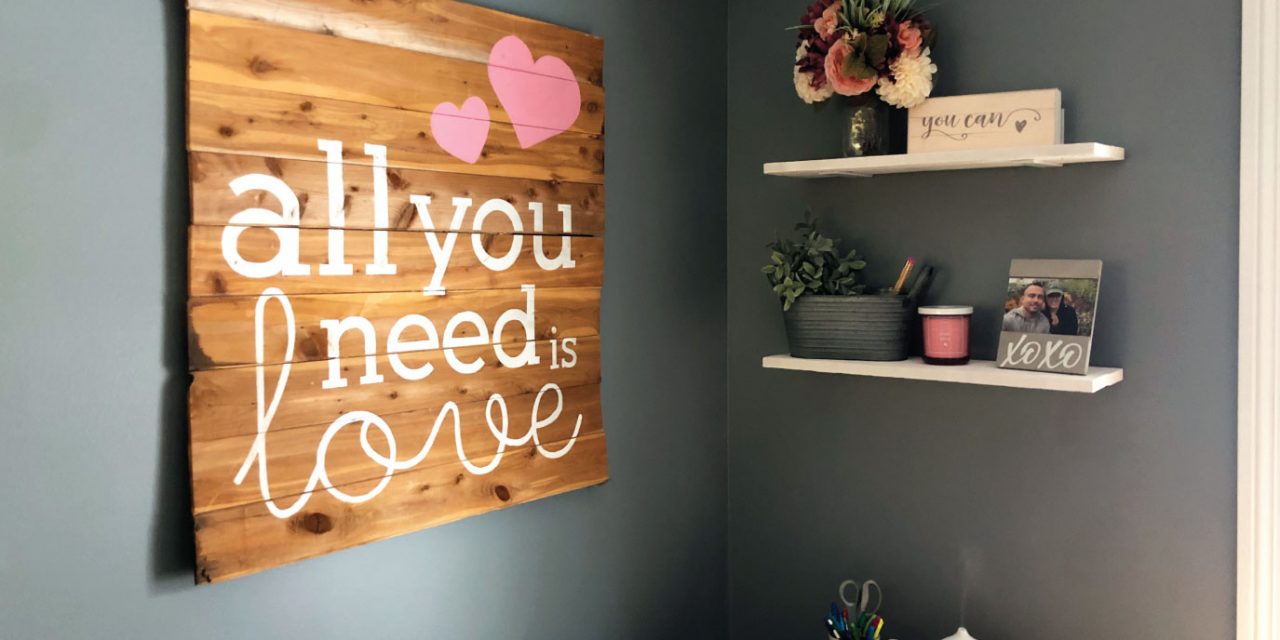
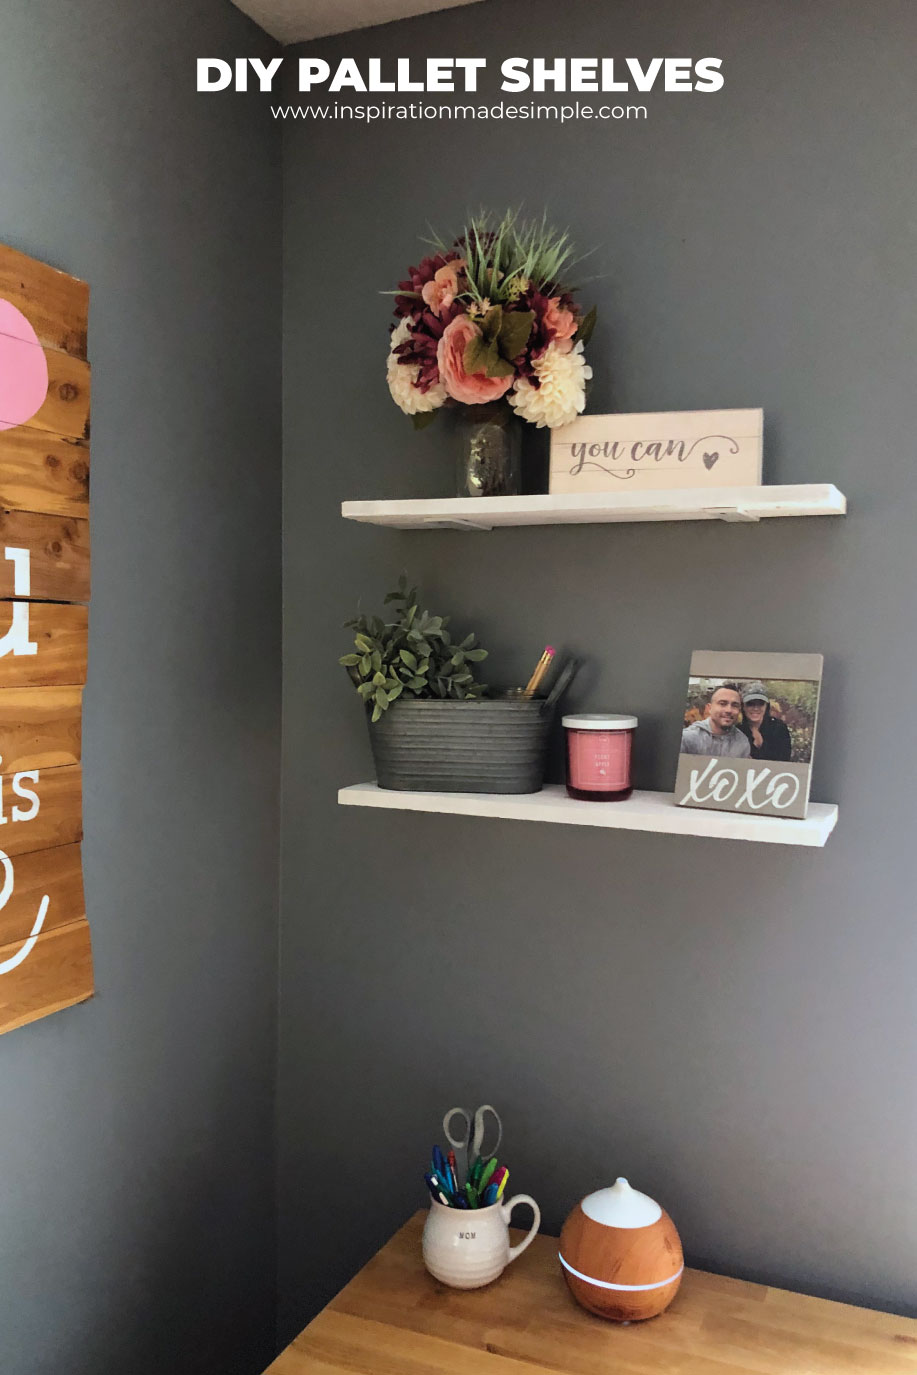
If you’ve seen my Instagram stories, then you know I’m currently working on transforming my craft room into an office/craft room combo. When we moved into this house, the craft room was a bit of an afterthought. All my craft room furniture from the other house was fit as best as possible. Plus we had a large dog crate from when we first adopted Owen, our Pibble. Neither of our dogs use it, but Owen did go into it occasionally, so we just left it in place. With me leaving my full-time position in December to start up Inspiration Media Solutions, a dedicated office space is a necessity. The office isn’t quite ready to share with you, but I am going to share the DIY pallet shelves I made for under $16!
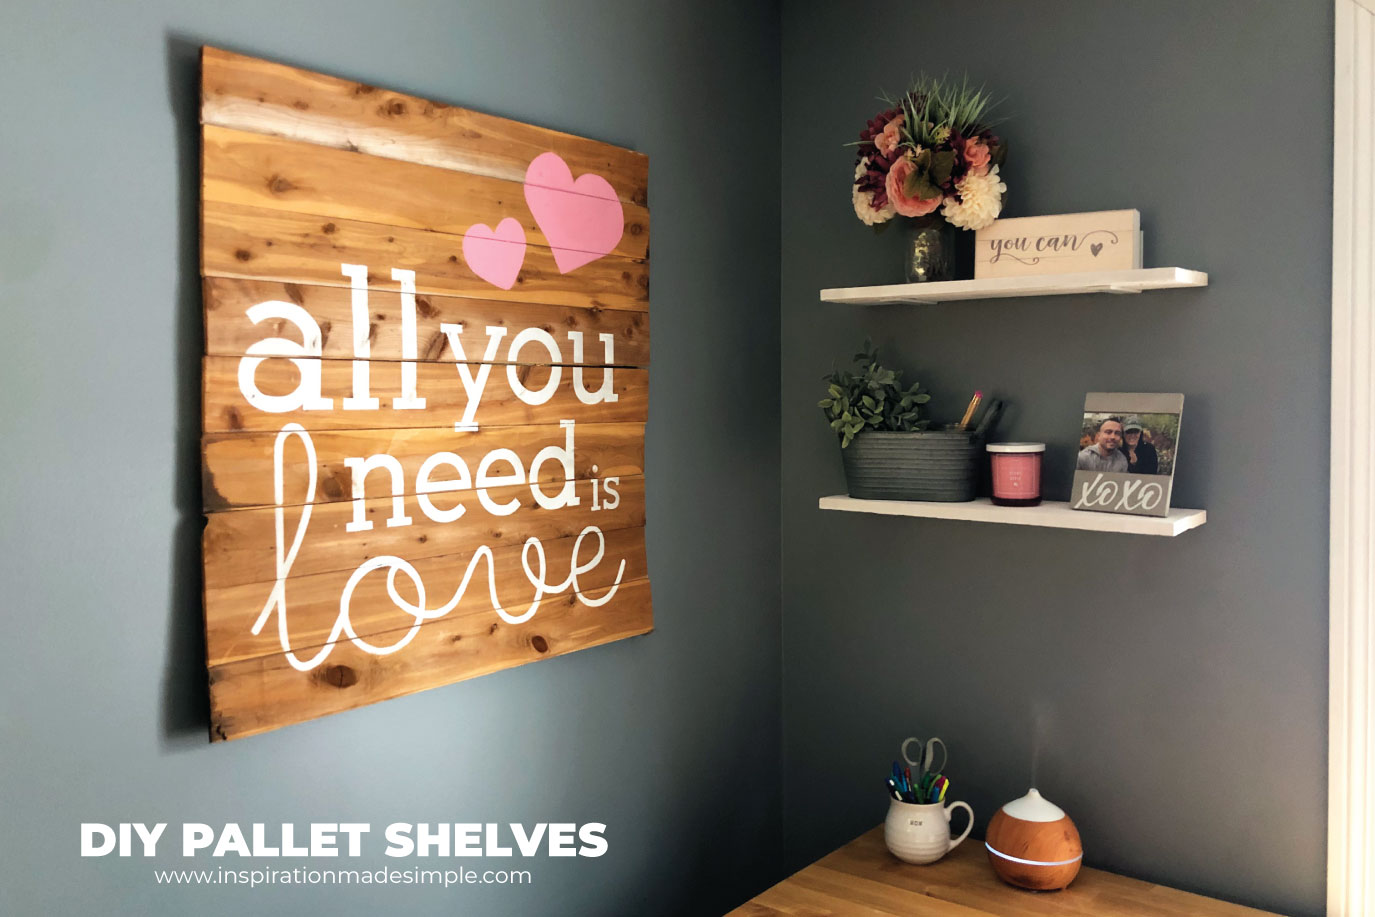
They are super simple floating shelves and I love how they turned out… and of course, I love the price tag even more!
You may recognize my All You Need is Love Cedar Plank Sign. It got a slight makeover to match the new office. The flowers are from our elopement in August of 2020.
DIY Floating Shelf
Ready to make these pallet shelves for yourself? I’ll show you how I made them!
Supplies:
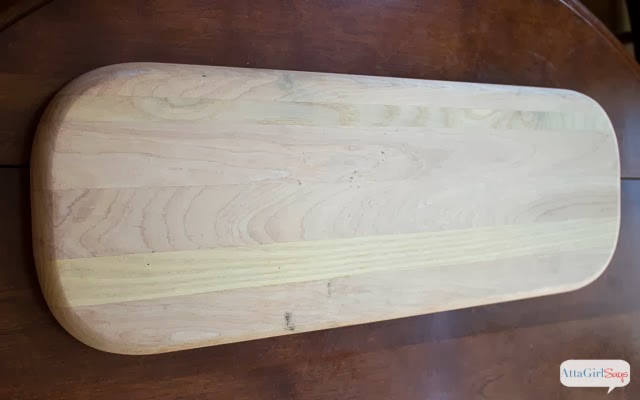
Pallet Wood – mine was trimmed to 23.5″ l. The planks are 3.5″ w.
4×6 Shelf Brackets – affiliate link
Anchors
Paint – optional
Instructions:
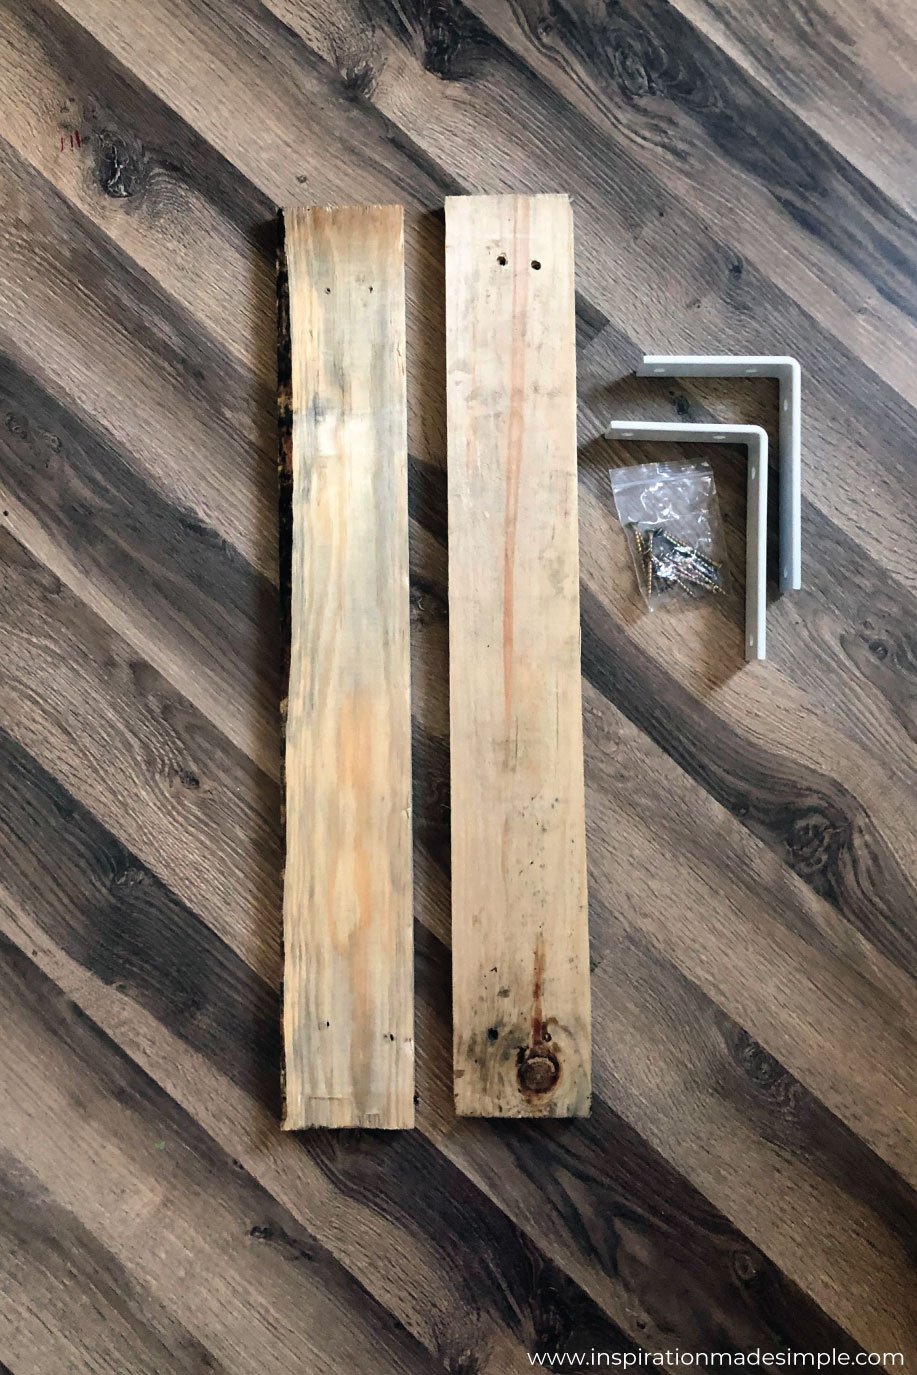 Trim your pallet wood to length. You’ll need two planks per shelf.
If you want your shelves painted, go ahead and do so now, allowing to dry completely. I used chalky finish paint and did 3 thin coats. By the time I was done painting the last plank, the 1st one was dry and I was ready to put the shelves together.
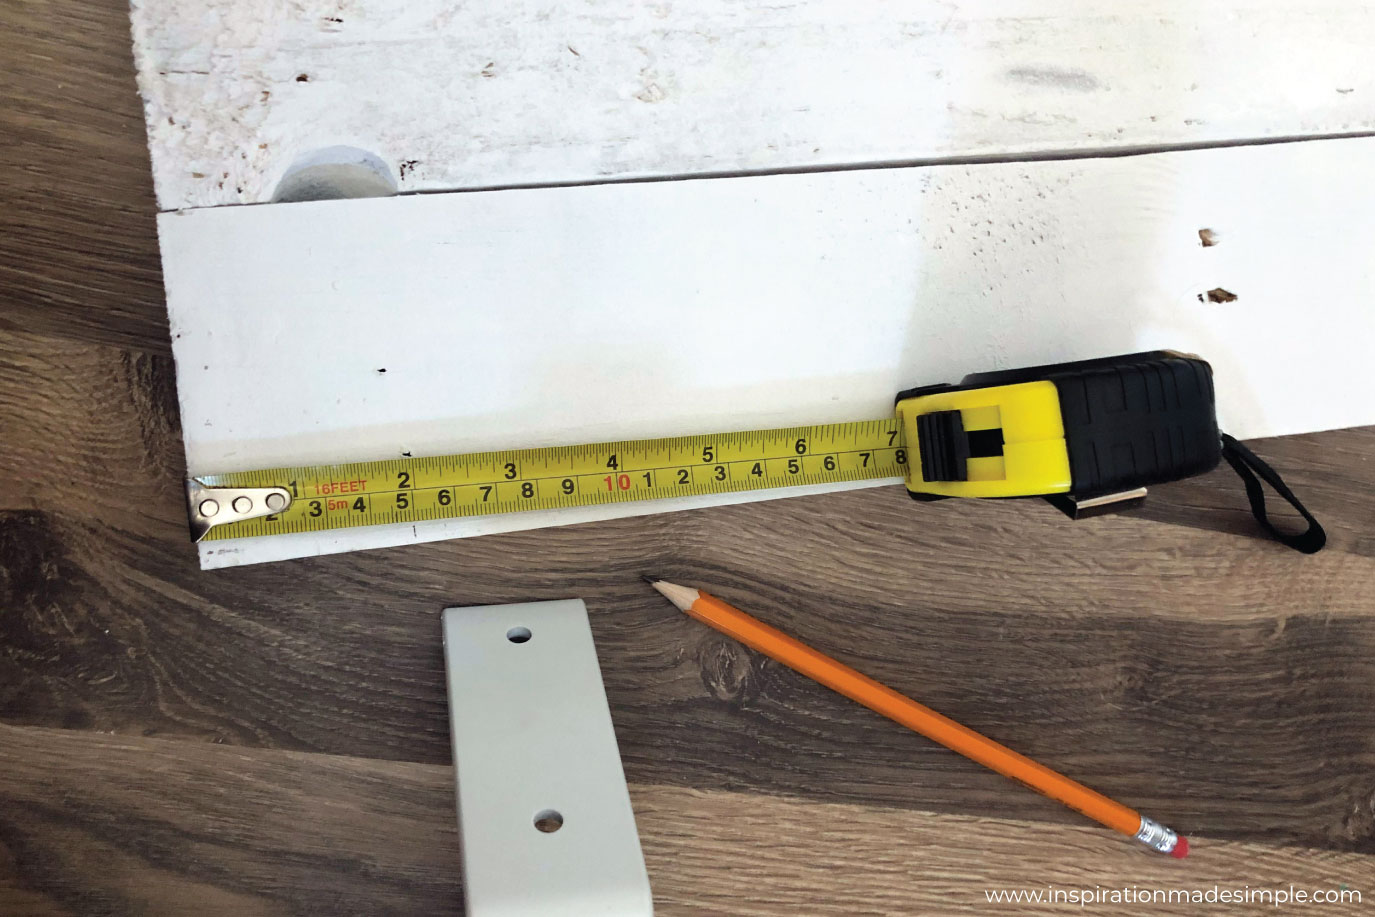
First, decide where you want your brackets to be. I originally put mine at 2″ and then changed my mind and moved it to 4″ from either side. Measure and mark the placement.
The brackets can be used so that the part that goes against the wall goes up or down. The preference is yours based on your style. I chose to have mine go up so that they were hidden behind the items on the shelves.
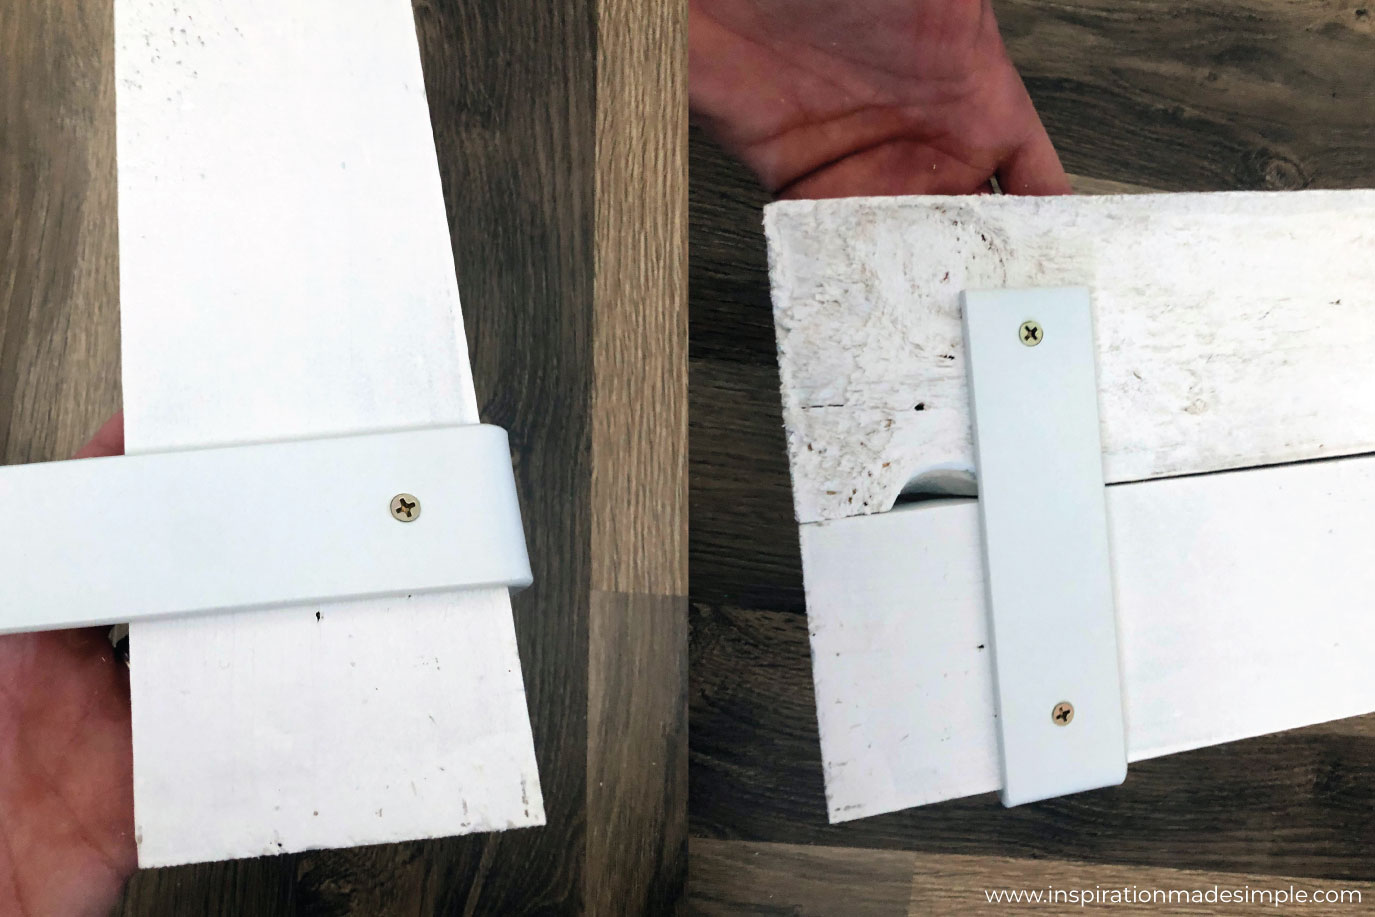 Attach the longer arm of the bracket to the bottom of the first plank. Repeat for the other side. Next, attach the brackets to the 2nd plank.
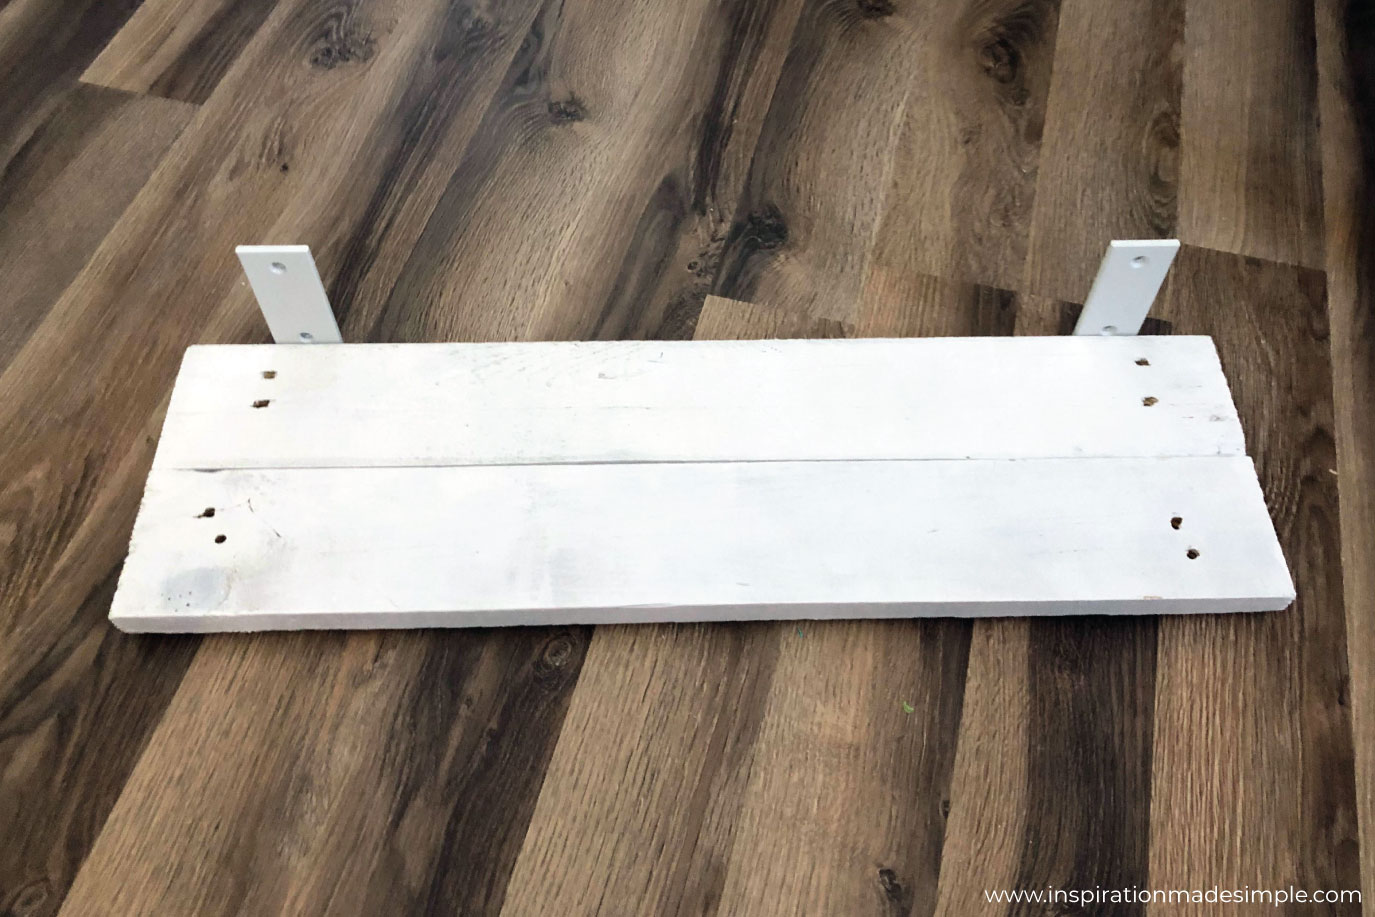
Ta-da! You’re done! Told you these were easy. The hardest part is hanging them on the wall!
I used a pencil to mark the center of the wall and then determined where I wanted the shelves to go. Once I determined the bottom shelf, I held it in place and used a pencil to mark the bracket holes. I then figured out where the top shelf would go – it’s about 14″ above the bottom, and marked the bracket holes on that one as well.
I used a drill bit to pre-drill the holes that I marked and then added anchors to the top holes for each bracket.
Lastly, I held the shelf in place and screwed the screws into the anchors. I then screwed screws into the bottom holes of the bracket, directly into the drywall. The anchors I used were for 15 pounds, so two were plenty for my needs.
If you need inexpensive shelves that look great in any space, give these a try! Easy, inexpensive, and stylish!
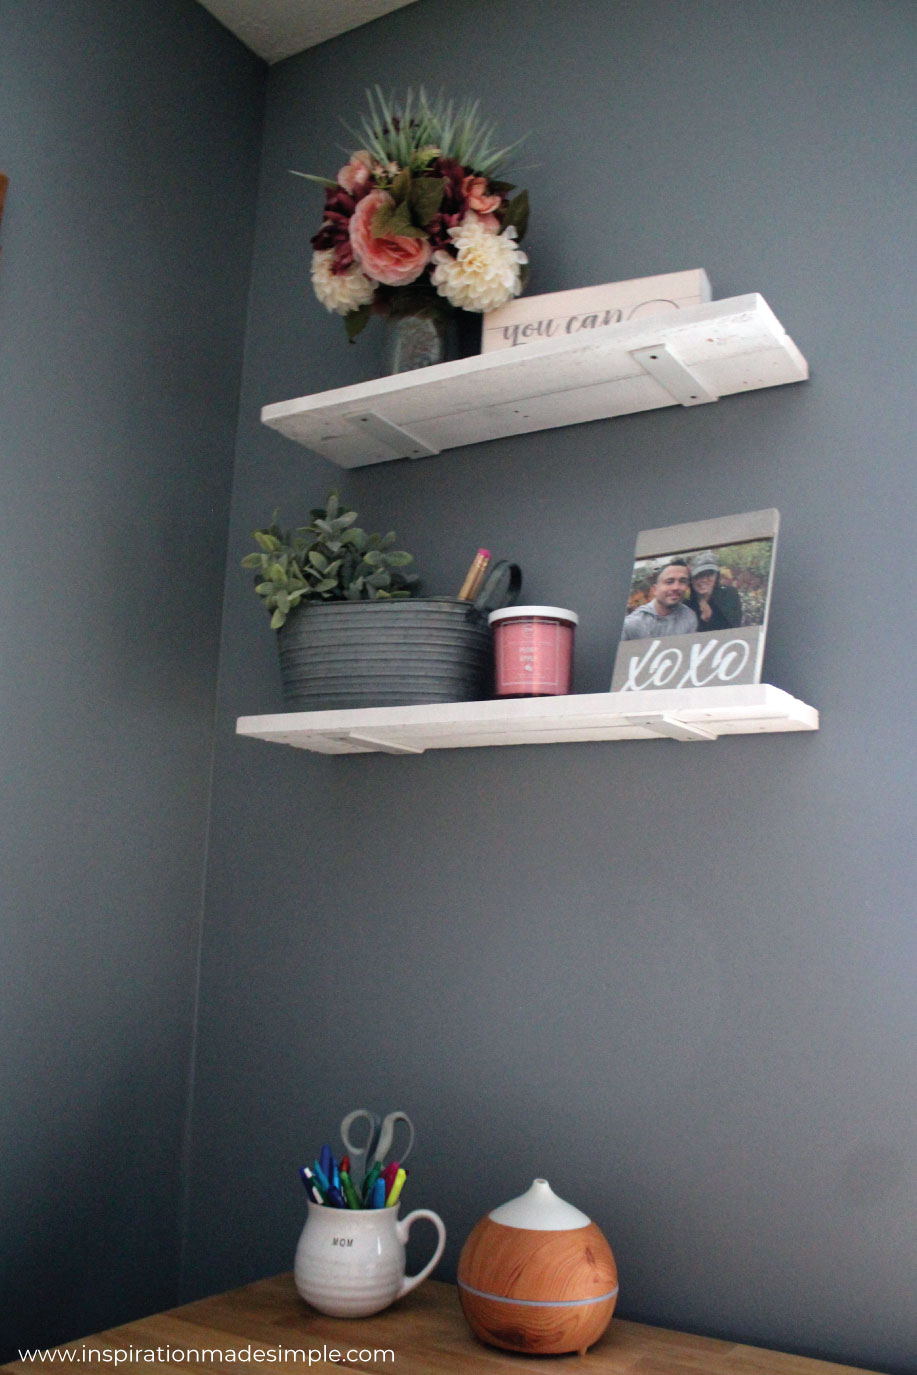
I can’t wait to share the rest of the office space with you. I just finished stenciling the wall the shelves are on and it looks so good! I’m just waiting for a few more accessories and then I’ll share all the details.

