To provide the best experiences, we use technologies like cookies to store and/or access device information. Consenting to these technologies will allow us to process data such as browsing behavior or unique IDs on this site. Not consenting or withdrawing consent, may adversely affect certain features and functions.
The technical storage or access is strictly necessary for the legitimate purpose of enabling the use of a specific service explicitly requested by the subscriber or user, or for the sole purpose of carrying out the transmission of a communication over an electronic communications network.
The technical storage or access is necessary for the legitimate purpose of storing preferences that are not requested by the subscriber or user.
The technical storage or access that is used exclusively for statistical purposes.
The technical storage or access that is used exclusively for anonymous statistical purposes. Without a subpoena, voluntary compliance on the part of your Internet Service Provider, or additional records from a third party, information stored or retrieved for this purpose alone cannot usually be used to identify you.
The technical storage or access is required to create user profiles to send advertising, or to track the user on a website or across several websites for similar marketing purposes.



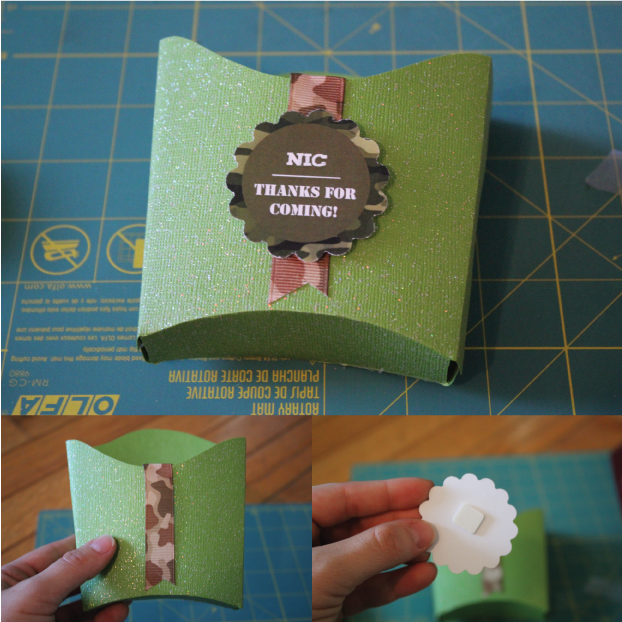
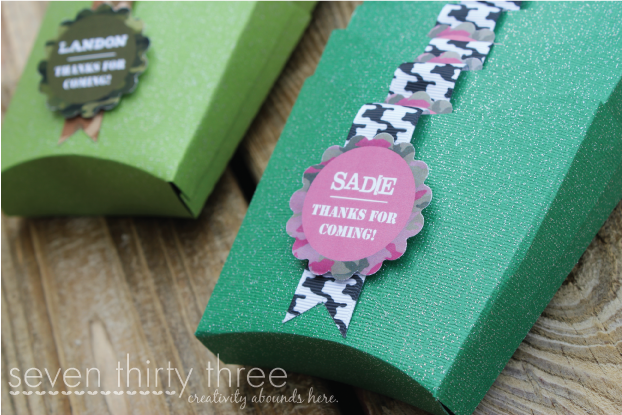
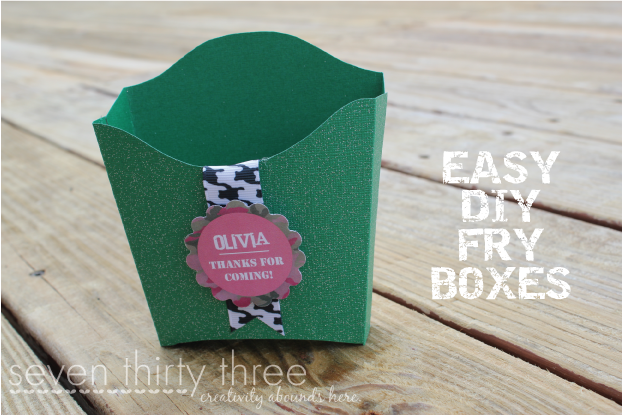


Love it! Soo cute!! : )
Very cute! I can’t wait to see the fillers!
This is a fantastic project! Would you consider linking it up at my Pinworthy Projects Party? I hope to see you there!
So creative!
They look awesome–looking forward to the rest!
Thank you so much for this post. I want to let you know that I posted a link to your blog in CBH Digital Scrapbooking Freebies (please, notice the new url for my blog), under the Page 2 post on Jun. 12, 2012. Thanks again.
I love this. It would be perfect for the favors at my daughter’s birthday party!
I’d love if you’d come link up at Tutorial Tuesday at Our Thrifty Ideas http://www.ourthriftyideas.com/2012/06/tutorial-tuesday-10.html
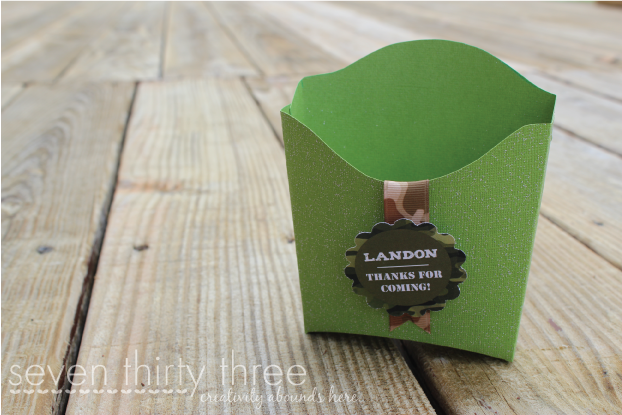
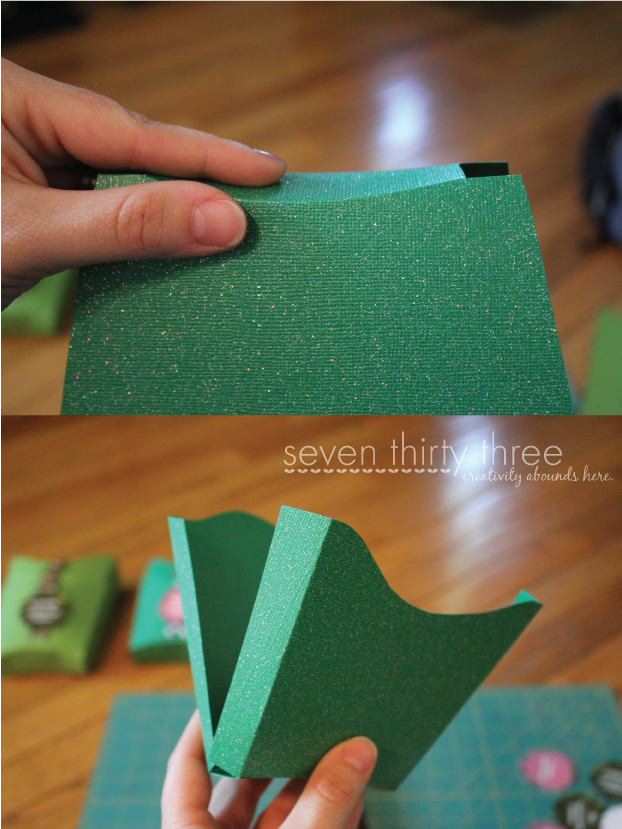
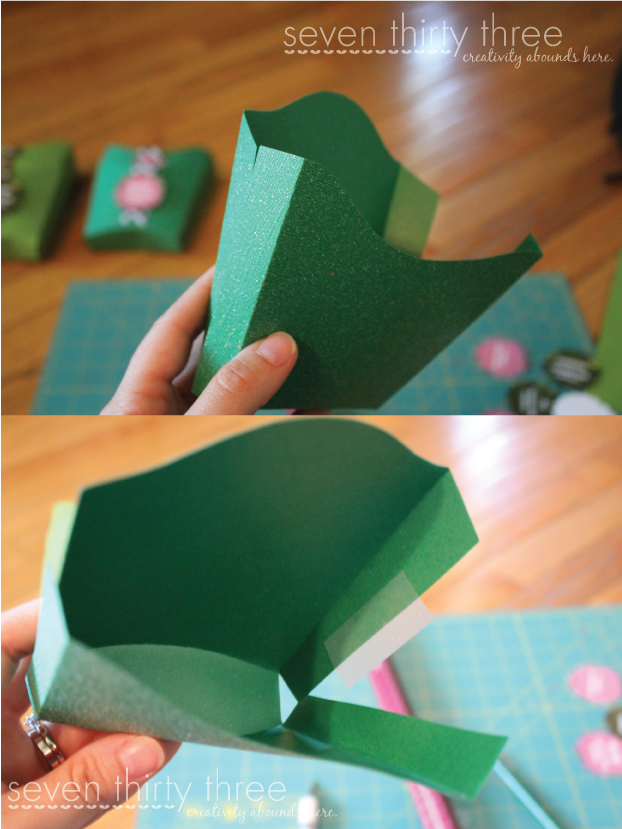
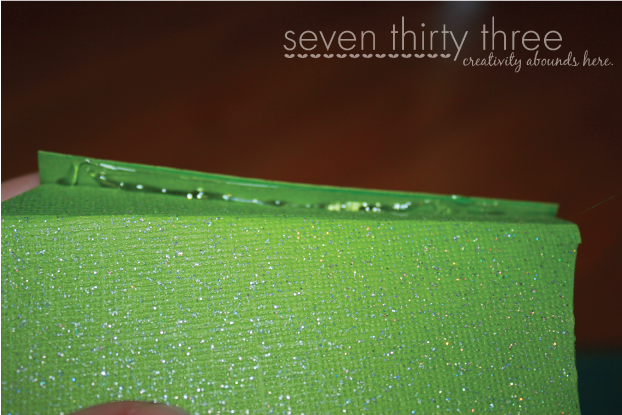
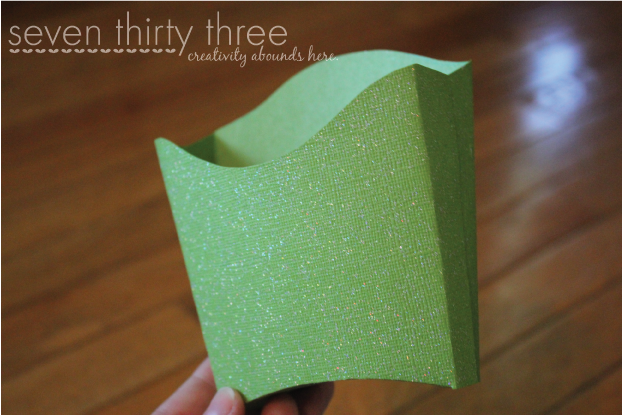
What a cute favor box idea! I love the idea of getting the fry box shape without all of the grease. I can’t wait to see what you put in them!