
This is a sponsored conversation written by me on behalf of Cricut. The opinions and text are all mine.
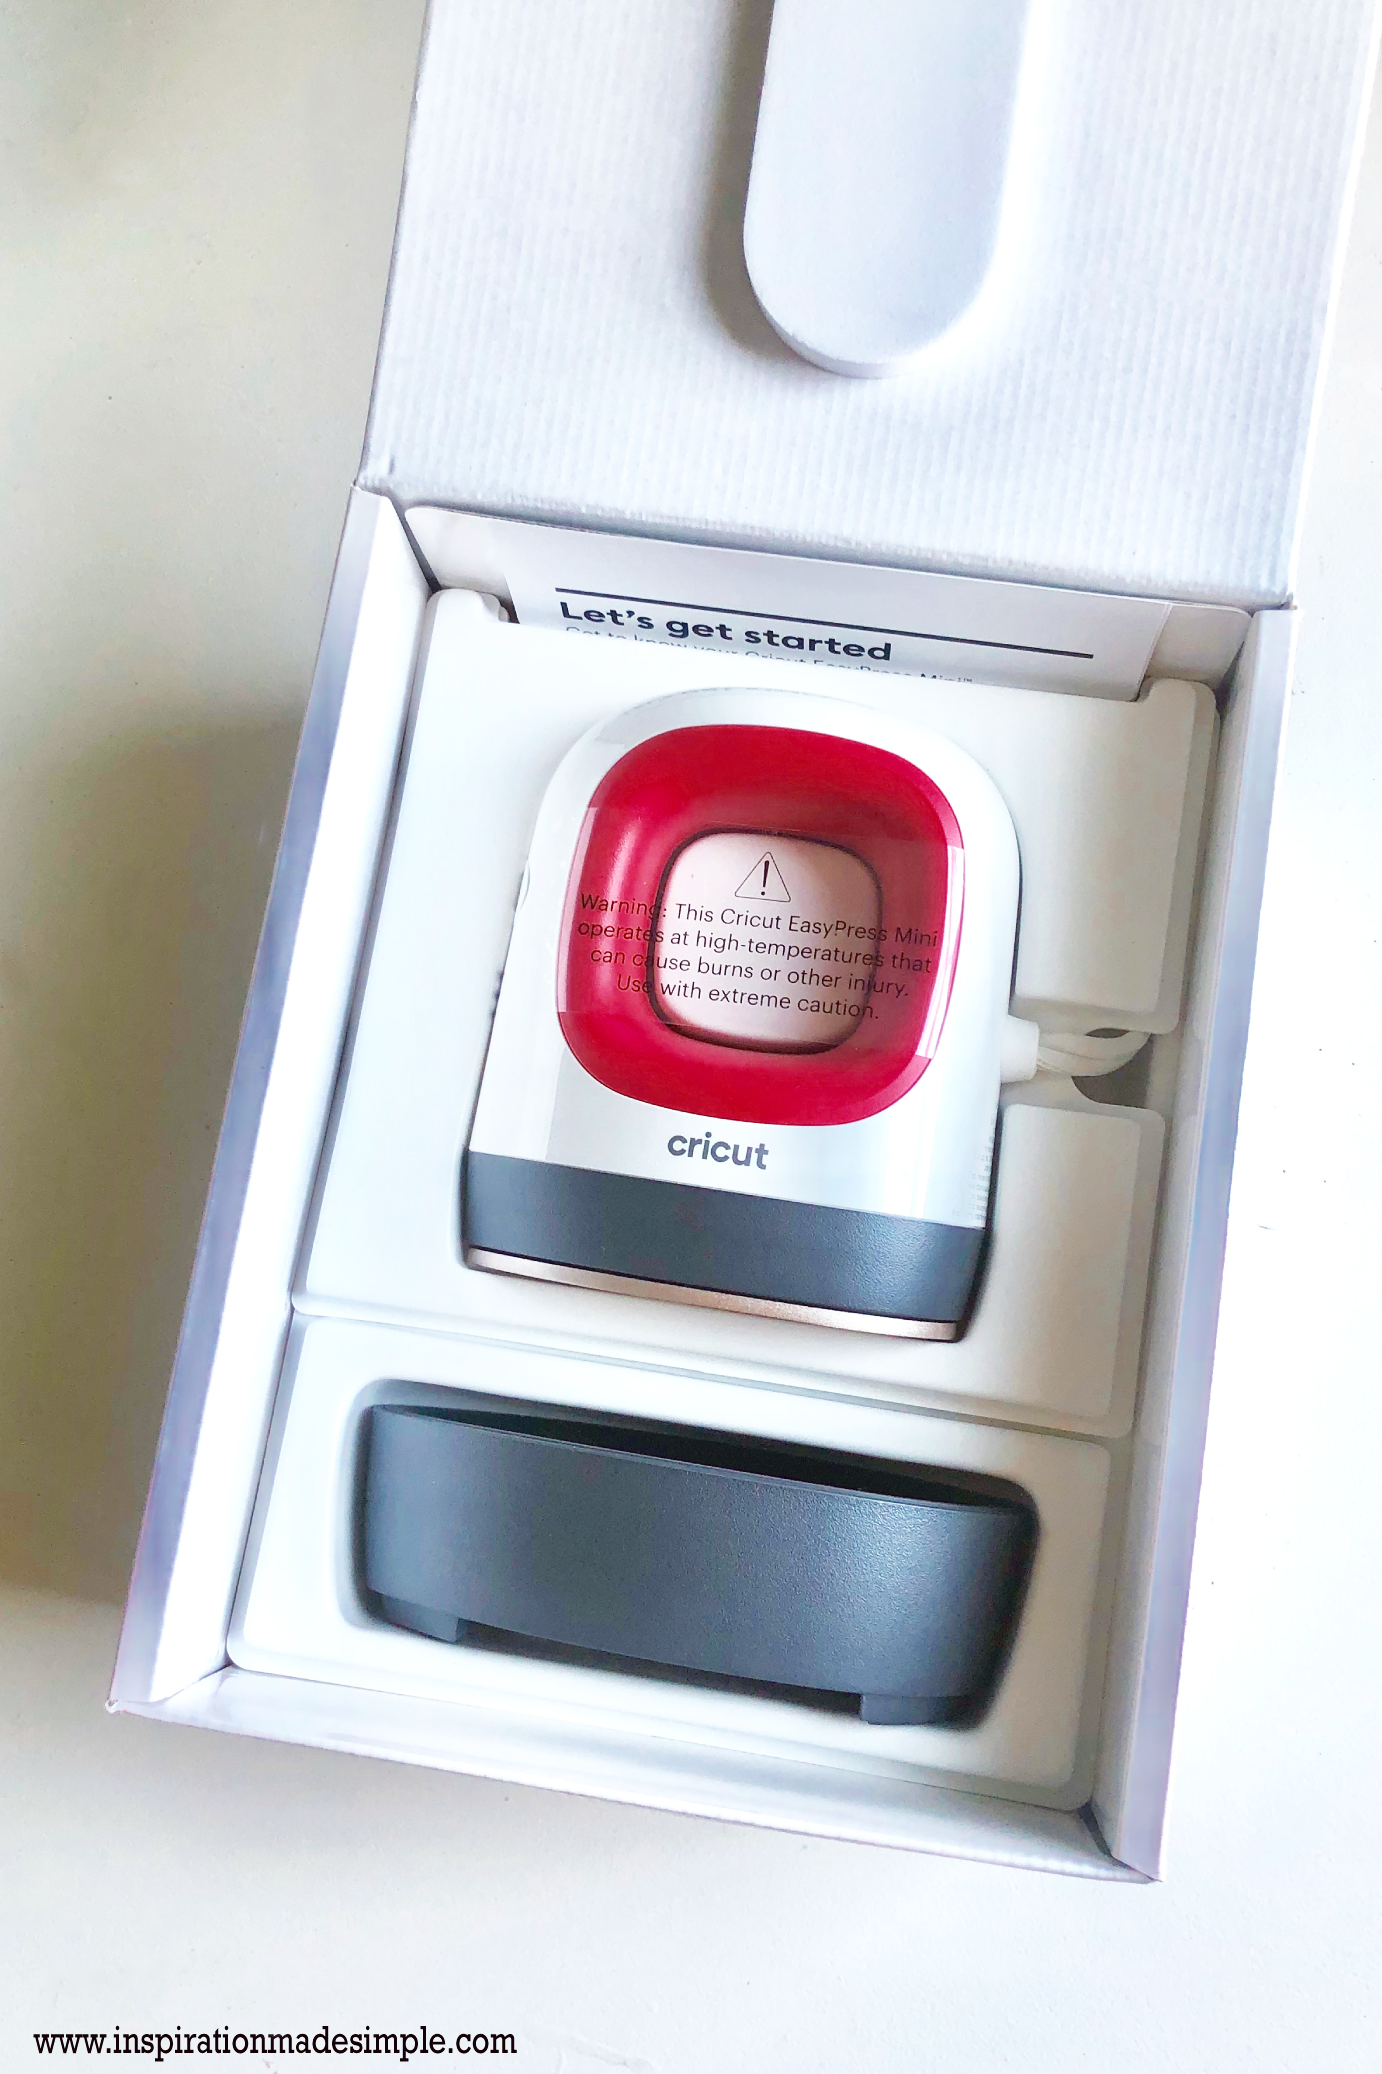
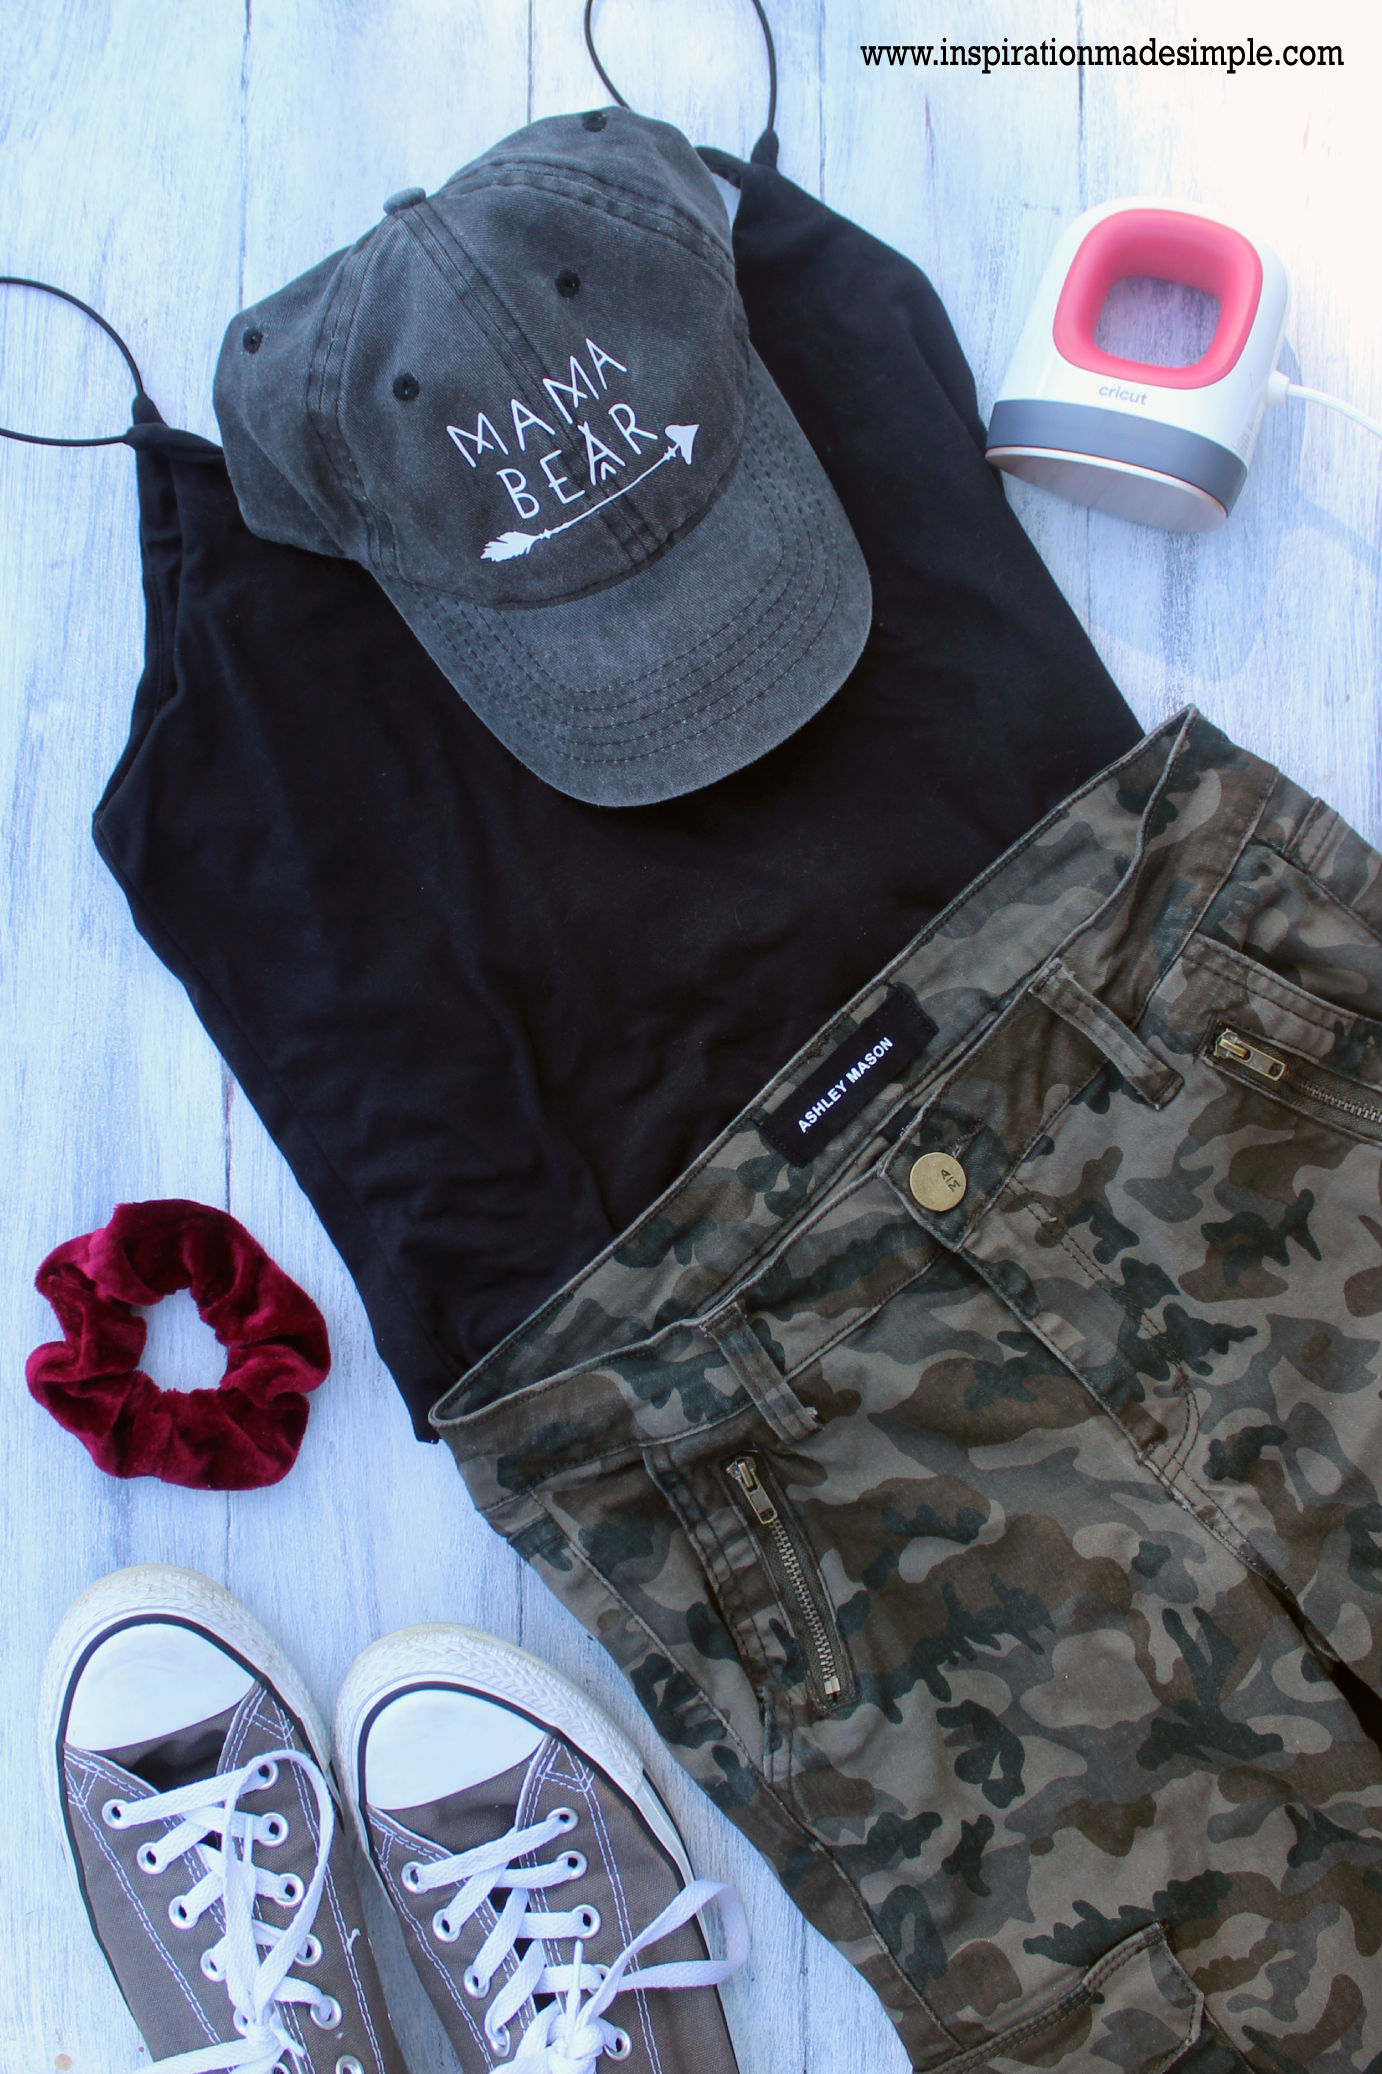
I recently shared the “Jeep Hair, Don’t Care” Hat that I made for my daughter. I made the hat using a regular clothes iron, and while it is doable, it is cumbersome. Fast forward to today and wanting a hat for myself. I found a cheap gray plain one at the store so I bought it, knowing I could spiffy it up. And this time it was much easier because guess what I got?! (Post contains affiliate links.) The newly released Cricut EasyPress Mini! Guys, this thing is perfect for hats. It’s shaped similar to an iron, but it fits in the palm of your hand. It’s light weight and easy to maneuver. Everything you want in a press for specialty items such as stuffed animals, shoes and hats. Just like the bigger Cricut EasyPress products, it offers even heating to get the perfect project every time. So what did I put on my hat?
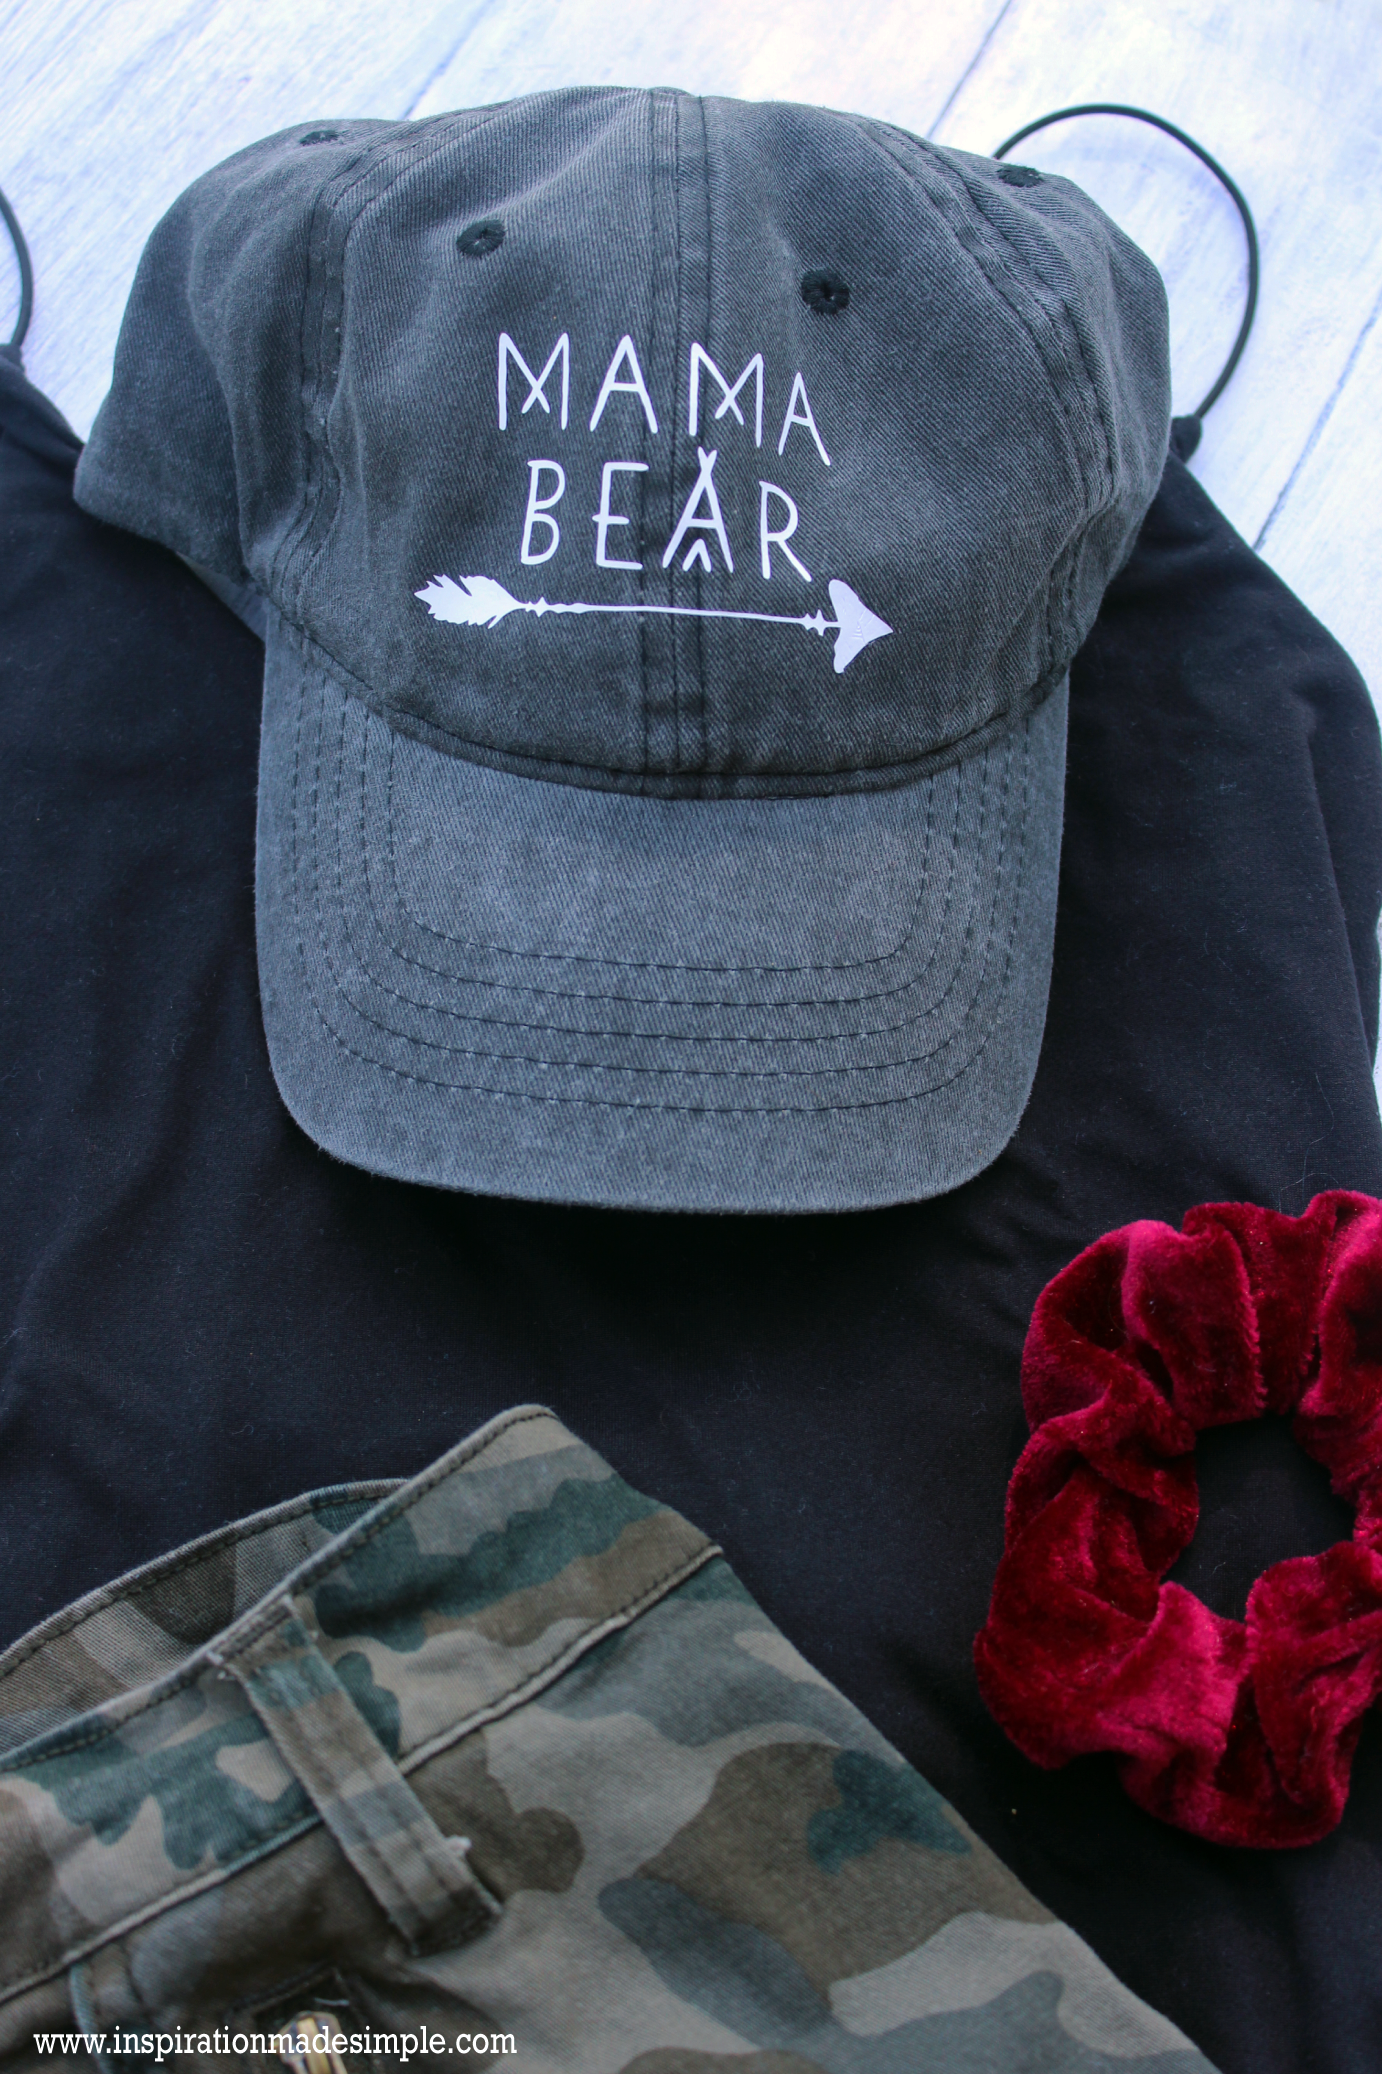
A design I created just for me! But because I love all of you, I’m willing to share! Download the SVG file at the bottom of this post so you can make your own hat… or bag, or even a tee. Now let’s move on to how I made this Mama Bear Hat using the Cricut EasyPress Mini.
Supplies:
Cricut Maker
Cricut EasyPress Mini
Iron On Vinyl
Hat
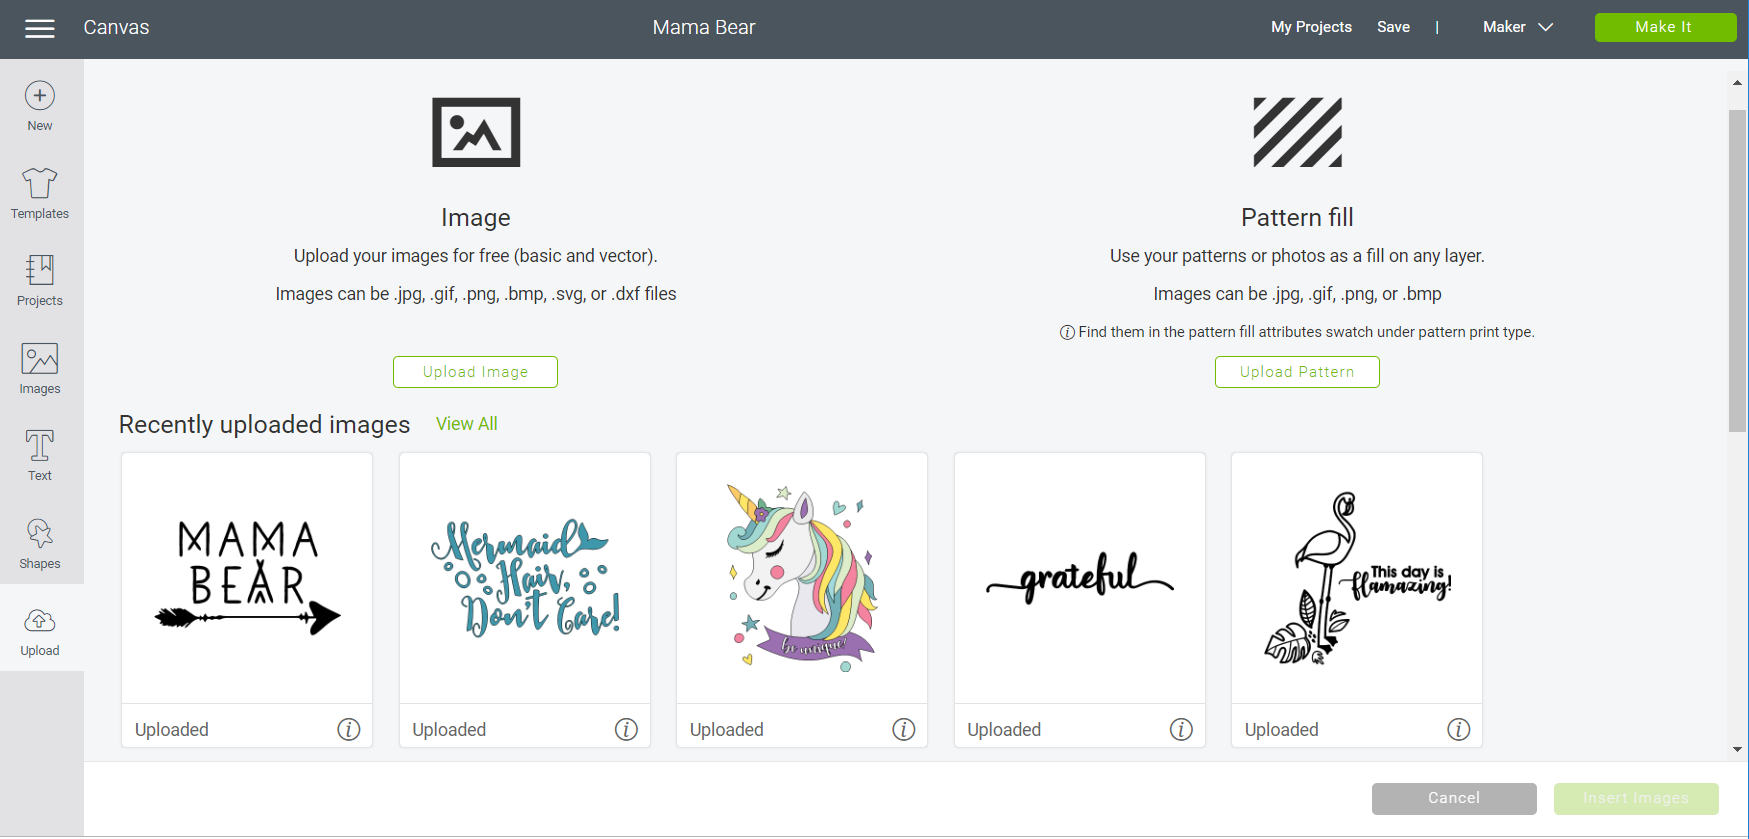
First, upload the Mama Bear Hat SVG file into Cricut Design Space.
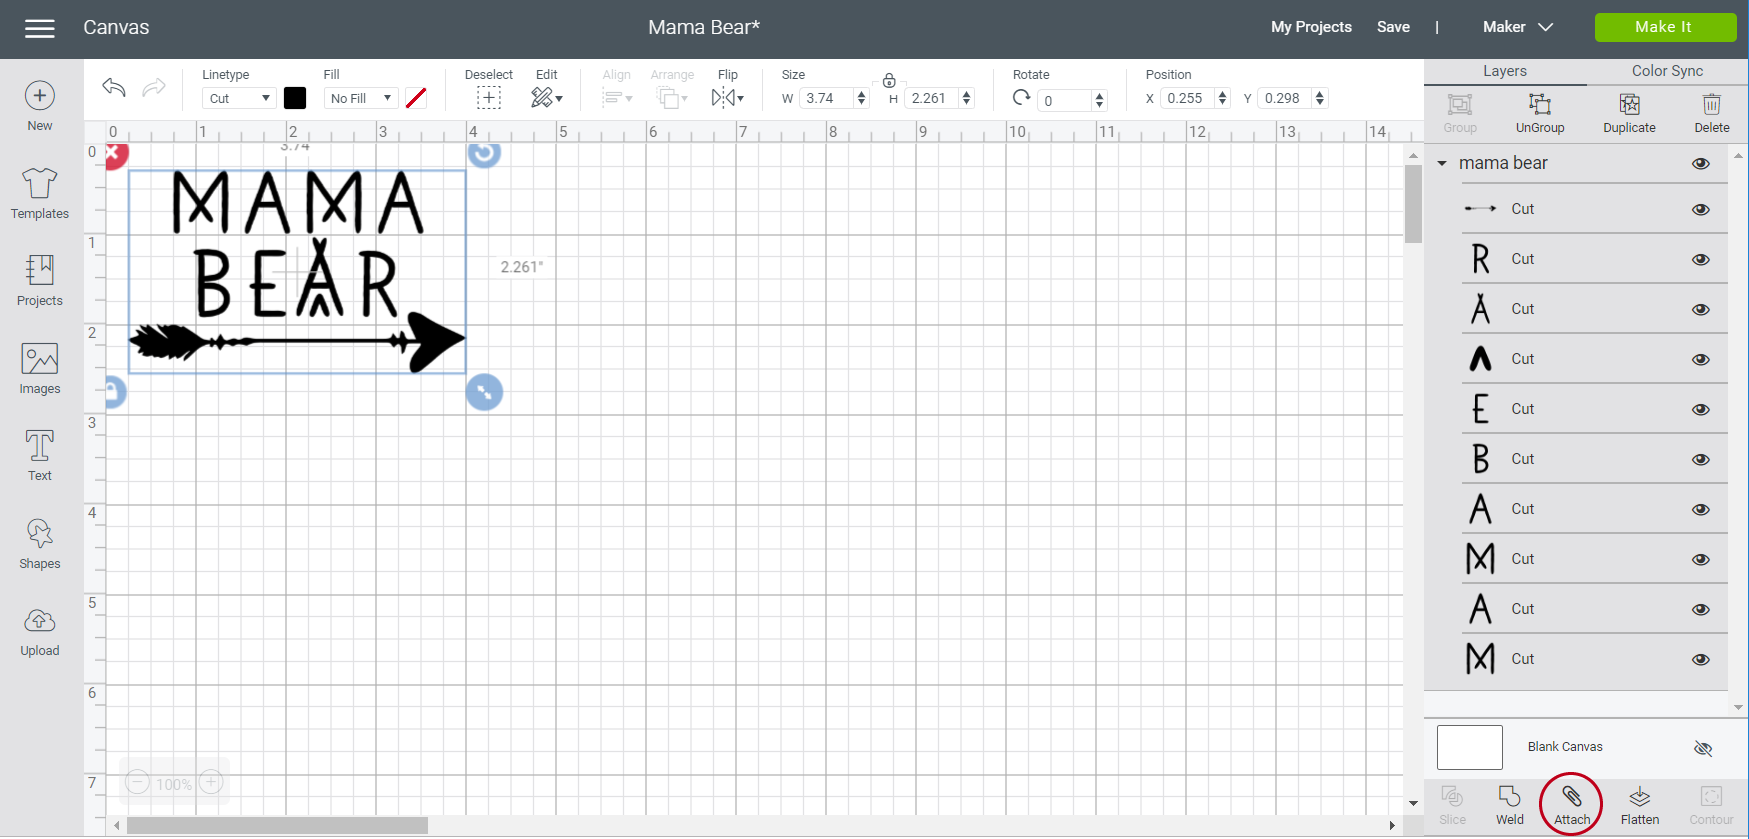
Insert it into your mat, select all and click attach.
Resize it to fit your canvas, in my case I went with 3.5″ wide to fit my hat.
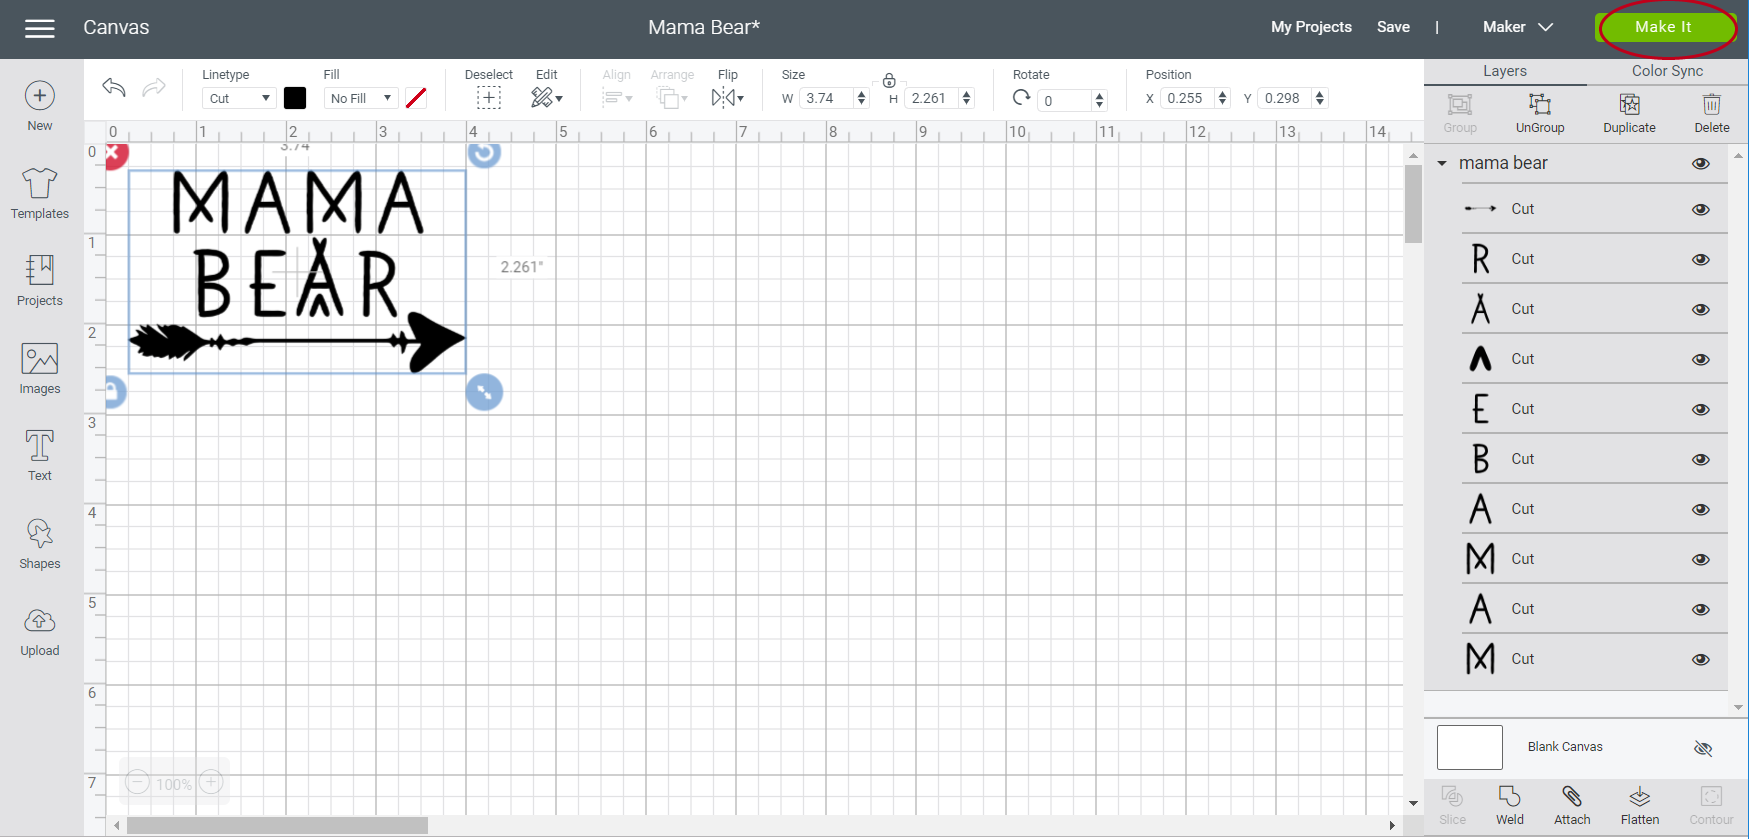
Send it to the mat.
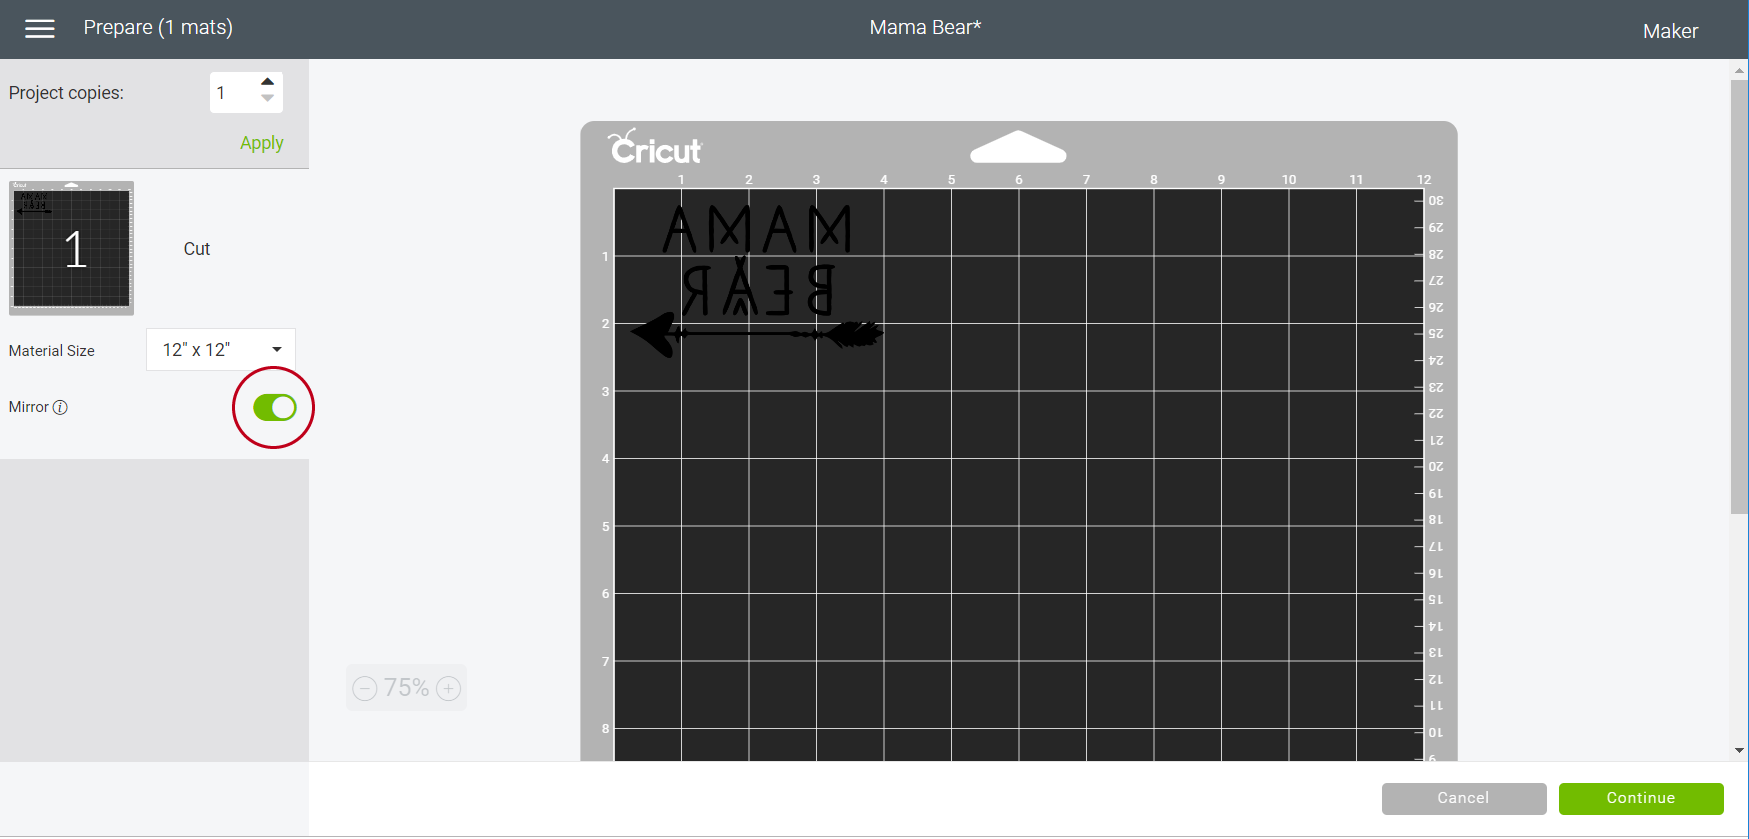
Since we’ll be working with iron on vinyl you’ll need to toggle the Mirror Image on.
Send it to your machine. Set the material to iron on vinyl
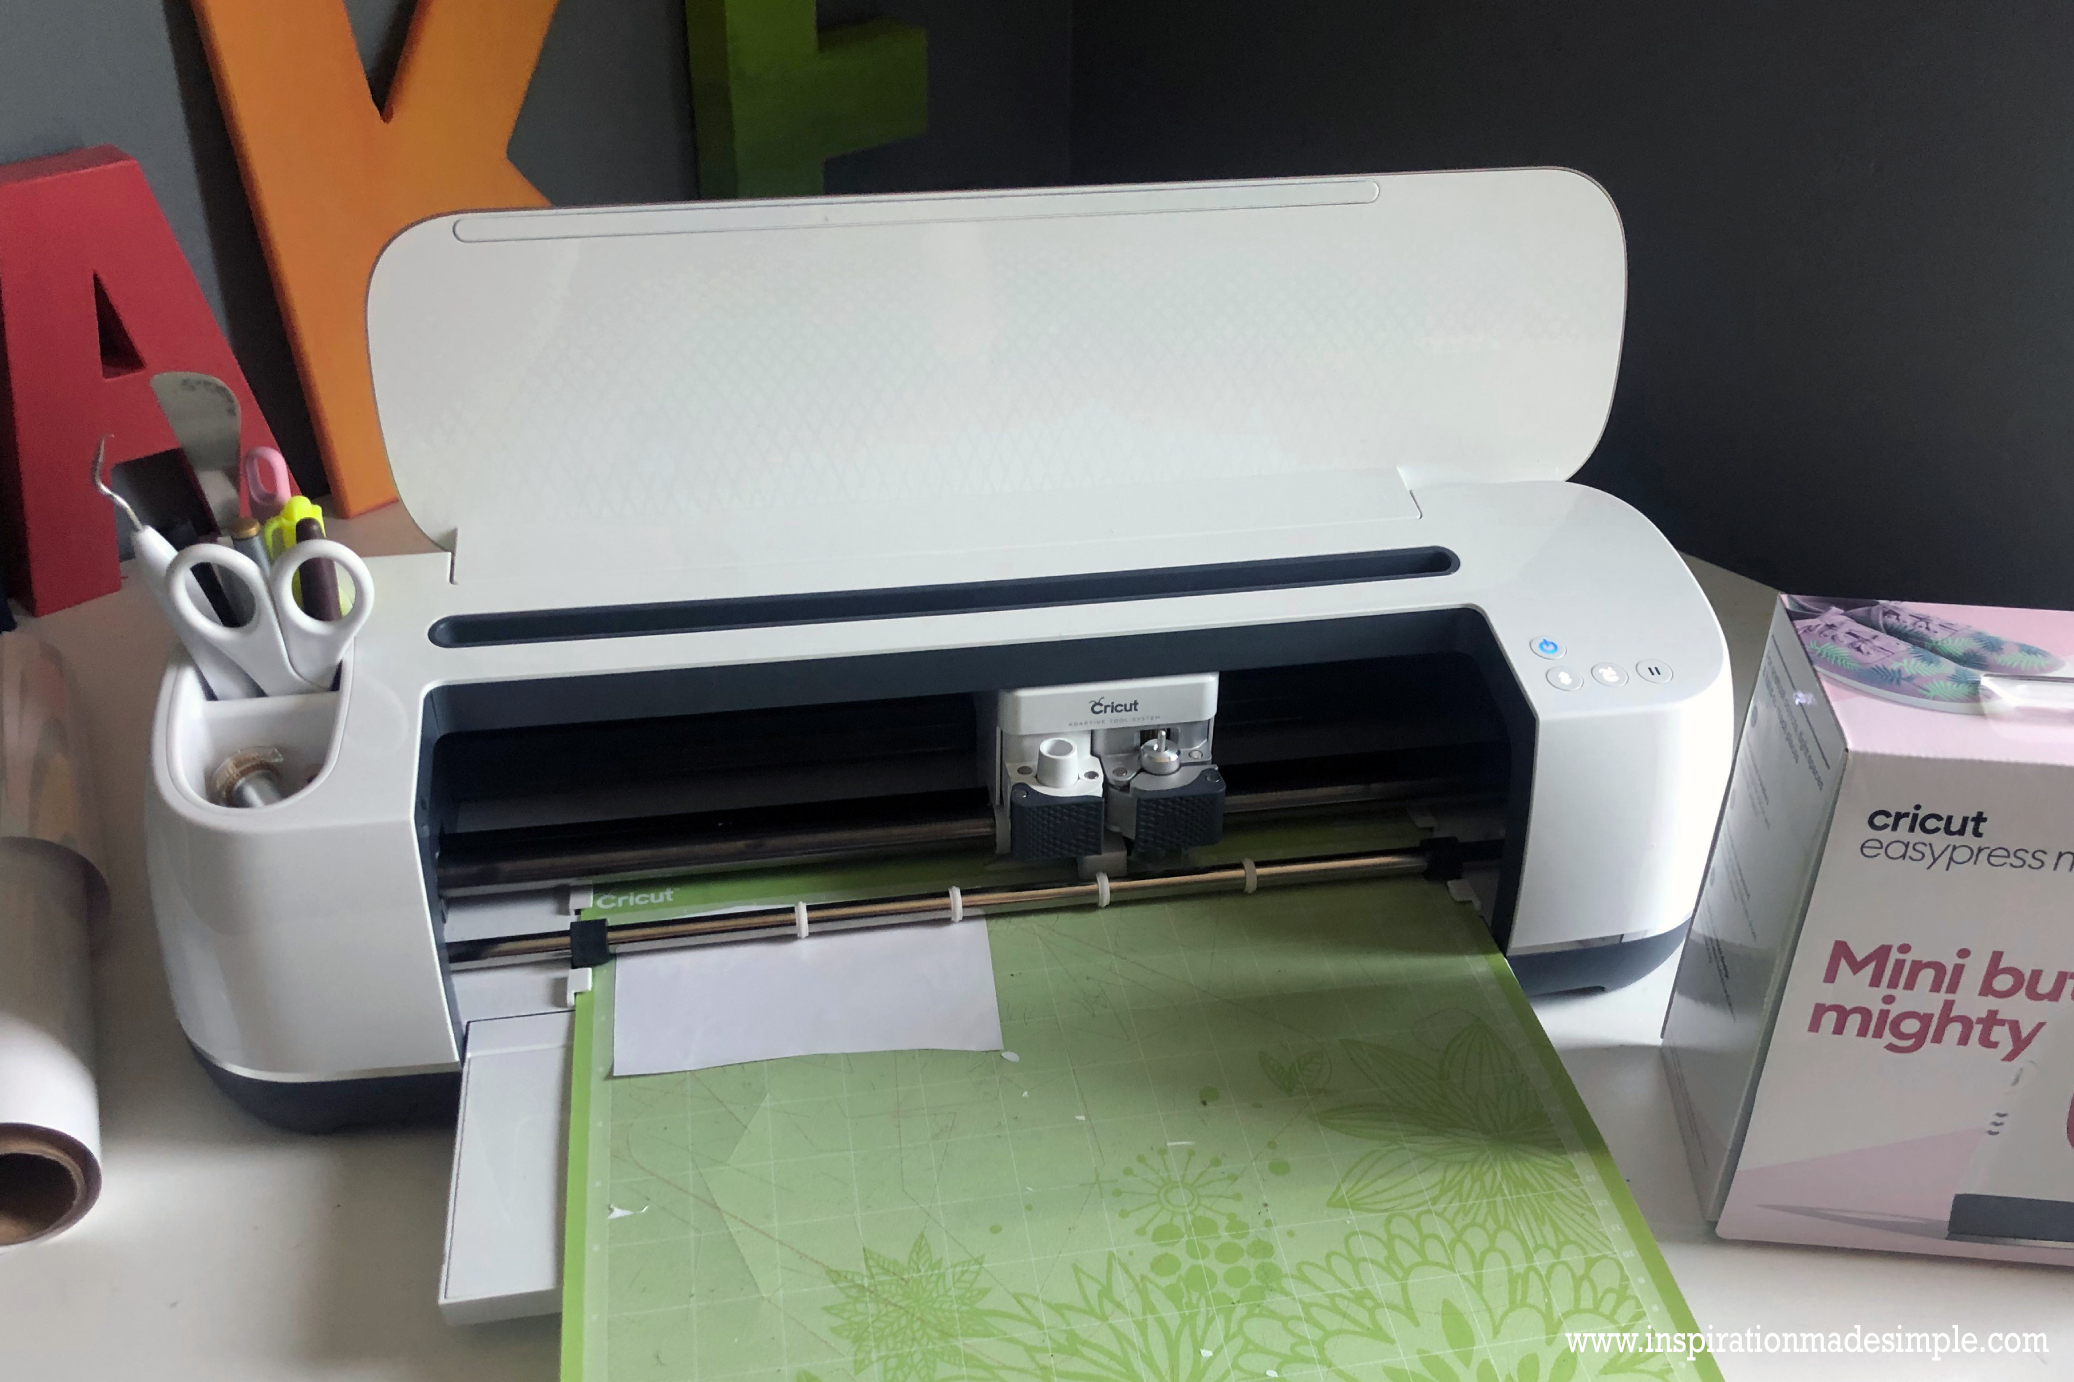
Load the machine with iron on vinyl, the shiny clear coated side down.

Once the cut is complete, weed the excess vinyl.
Plug in your Cricut EasyPress Mini and set the heat to medium. Allow that to warm up as you move on to the next steps.
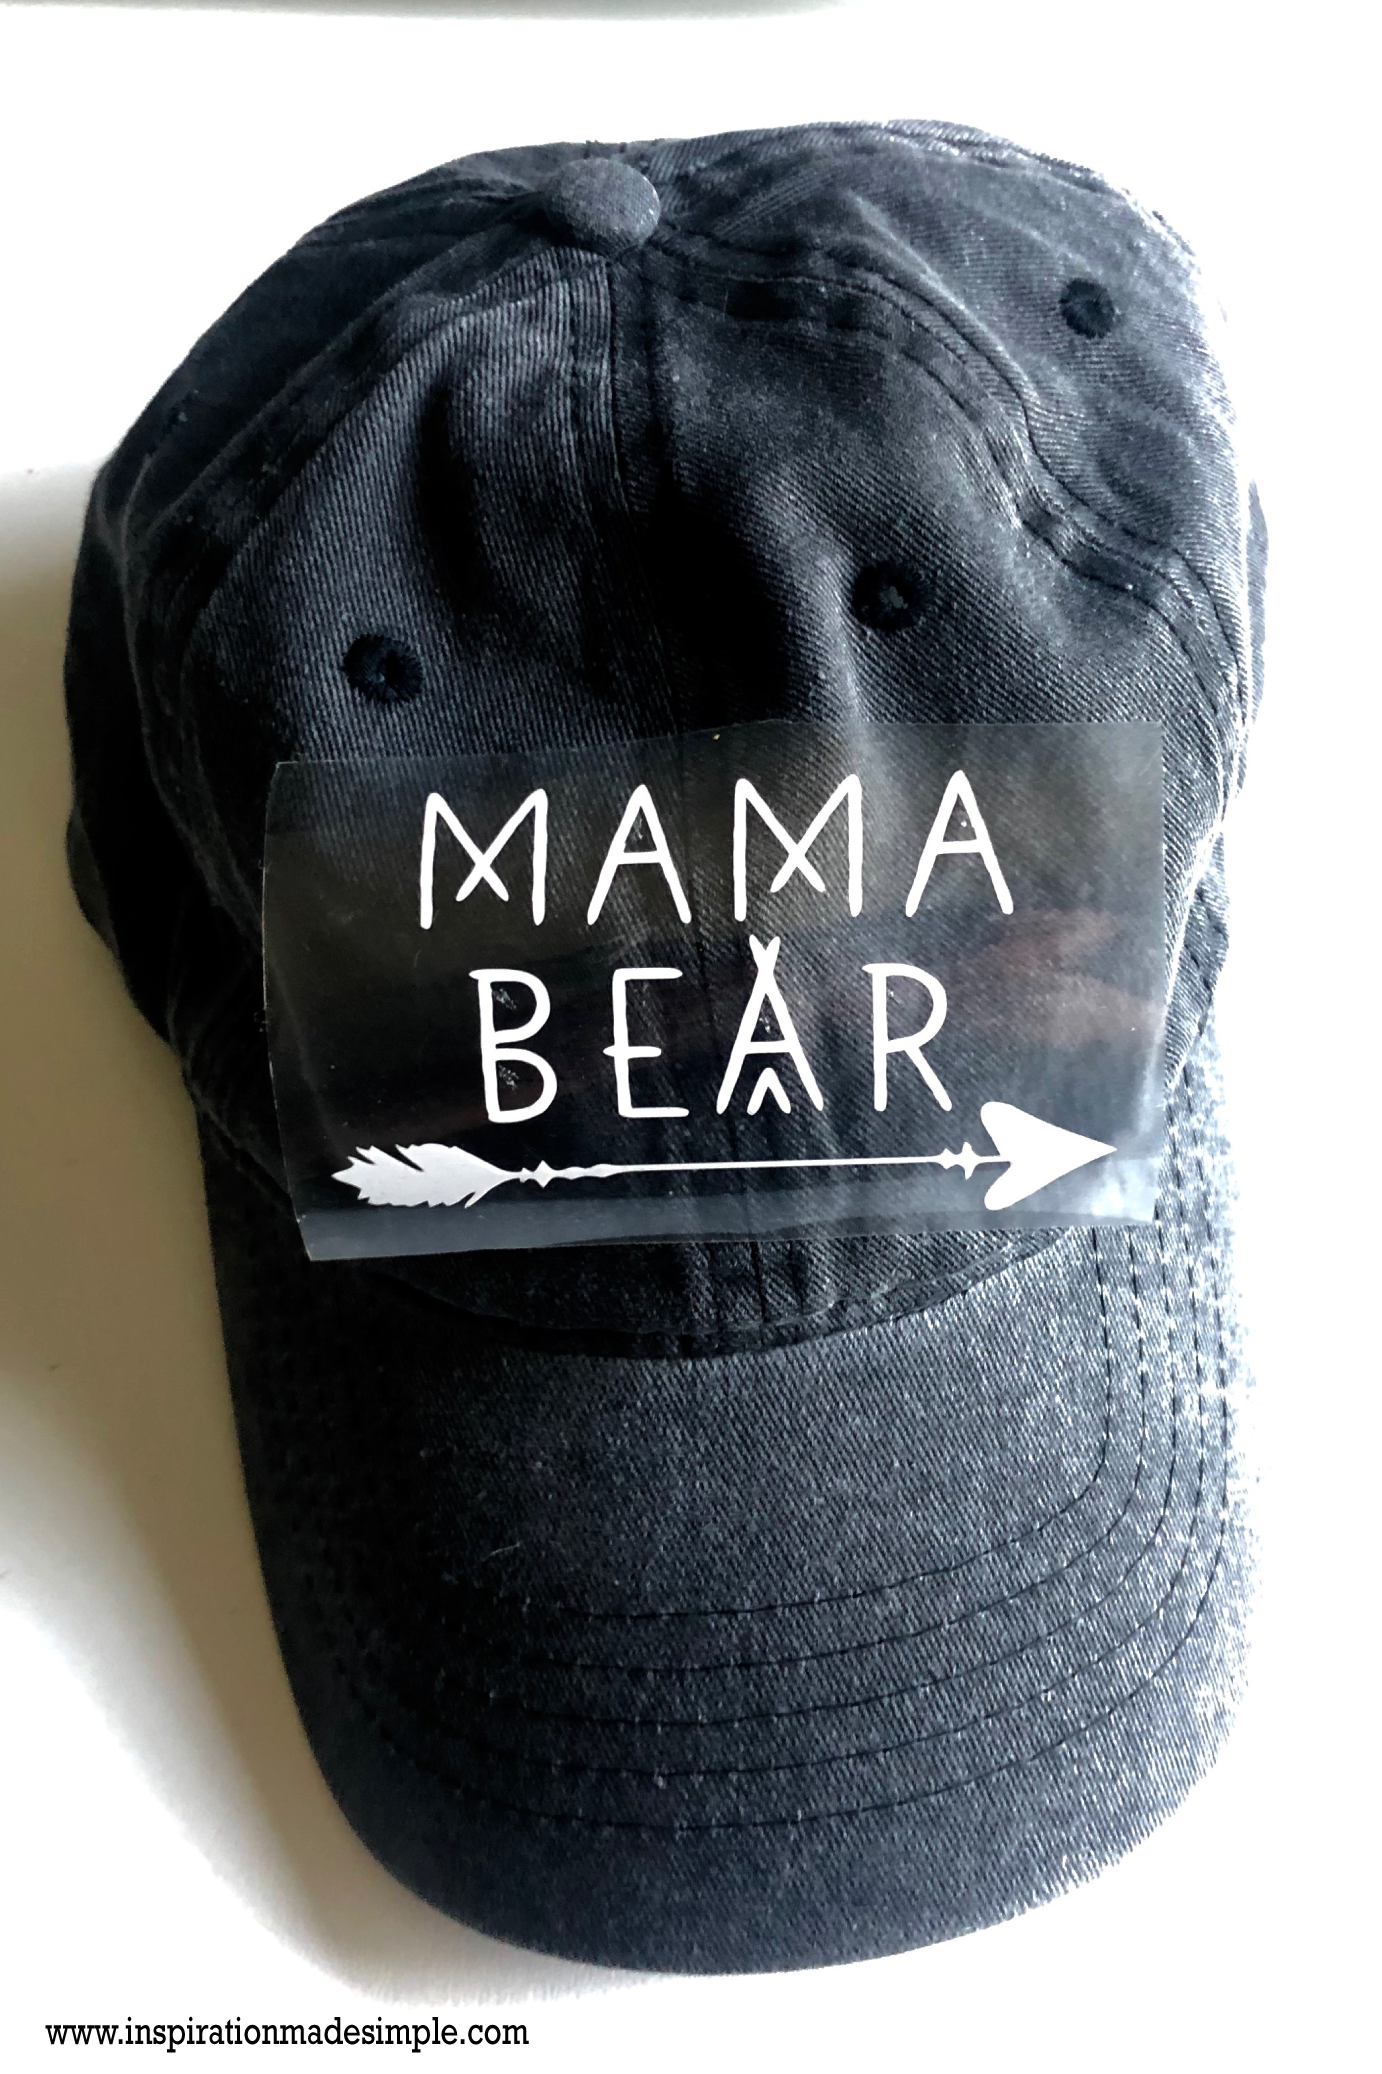
Place the design onto your hat.
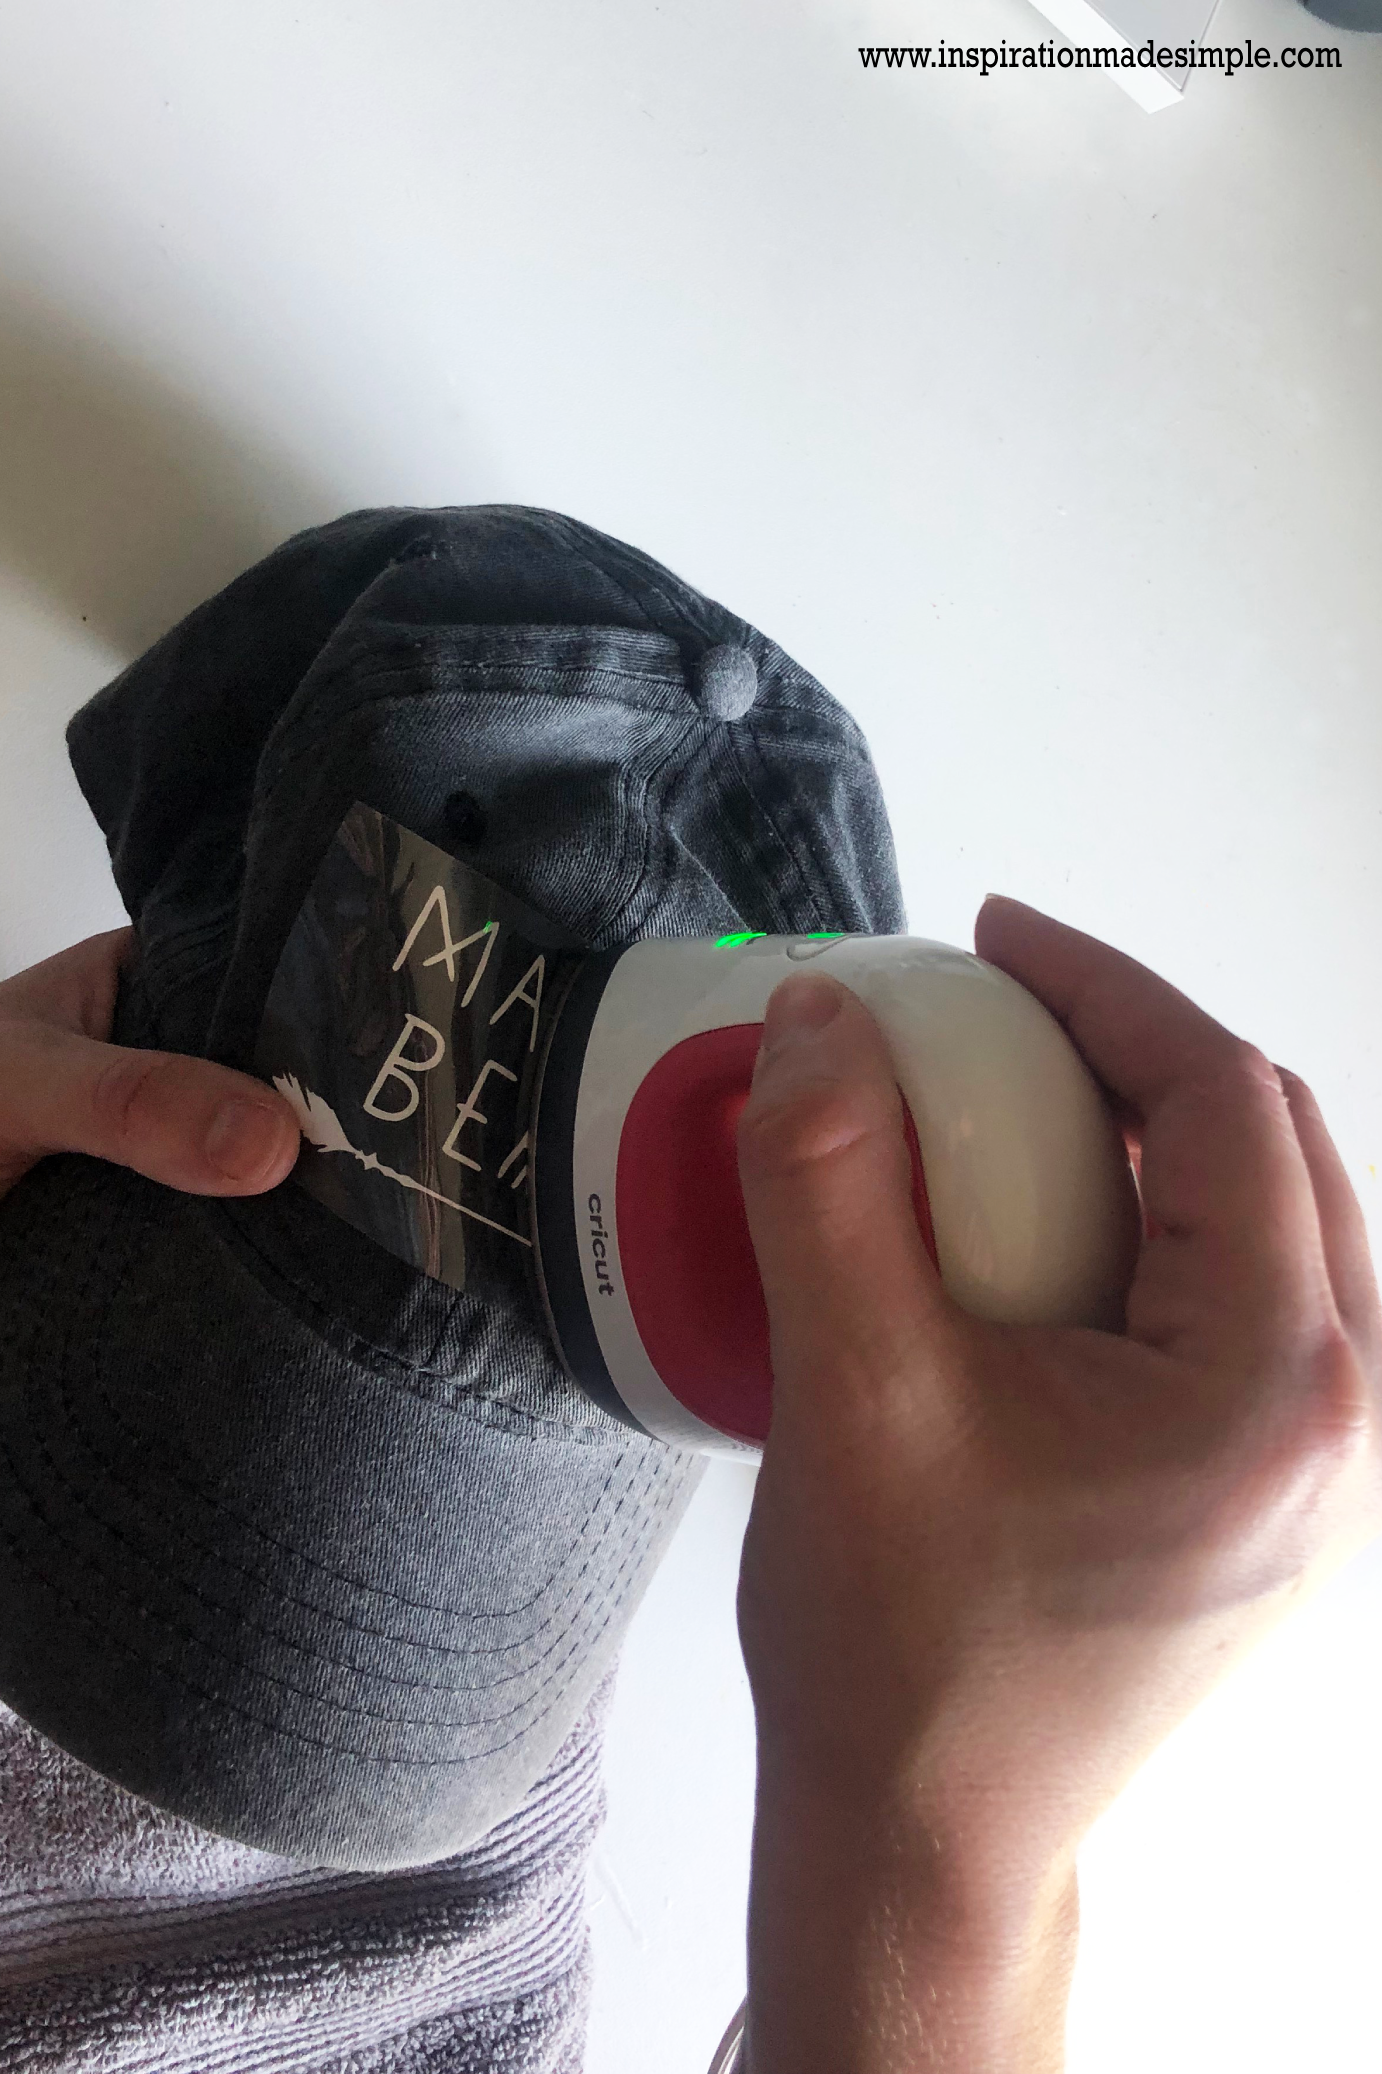
Using a hand towel, carefully hold the hat and use the Cricut EasyPress Mini to adhere the vinyl to the hat.
Once the iron on vinyl is completely adhered, remove the clear coating. Flip the hat over and press for a few seconds.
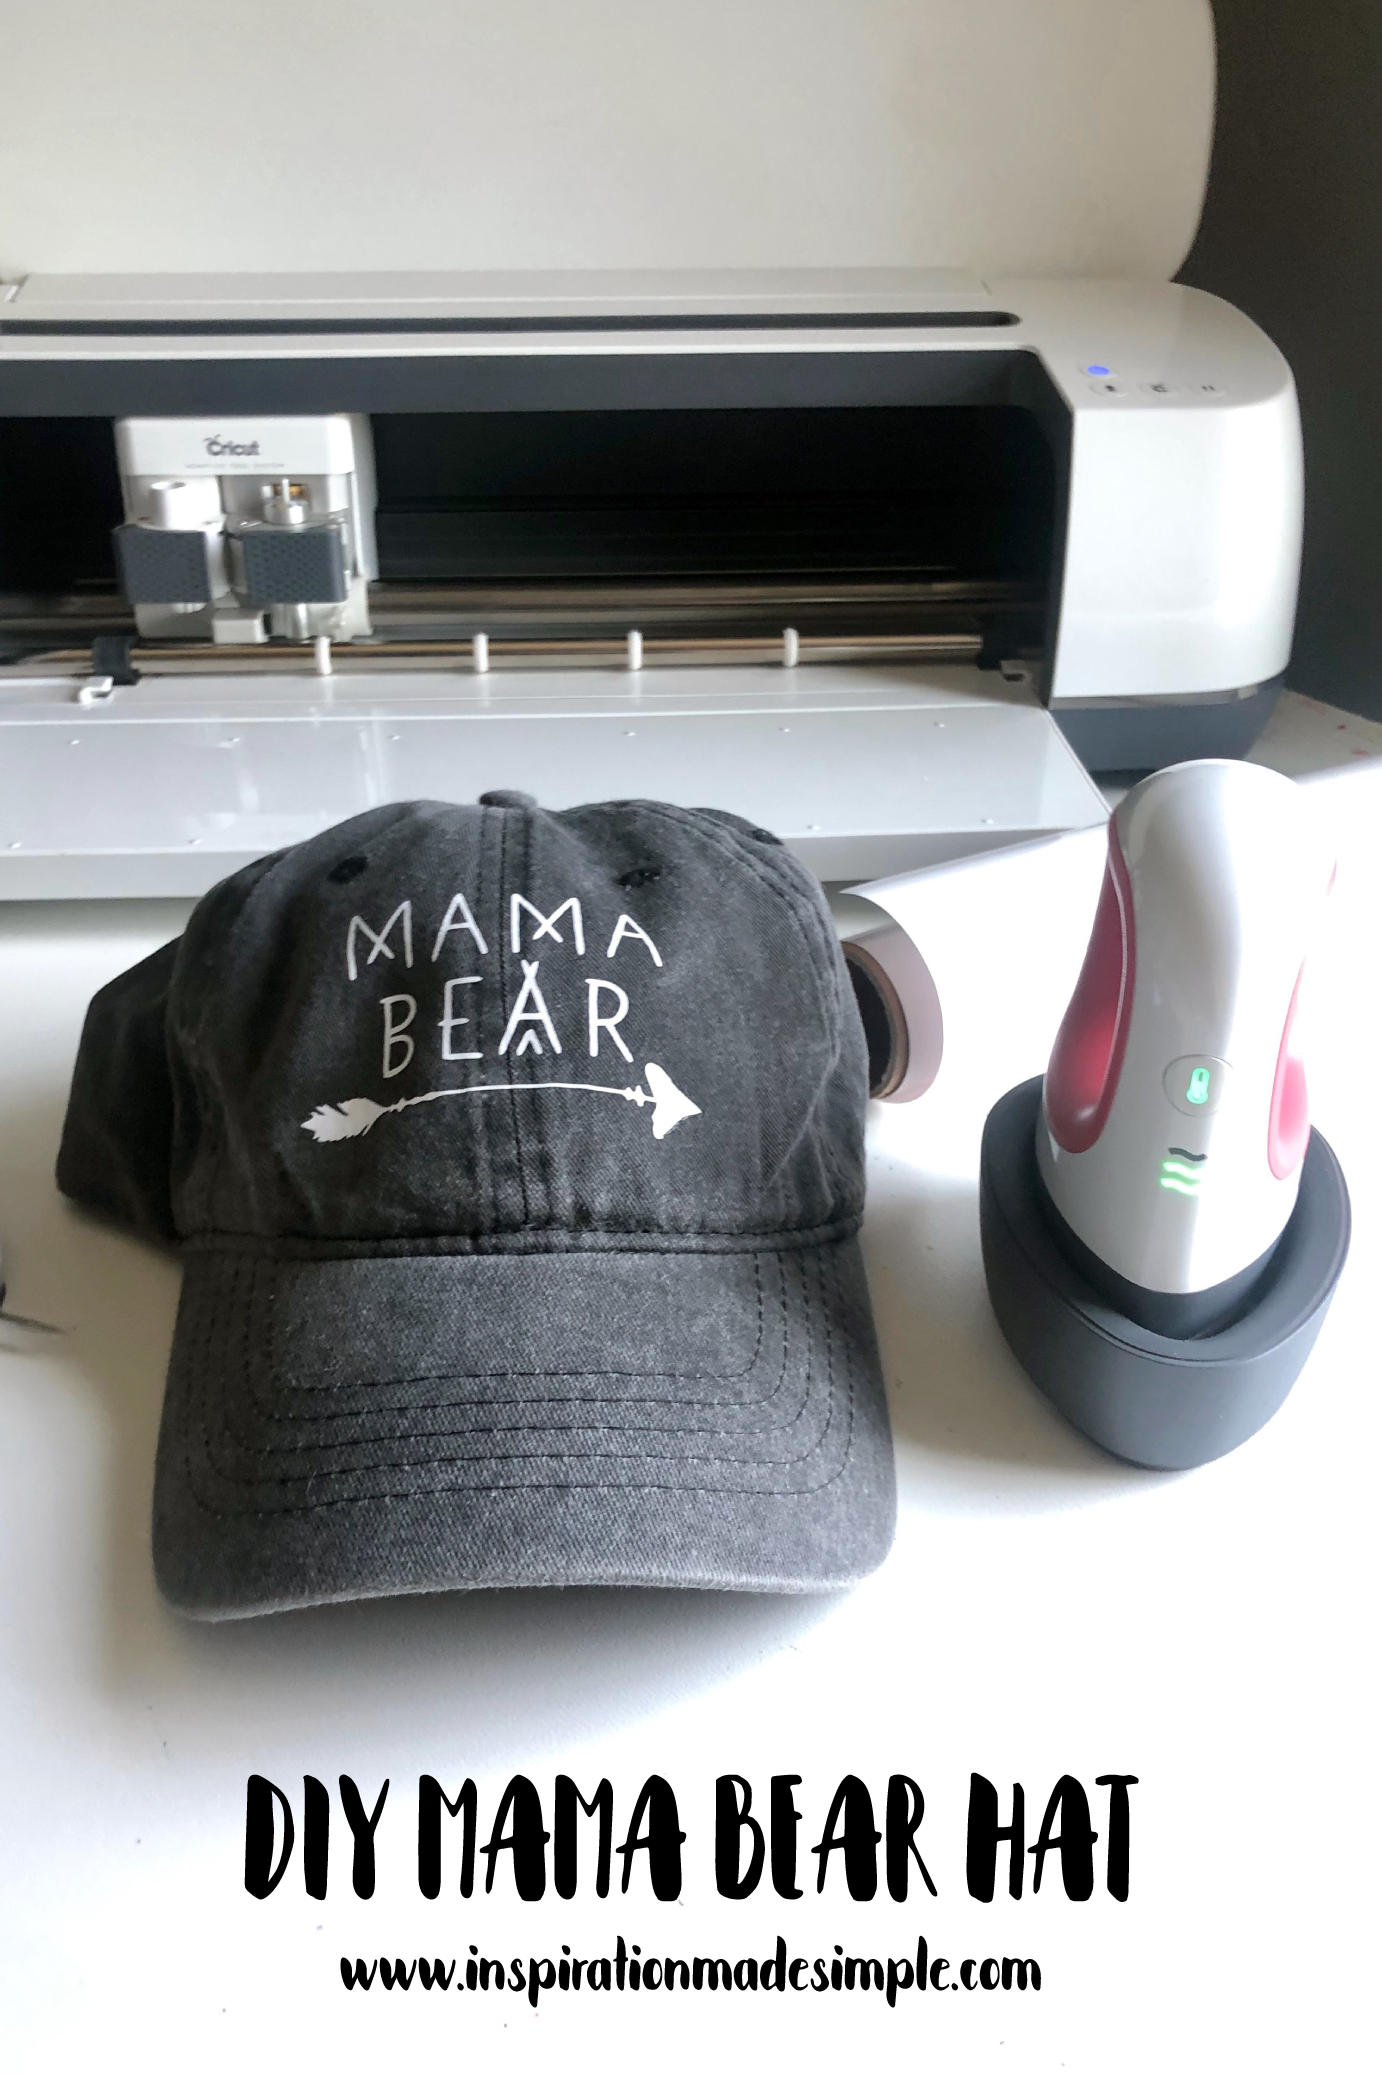
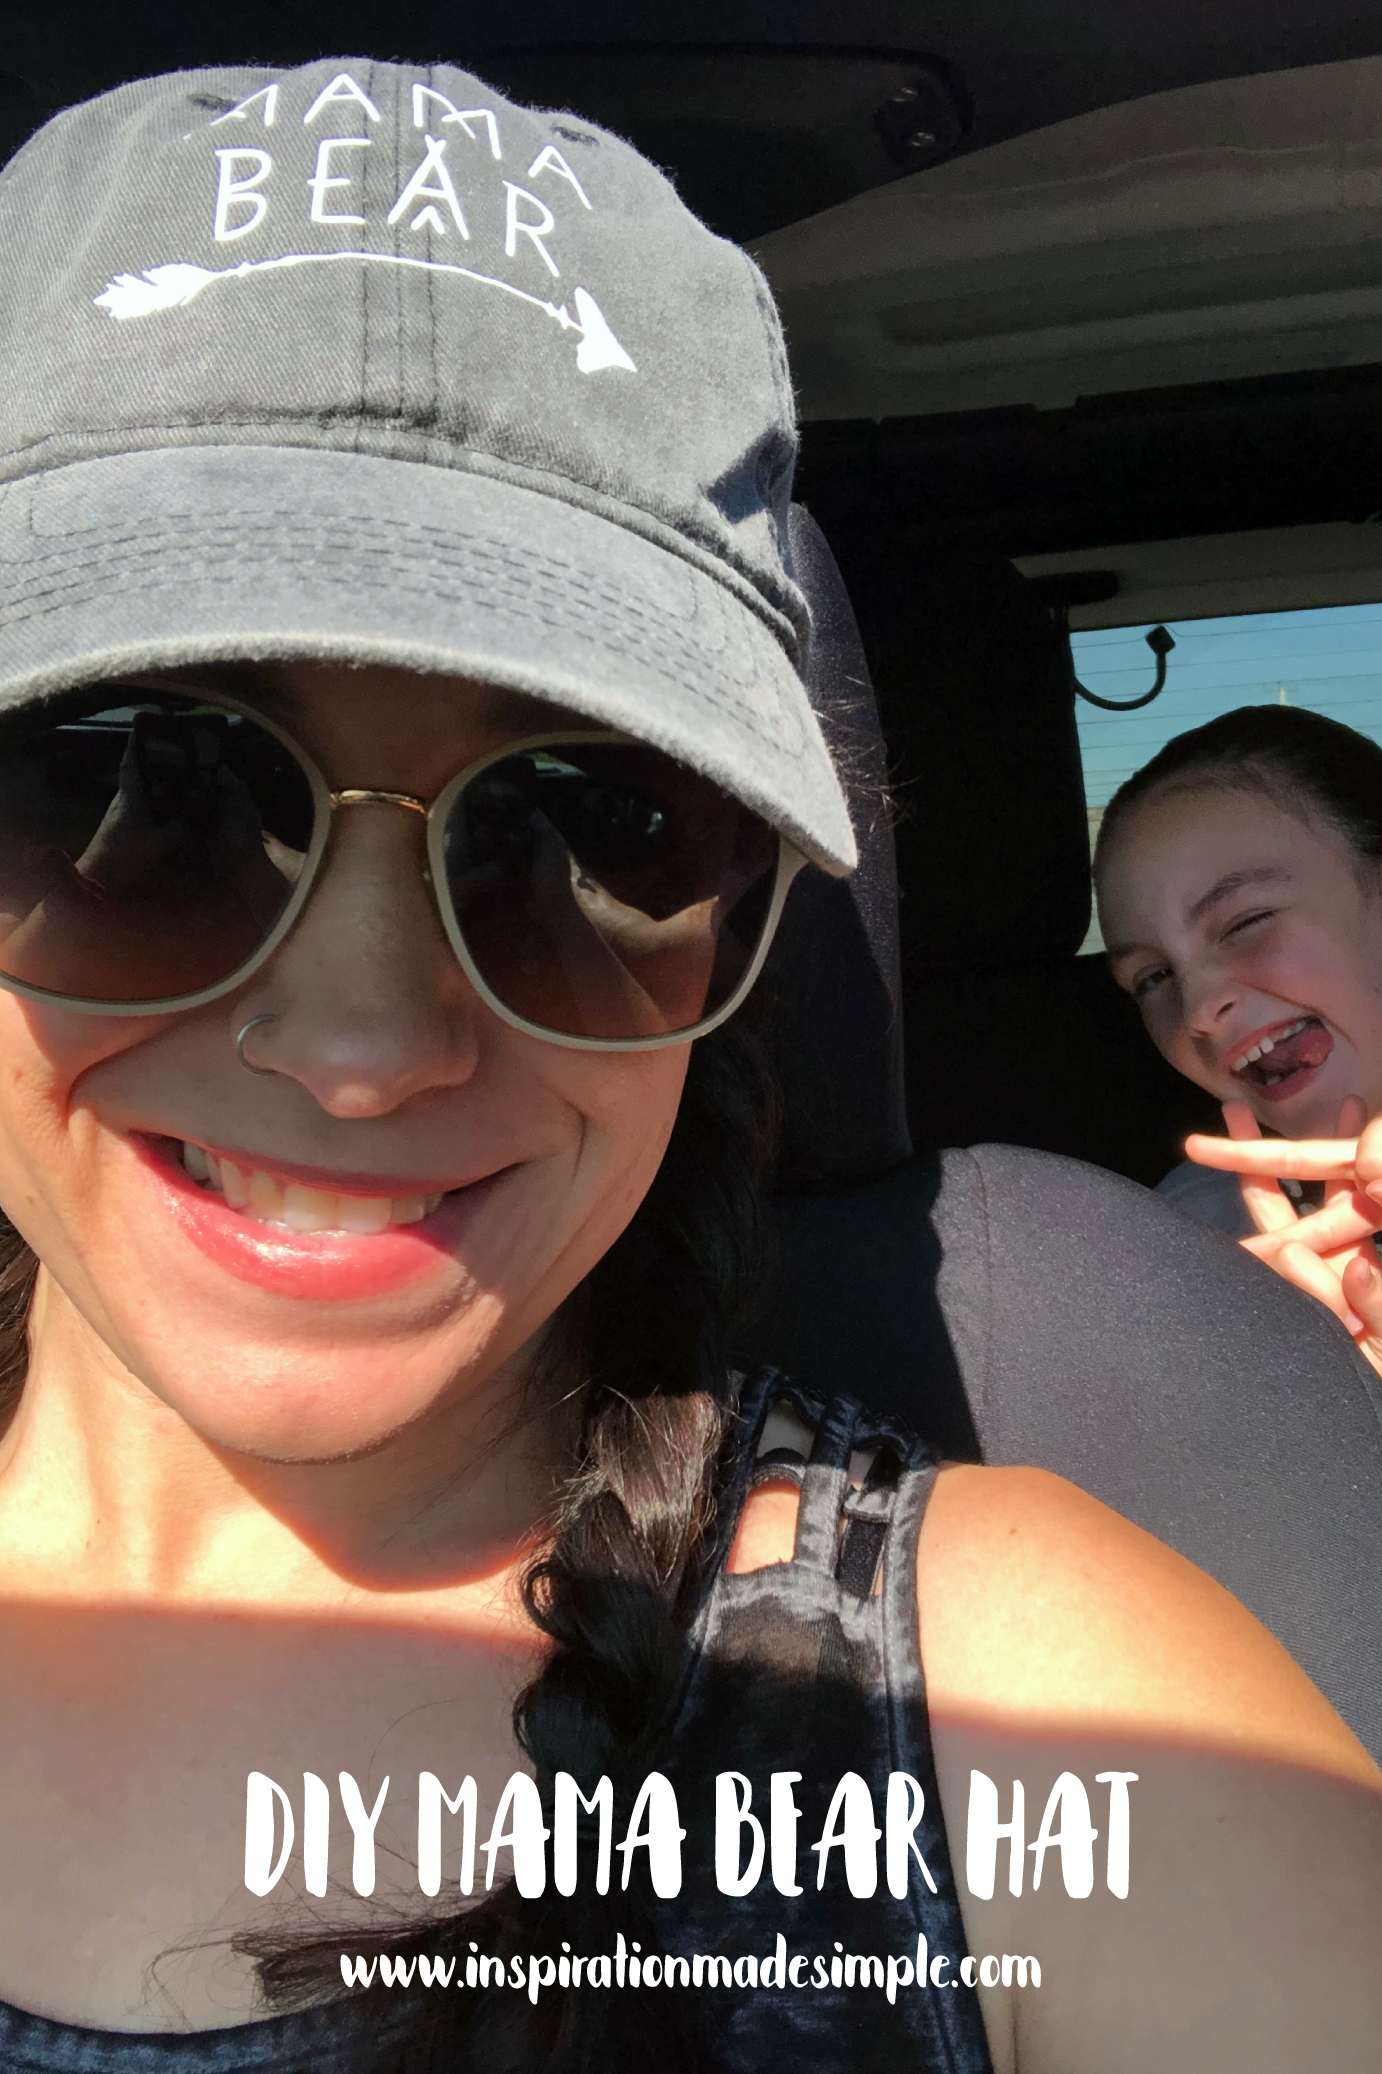
That’s it! You’re ready to rock your Mama Bear hat!
Download the Mama Bear SVG File.
Personal use only. Do not alter.

