
This post brought to you by Expressions Vinyl. Post contains affiliate links for your convenience.
Expressions Vinyl asked me to participate in their Christmas Ornament Challenge and there was NO WAY that I could say no! I absolutely adore creating handmade Christmas ornaments. In fact, I make a new one every single year. Of course there was a requirement for the challenge… you had to use vinyl. That was our only stipulation though. After a little thought, and my Florida vacation looming, I ended up with this sophisticated, yet totally cheeky, DIY Vinyl Christmas Ornament.
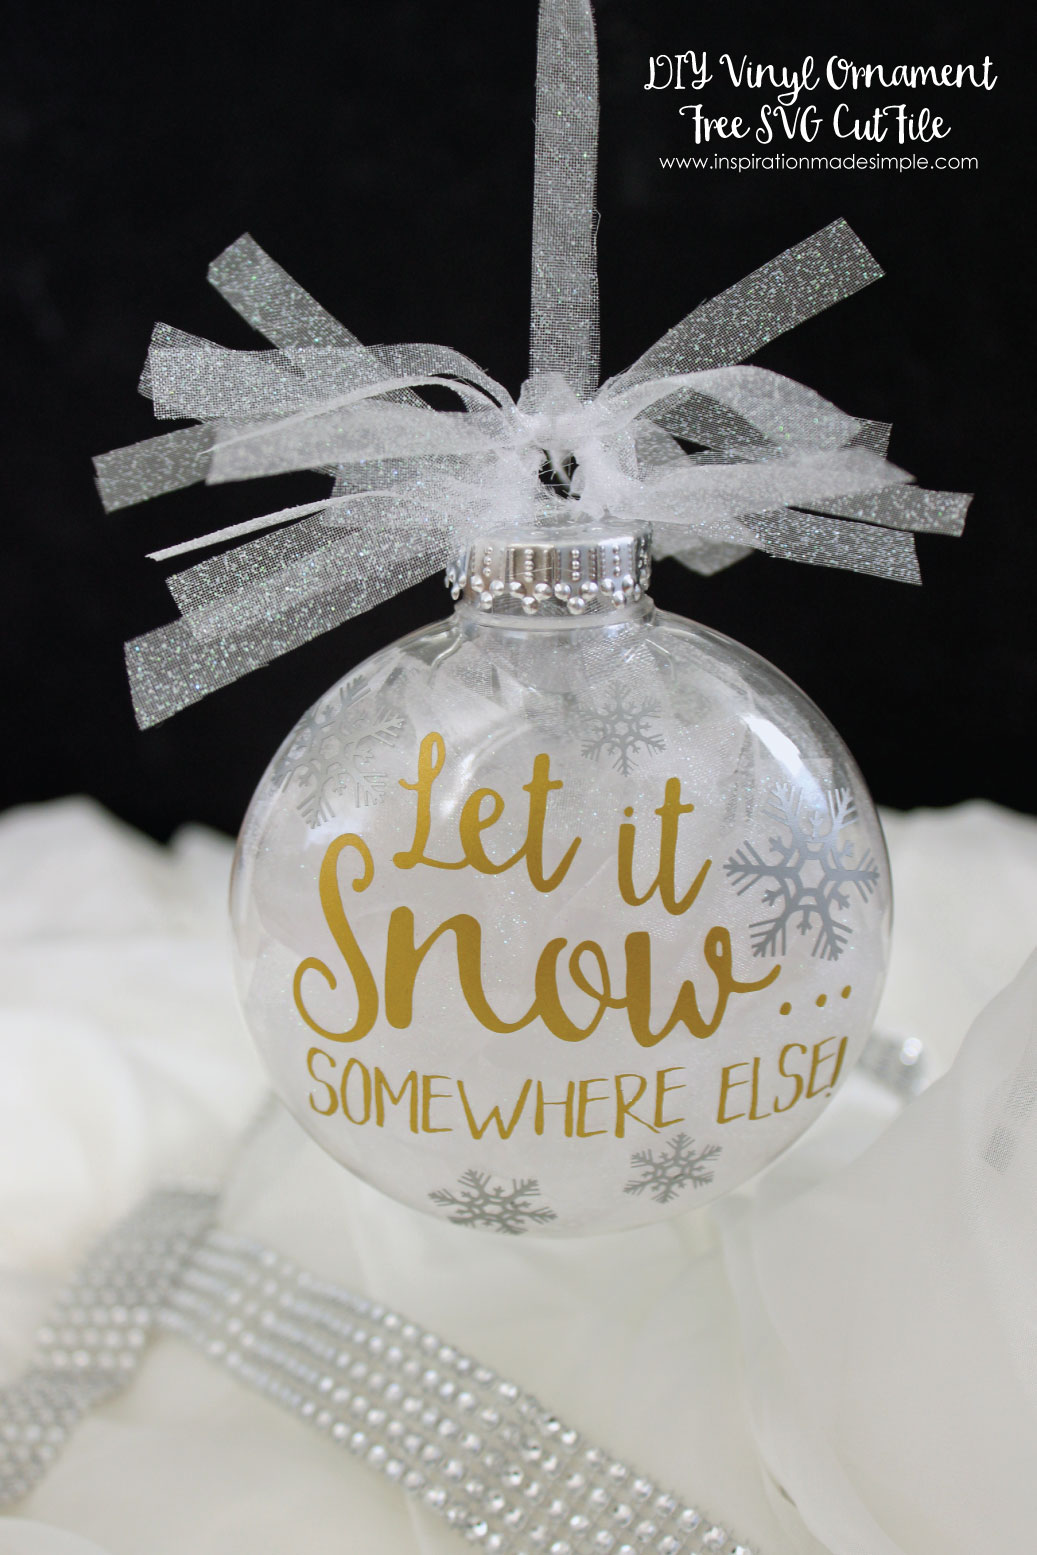
What do you think! Would you want this puppy on your tree Awesome, because not only am I going to share how I made this bad boy, but I’m ALSO sharing the SVG file that I created so that you can make your own!
FYI: Expressions Vinyl has the best quality vinyl at the best prices. It is where I get ALL of my vinyl. Even their own branded vinyl is awesome and I wouldn’t hesitate to recommend it to anyone that asks.
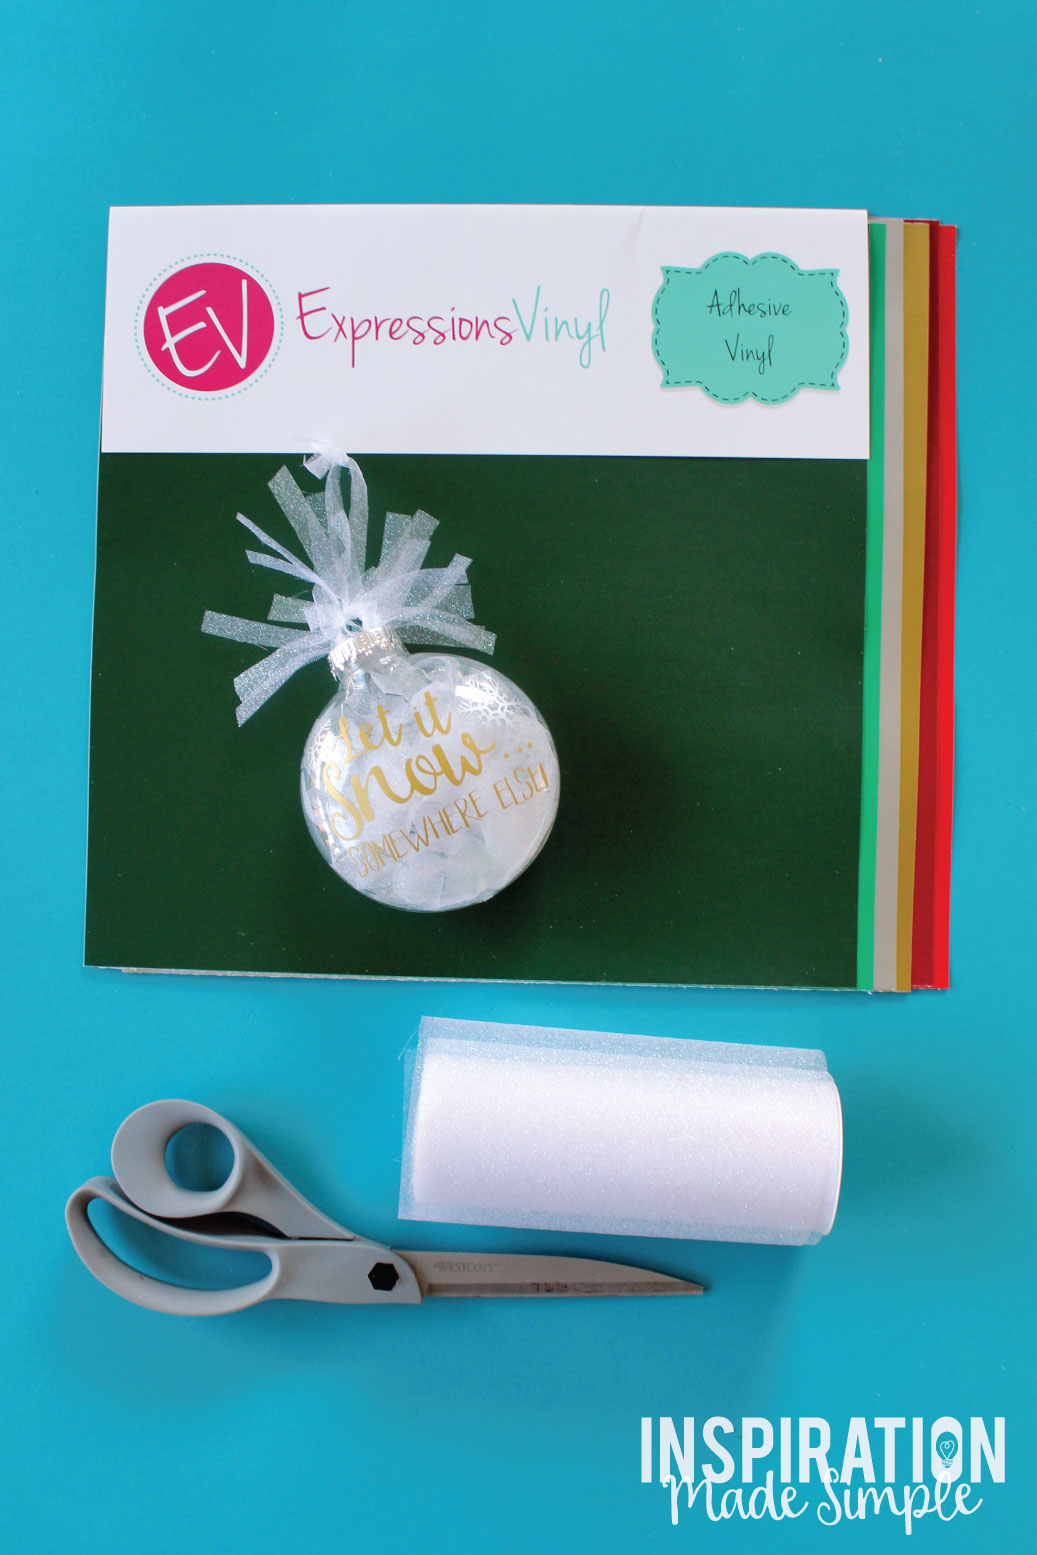
SUPPLIES
Let it Snow… Somewhere Else SVG File (Personal use only. Do not alter)
Expressions Vinyl Christmas Pack Vinyl
Cricut Explore
Transfer Tape
Clear Christmas Ornament
Glitter Tulle
Scissors
DIRECTIONS
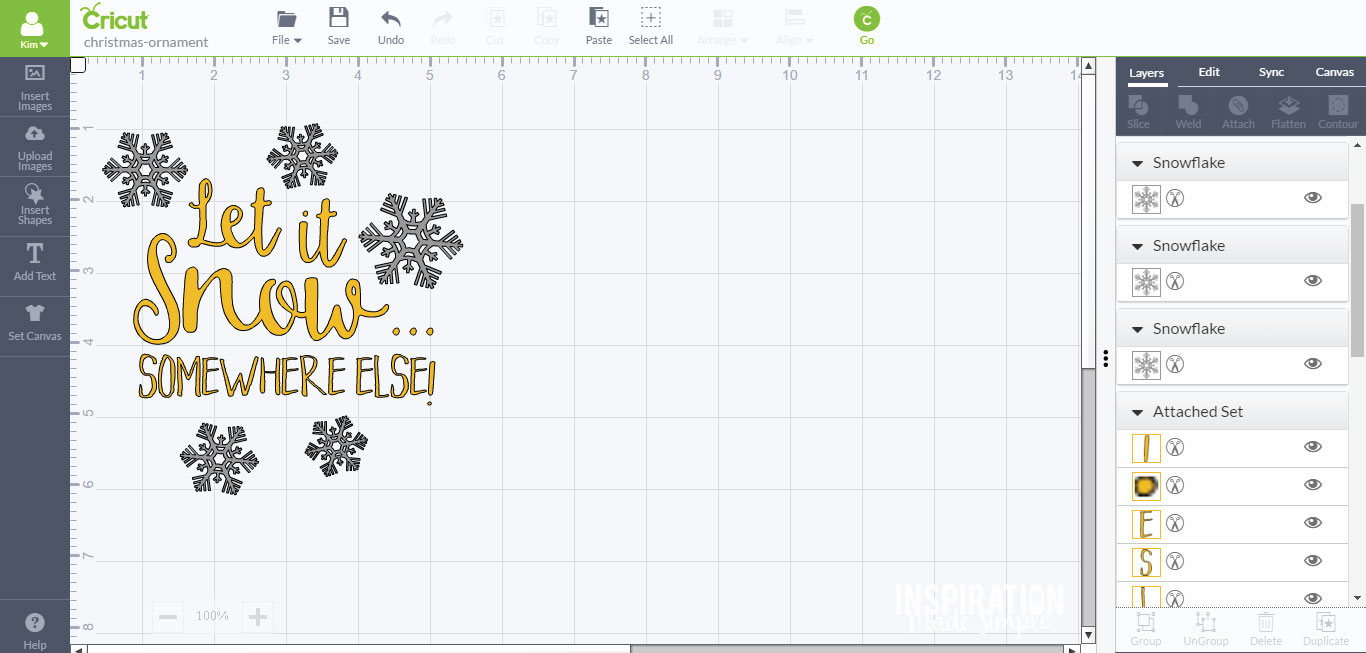
Upload the Let it Snow…Somewhere Else SVG file to Cricut Design Space. Select the whole design and then click attach. Next I inserted some fun snowflakes from the Cricut Design Space Library. I resized them and played with placement.
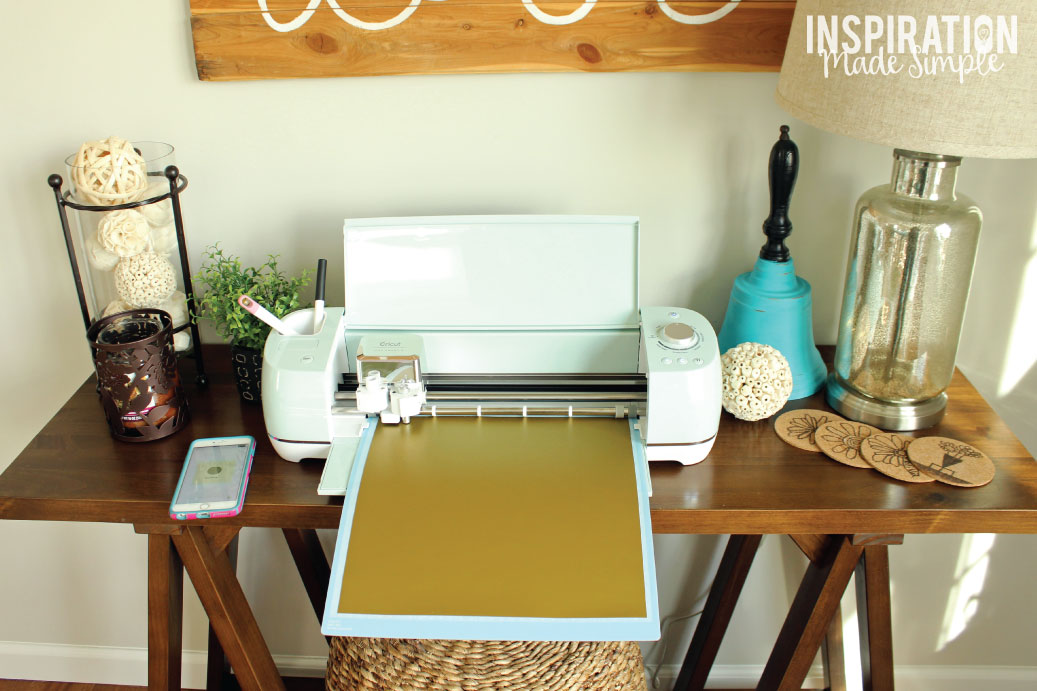
Send the file to your Cricut Explore – I used gold vinyl for the text and silver for the snowflakes.

Weed the vinyl.
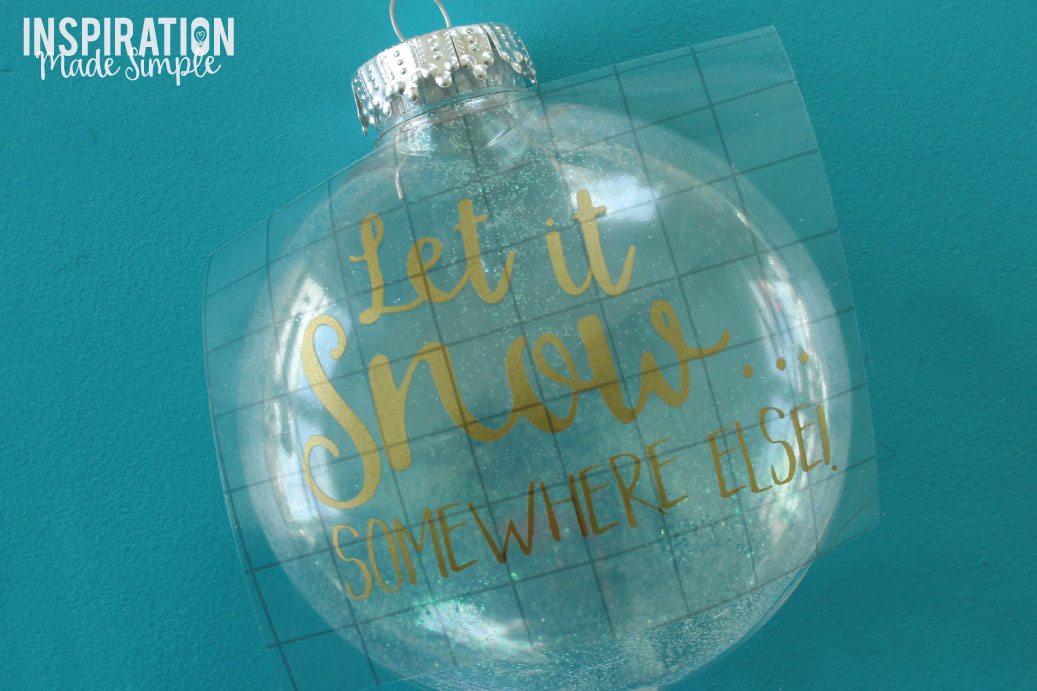
Use transfer tape to carefully adhere the vinyl to the ornament. For the snowflakes I just peeled them like a sticker and chose my placement. I originally started with two and added more in after to fill in the design.
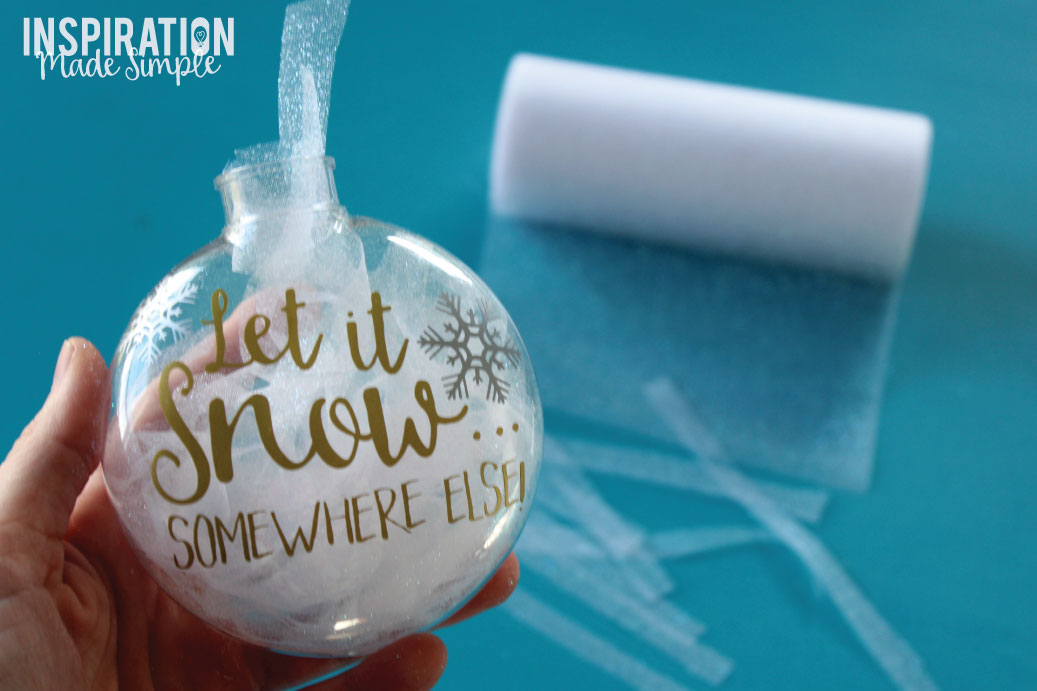
Cut thin 1/4″ x 4 and 1/4″ x 2 strips of glitter tulle – I’m not sure how many I ended up with! These are going to get stuffed inside the ornament – just keep stuffing until you achieve the look you are going for. Place the topper back on the ornament.
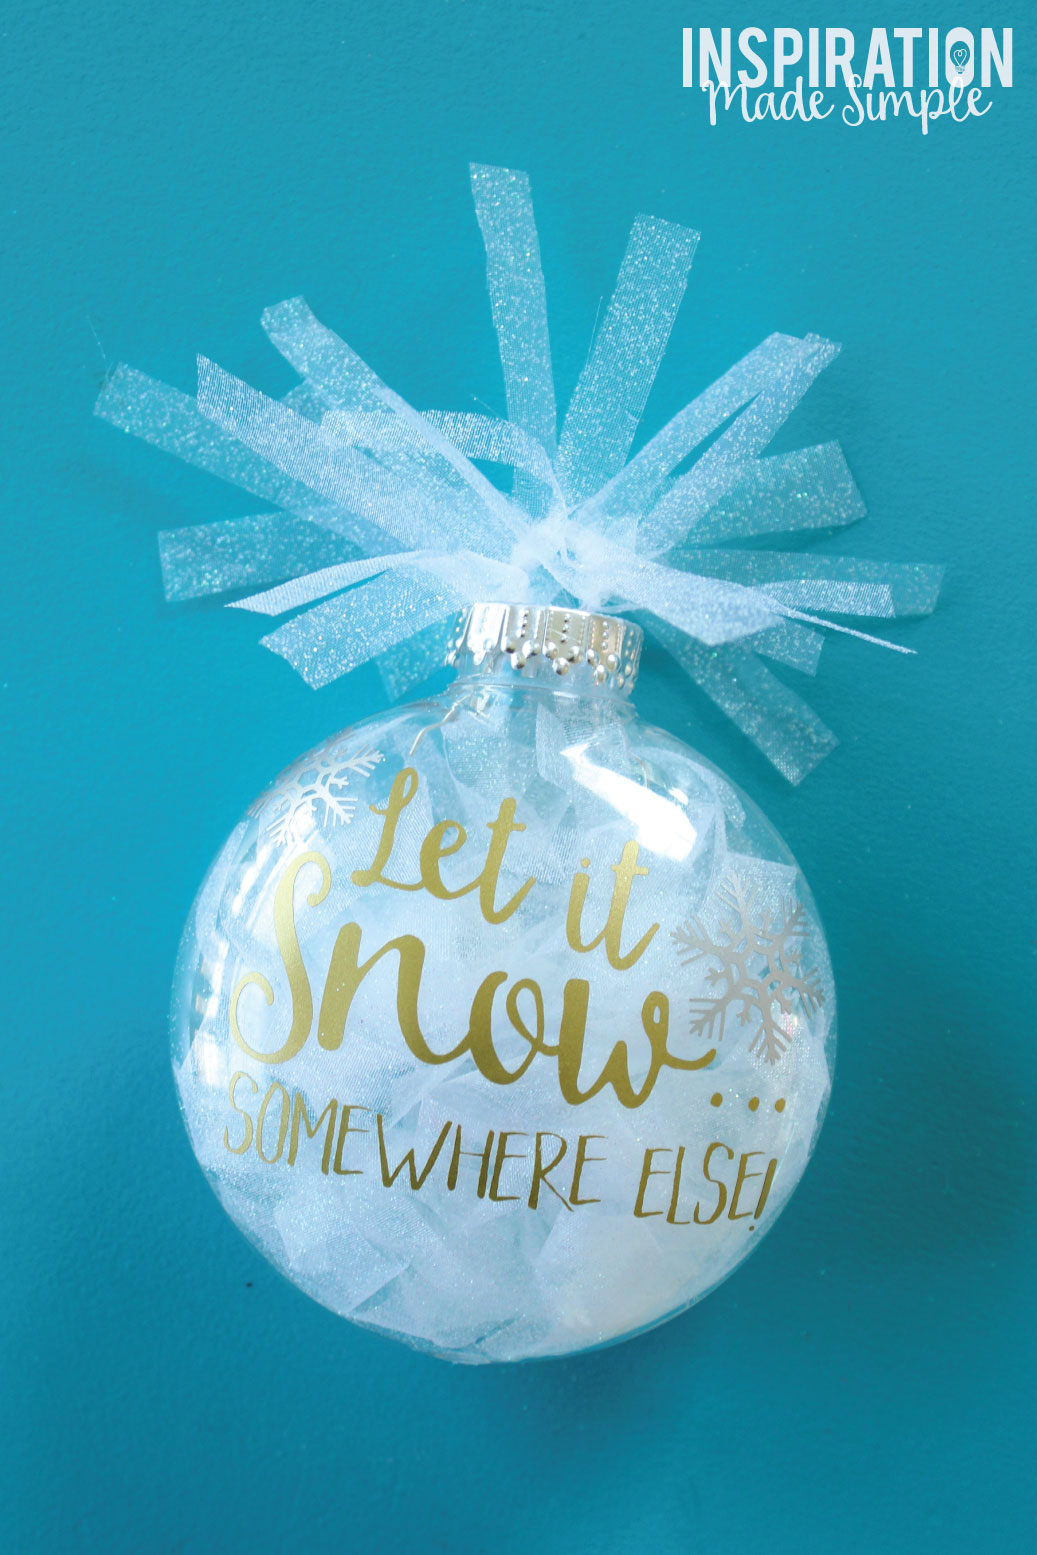
Using more 1/4″ x 4″ strips of tulle, tie them around the ornament loop – again, continue until it as full as you like. Trim down if necessary.

Lastly, using a 1/4″ x 8″ strip of tulle, tie a loop for hanging. I originally did this prior to the last step and found it hard to work around so removed it and redid it as the last step.
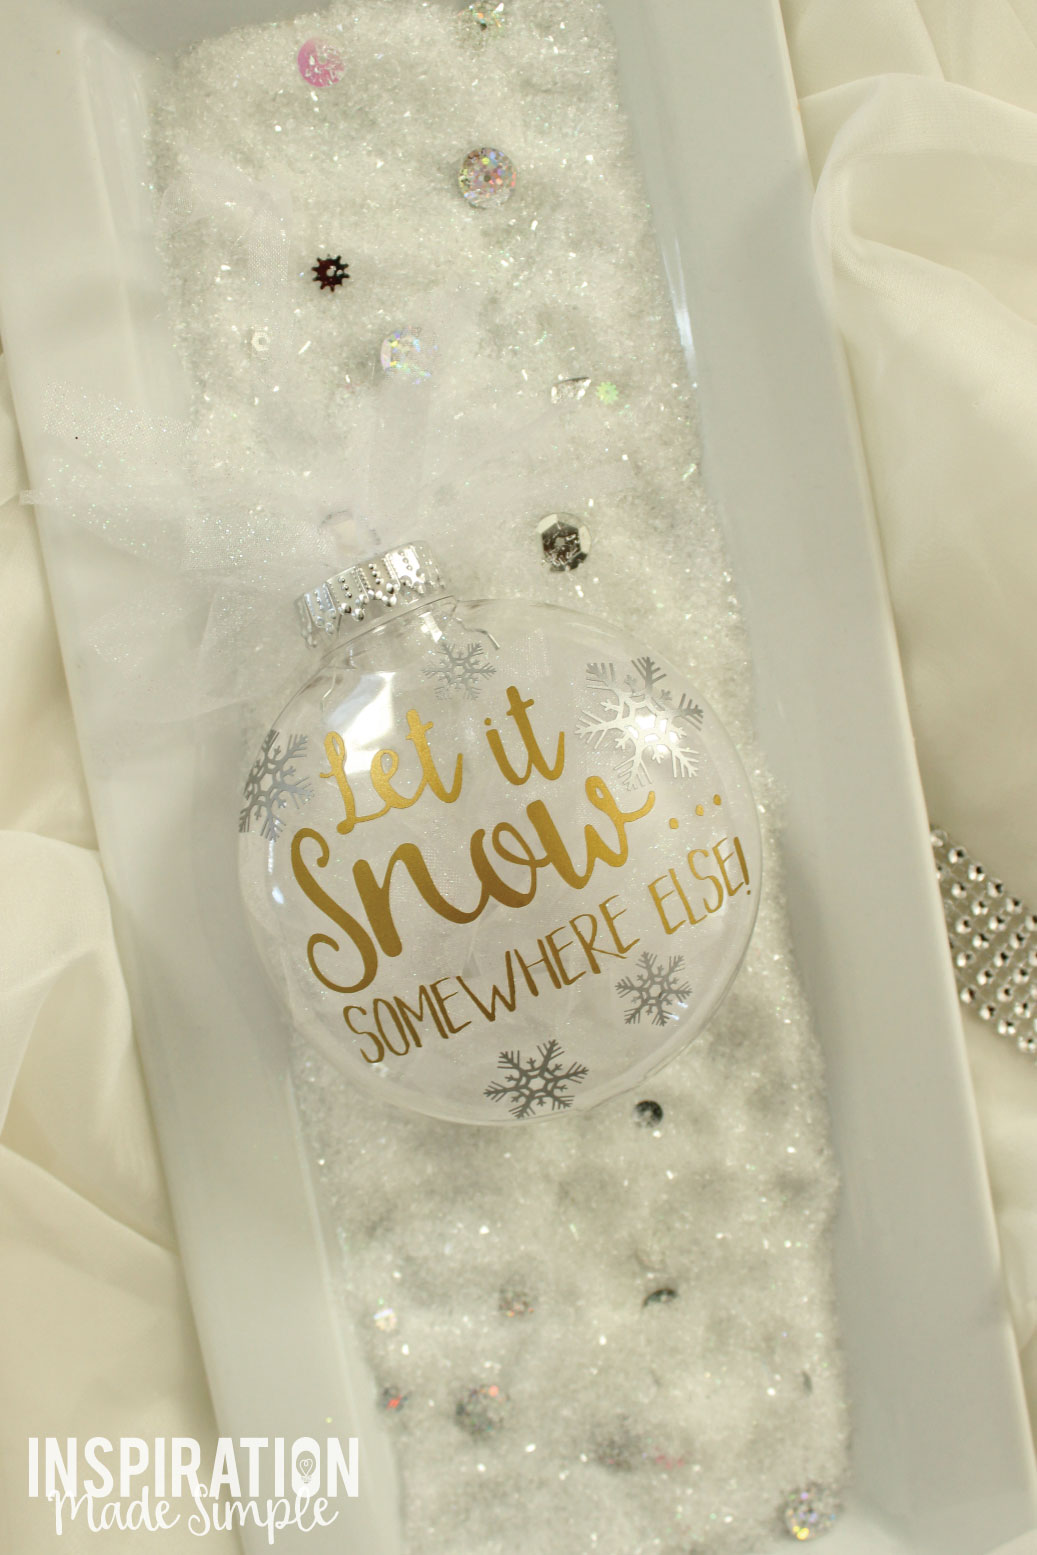
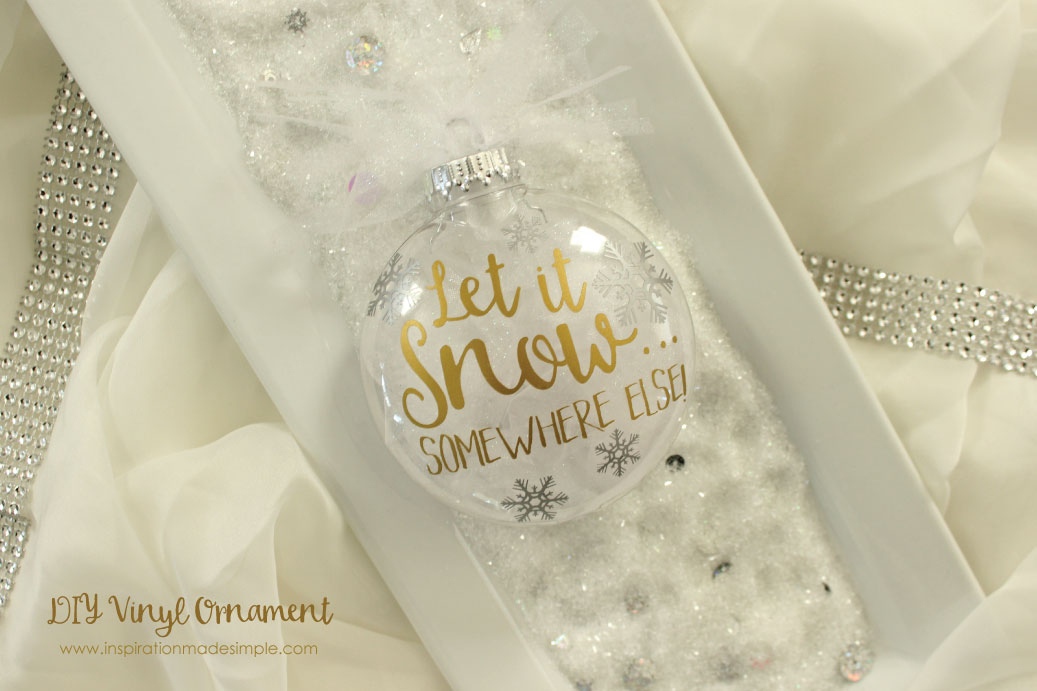
That’s all there is to this simple, yet stunning DIY Vinyl Christmas Ornament!
So tell me, are you looking forward to snow, or would you rather it snow… somewhere else!
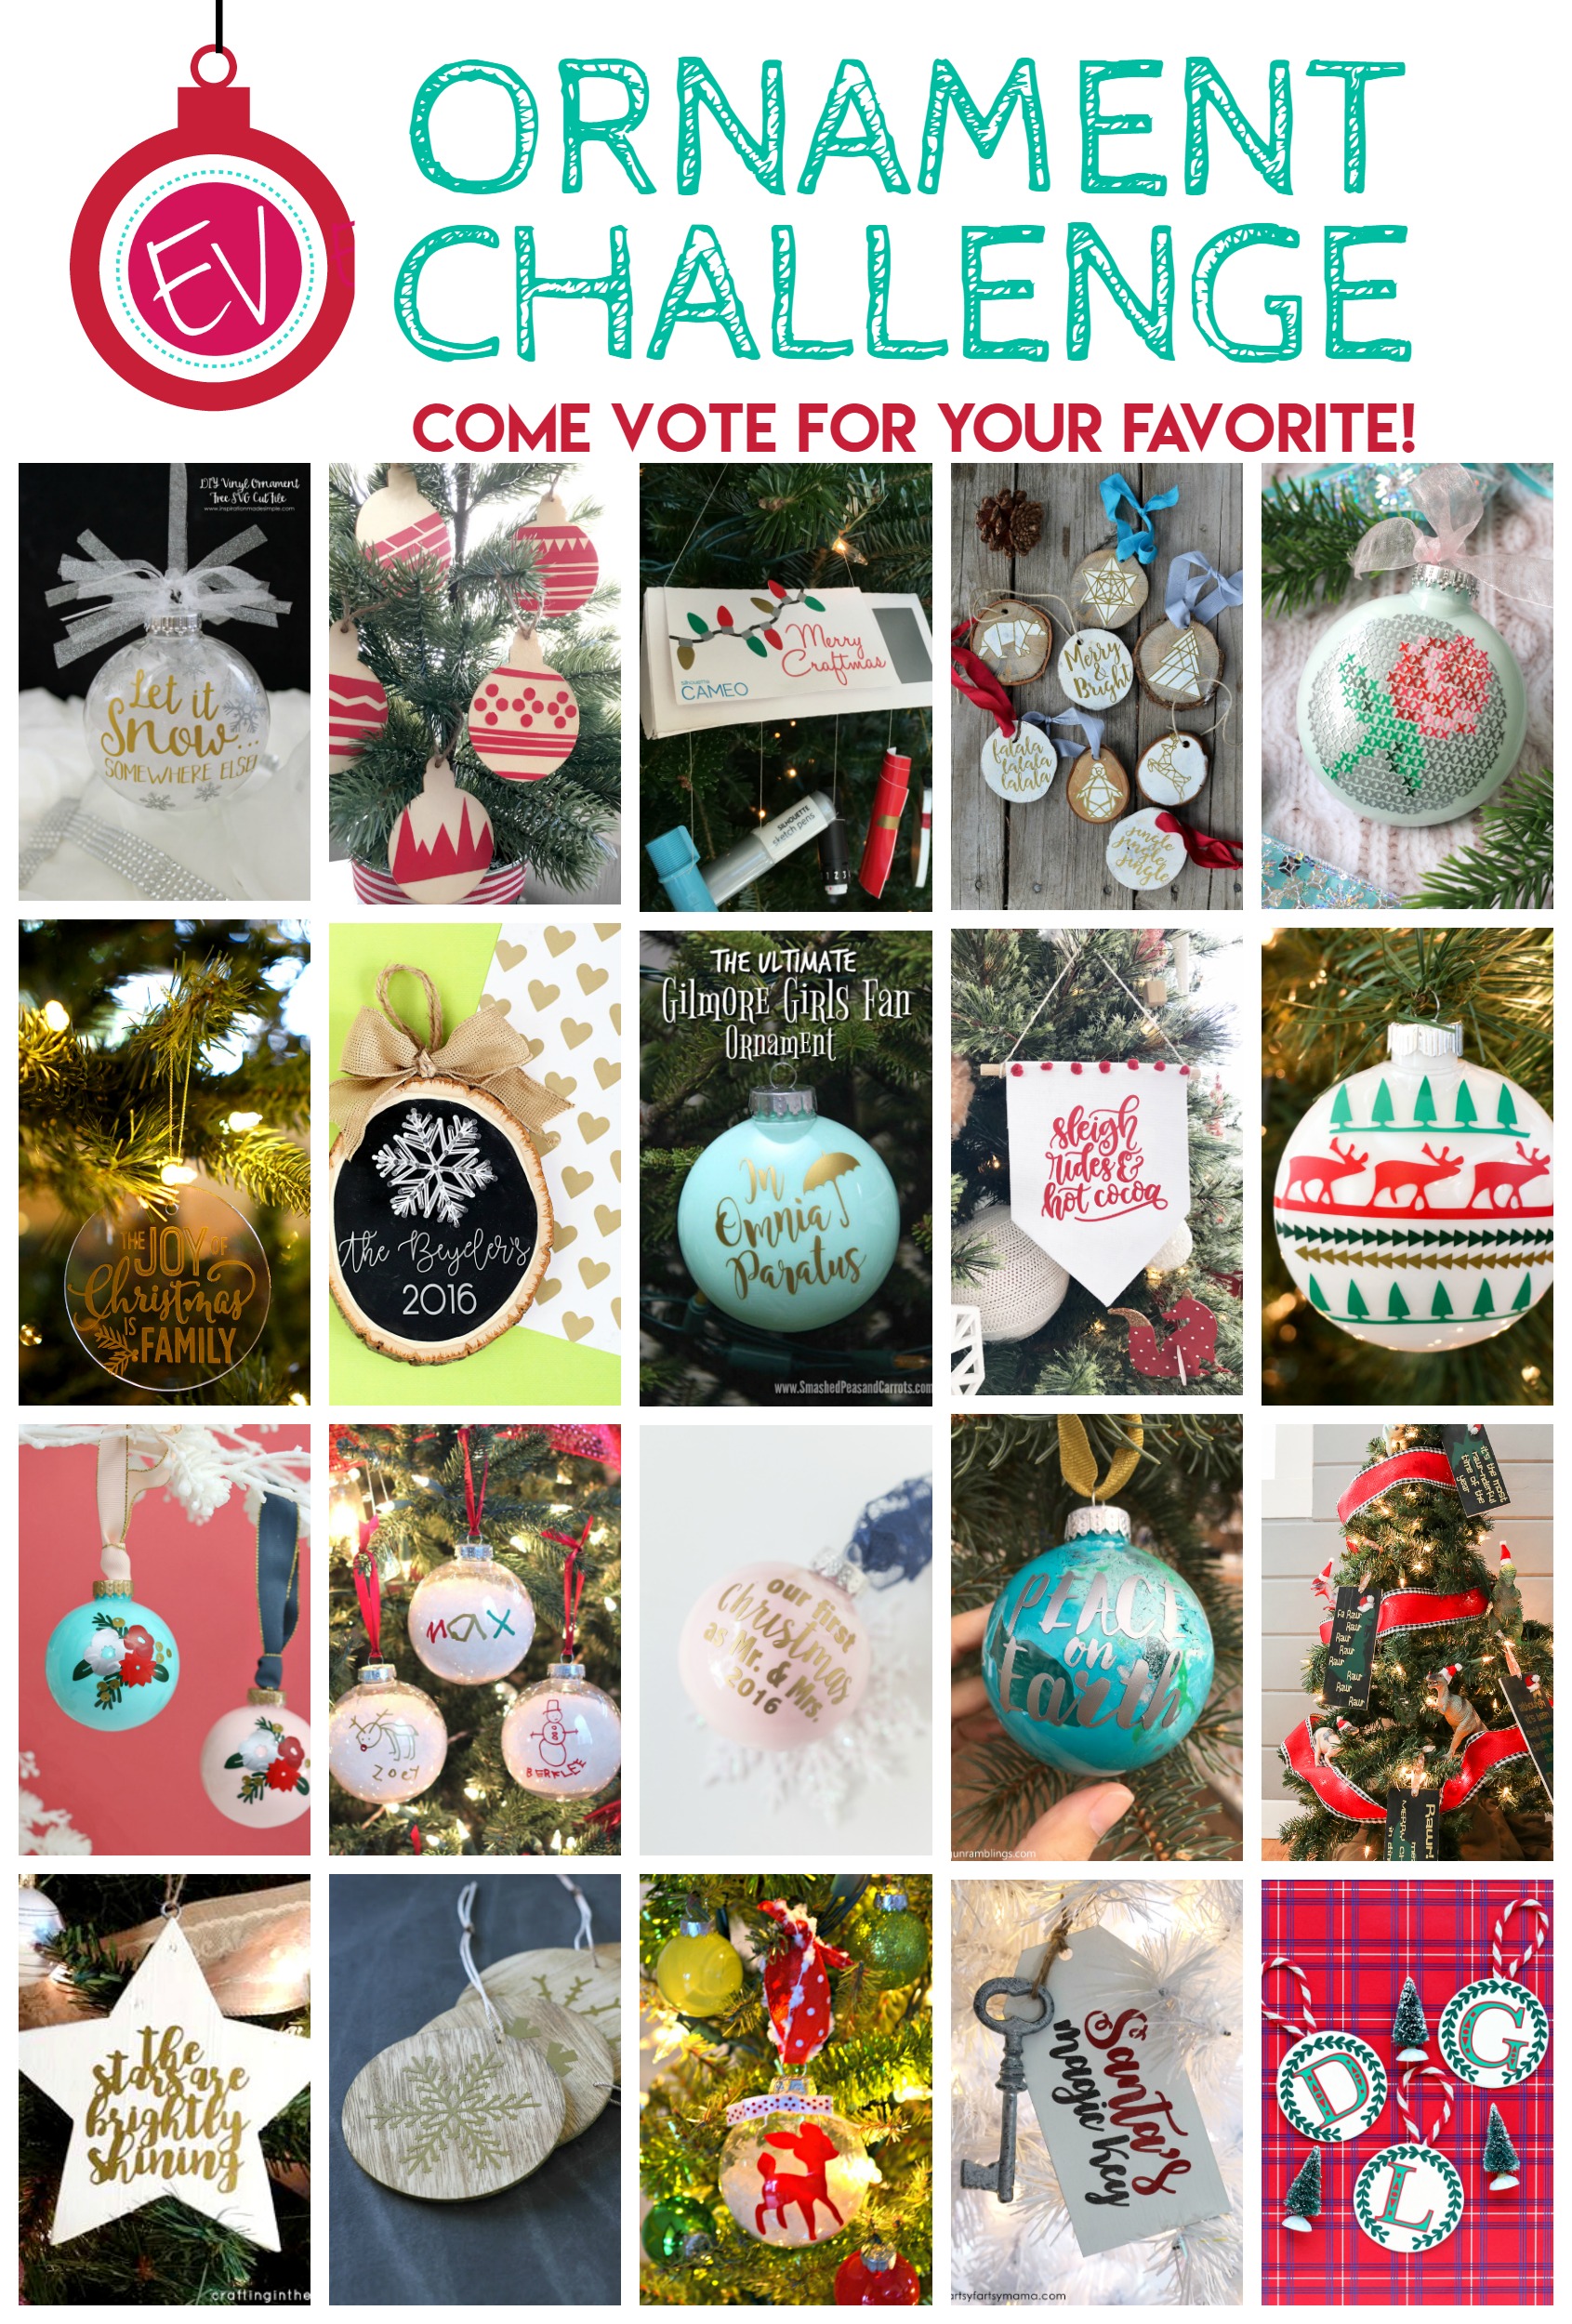
Don’t forget to vote for your favorite ornament!


Ha Ha, I love them! It actually snowed here today and it rarely does. 🙂 DId you send it?
Send the snow our way! We rarely get snow in the PNW. Cute ornament!!