
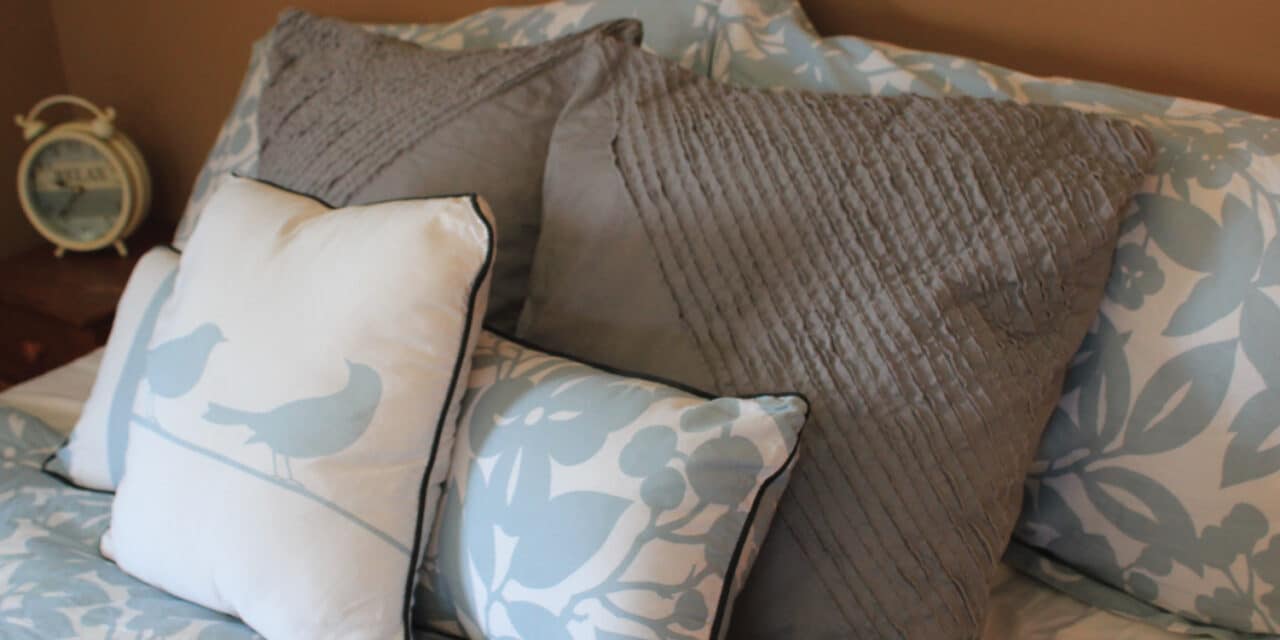
Do you adore the romantic, distressed elegance of shabby chic style? Ever peeked at the price tag of these gorgeous frayed-edge euro shams at West Elm (whoa, $39 each!) and thought, “there has to be a better way?” Well today, I’m sharing how you can create your own stunning DIY frayed-edge pillow shams for a fraction of the cost!

How to Make Euro Pillow Shams
Supplies Needed:
5 Yards of 100% cotton fabric (creates 2 shams)
Matching thread
Scissors
Sewing Machine
Iron
Pins
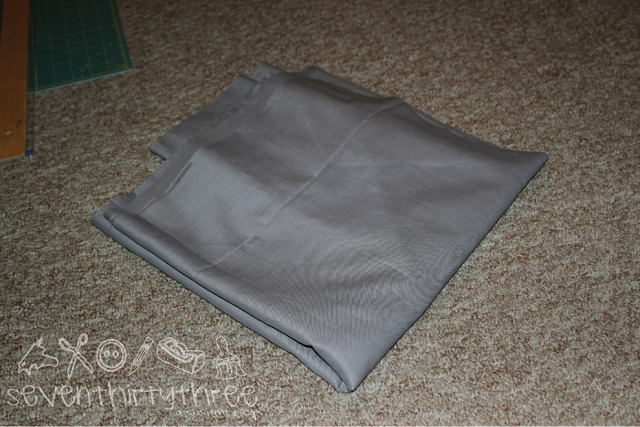
I headed to Joanns and picked up gray 100% cotton fabric. I purchased 5 yards for 2 shams.
A standard euro sham is 26″ x 26″.
Cut the front sham square to 27″ x 27″ – you will need 3 pieces at this size.
Next, cut two sections for the back of the sham – 27″ x 17″ each.
To create the frayed-edge, layer the three front square pieces and then sew diagonal lines. This is the process:
Grab the first square and fold it in half diagonally. Press the fabric along the fold with an iron to create a line to follow while stitching.
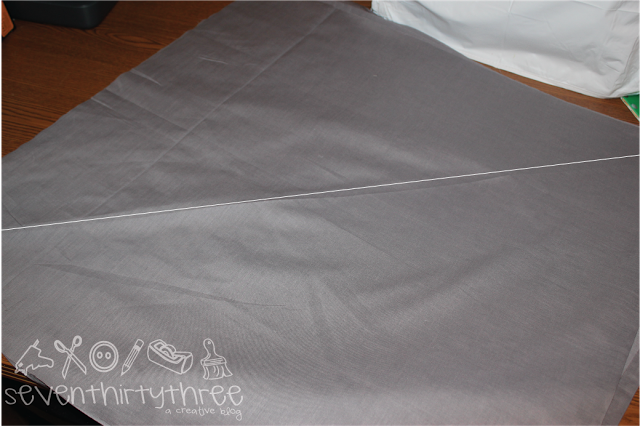
Line the three front pieces up and pin in place.
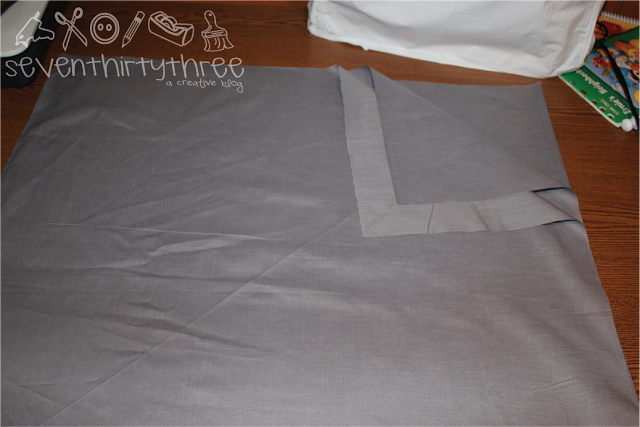
Starting in the middle of the pillow, sew along the diagonal line you created with the iron. Sew all the way to one corner. Do not bother cutting strings now – you can do it all at the end.

Go back to the middle of the pillow and follow the diagonal crease in the other direction to the other corner.
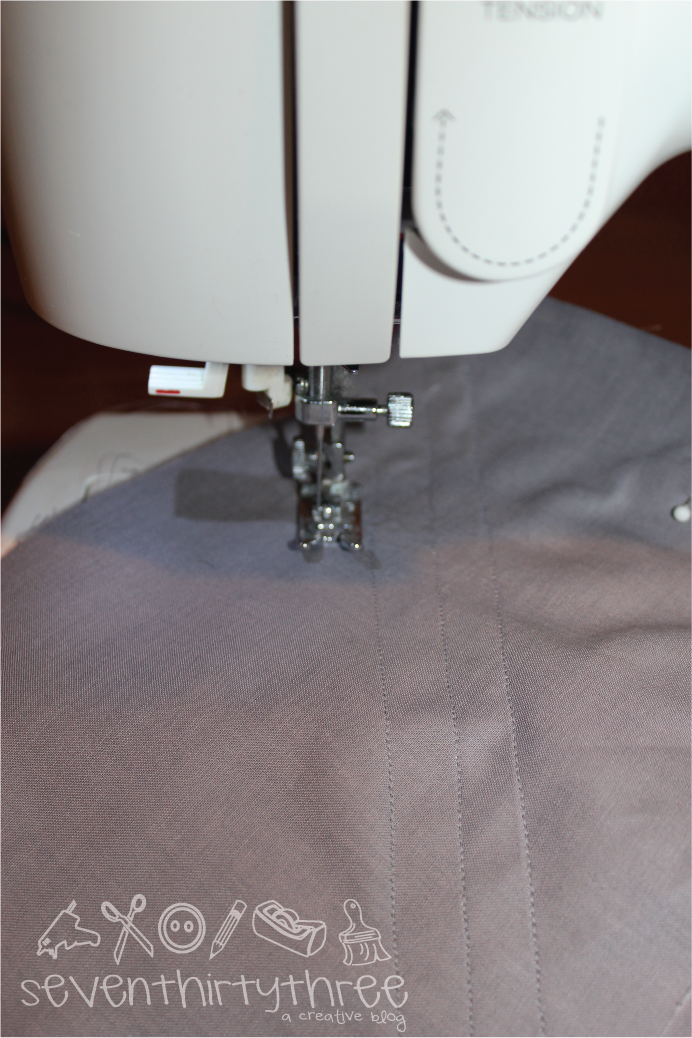
Move the fabric over so that you have about a 1/2″ between your stitching. Line the sewing maching foot up with your last stitch, and starting in the corner, go all the way to the other corner. Continue doing this a bazillion times until you fill half your pillow. Note: You can do the whole pillow, I chose to do half!
This process took me about a half an hour.

Create the Fray
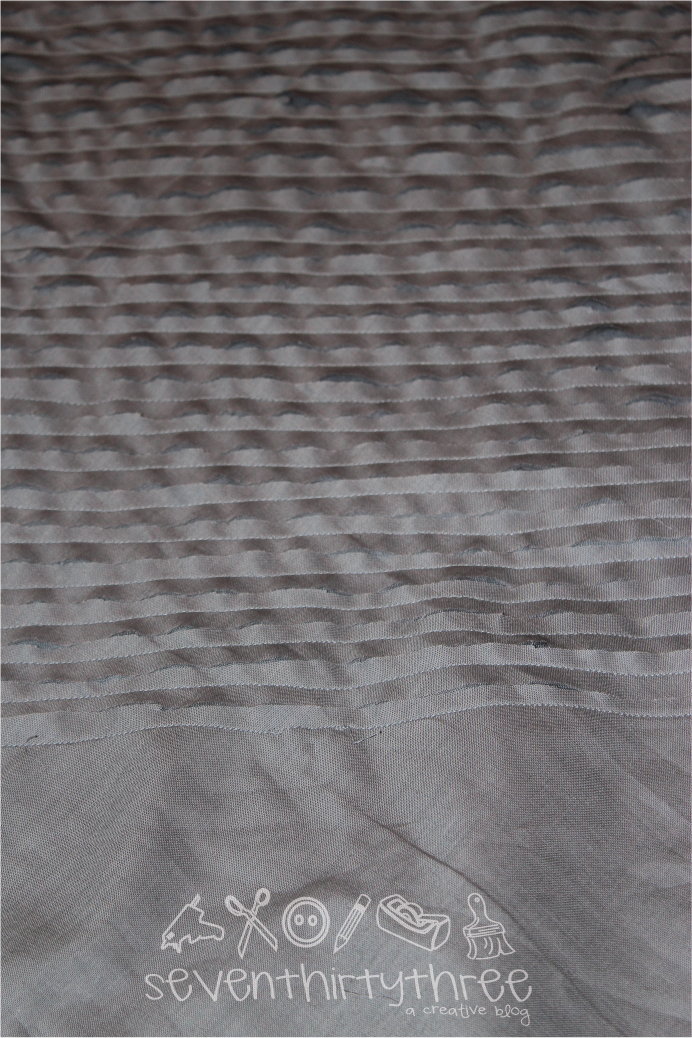
Grab a pair of scissors and cut the first two layers of your squares in between each of the stitches.

ONLY CUT BETWEEN stitches! DO NOT CUT to the side of your first stitch that does not have another stitch on the other side. Go carefully, you don’t want to cut through the third piece of fabric. Once you’ve cut between each stitch, set this front piece aside.
Preparing the Back of the Sham
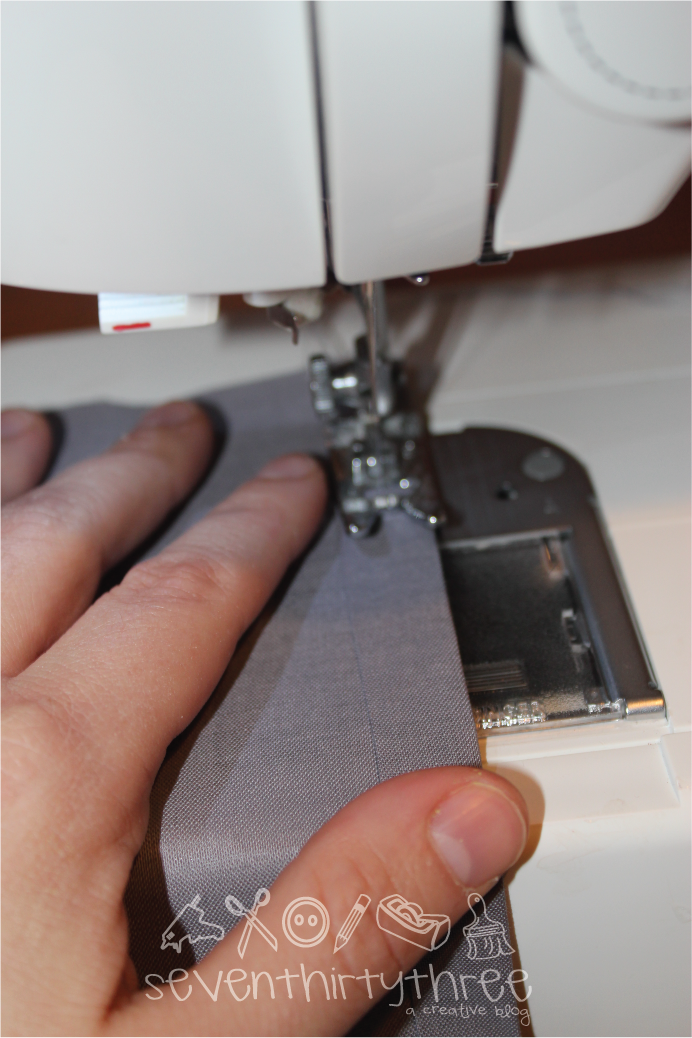
With one of the back pieces of fabric, we’re going to create a hem. Fold the fabric over a 1/4″ along one of the 27″ sides and iron flat. Fold it again, as close to the original fold as possible, iron and stitch in place.
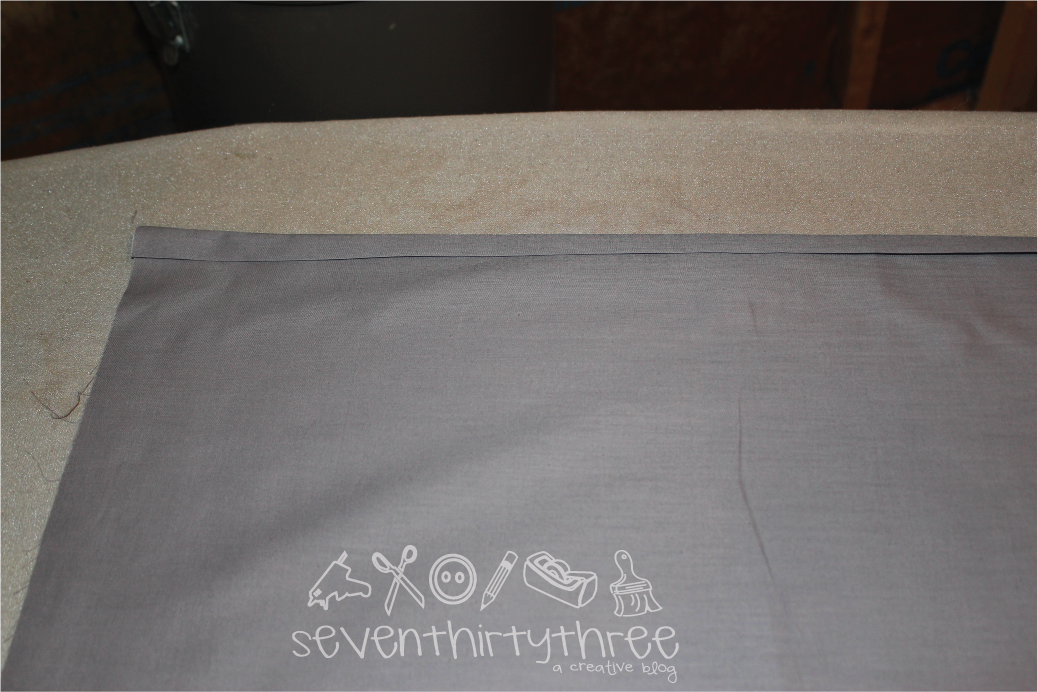
Repeat for the other back piece.
Now you are ready to complete your pillow sham.
Finishing the Sham

Place the frayed front piece right side up. Match one of the back panels right side down and hemmed side toward the center and pin in place. Do this again for the next back panel, making sure that the two back panels overlap.
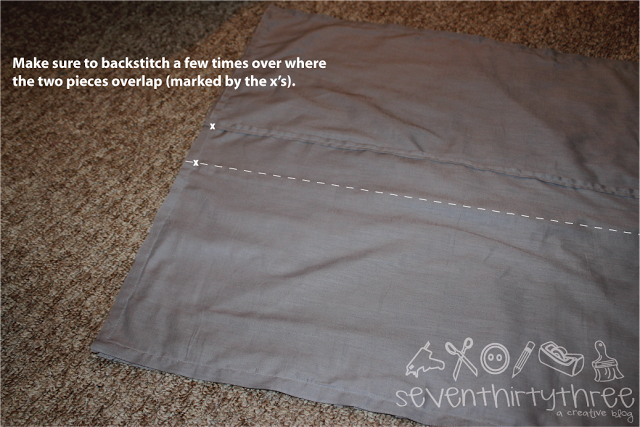
I suggest pinning where they do so that you know where to backstitch to create a nice secure seam for when you stuff in your pillow.
Stitch around the entire pillow sham. Fold the sham right side out and put it through the wash.
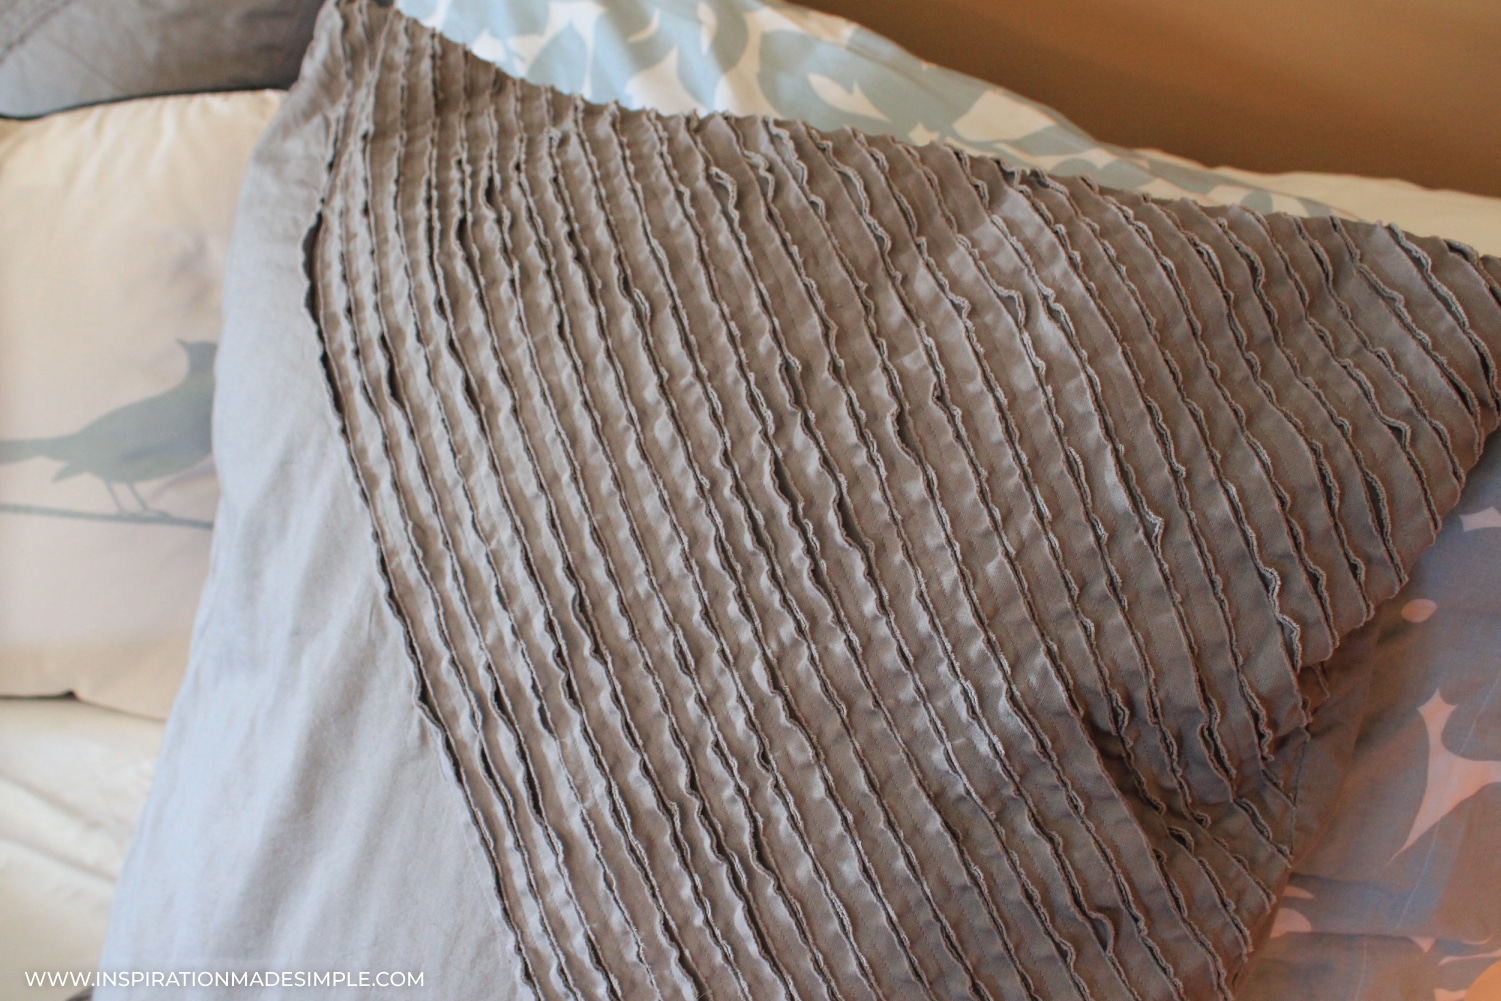
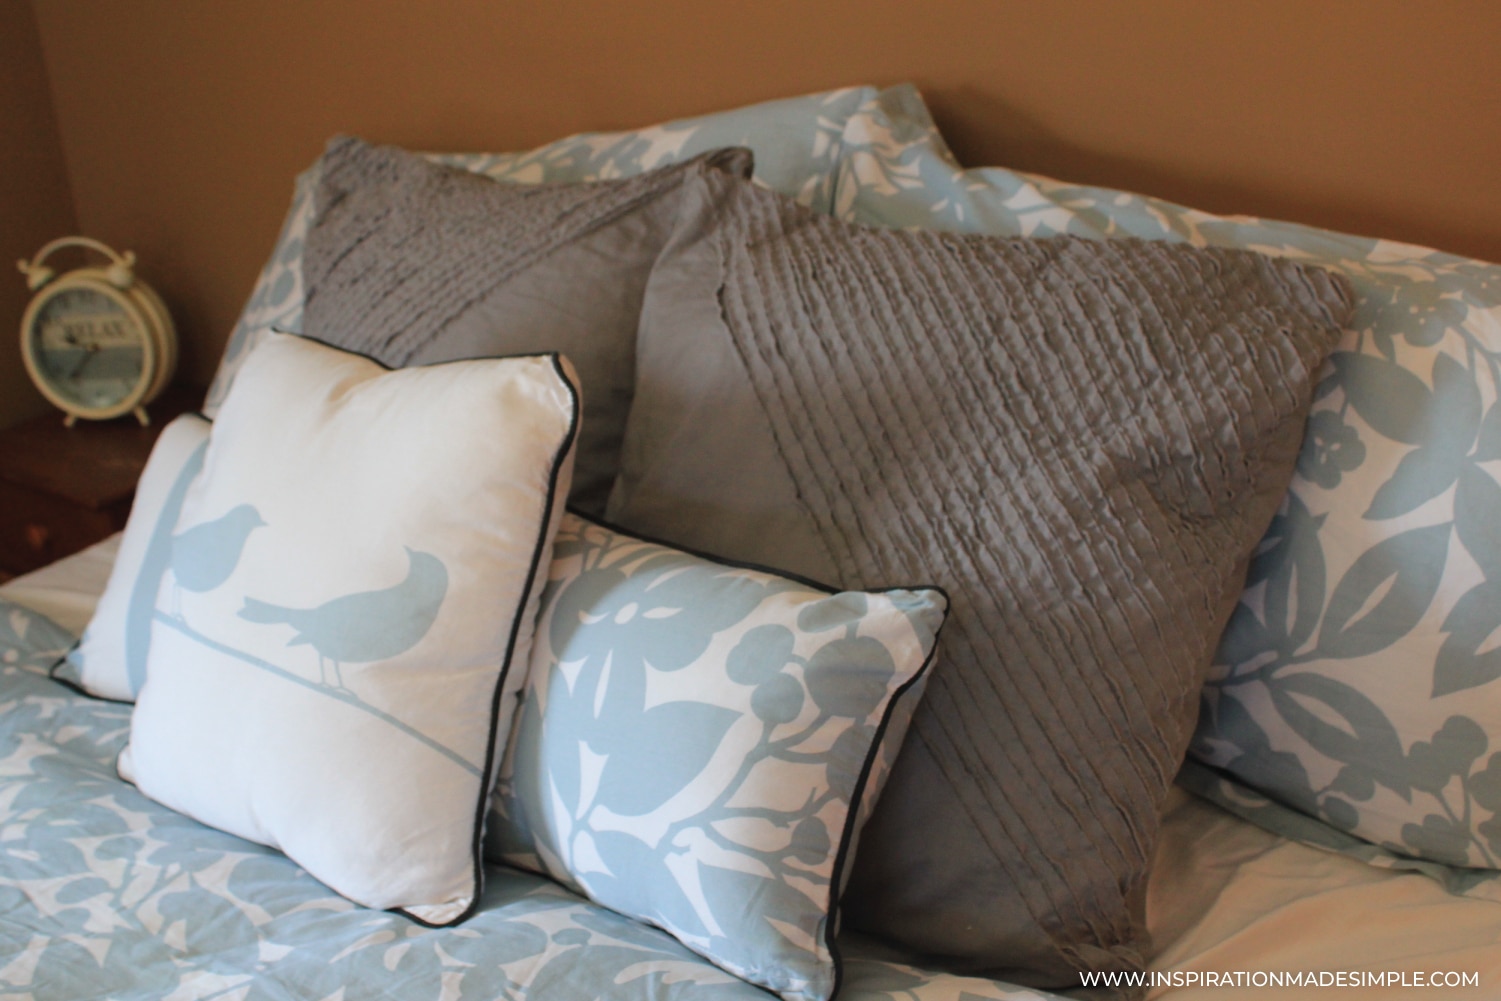
Once out of the wash, place a euro pillow inside the DIY frayed-edge pillow sham and admire your gorgeous handiwork!
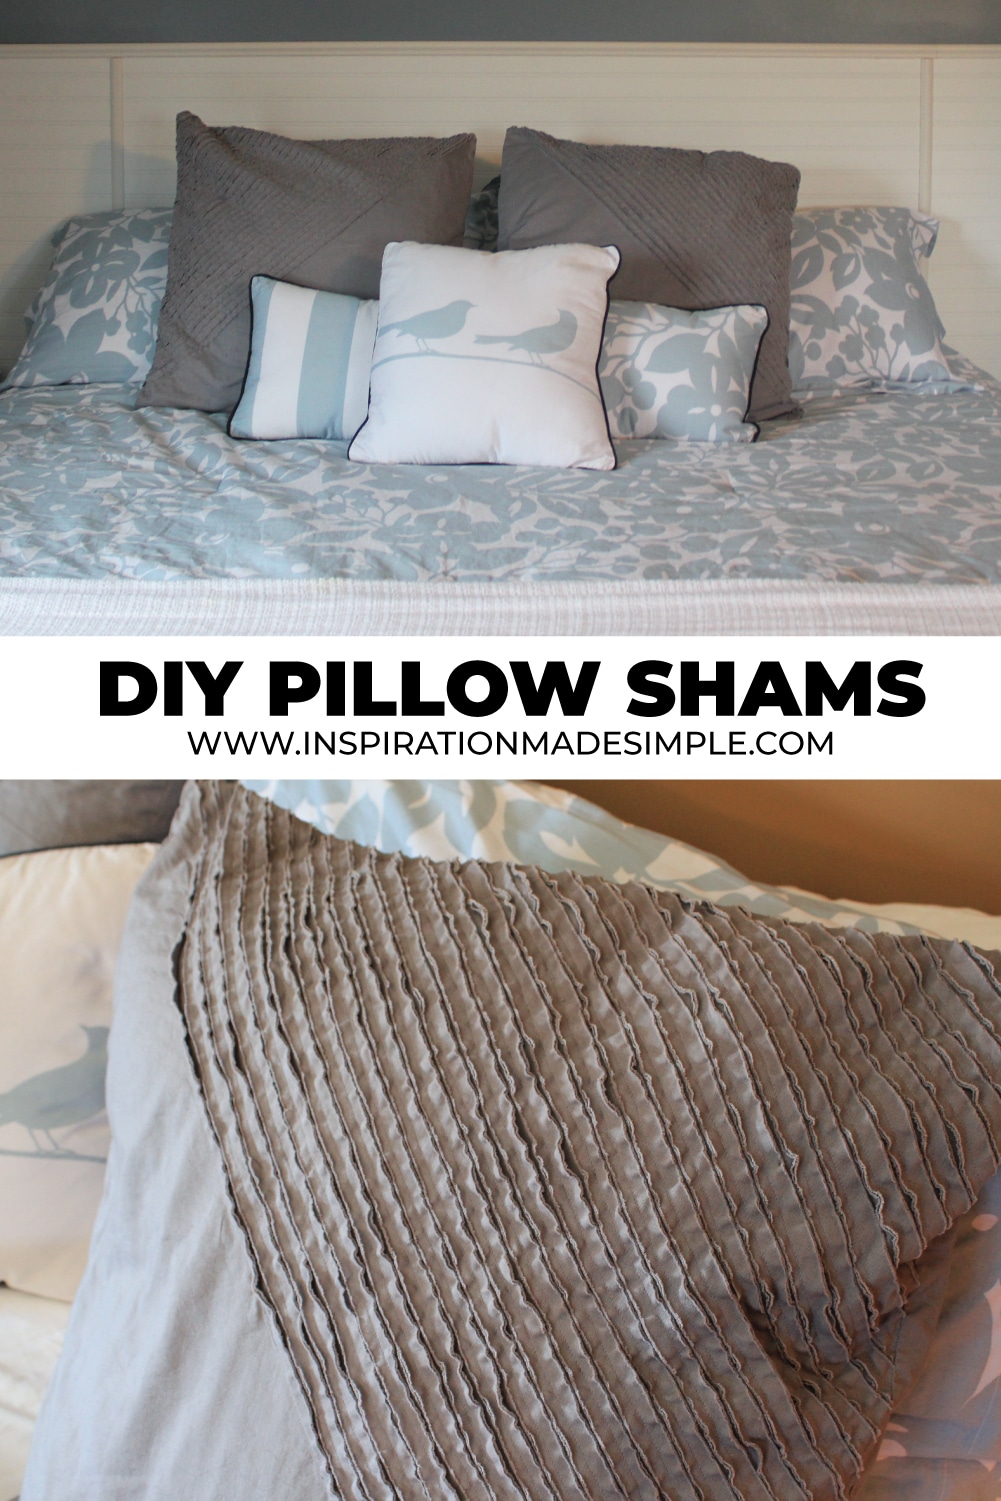
With a little creativity and these simple steps, you can add a touch of shabby chic charm to your bedroom for a fraction of the price of store-bought options. My DIY Frayed-Edge Pillow Shams cost $16 for two, using a 40% off coupon for the fabric, while the West Elm shams were $80 for two! So grab some fabric, fray those edges, and get ready to enjoy the cozy elegance of your handmade euro shams1


This is beautiful and it fits so well with the spread you bought.
Elisabeth
Thank you! This is exactly what our bed needs!! I’ve been looking at different pillow case designs and had an idea but wasn’t sure how to get the look. Okay I have to admit I asked my mom how to make pillows like this but was waiting for her response which takes a bit longer as she uses snail mail only. 🙂 (we had some similar to these as well as smocked round pillows when I was a kid which I love to this day!)
love it!!
they turned out great! I love your bedding!!
I love how these turned out and that you actually were able to figure out how to make them! Great job!
This is gorgeous!!! You make it seem so easy:-) I love the color!!!!!! Thank you so much for sharing this tutorial:-)
Eleni
AW I LOVE IT! Head on over to my blog, im doing a giveaway! Everything made by a 14 year old!
I would like to make a queen size quilt with the pattern on the entire front…any tips?
I have seen this done on a blanket but love it on a pillow cover! Thank you for the tutorial. 🙂
oh lovely – thanks for sharing!
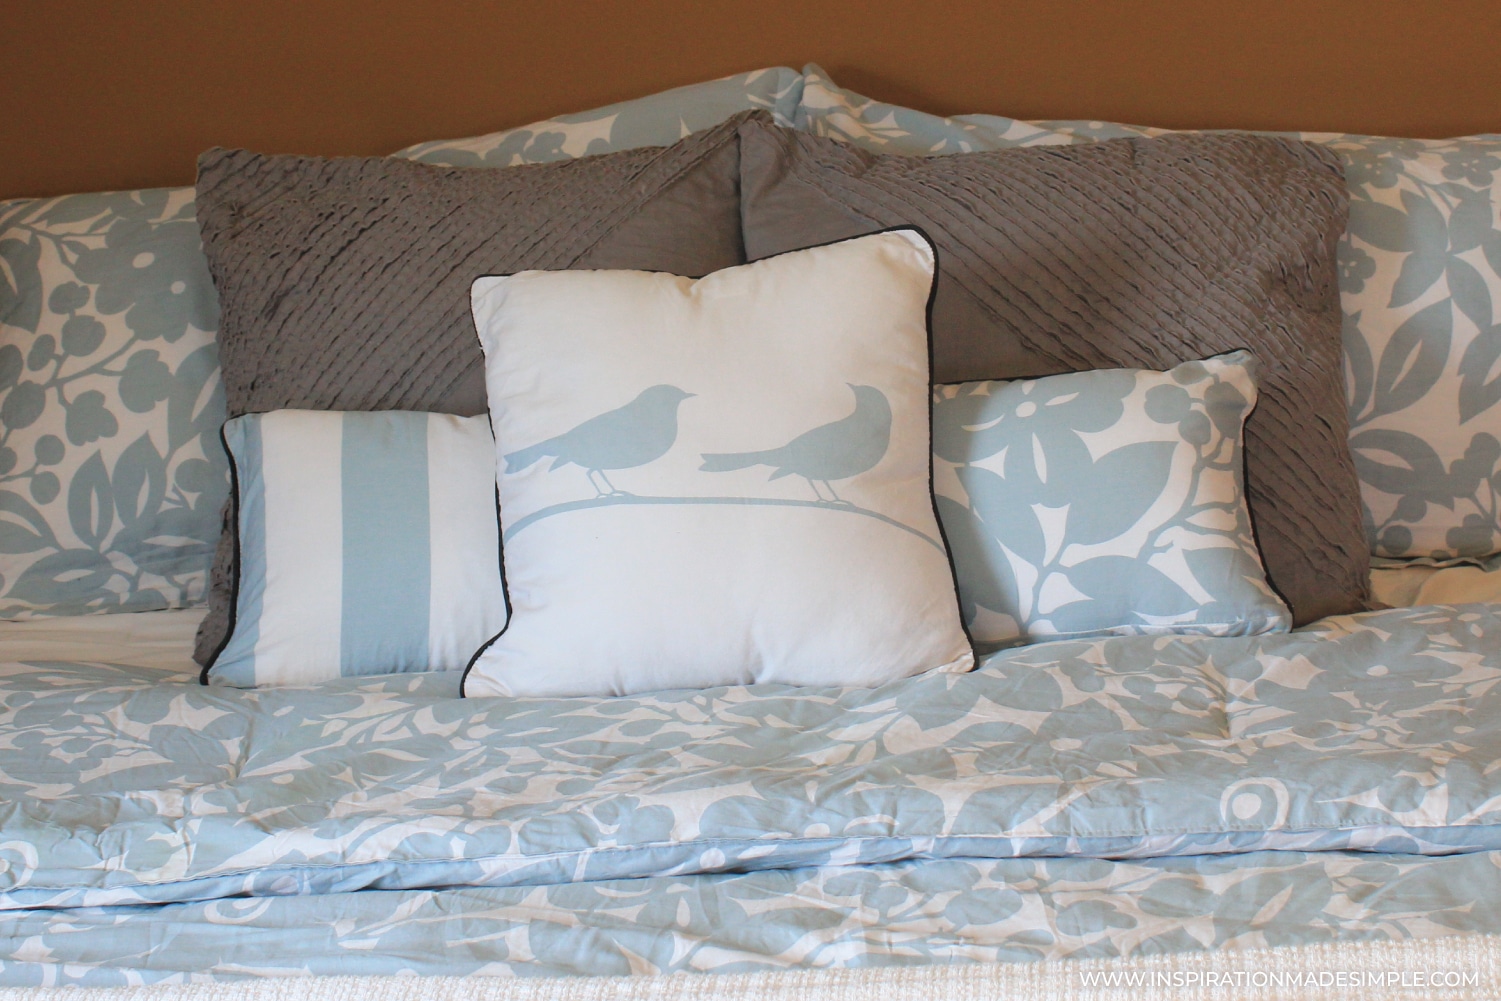
the pillows are fabulous! I’m going to do something similar on my new back porch for summer. I’m also in looooovvvvveee with the print on your bedding! (what is it with the darling birds lately?) can you share where you got the bedding? Thanks for a grand tutorial!
Kathie – I tried to reply to you via email but you don’t have your email in your profile so I thought I’d answer you here:
My bedding was an amazing score at Marshalls! I also saw it at HomeGoods a week or two ago. It is so comfy cozy, I LOVE to crawl into bed at night.
Kim, your pillow shams are absolutely gorgeous! Thanks for joining my party!
just wondering …. if i hired you would you make me some? how much would you charge. send info to [email protected] 🙂 thanks!
I don’t get this part
(only cut between stitches, do not cut to the side of your first stitch that does not have another stitch on the other side – does that make sense?).
Can you clarify??
After you create your diagonal stitches you will cut ONLY BETWEEN stitches. You don’t cut to the left of the first stitch because there is no other stitch to the left of it. Better?
Question: I would love to make the bed spread… my only worry is how would you prevent it from fraying?