
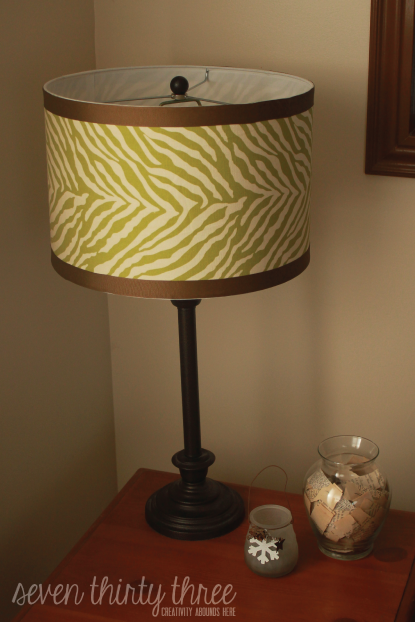
The lamp was nothing special and I’ve been wanting to update it for a while.
So I took it from traditional to contemporary, and I think, WAY MORE appealing and eye-catching.
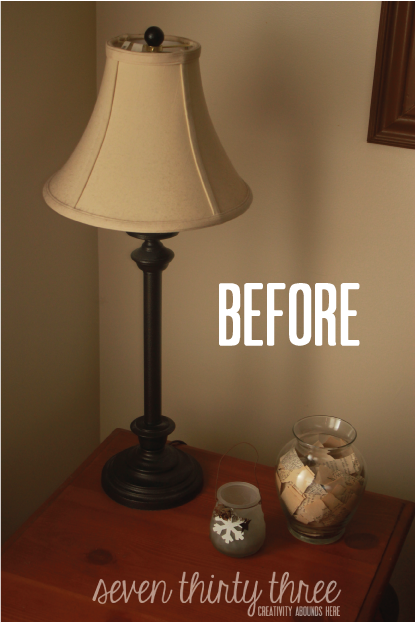
Here’s the before:
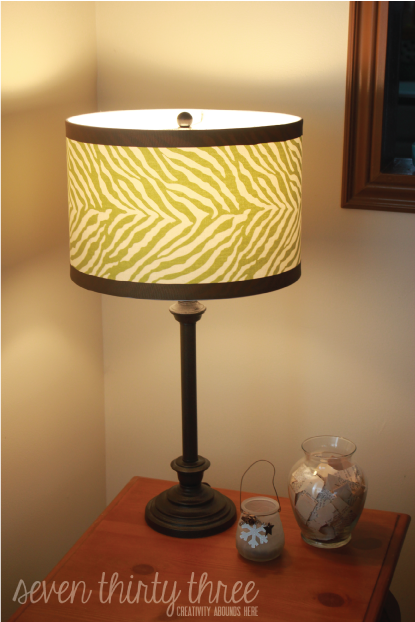
Now check it out all lit up:
And I hope yours did too! If it did, I would LOVE for you to head over to the Lamps.com Blog and vote for my lampshade. If I win, I receive a lamps.com gift card, and just for voting you have the chance of winning a $100 gift card too!

I just lost the traditional style rug for a more contemporary one with a trellis pattern,
I ditched candlesticks and a fireplace container and painted the inside of my fireplace! I am working on a pelmet box for my picture window and will be switching out the drapes. All inspired by a little lampshade! I’ll be sharing the changes soon!
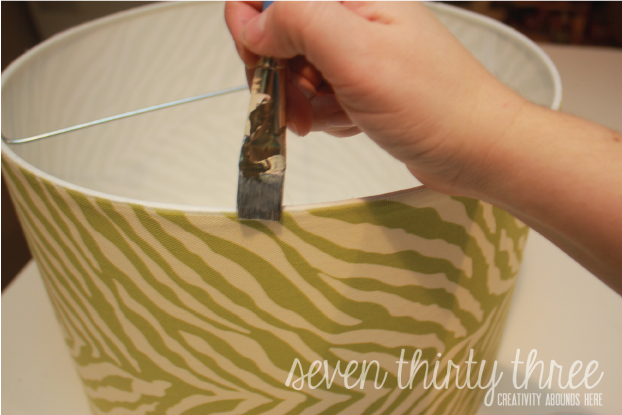
If you want to create your own fantastic shade, tailored to your style, this is how:
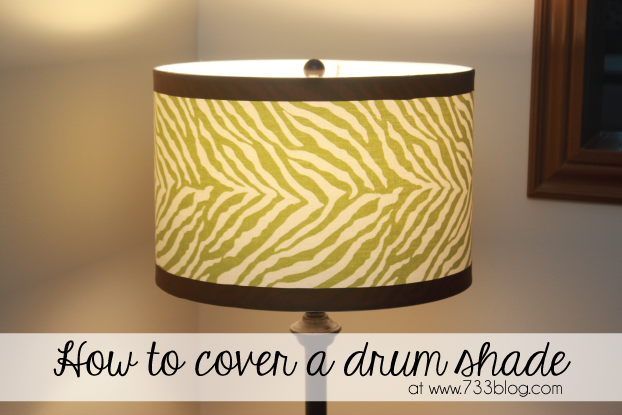
Fabric
Coordinating Ribbon
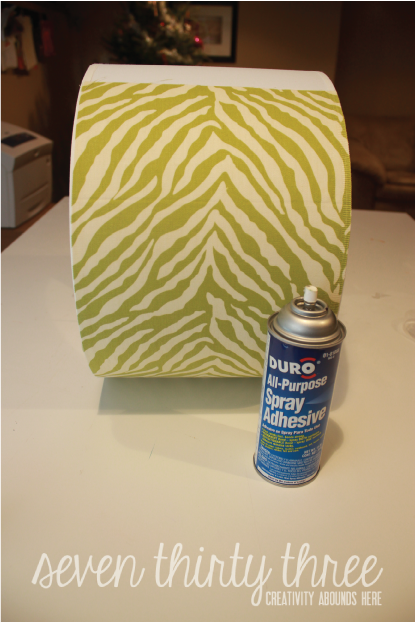
Spray Adhesive
Hot Glue
Plain Lampshade
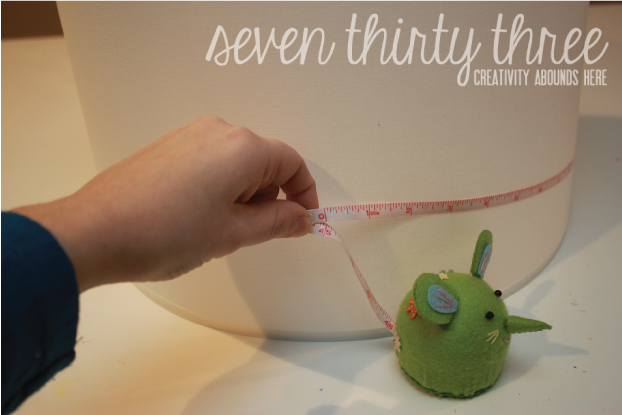
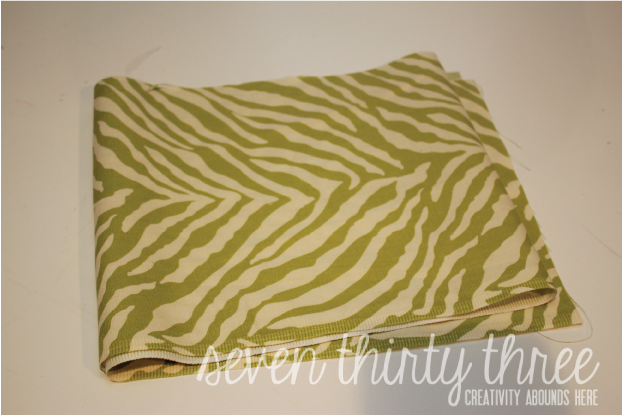
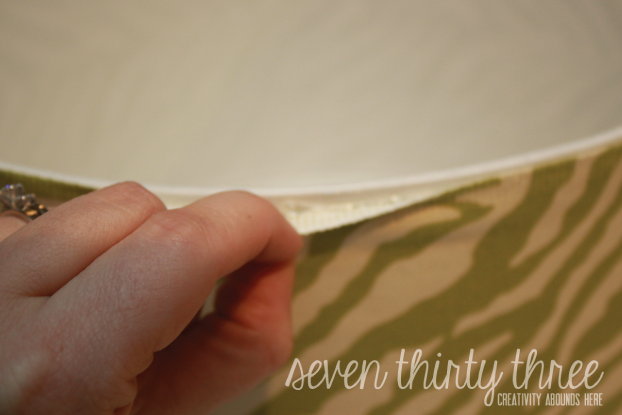
Trim your fabric to size, making sure to add 1 – 2″ to the width – mine was 45″ wide by 9.5″ high.


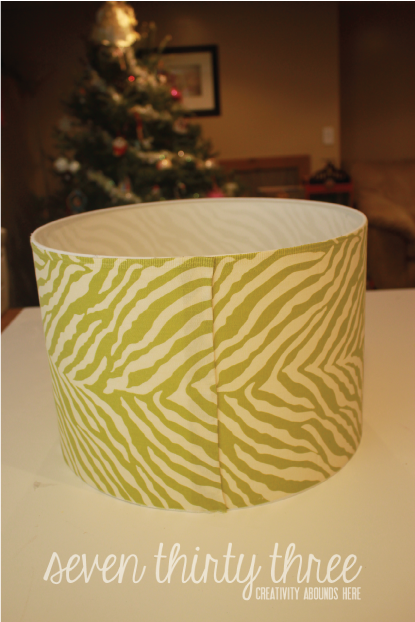
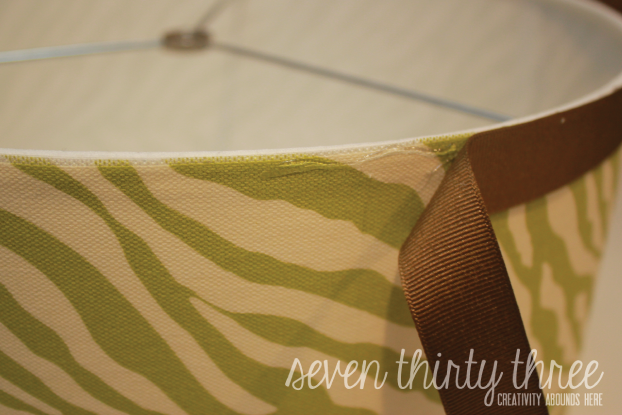
7. Next, we will adhere the ribbon to the shade. Measure out a length of ribbon that is the same as the width of your fabric, again, mine was 45″. Using hot glue, start at the back seam and lay a line of glue along the top edge of the shade – I recommend only doing 3″ strips at a time so that you can take your time and get your ribbon lined up nicely. TIP: Make sure to pull your ribbon nice and taunt so that it lays nicely.
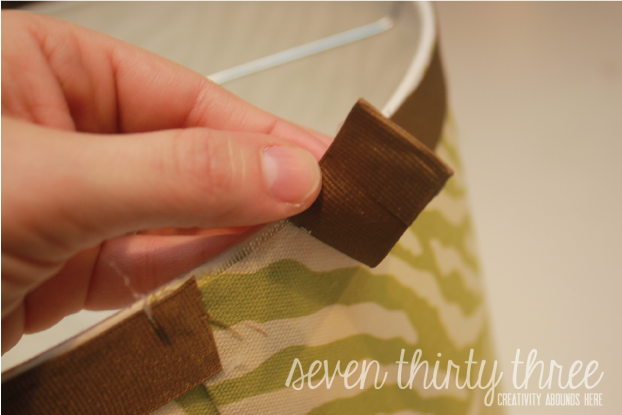
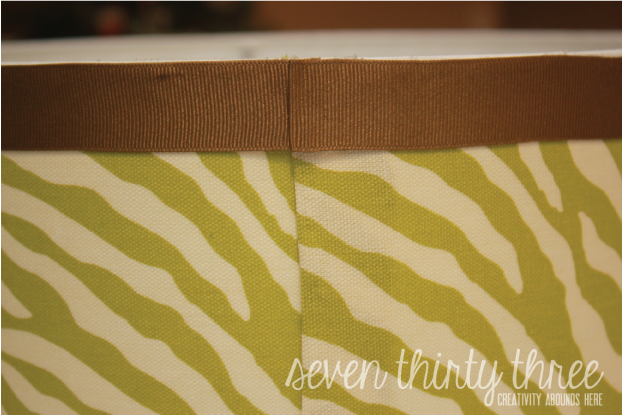
9. Repeat step 7 and 9 for the bottom of your shade and you are done!
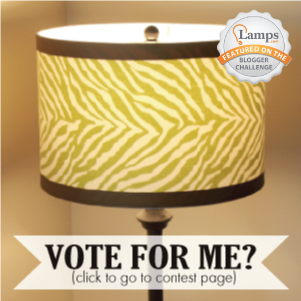
{Voting ends 1/22}

I received a free lamp shade and a gift card for participating in the challenge. All opinions are 100% mine.

 Kim is a Marketing Director by day and Crafter/Blogger/Blog Designer by night. She lives with her husband, three beautiful children, and her dog and cat. You can also visit her design site, seven thirty three – – – creative blog design. For even more seven thirty three fun, like her on Facebook or follow along via Twitter!


I just sent a vote your way, good luck!
You’re the best! Thanks Janet.
I voted. And yours actually was my favorite! 🙂
Thanks Kara! I’m in love with it! Just adds that little pop of color and fun whimsy I was looking for.
I voted for you! Great project!
Beautiful lamp shade!! I went and voted for you, good luck!
I voted for you and tweeted with the link! I sure hope you win! Lovely design and great color choices!
Thank you! I would really like to win! This is really my first contest I’ve tried. 🙂
Great tutorial! I’ll be featuring this on Craft Gossip this evening 🙂 http://homeandgarden.craftgossip.com/
I voted for your lamp shade. It was the best. Good luck!
Very nice tutorial. I voted for you. I will be trying this myself very soon.