
Summer is more than half way through and I’m sure you’re looking for things to keep the kids occupied and away from screens, am I right? I have a project that kids are sure to love and they’ll actually be excited to go back to school to show off their new bling! What would that be? DIY Shrink Film Pins and Zipper Pulls! They can add their pretties to their backpacks, coats, shirts and more.
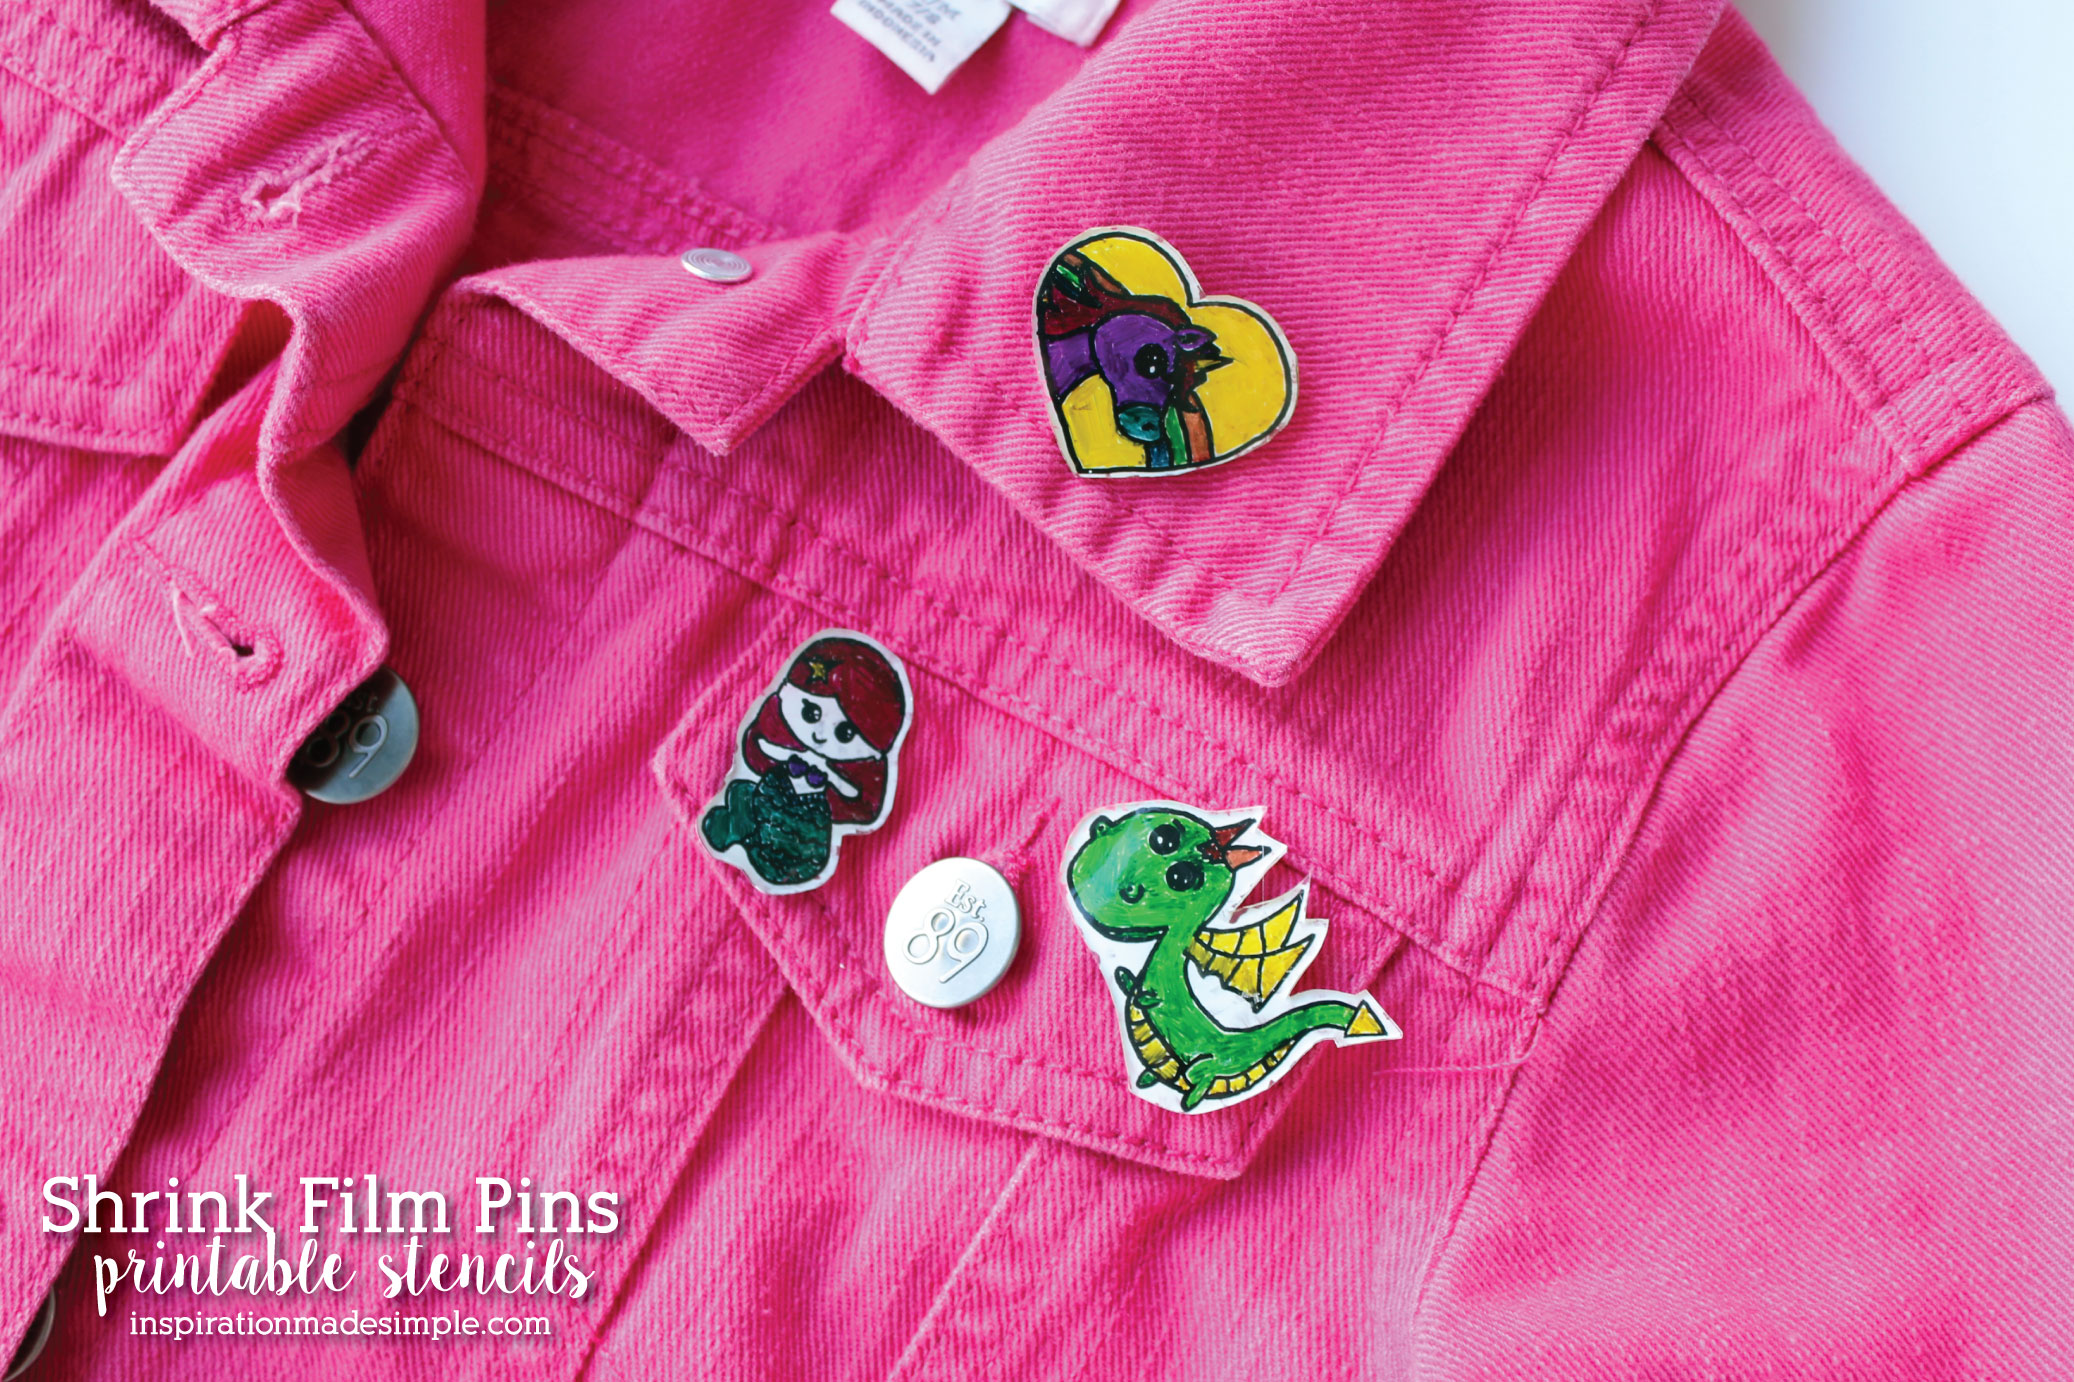
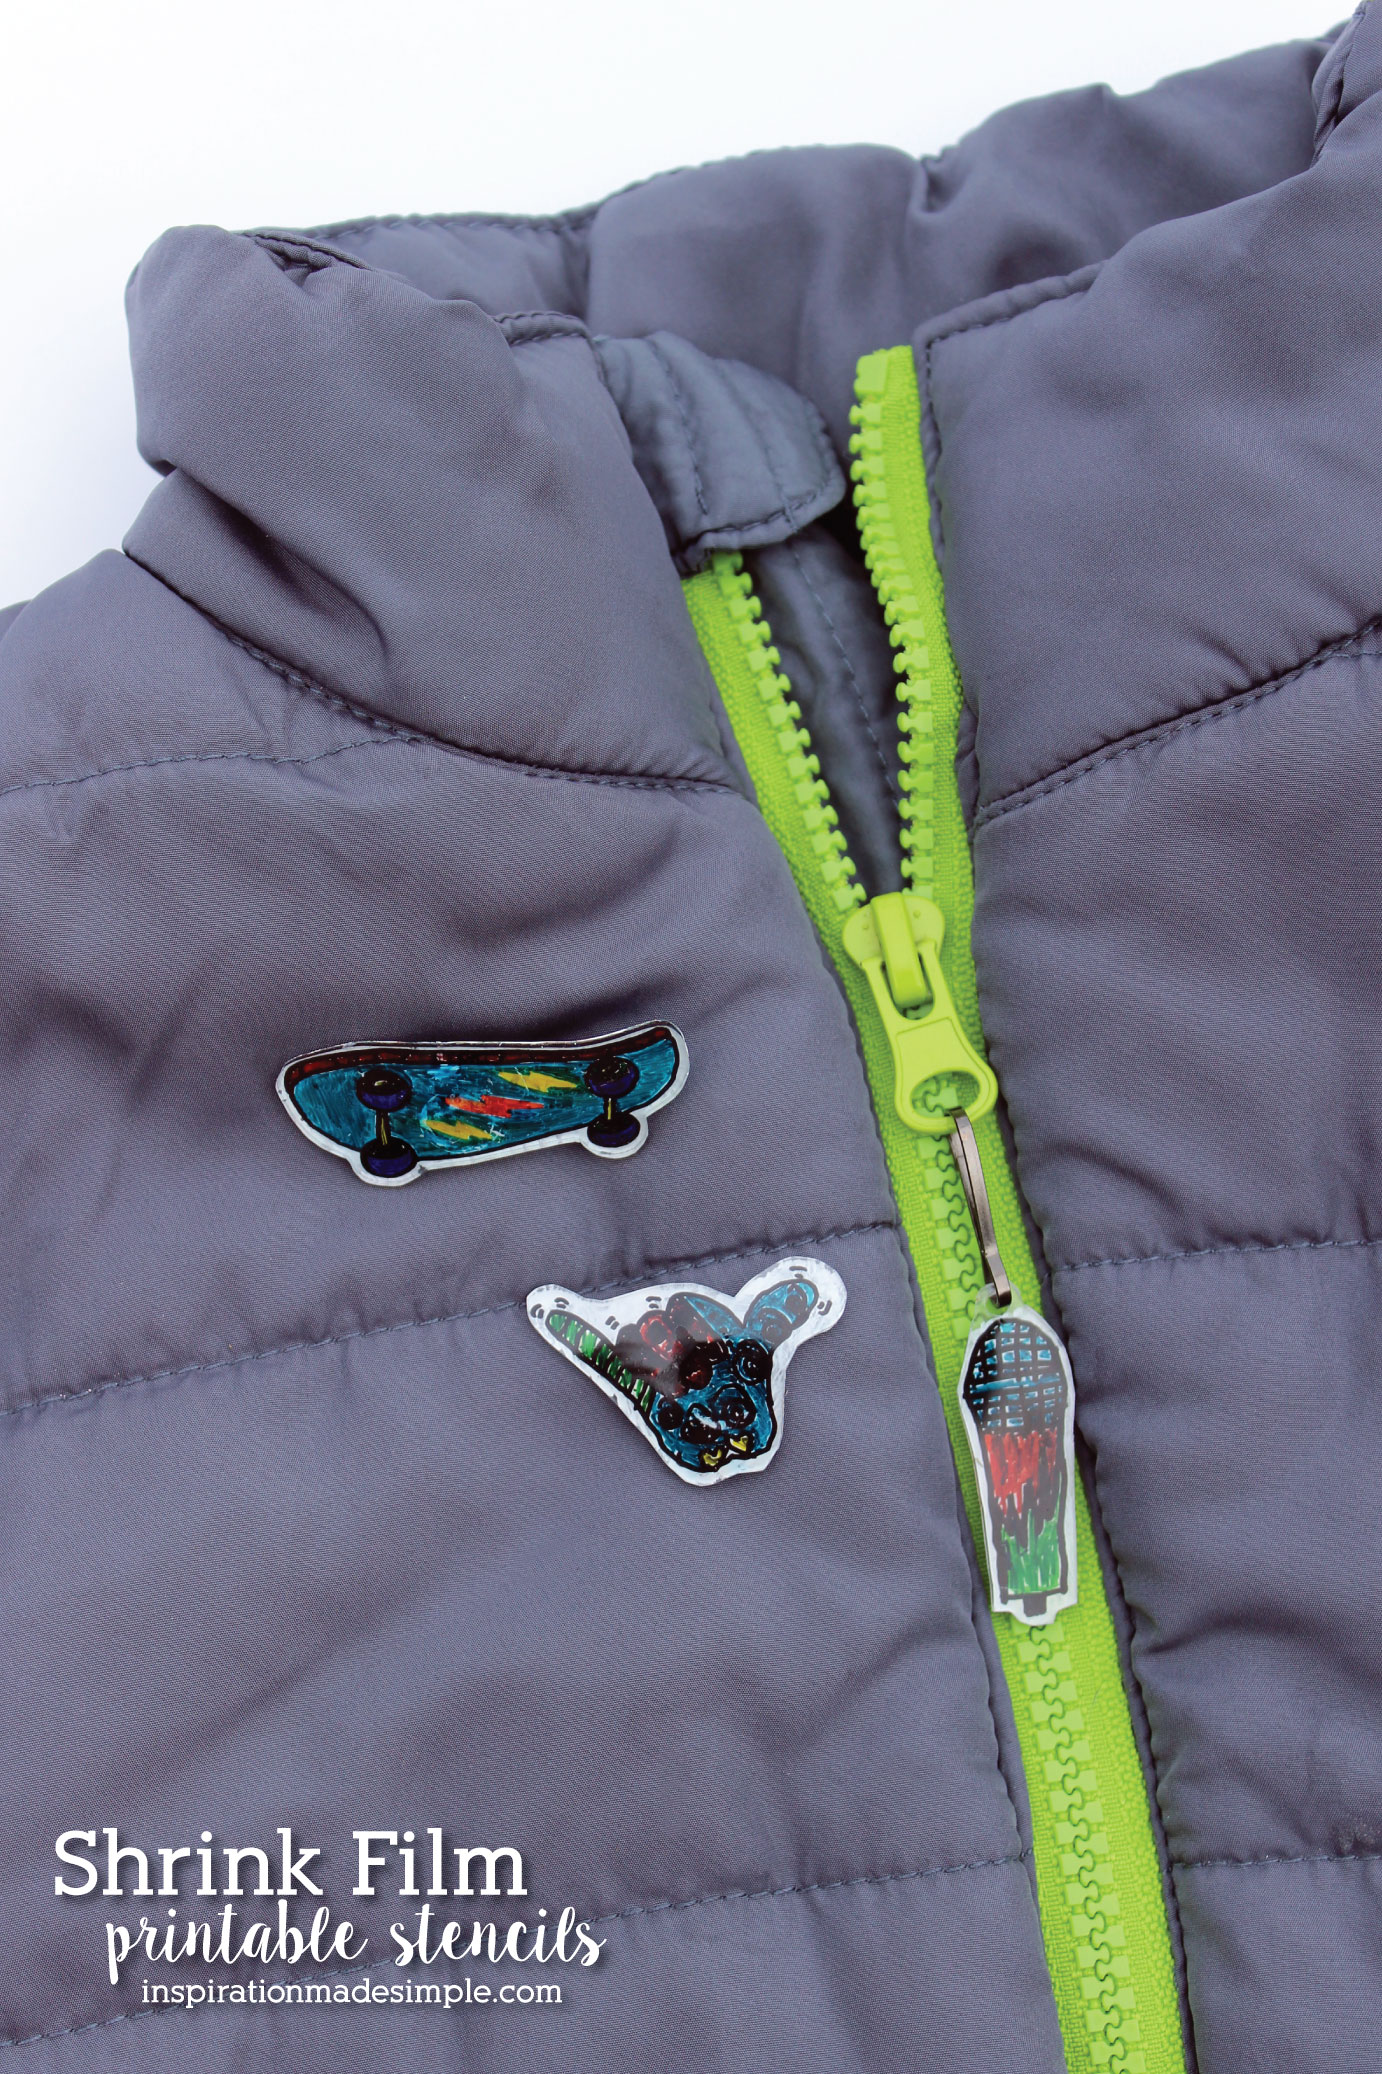
I created four sets of three stencils that are perfect for boys or girls. The sets include Magical Creatures, Skateboarding, Smarty Pants and Music. Any of the stencils can be turned into pins or zipper pulls, or you could even turn them into charms for a bracelet. Ready to get crafting? Read on!
 Supplies:
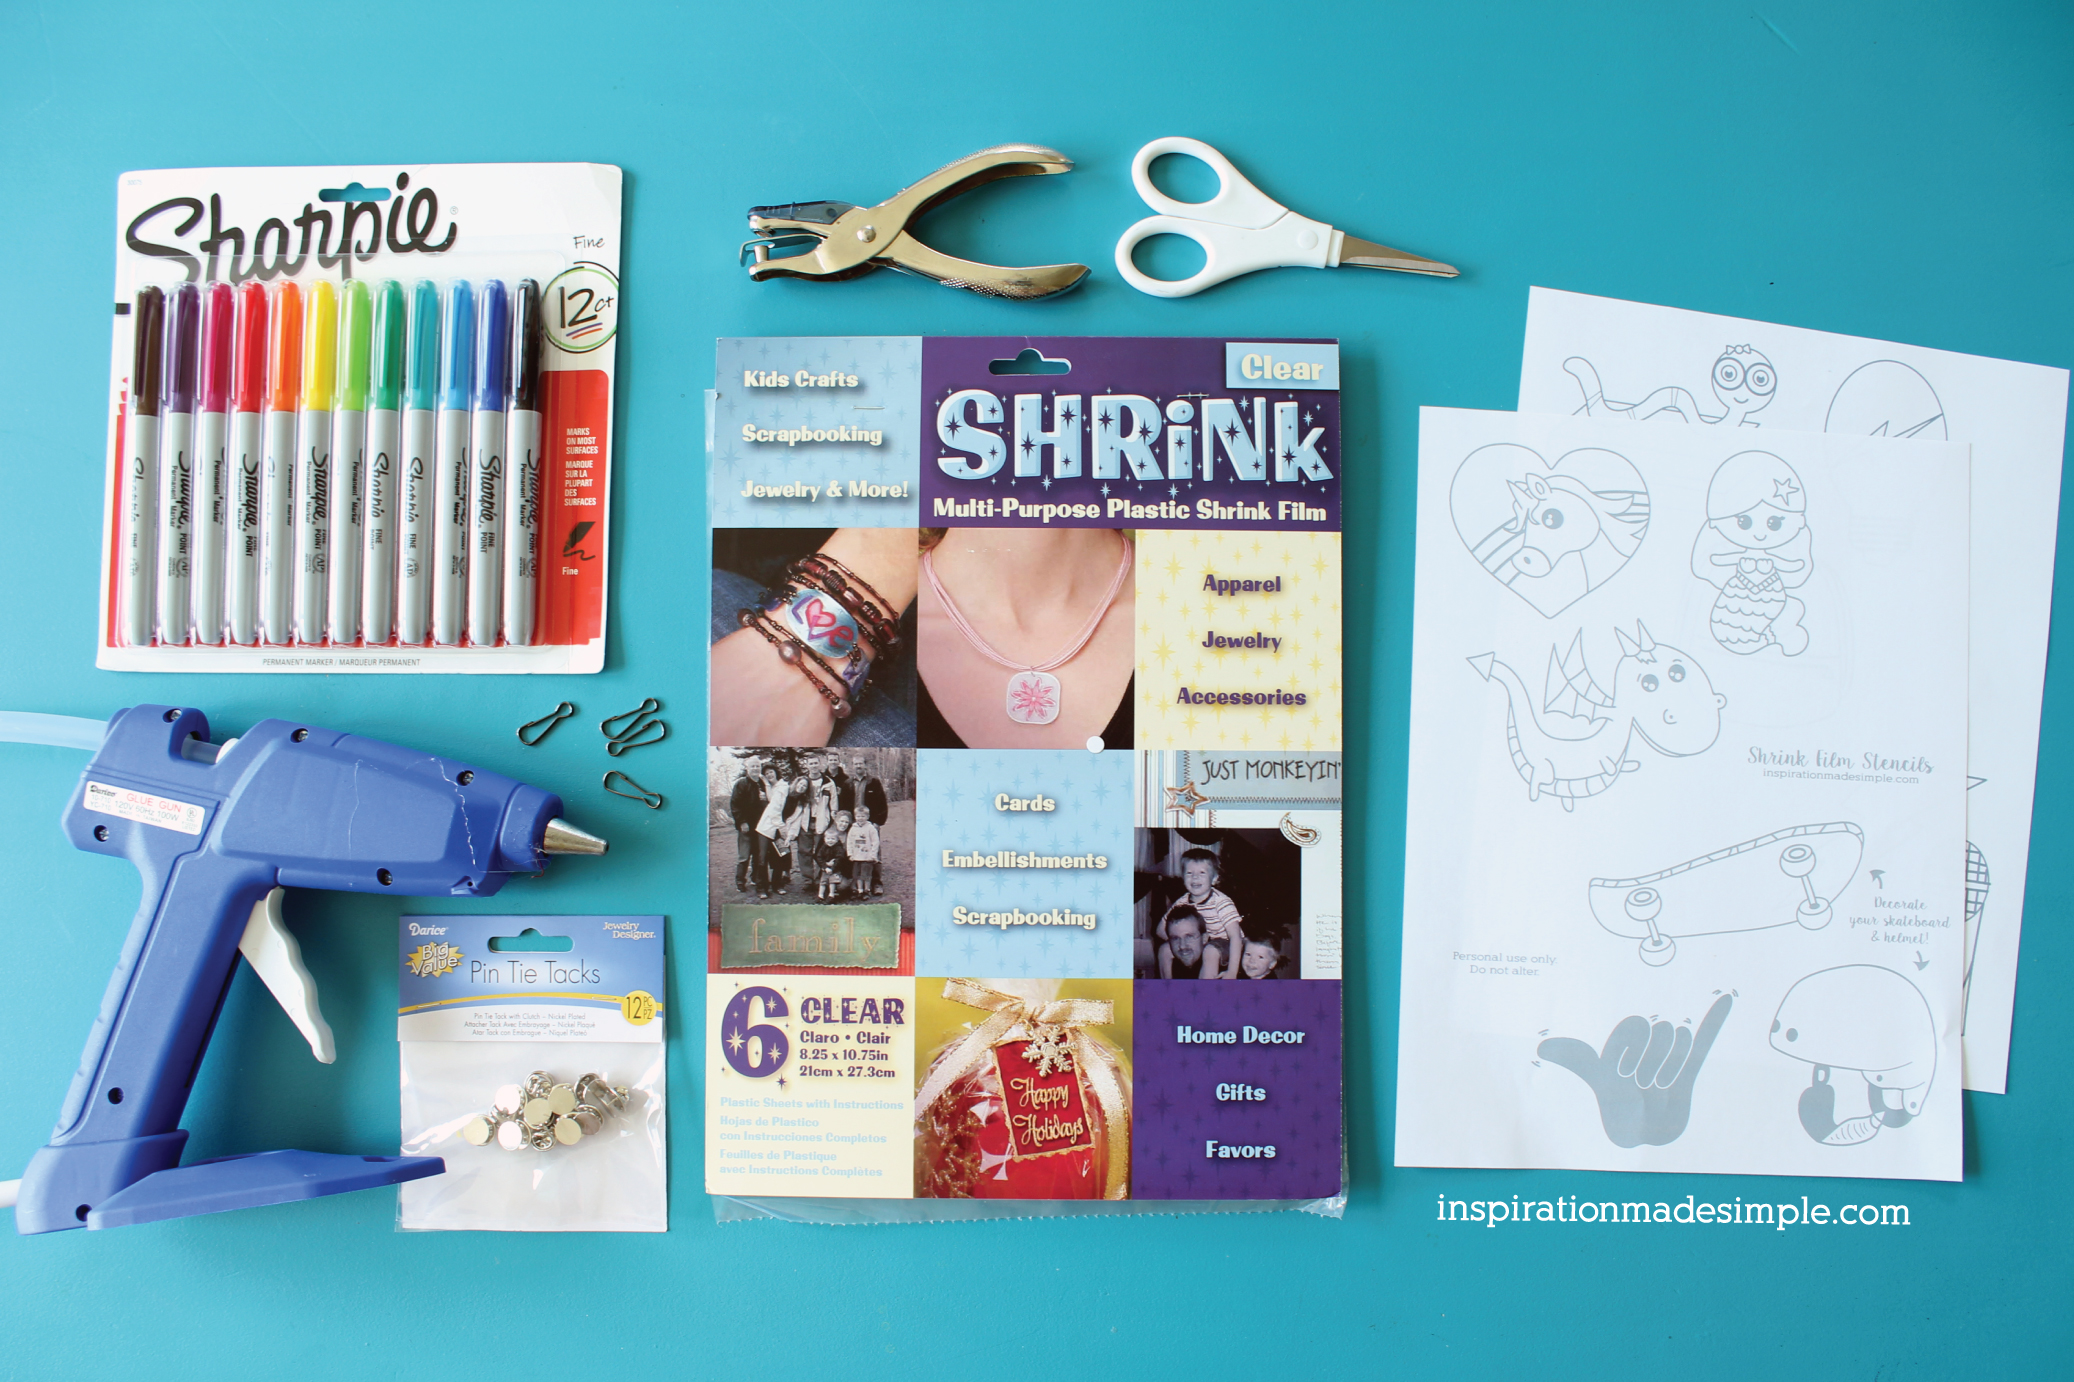 Shrink Film (I used clear in this post, but have since found white and recommend it for pins! Much better than having to paint the backs white).
Permanent Markers
White Acrylic Paint and Paint Brush
Clear Sealant
Scissors
Tie Tack Pins
Finish Findings
Hole Punch
Hot Glue Gun
Printable Shrink Film Stencils
Preheat over to 250 degrees Fahrenheit.
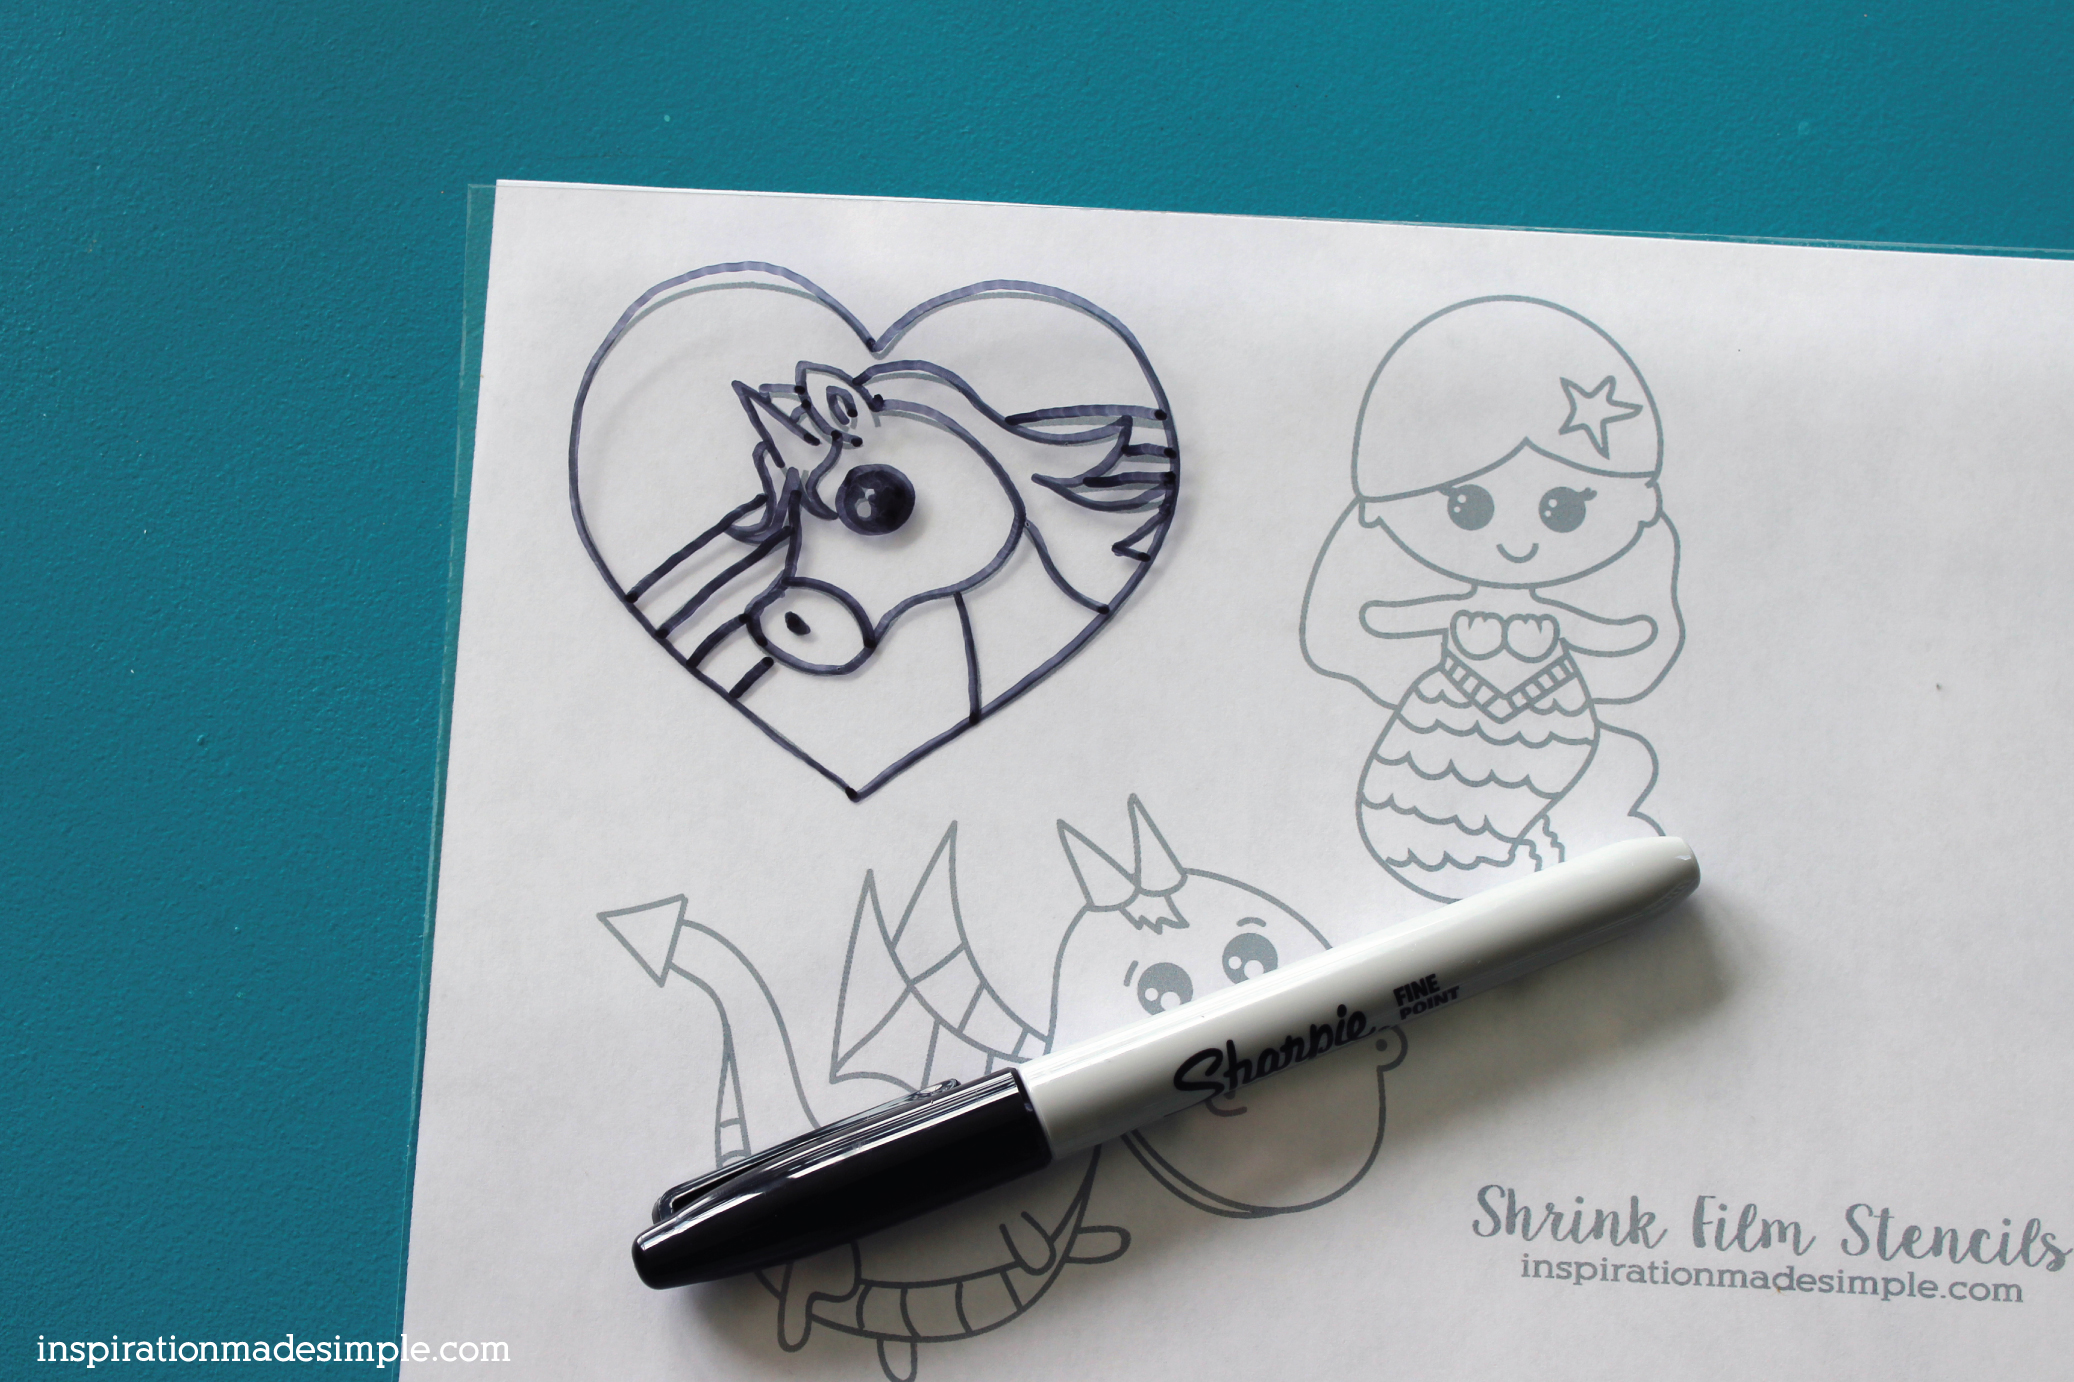 Download and print the Shrink Film Stencils. Using a permanent marker, trace the design onto the shrink film. Optional: the shrink film directions does say to roughen up one side of the shrink film with sandpaper. Since we were using permanent marker I chose to skip this step, but I would recommend doing so if you use colored pencils or another medium.
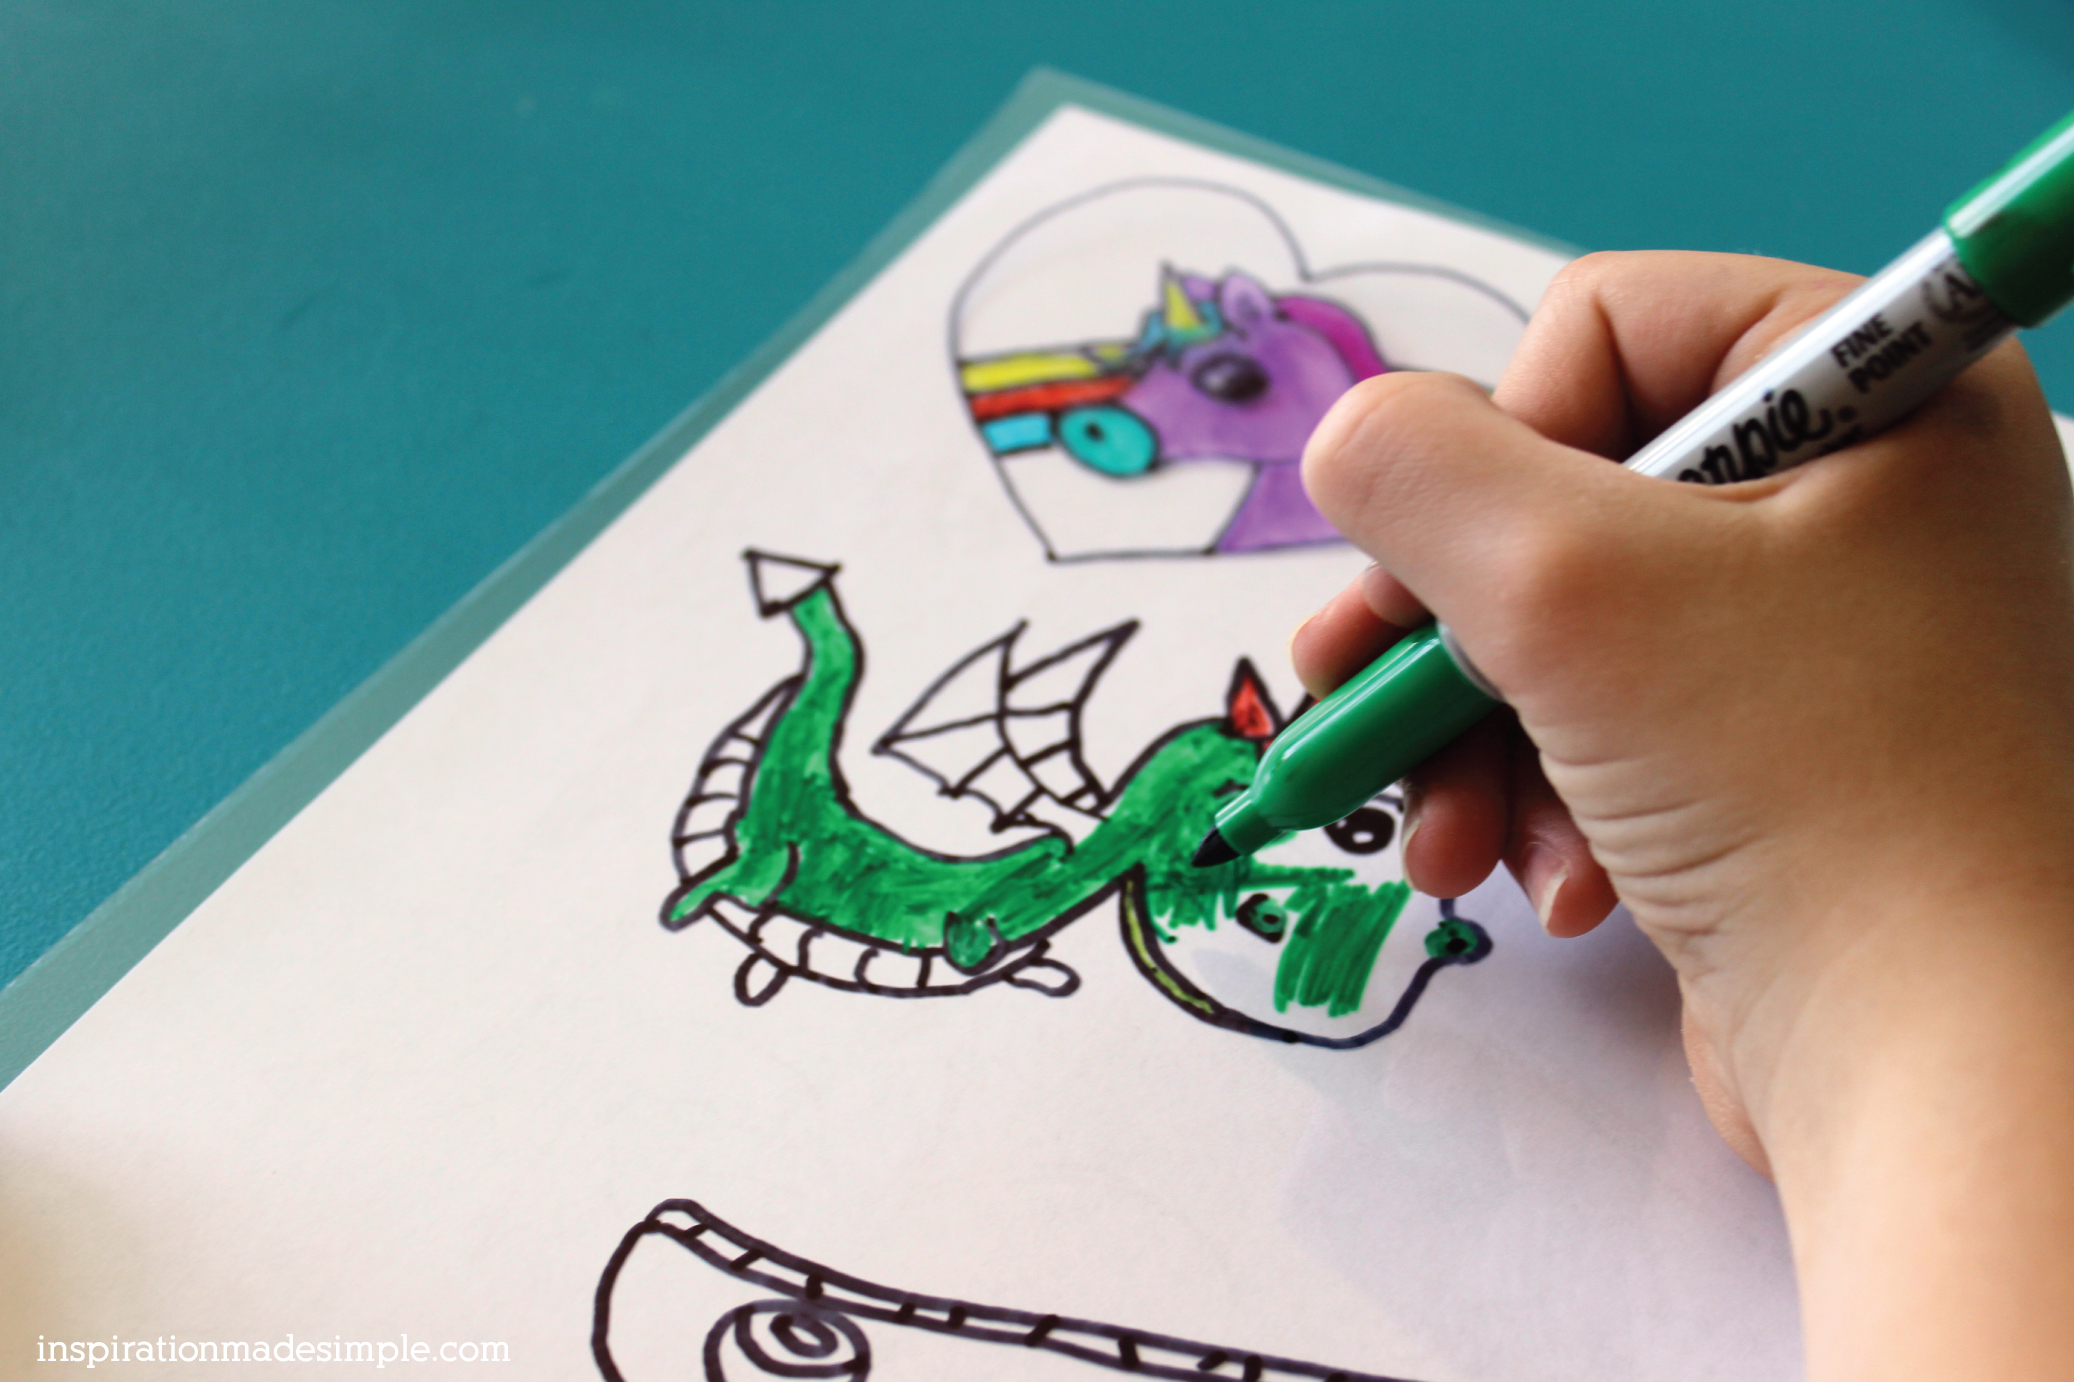 Fill in the design with permanent markers.
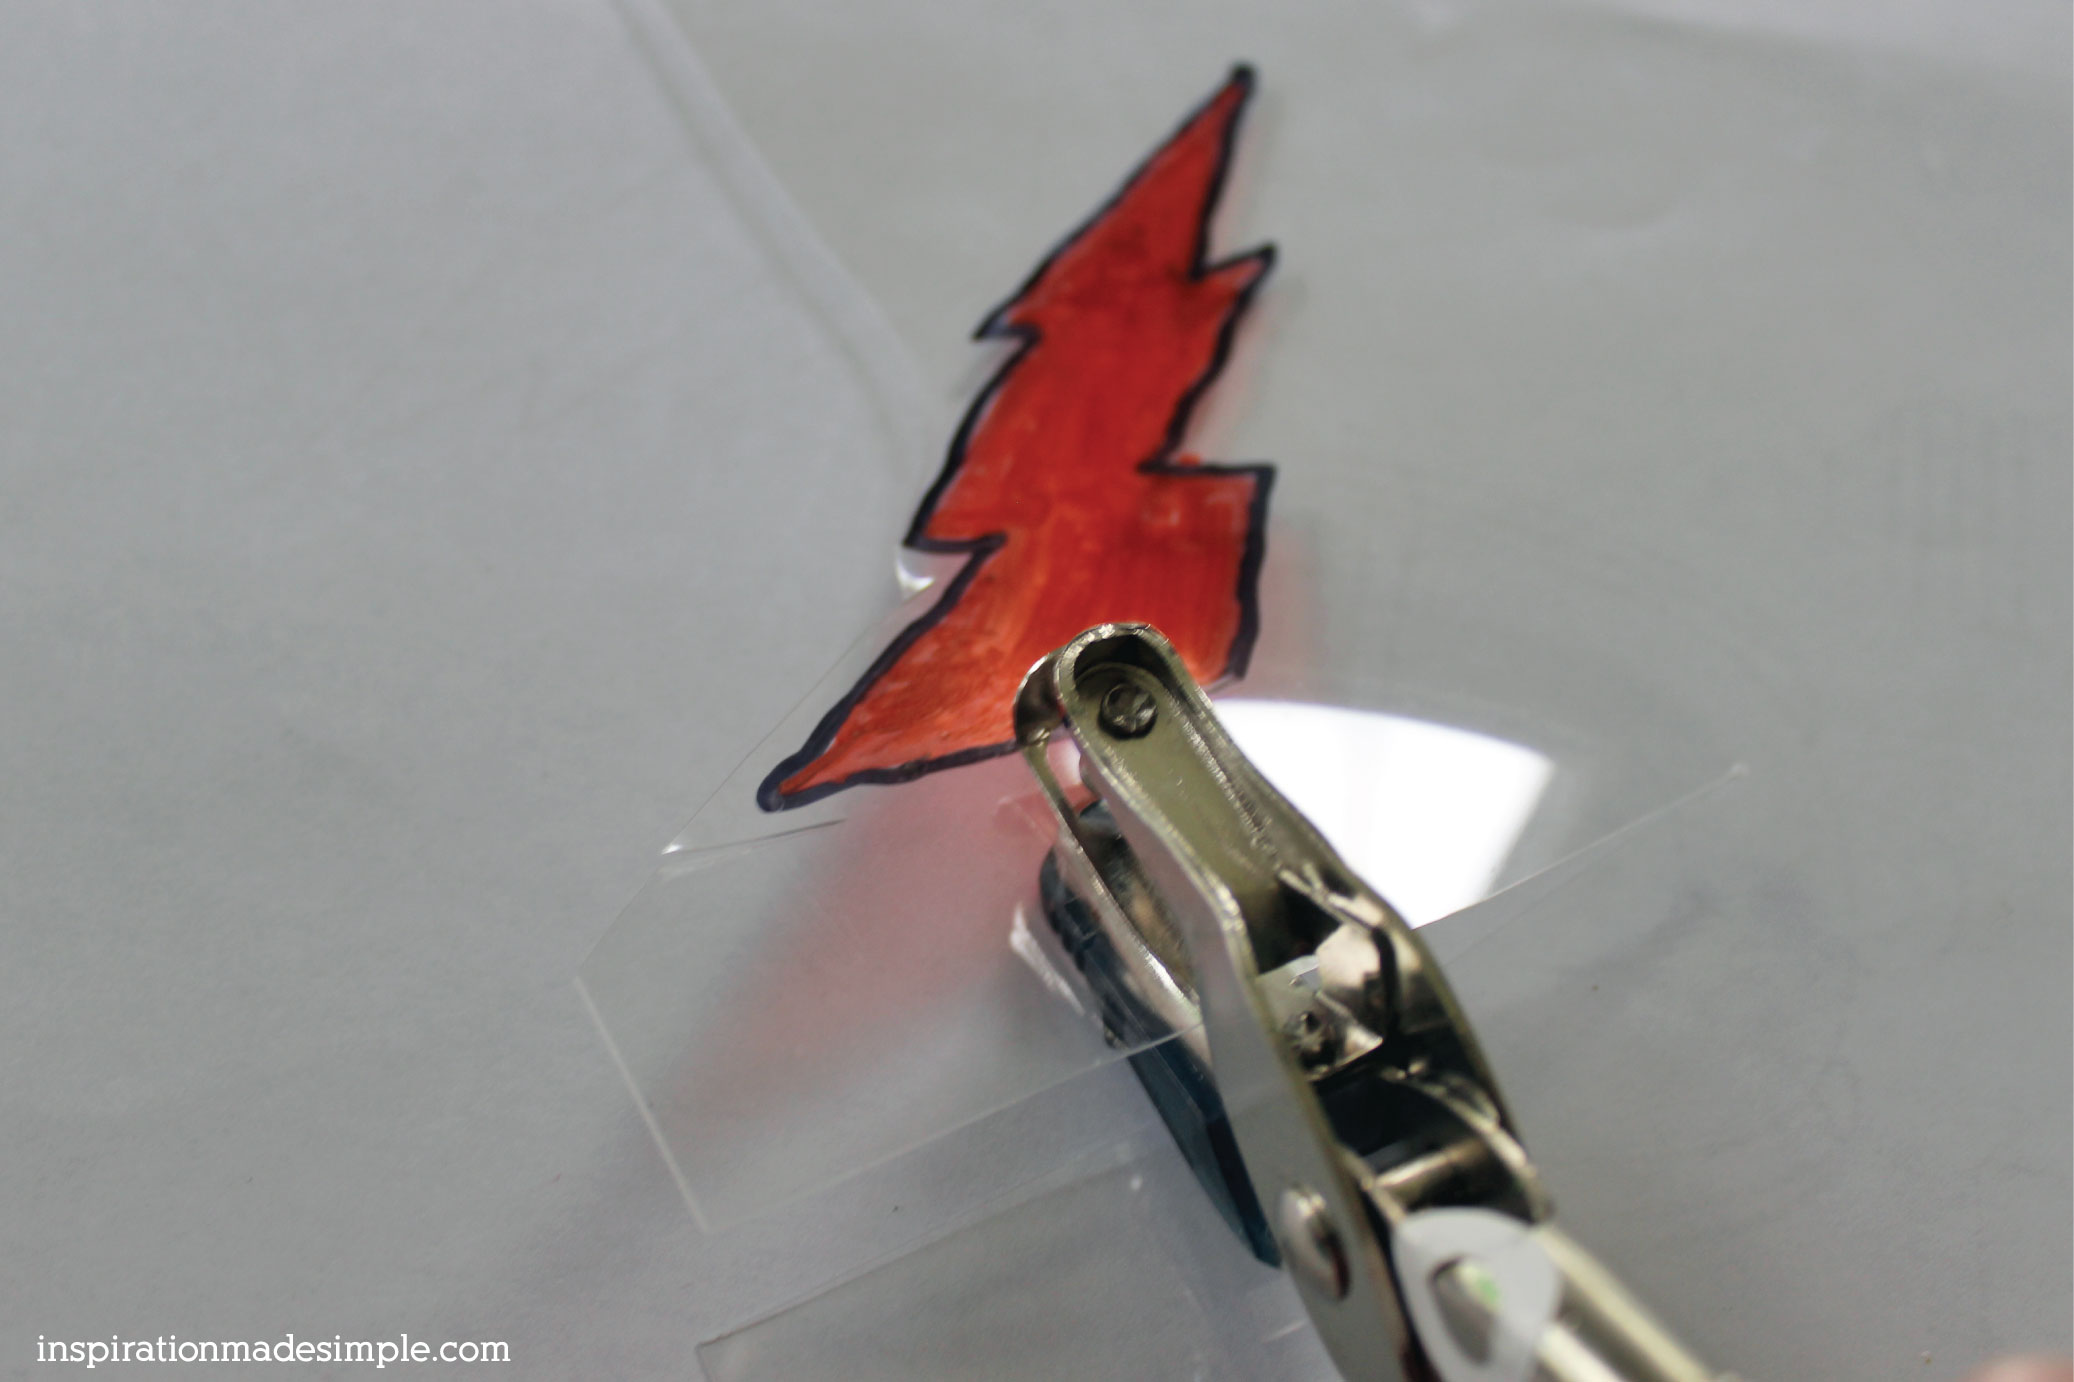 If adding a finding to create a zipper pull, punch a hole in the top of the design.
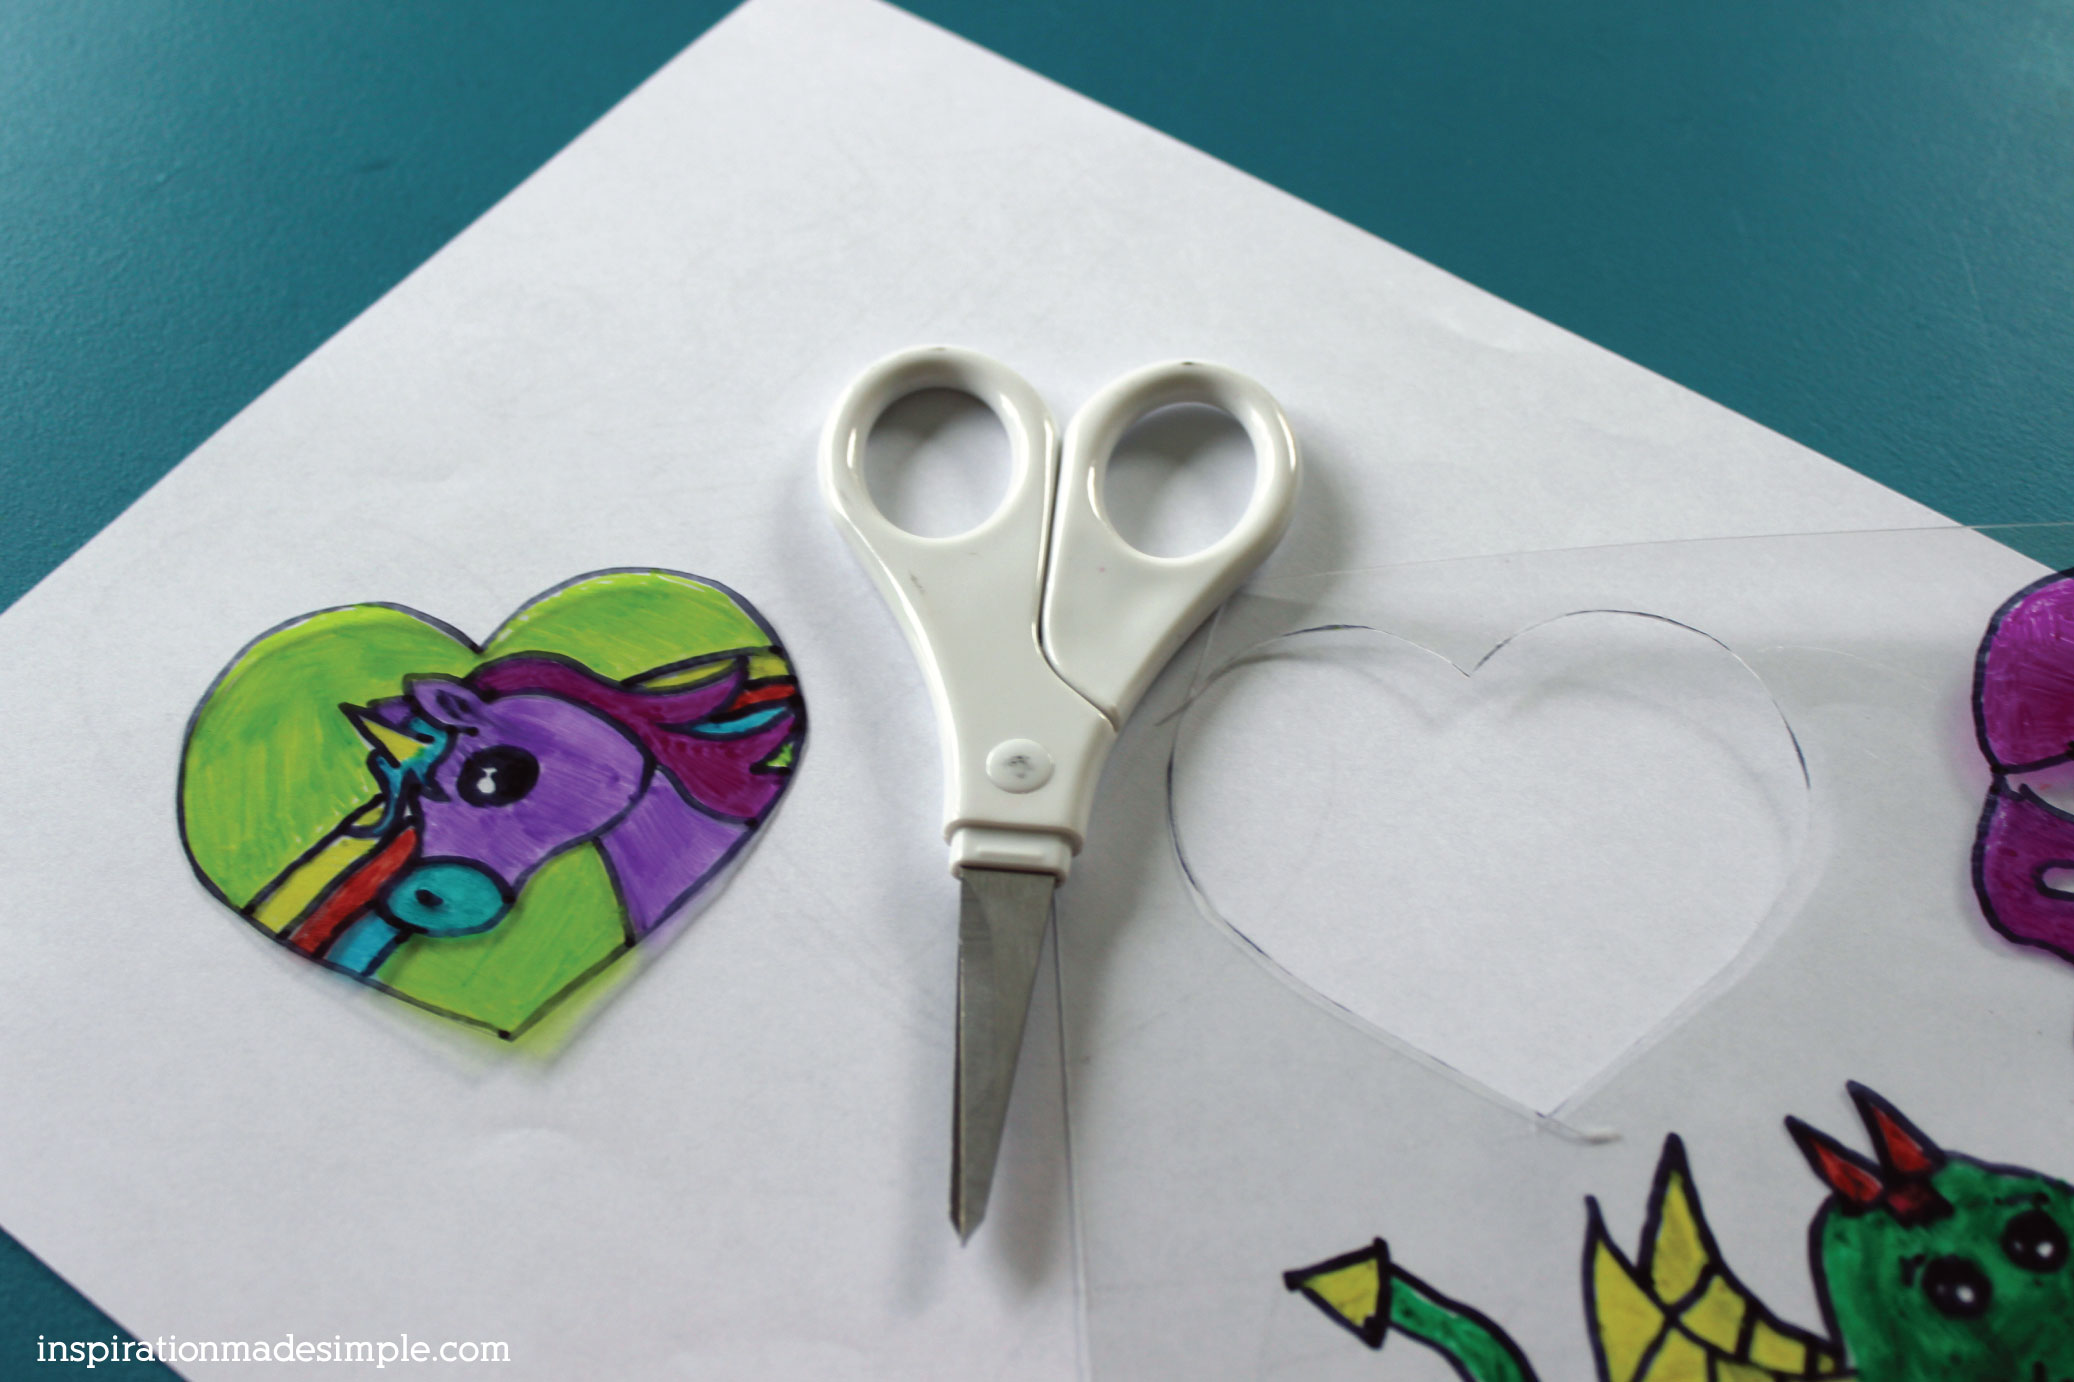 Cut out the design.
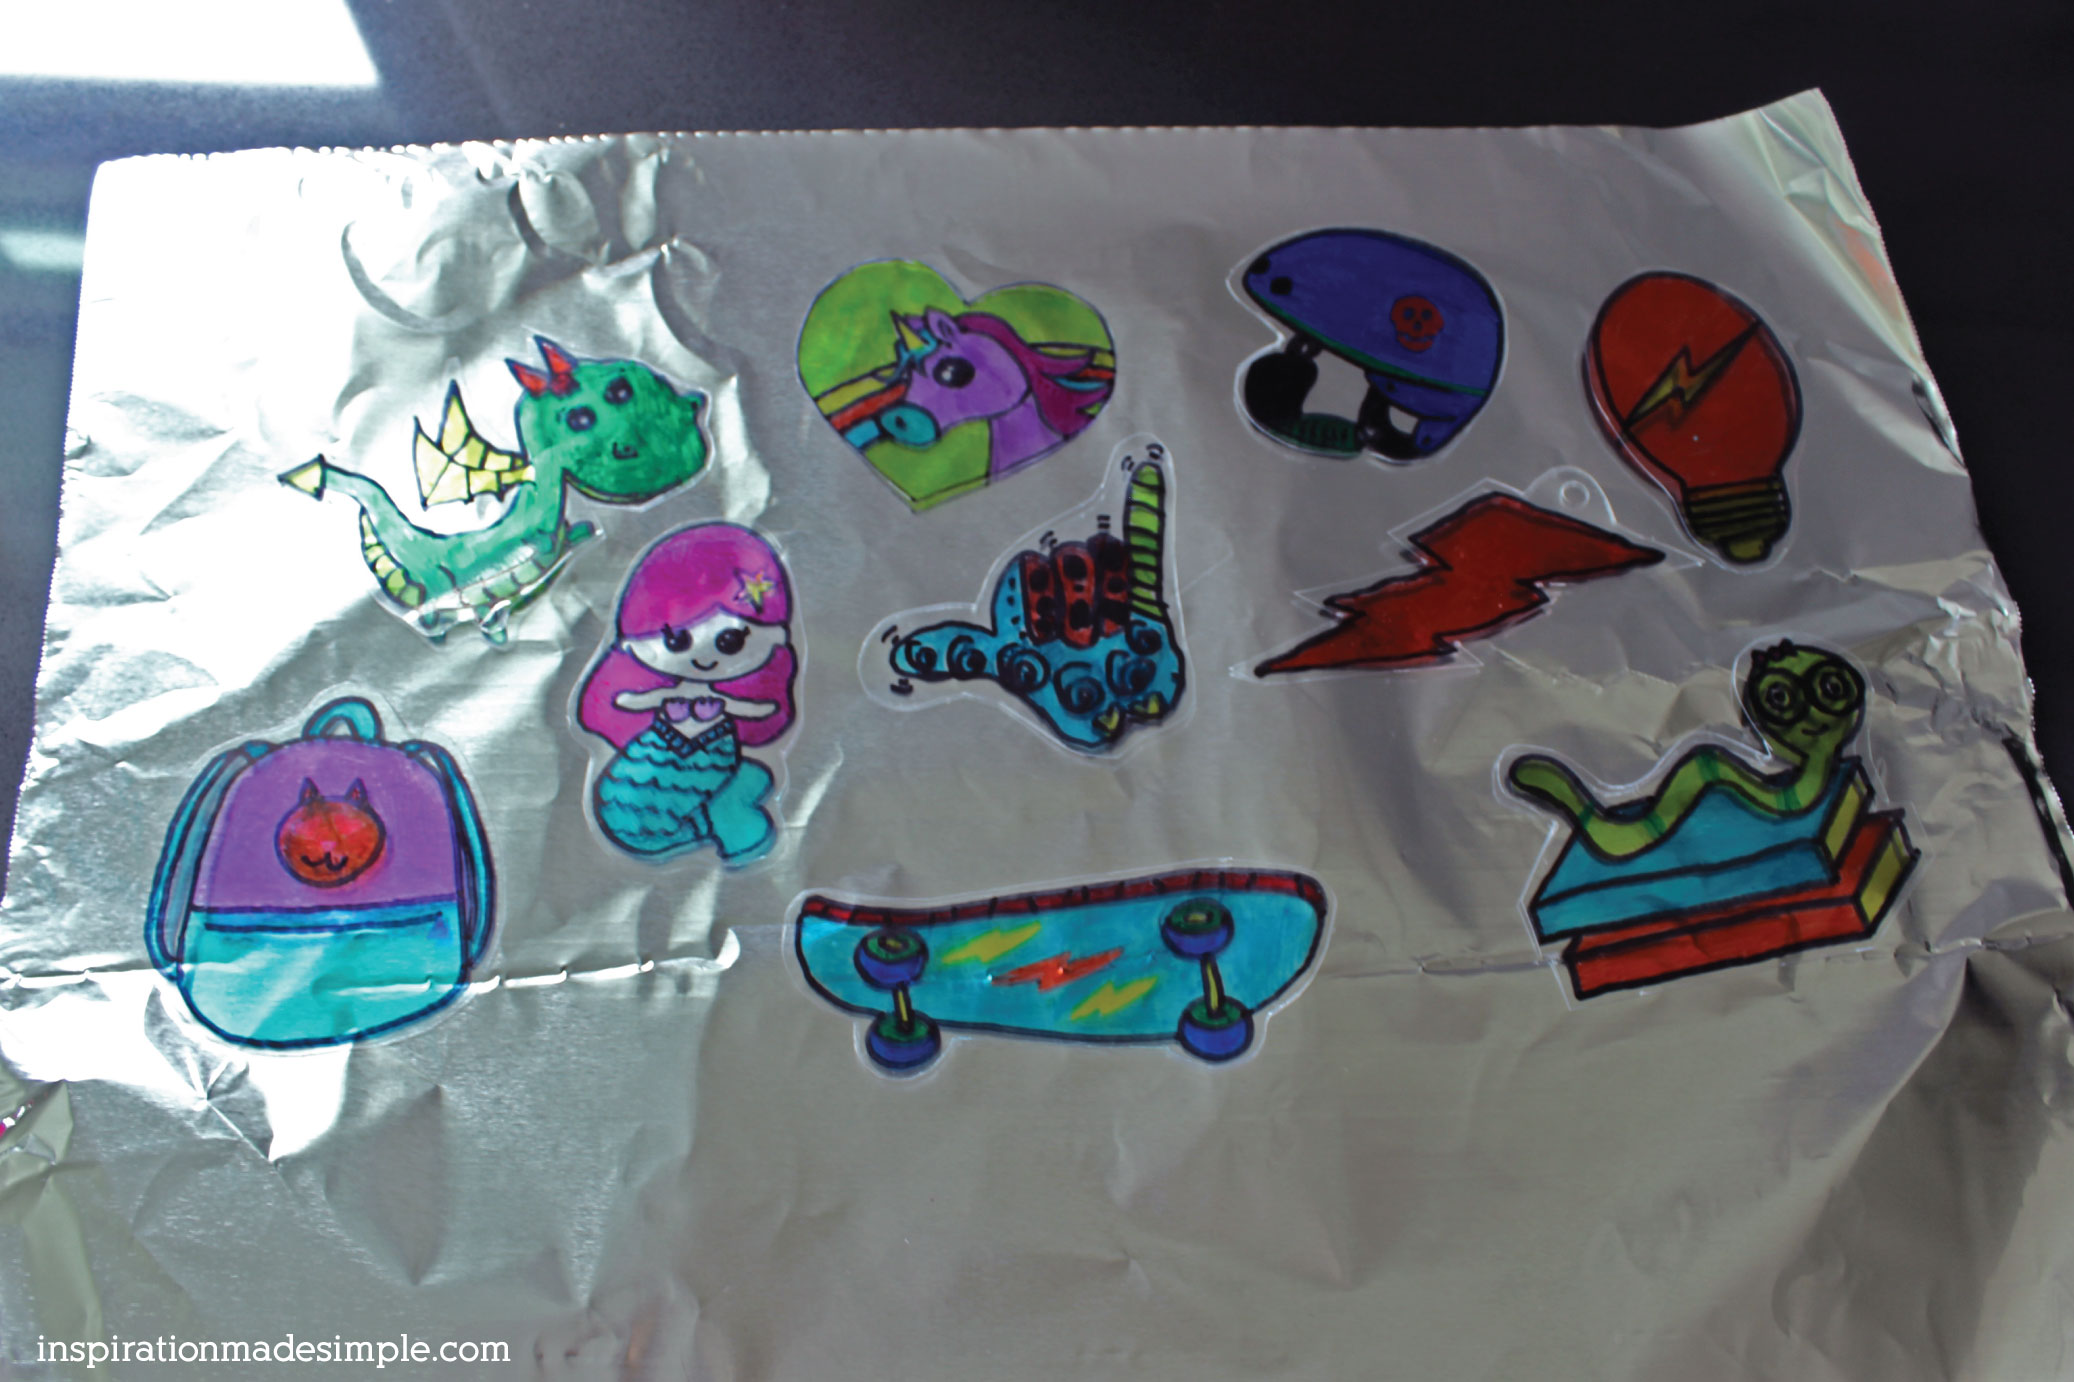 Place on a baking sheet – I line mine with tinfoil. Place in oven for approximately 5 minutes or until the designs are laying flat and are about the thickness of a nickel. Note: the designs will curl and move as they shrink. This is normal. Read the product directions to ensure you obtain optimum shrinkage!
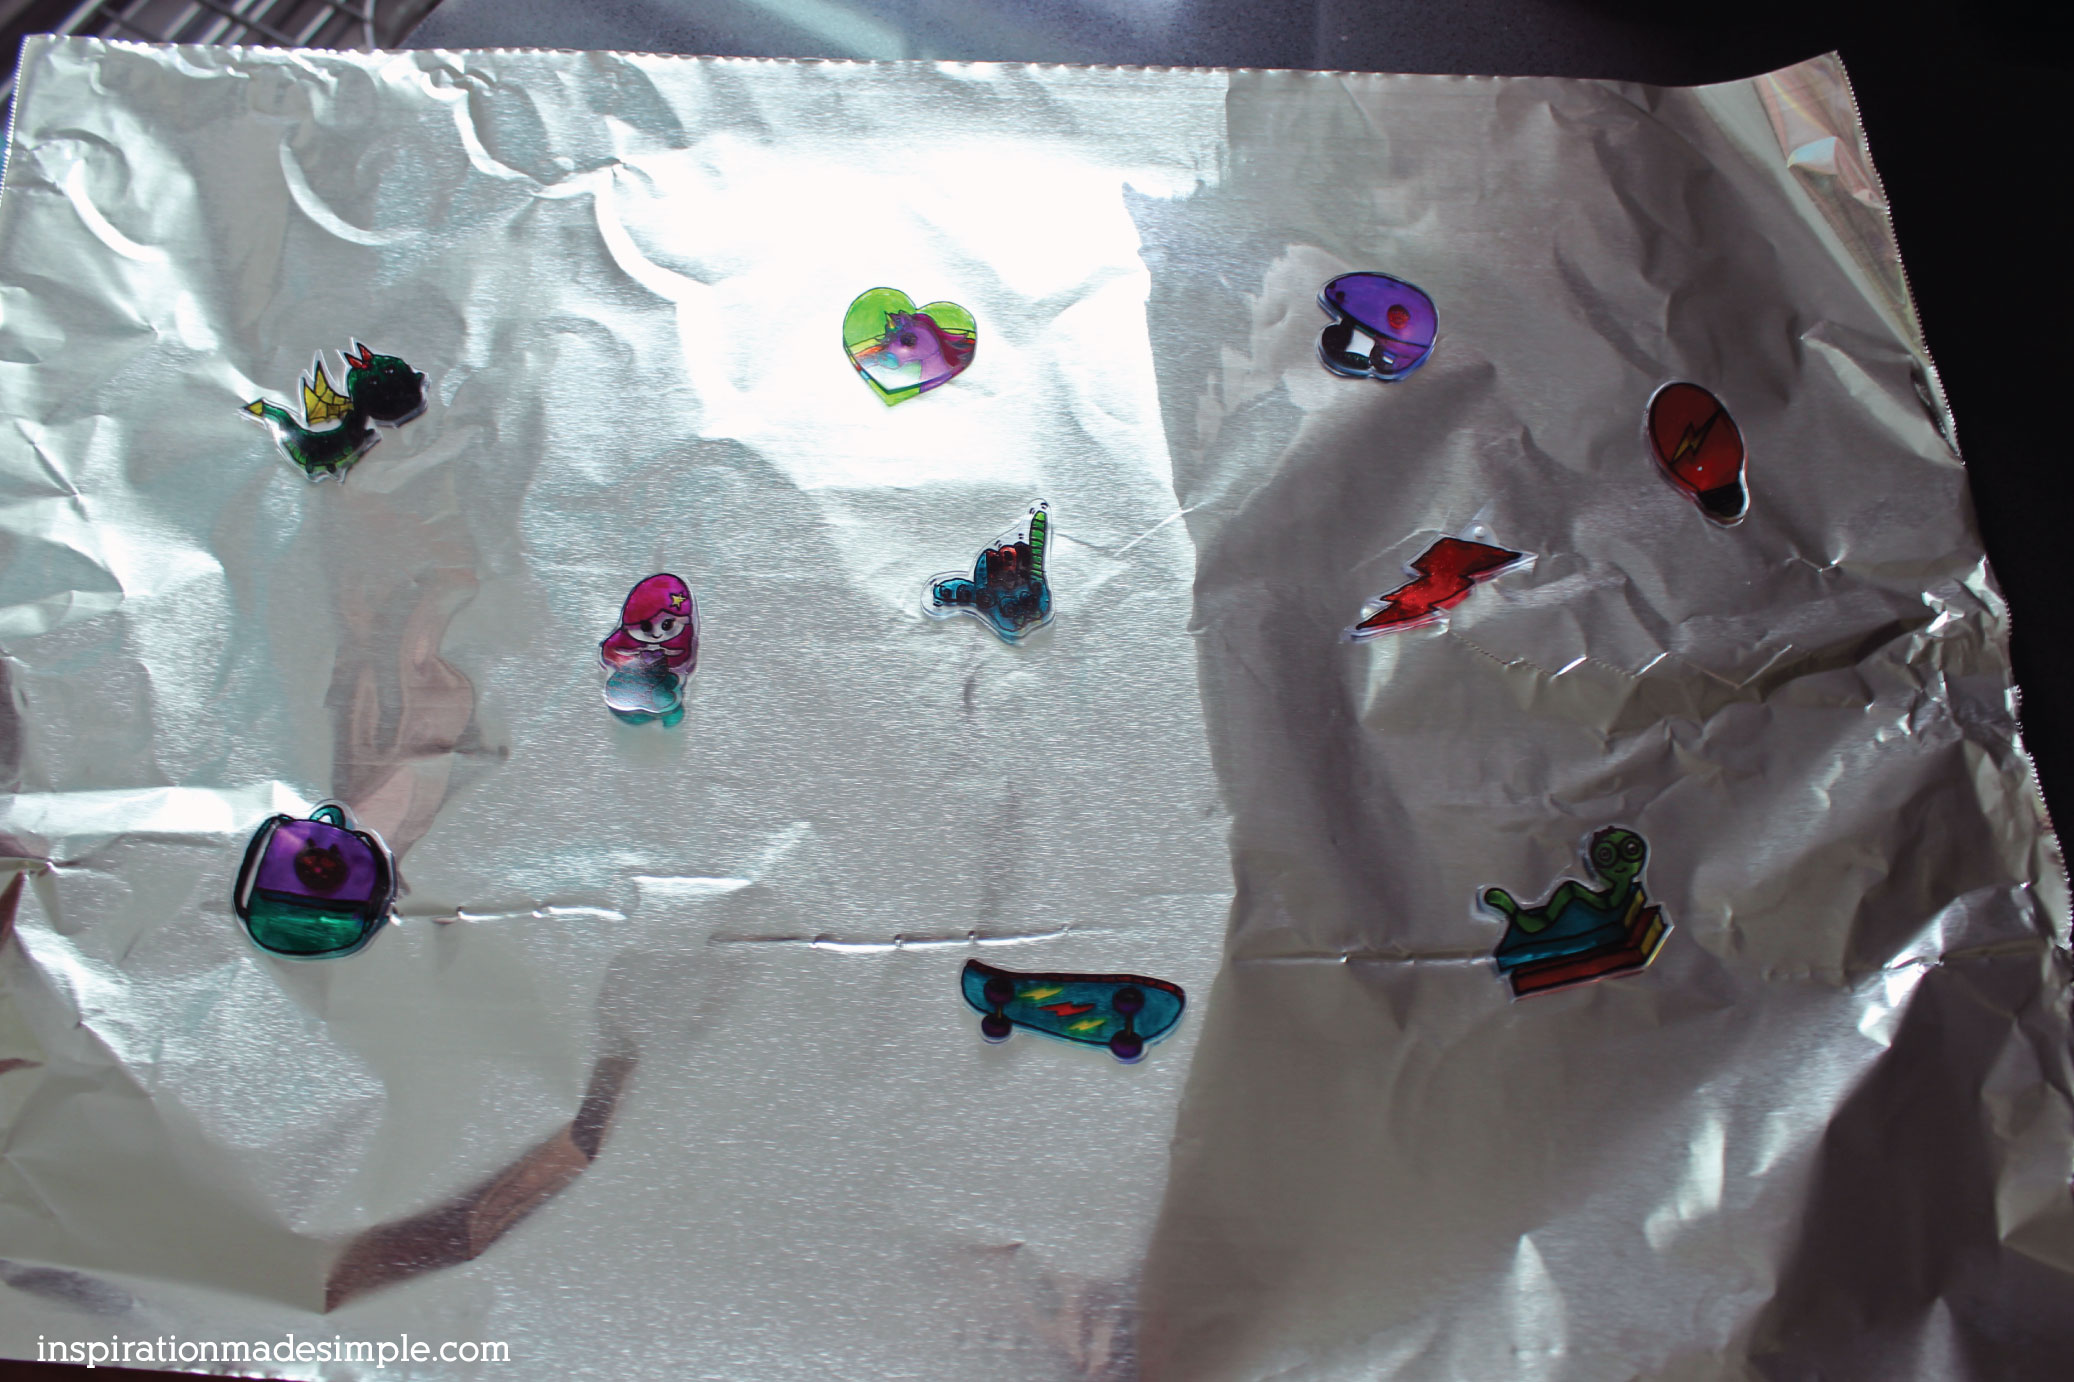 Remove from oven. I carefully remove from the baking sheet immediately as well because I find they a) cool faster and b) lay smoother that way. This is optional though and if you choose to do so, be careful – they’re hot!
 Once the designs are cool, paint the back of them with acrylic paint. I do this for the pins and lanyards because if they are going on any other color than white, that color can change the way they look, making them less vibrant.
 Once the paint is dry, cover it with a clear sealant.
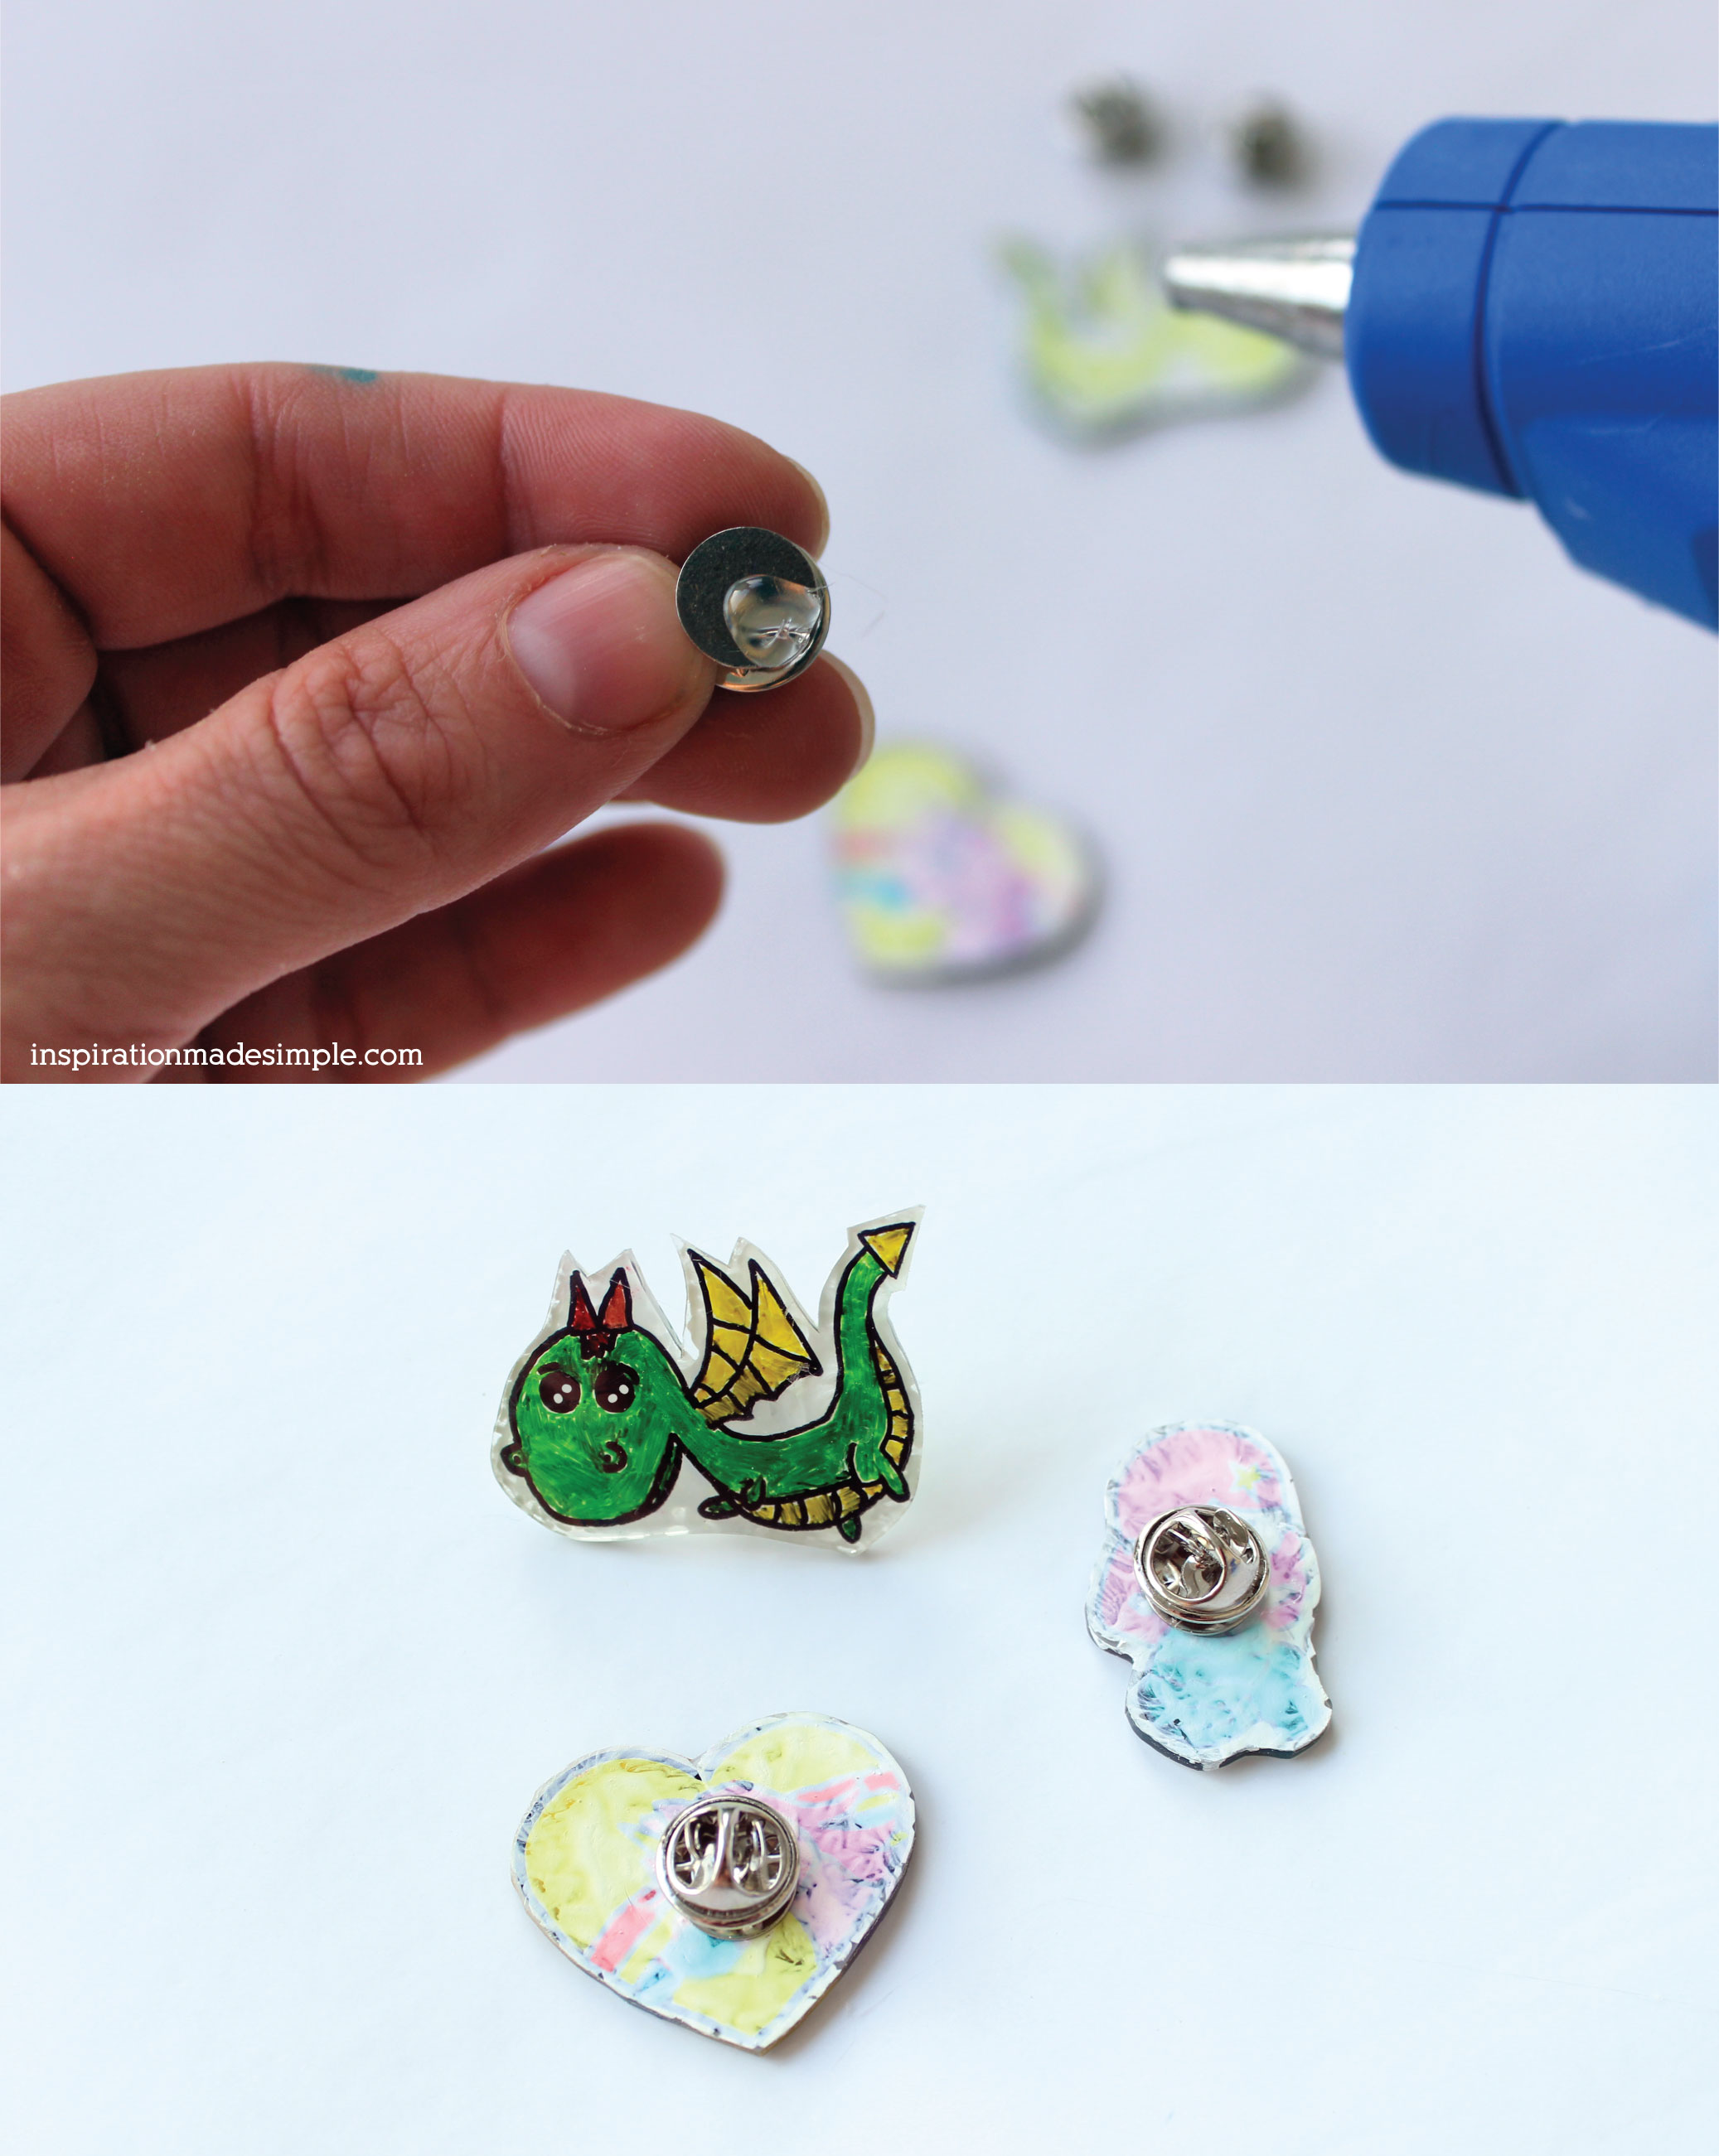 Allow the sealer to complete dry and then, using a hot glue gun, attach the tie tack to the back. Allow glue to dry for several minutes before use.
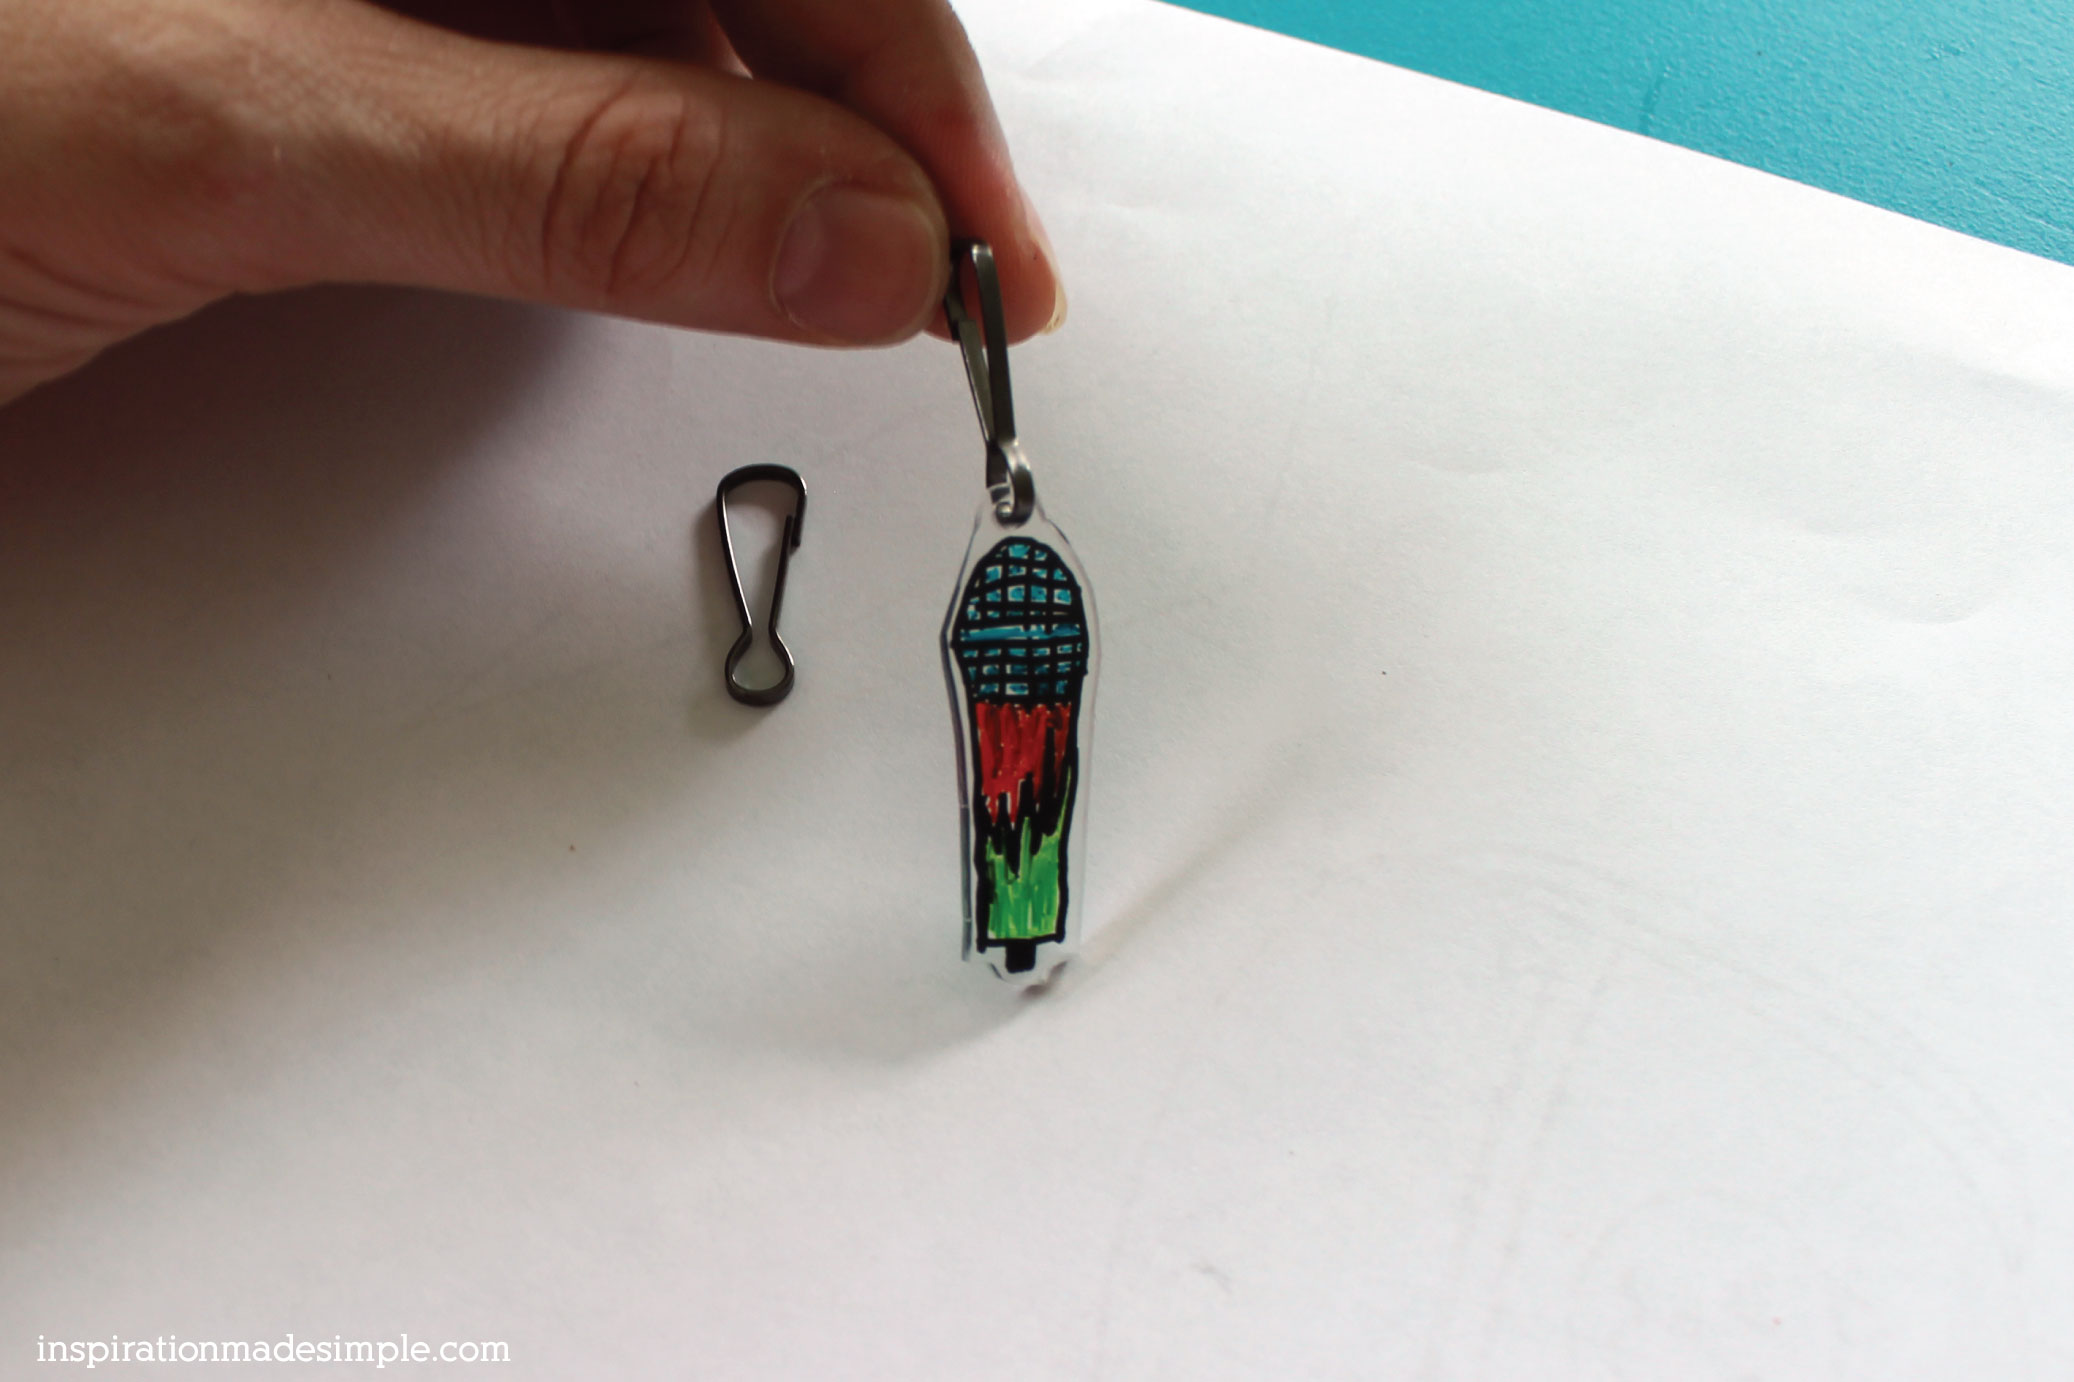 If turning into a zipper pull, simply fit the finding through the hole.
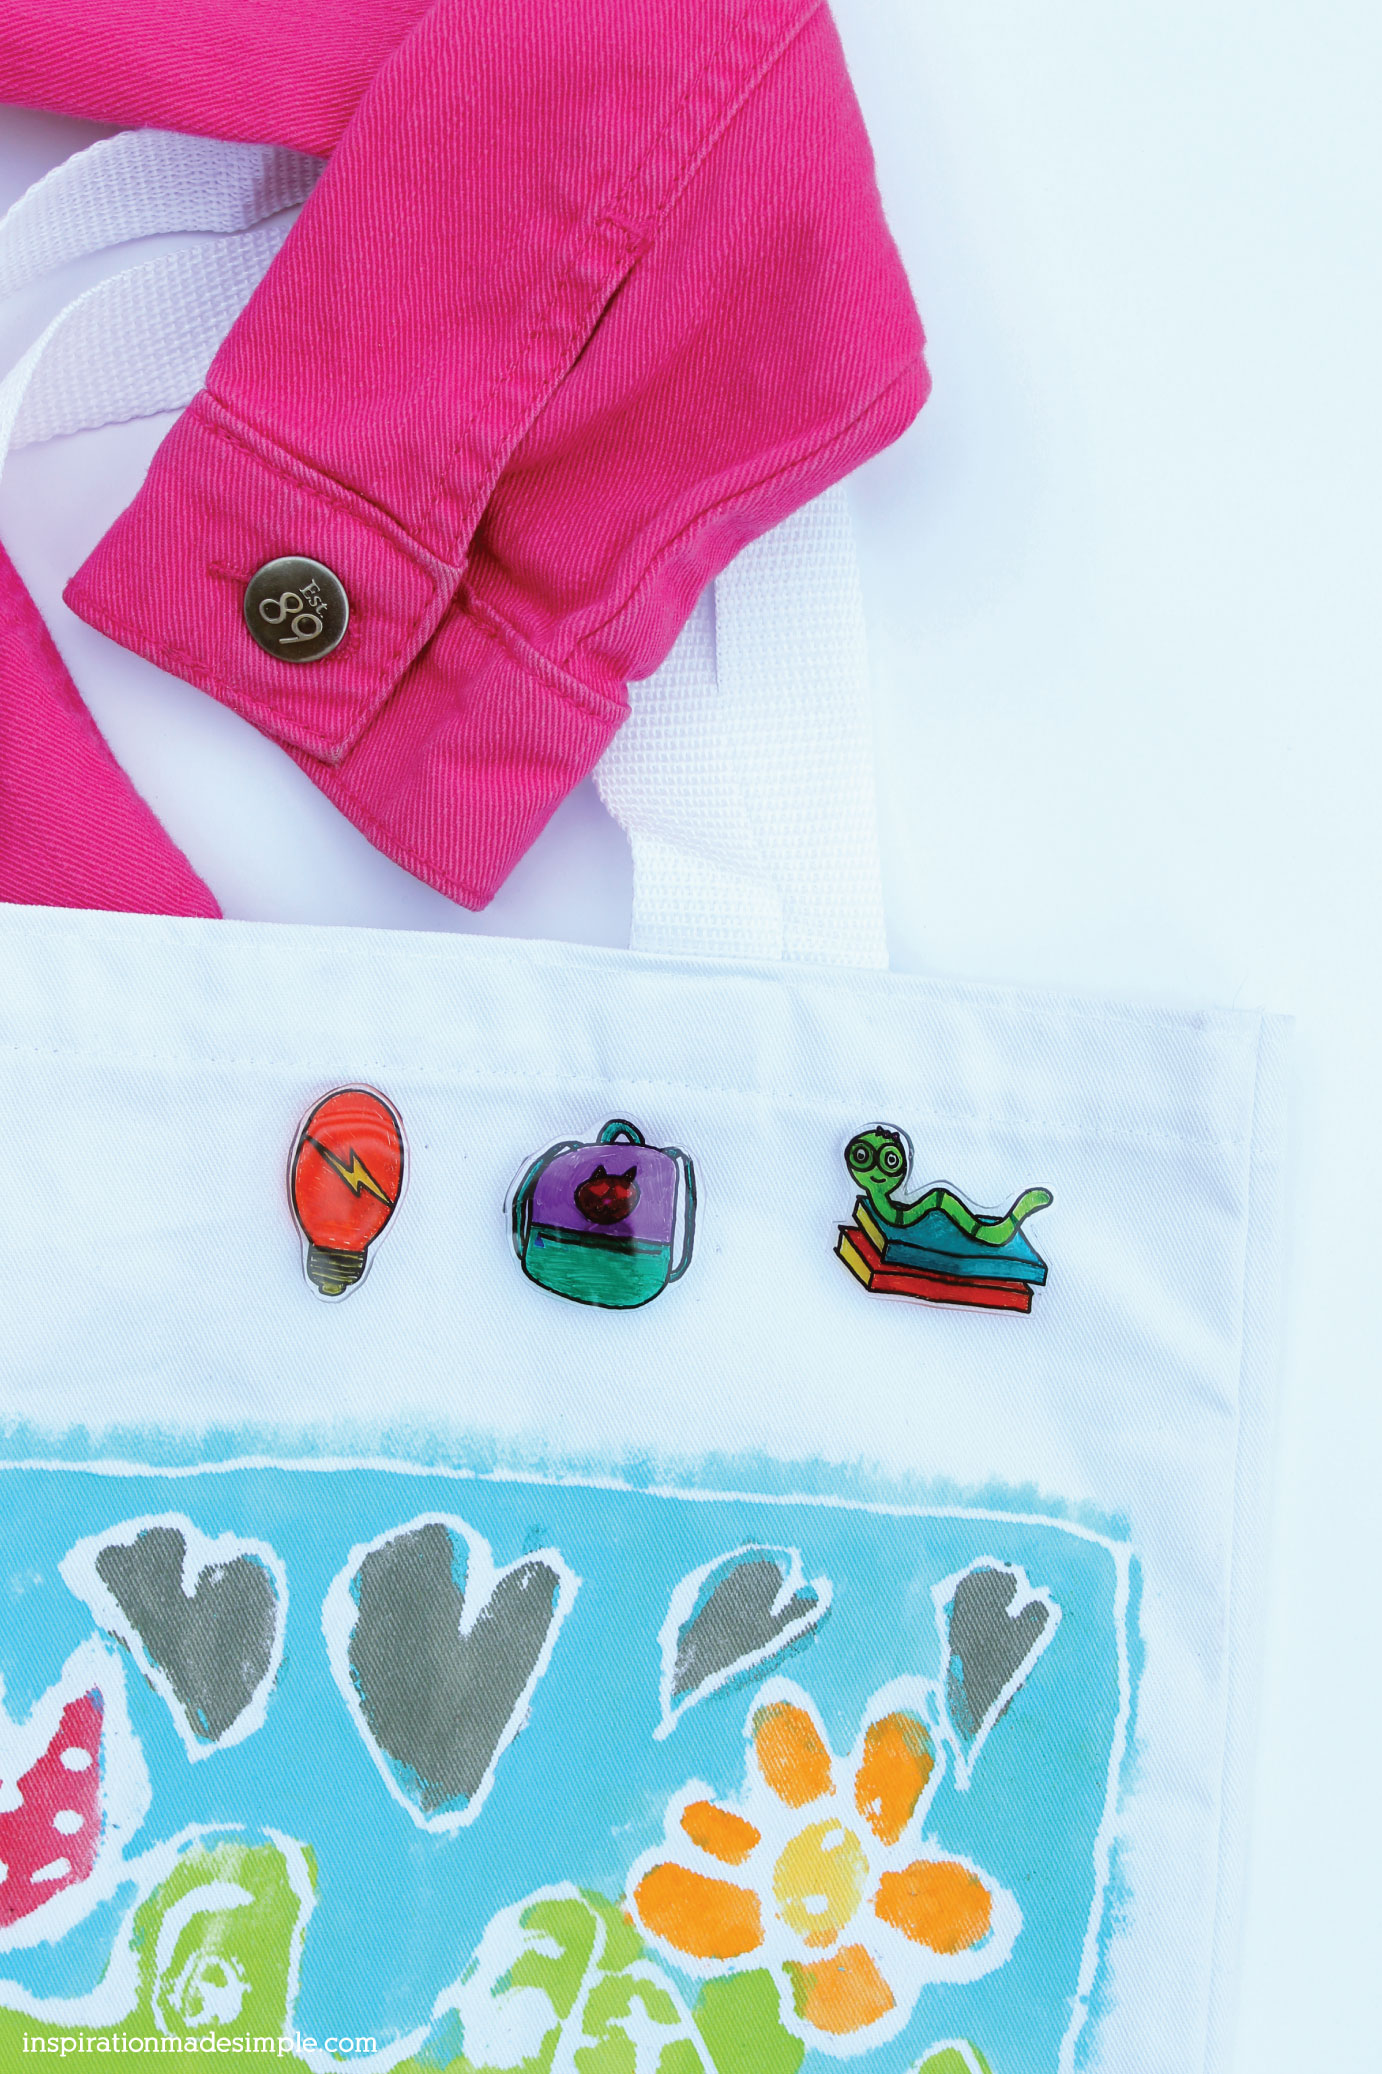 Now you’re ready to wear and show off your beautiful creations! Digging the tote bag in the photo above? My 8 year old made it using Elmer’s Glue and Acrylic Paint – see my Batik Tote Tutorial.
This post originally appeared on Darice’s Blog in June of 2017, where I was a paid contributor.


