
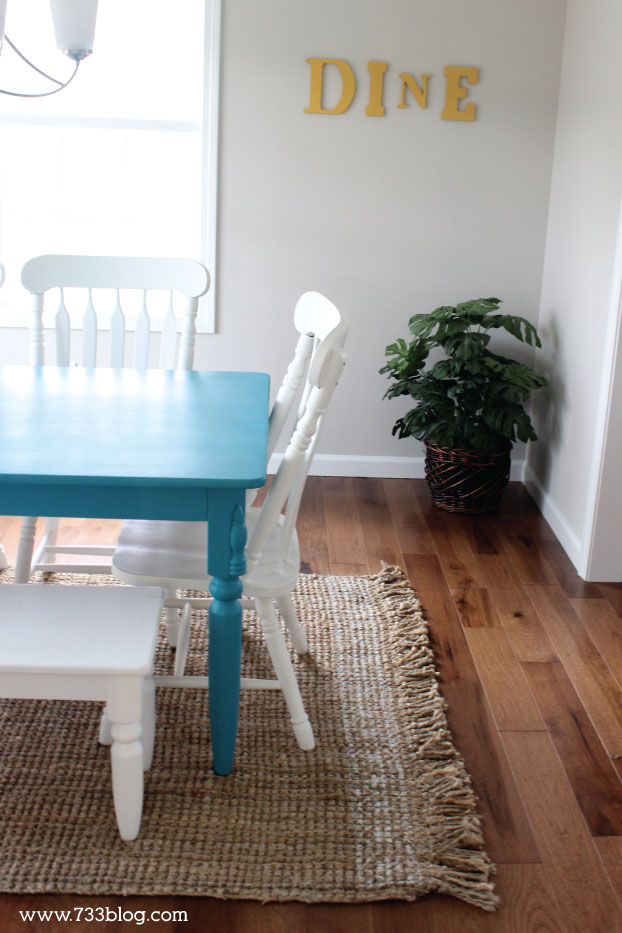
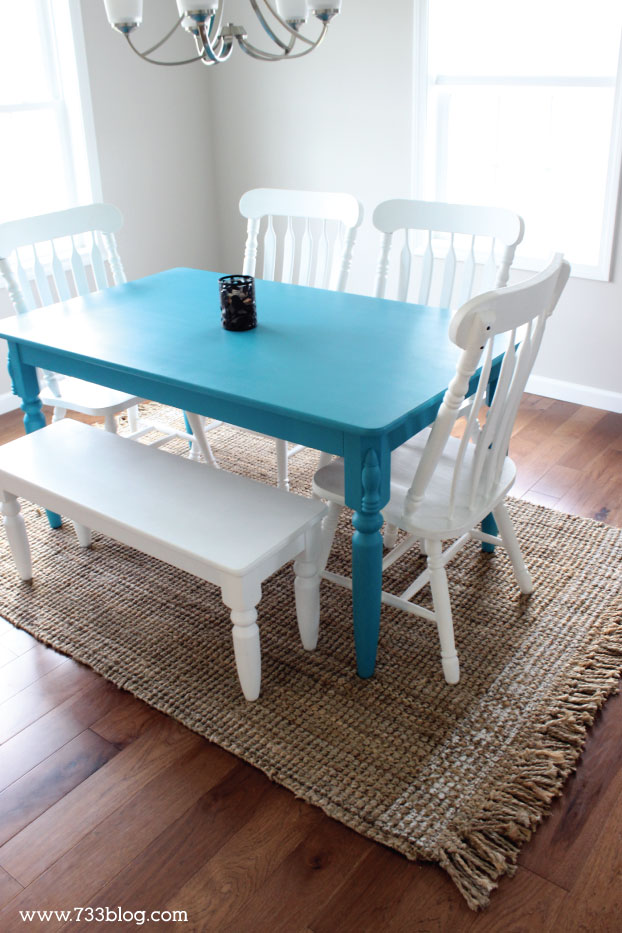
This post brought to you by Royal Design Studio. All opinions are 100% my own. Recently I shared a post of my new dining room on Instagram, which was looking a bit bleak. I am still in love with my painted dining room table, but the rest of the room was feeling bare. Since we’ve purchased so much stuff on top of building our new home I was trying to work within a $300 budget. Everyone agreed a side table and rug would help breathe a little life into my new room, so that is what I ended up adding, along with a fun piece of wall art. It still isn’t totally completed, but it is starting to have more personality, especially with my new DIY stencil rug!
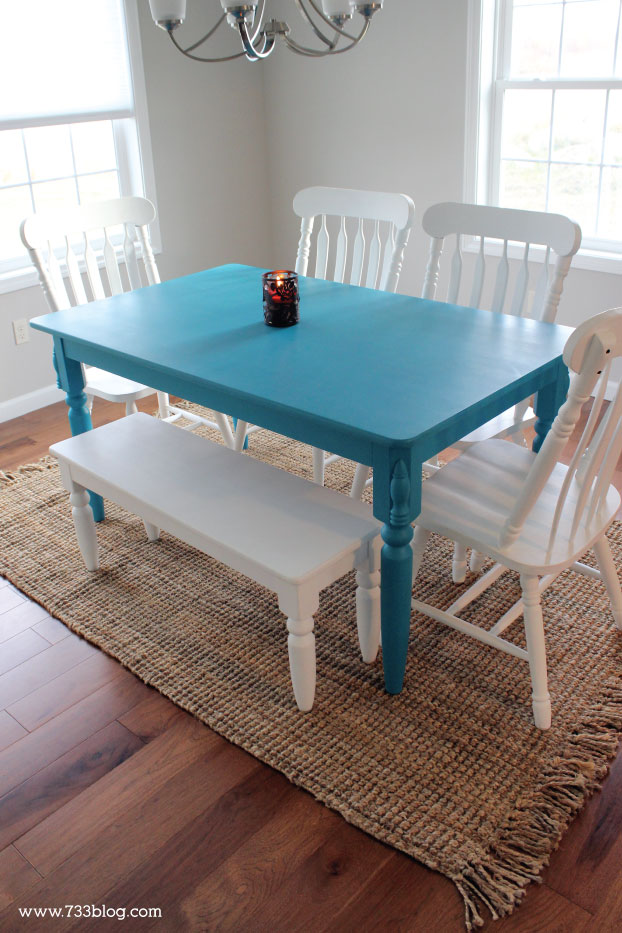
I ordered the rug online for $100. But of course, when ordering online you are sometimes taking chances because you can’t always see the full details of the piece. I was very happy with the rug when it arrived, though it had a larger weave than I was expecting. It was a very plain rug, so when ordering it I already knew I planned on painting it. I headed to the Royal Design Studio’s website to look around and found a really fun border stencil that I thought would look great on the new rug. I chose the Taj Tile Border stencil and the matching Taj Tile Indian Stencil, which I used in the corners.

It took about 25 minutes to paint both short ends of the rug, but it was a super simple process, which I’ll share with you!
HOW TO STENCIL A RUG
NOTE: One thing that I did not do was measure my rug and stencil pieces. I would recommend doing so if you have a smaller weave rug. I ended up having to fudge one portion of the stencil because it ended before reaching the next corner, but I didn’t have enough space to put a full flower. Because the rug weave is so large some of the stencil detail gets lost and no one but me will ever notice the error!
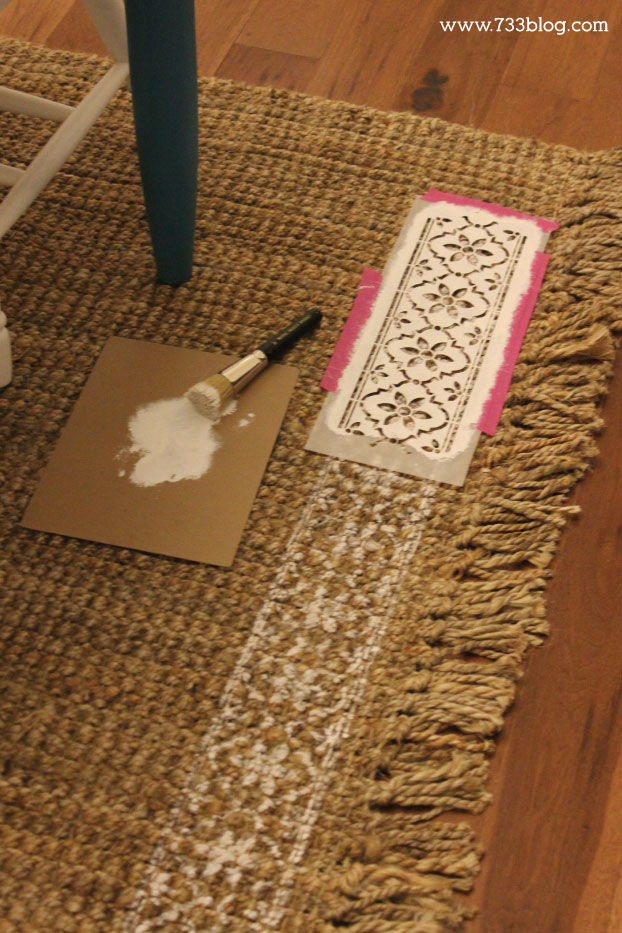
Starting in a corner with the corner piece of the stencil, tape it into place with masking tape.
Using regular white acrylic paint (though an upholstery paint or chalky finish paint would work as well), use a large stencil brush and stipple (just a straight up and down motion over the entire stencil) on the paint. Make sure to saturate the rug.
Lift the stencil off and tape the stencil border in place, lining it up with the lines just made. Again stipple on the paint.
When you move on to the next portion, make sure that the back of the stencil is clean so you don’t accidentally get paint on the rug.
Once I was close to the other side I laid my corner stencil where I wanted it and painted it. I then used the border stencil to connect to the corner piece and was finished.
The stencil is reusable too! Simply wash it with soap and water and store it someplace flat.
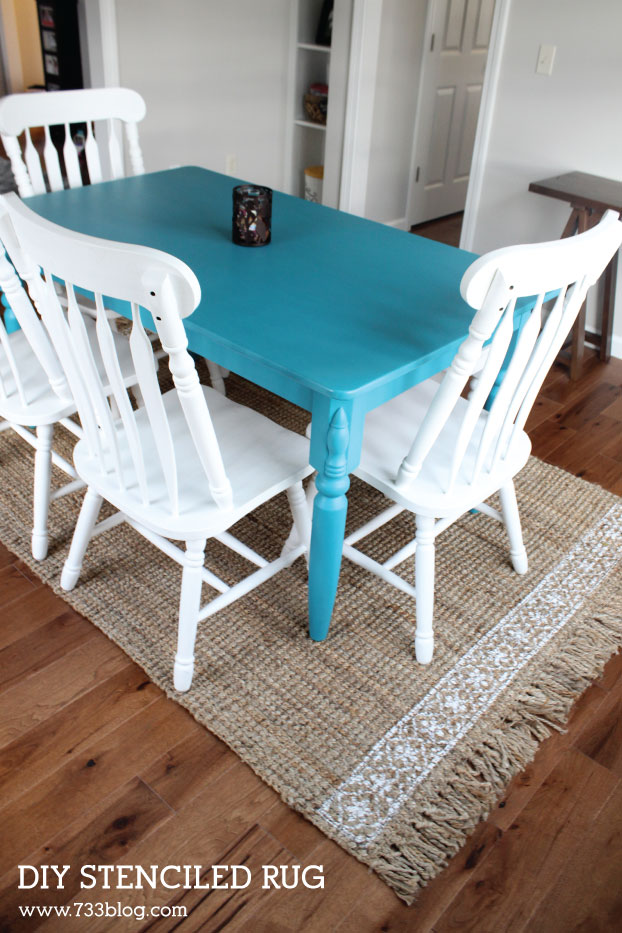
 I posted a picture on Facebook of the finished piece and everyone agreed that I shouldn’t paint the two long sides, so in just 25 minutes I had a gorgeous, custom DIY Stencil rug!
 So much better stenciled, right?! Have you ever stenciled a rug? Is it something you would try?


Nice rug where did you get it?
Rug came from Amazon. Great price with Prime Shipping. 🙂