
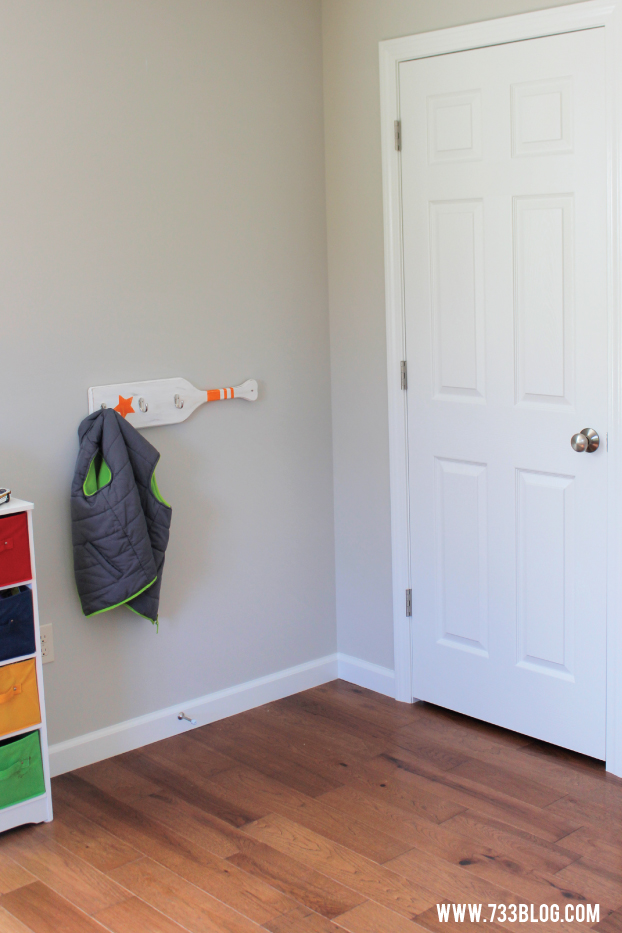
When I saw this Oar while browsing online, I fell in love. Something about it spoke to me and I wanted it for my son’s room. My mind instantly went to the wall space next to his closet door, and how he could use a few hooks to utilize that space. He likes me to pick out his clothes still, so having hooks to hang his clothes the night before would be helpful. And the DIY Oar Coat Rack was born!

This is a super easy project that took me, start to finish, 1 hour! Want to make your own?
SUPPLIES:
Wood Oar
Paint colors of your choice – I used brown, white and orange
Painters (or washi!) Tape
Paint Brush
Coat Hooks
Drill
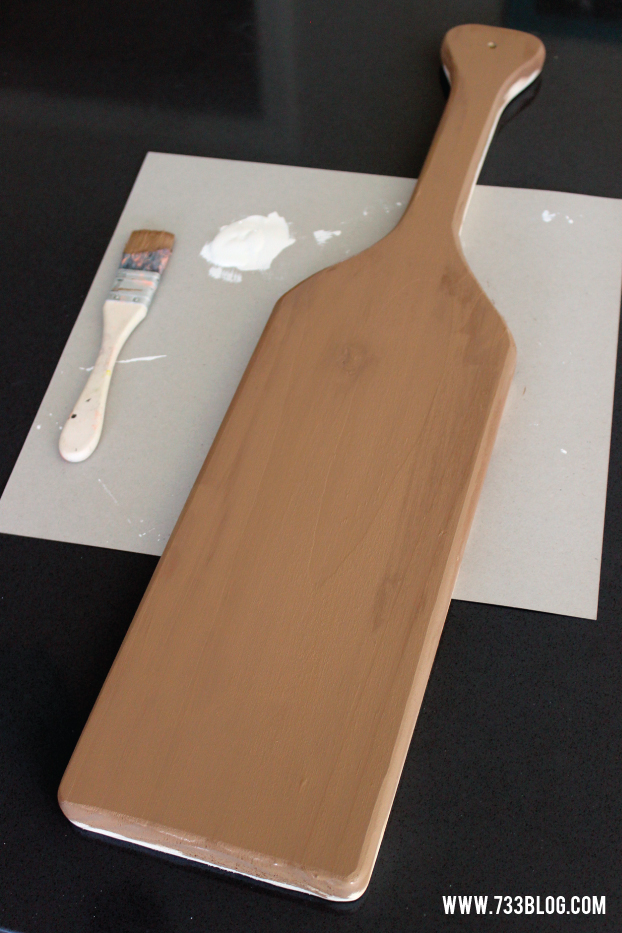 I wanted to give my oar a distressed look, so I started by painting it brown.
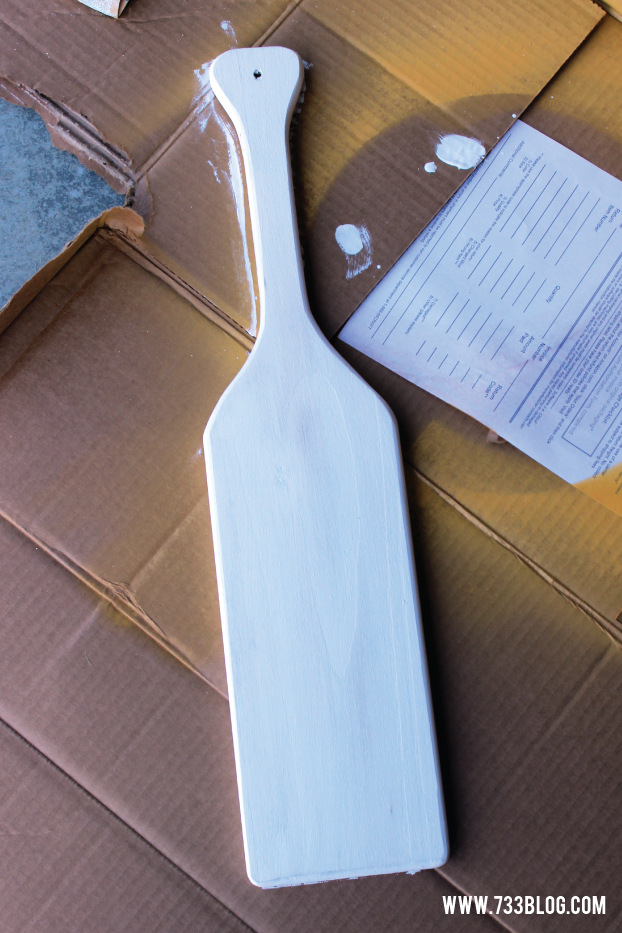 Once the brown was almost completely dry, I added a coat of white – having the brown just a tad wet allows the white to pull and mix some of the brown in, enhancing the distressed look.
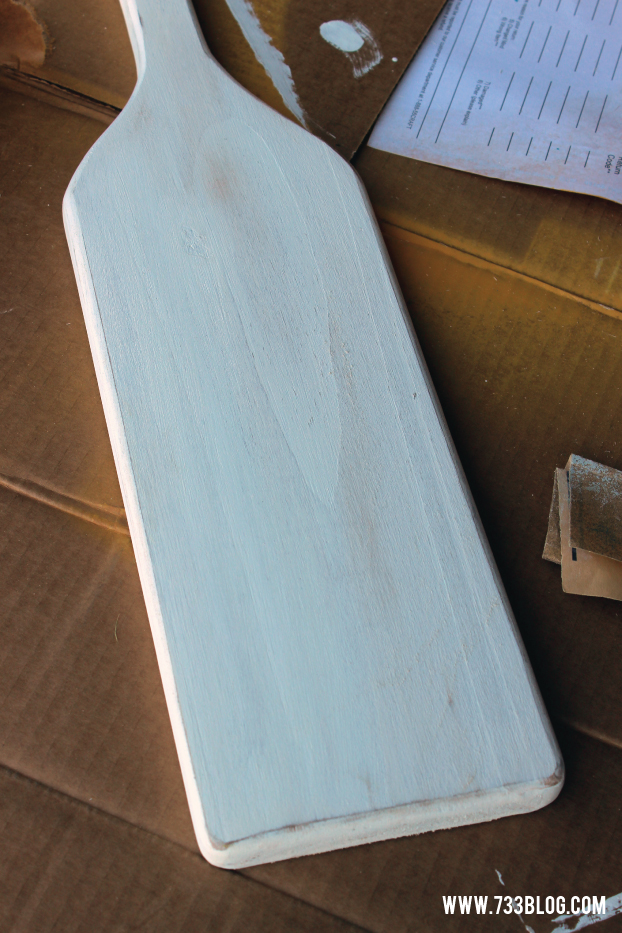 Once the white was completely dry, I sanded down the edges and some other spots of the oar to give it the distressed look I was going for.
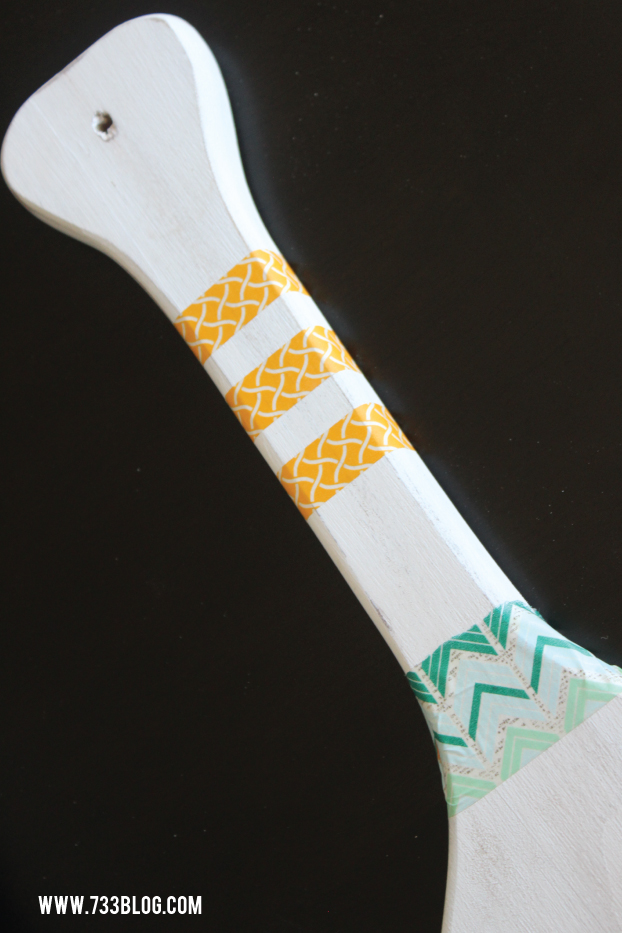 I used washi tape (because I was out of painters!) to create stripes on the handle. I also used a star stencil to add a little interest on the end of the oar.
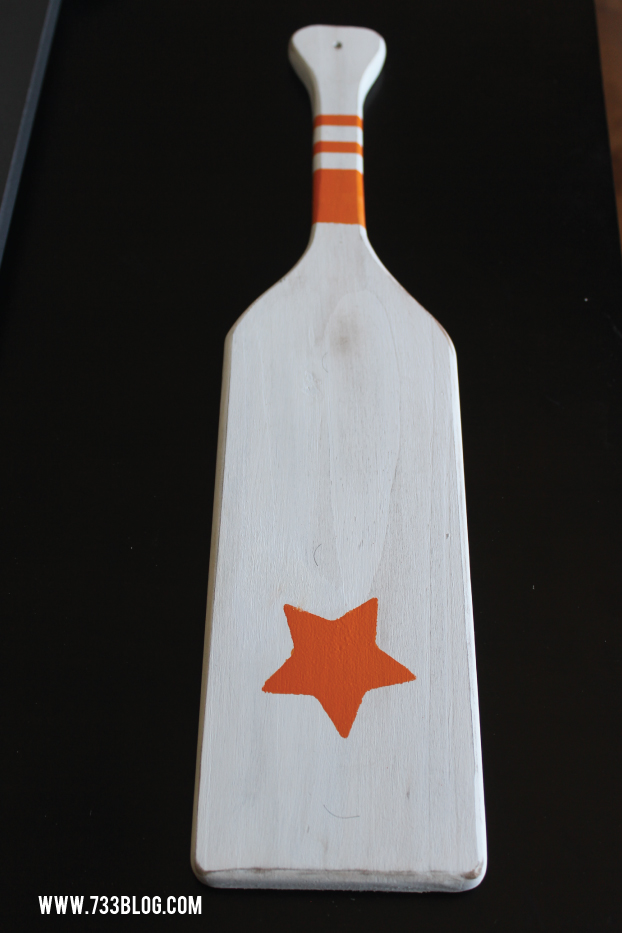 Get creative and customize your oar however you like.
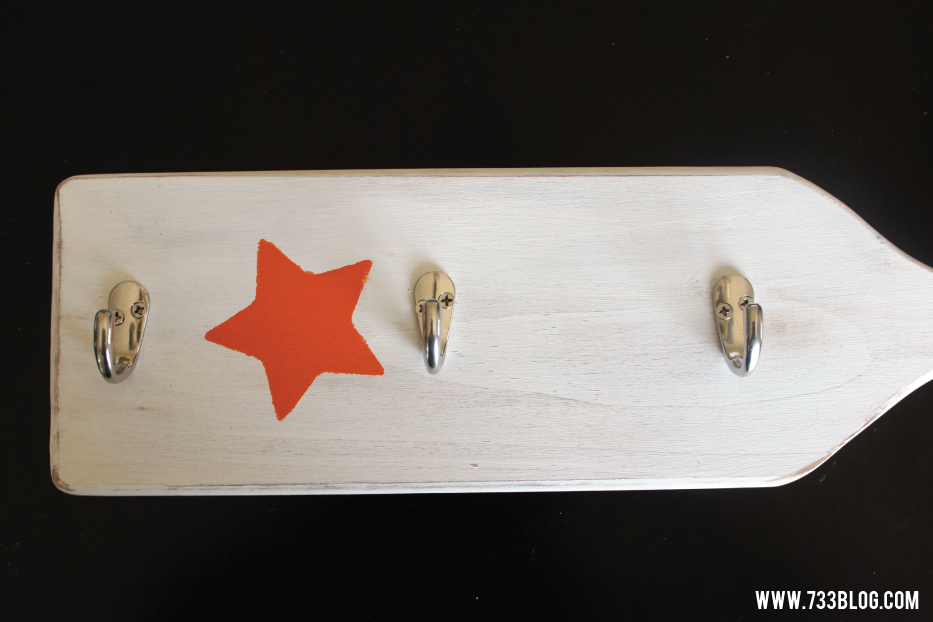 Once the orange paint was completely dry, I sanded the edges a bit to distress it and then I added the coat hooks to the oar – mine were about 5″ apart.
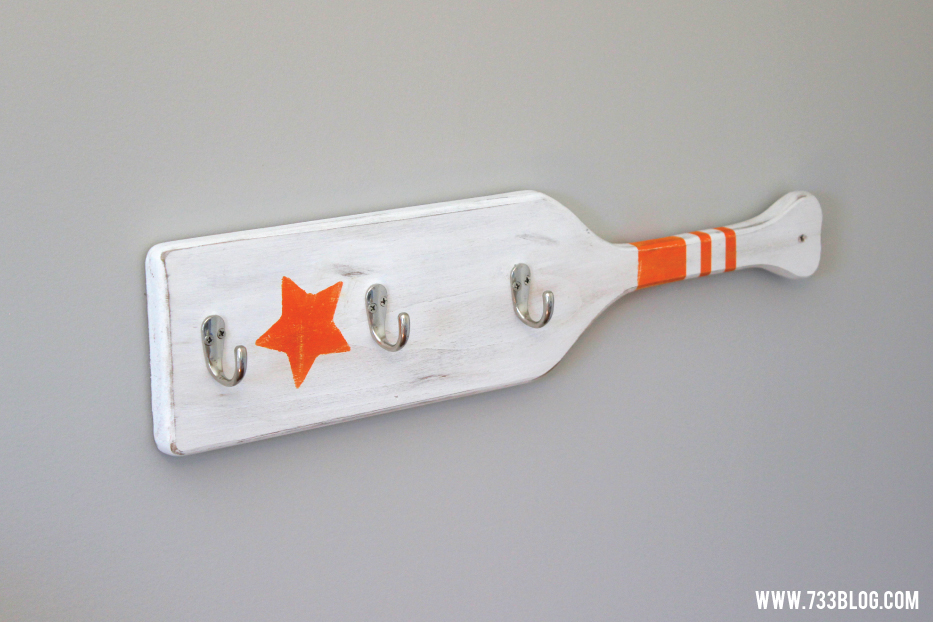
 That’s it! You have a fun and unique DIY oar coat rack! Now to figure out what I’m going to put above it!


I love the oar and great use of Washi tape, it’s one of my favorite things … ever! LOL
Can’t wait to keep reading and catch up!