
You’ve all been in a paper aisle at a store and had your eye immediately drawn to really bright, colorful paper, right? I know I have! And 99% of the time it is AstroBrights papers. When I was looking for envelopes to mail out my daughters Little Einsteins Birthday Party invites and needed something BRIGHT and RED, Astrobrights envelopes are what I ended up with. Talk about ATTENTION grabbers! These brightly colored products will help get you noticed.
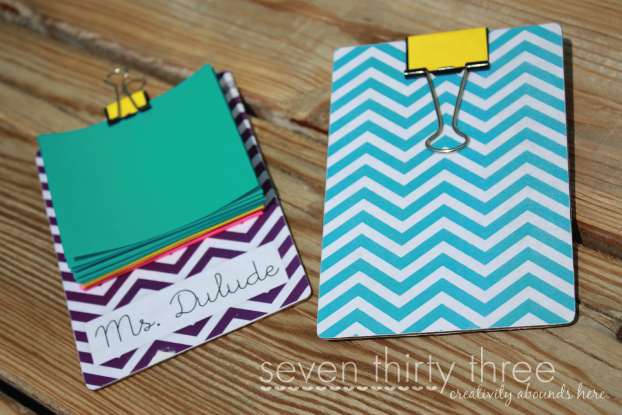
I was challenged by Astrobrights to create a Back-To-School craft using some of their colorful papers. You know I can’t pass up a good challenge… so today I am going to show you how to make a mini-clipboard to hold little notepaper or sticky pads, in this case I cut up the Astrobrights paper and made colorful notepads.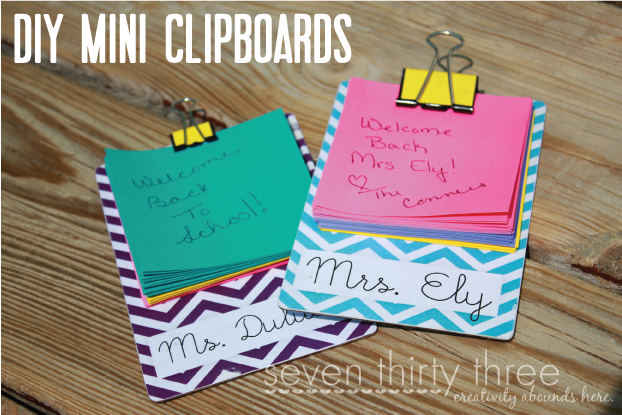
Supplies Needed:
Chipboard | Mod Podge | Medium Binder Clip | Paint Brush
Scrapbook/Decorative Paper | Astrobrights Paper
My day job is a Marketing Director for an Office Furniture dealer and we have a constant supply of fabric and finish swatches. I was going through our library and was cleaning out the obsolete product when I noticed that some of the finish samples looked like they would make perfect mini-clipboards so I set a few aside. If you don’t have access to finish samples, no worries! Chipboard would work perfectly as well – look at some old notebooks- I bet you could cut the perfect shape from one of the back chipboard covers. My samples were 3.5″ wide by 5″ long and were the perfect size.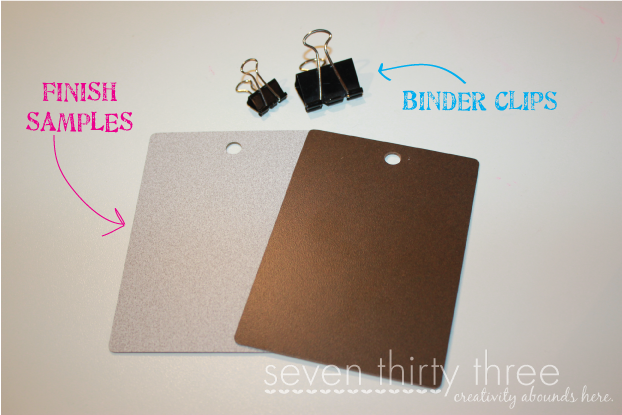
I created a design on the computer with my children’s teachers names that fit the dimensions of the finish sample and printed it off. {You can also use scrapbook paper, ribbon, whatever you want – get creative!}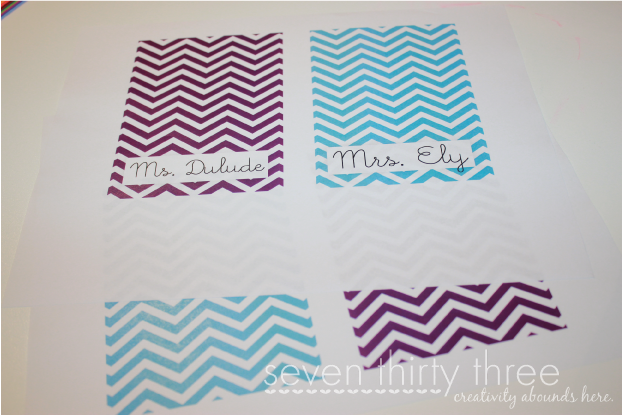
Cut your paper to just a smidge bigger than the “clipboard”.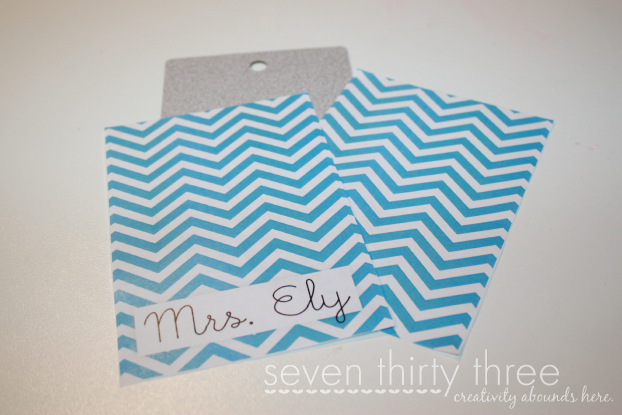
Brush a light layer of Mod Podge Matte onto the front side of the “clipboard”.
Adhere the paper. Work out any air bubbles and crease the paper along the edges.
Using a fine grit sandpaper sand down the edges of the paper. Starting from the top and angling down and out (this is key when you do the backside because you won’t want to take off any of the front side paper or tear it up from the board).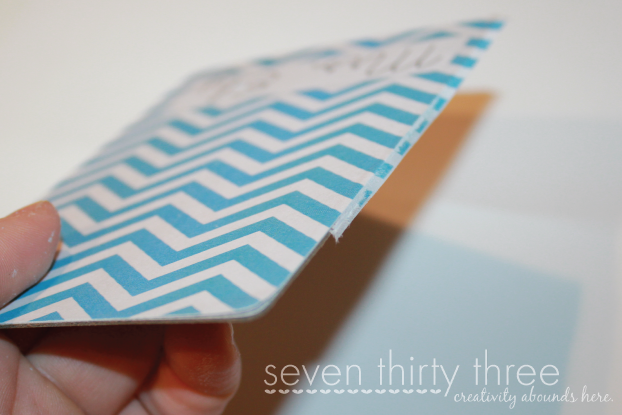
Once you sand all the edges, add another layer of Mod Podge Matte on top of the paper. Let dry completely and then turn over and repeat for the backside.
While the clipboard is drying, grab your binder clip and some paper. Cut a small strip of paper to size, add a layer of Mod Podge to the clip and adhere the paper to it. Set aside to dry.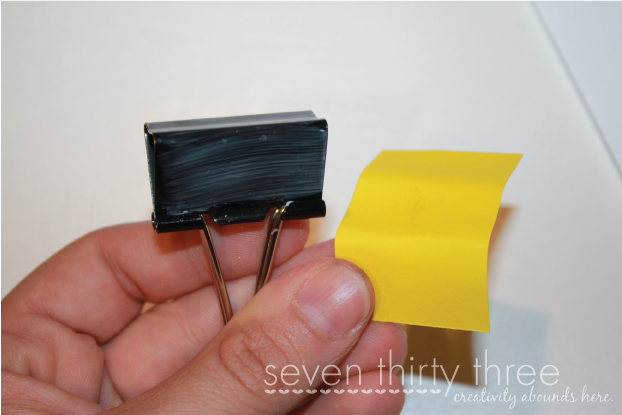
Using a paper cutter or scissors, cut up your Astrobrights paper to create your notepad.
I went with 3″ x 3″ squares.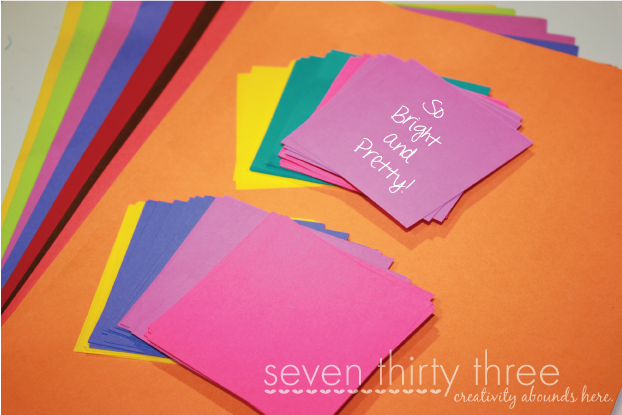
Put the pile of paper onto the clipboard and clip into place with the binder clip and you’re done!
A super sweet Back-To-School gift for your child’s teacher.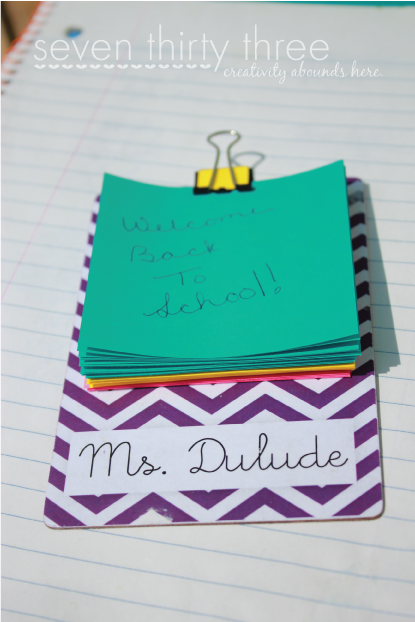
Before you go, have you heard about Astrobrights “Give a Brighter Year” Sweepstakes? You could win a cash prize and school supplies for the Elementary school of your choice! To enter the sweepstakes, visit the Astrobrights Facebook page and click on the “Sweepstakes” tab.
Astrobrights is also hosting a family-friendly Make Something Astrobrights Design Challenges on their Facebook page. The first challenge started on July 16 and is super simple! Simply find something amazing that could be made even better with Astrobrights Paper. Whatever it might be, start searching for inspiration and send them a link. See, told you it was easy! You could win a $100 Visa gift card or Astrobrights paper products! There are 4 challenges and each one has a large prize so make sure you stop by and check it out. I’m definitely going to be participating!


Too cute, Kim! Going to have to make some of these for Kate’s teachers!
Super cute, and I do love those bright colors!! Our daycare teachers would love these. 🙂
This is adorable! Such a cute idea. My daughter would love it. She has a thing for school supplies and pens… just like her mommy ; )
Very cute idea! Those papers are so brite and pretty! 🙂
What a great idea! My daughter need a clipboard for school, I’m going to make one for her.
Thanks,
Claudia
That is darling. Perfect way to keep track of the little things 🙂
Wonderful idea!Thanks for sharing!
What thoughtful teacher gifts!
These are so adorable! Make me want to be a teacher 🙂
Ha ha! I think these would work perfectly as a magnet on a fridge, or for someone in an office! I’m an equal-opportunity-clipboard-gifter. 🙂
Love those. Makes me wish I were still teaching!
Thanks for sharing with us at Someday Crafts Kim! I’m featuring your project tomorrow afternoon on the blog! Thanks again for sharing your talent with us!
-Missy@Someday Crafts
Very creative!
Cute project!!!! What is chipboard and where can I find it? 🙂
Chipboard is the cardboard on the back of notepads. You can usually find some nice thick kind at craft stores (or even off an old notepad). Just make sure it is nice and super thick!