
 Hi everyone!
I am thrilled to be here today sharing this
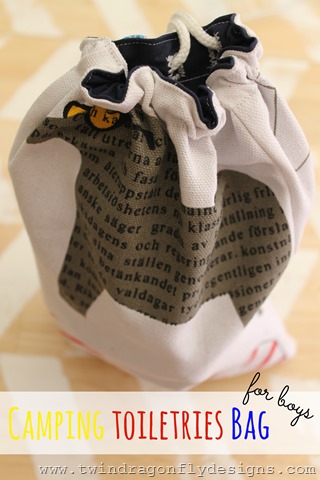
Camping Toiletries Bag.
We share a love of camping with Kim and her family. And we drag our boys out into nature every chance that we get. We recently moved up in the world of camping to a tent trailer. Were are not quite glamping yet but have definitely moved in the right direction. Our trailer does not have a washroom so we are still at the mercy of our campground facilities. A place to store and carry toiletries is a must have for us. This year I decided to create one especially for the boys.
Here is how you can too…
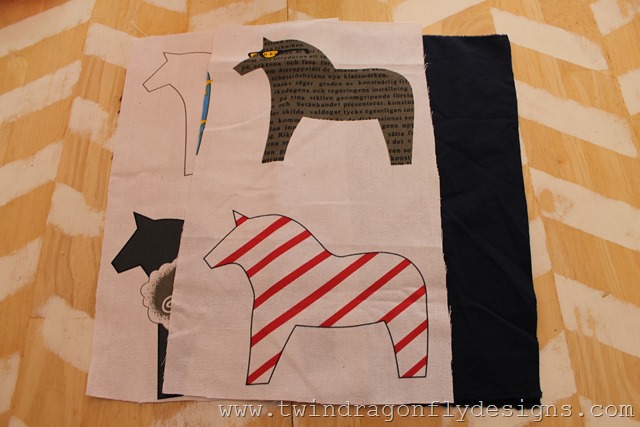
1. Start by cutting out four rectangles of fabric. Two for the outside of the bag and two for the inside. I used a sturdy cotton canvas material.
2. With right sides facing, sew the outer rectangles together, leaving the top open.
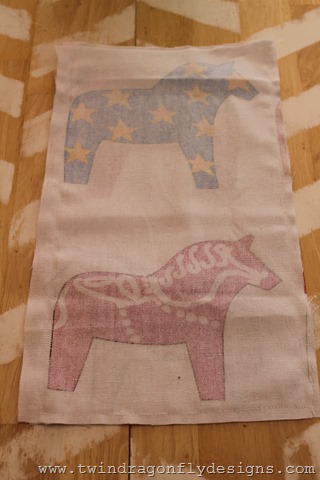
3. Sew the inner rectangles together, leaving the top open.
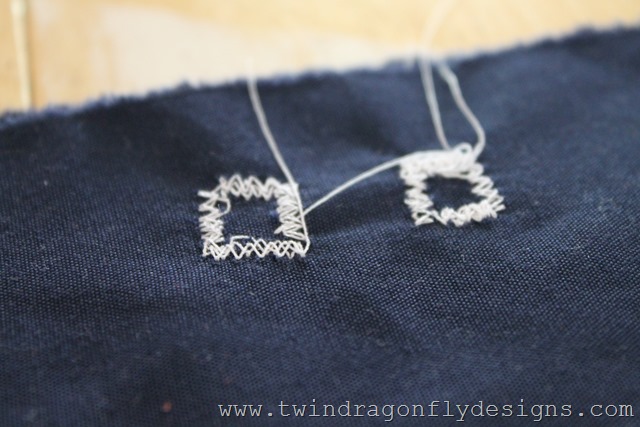
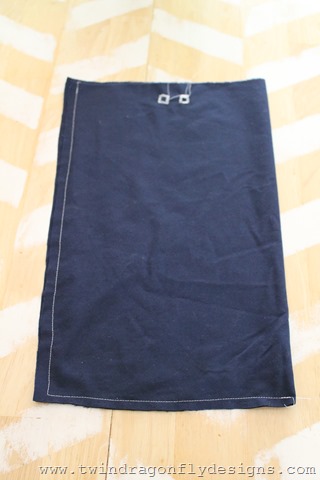
4. Using a zig zag stitch create two rectangle shapes at the top of the inner bag.
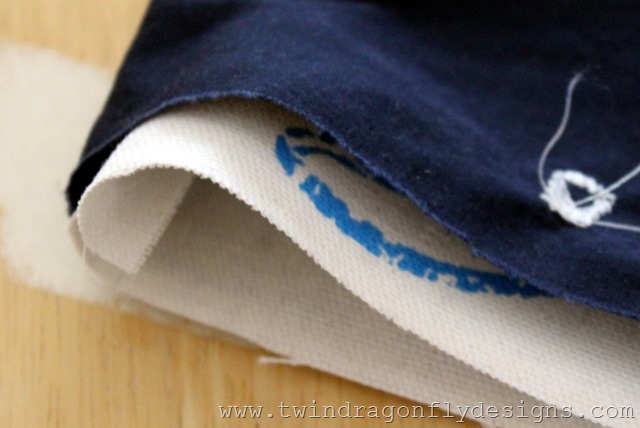
5. Place the outer bag into the inner bag, right sides facing. Sew together at the top, leave a 1 inch hole for inverting.
6. Invert the bag and tuck the inner bag into the outer bag.
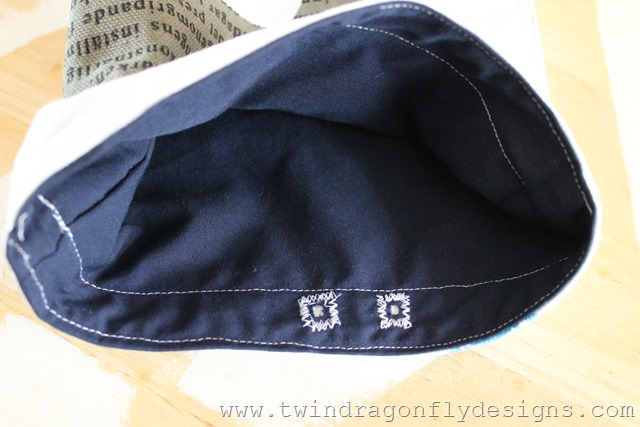
7. Top stitch around the top of the bag and create a pocket by stitching about 1 inch from the top of the bag, all the way around.
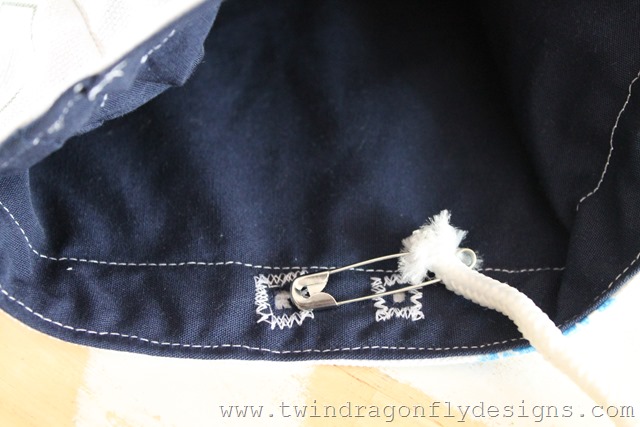
8. Thread a cord into the pocket to create a drawstring.
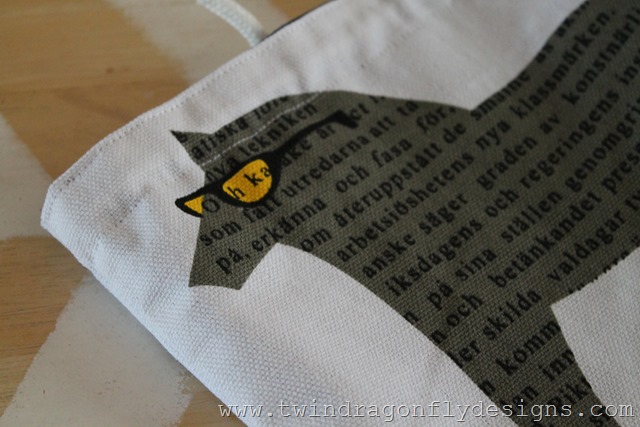
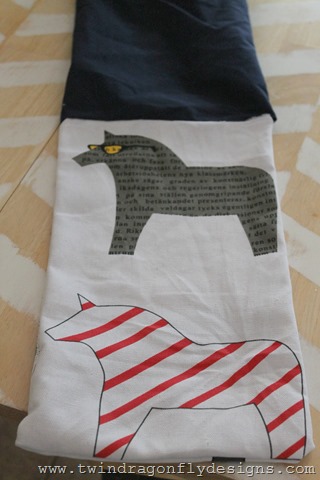
I love the look of this “cool dude” horse {as my kids would say}.
The dollar store is the perfect place to find travel sized toiletries.
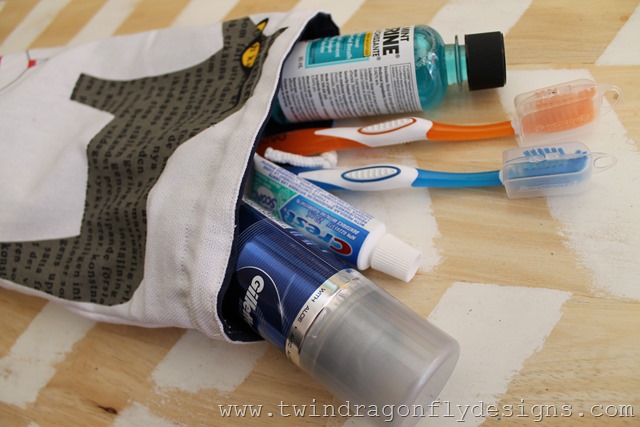
Fill the toiletry bag and you are good to go!
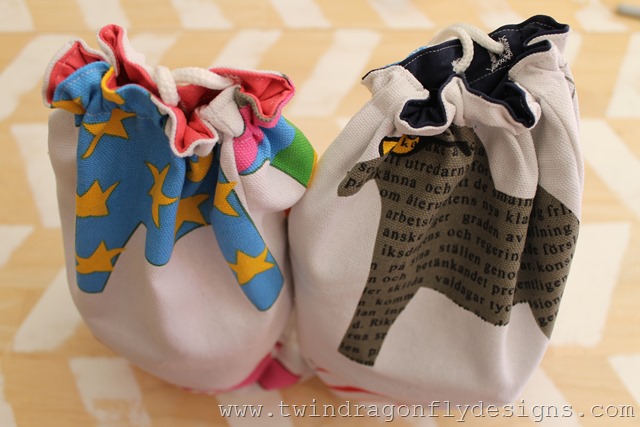
I created coordinating boy and girl bags. This way if we all want to head to the facilities to shower at the same time, we all have our own stuff!
Thanks for reading! I hope that you will come visit Dragonfly Designs sometime!


That’s such a great idea!! I just posted on Craft Gossip linking to your tutorial. –Anne
http://sewing.craftgossip.com/tutorial-camping-toiletries-bag/2013/06/11/
Quick and simple – love the fun fabric too, great for boys – good pick!