
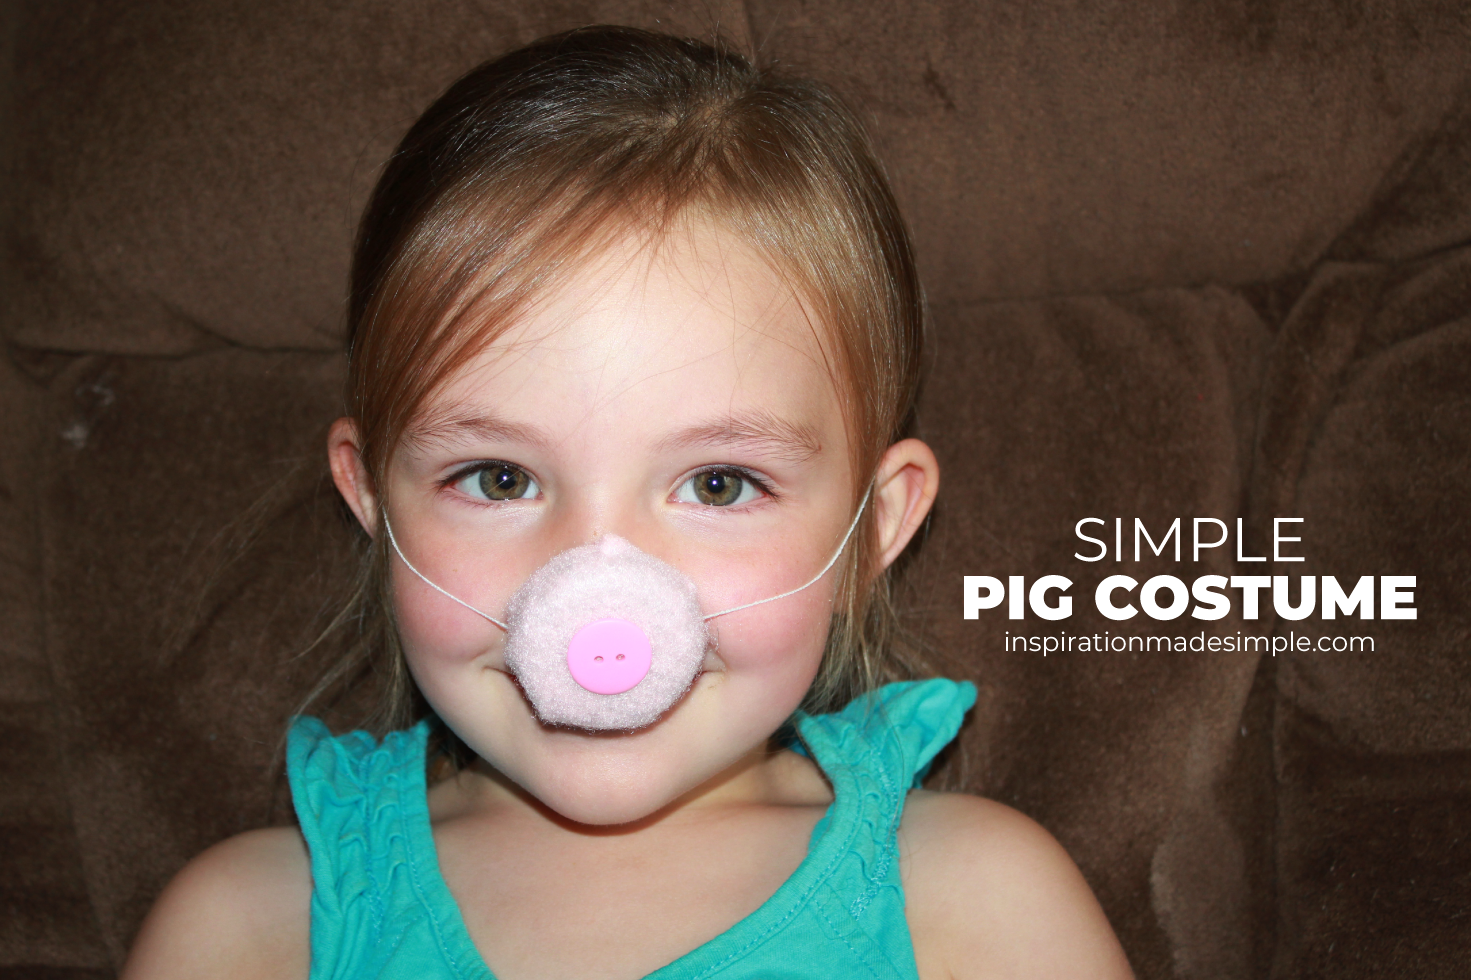
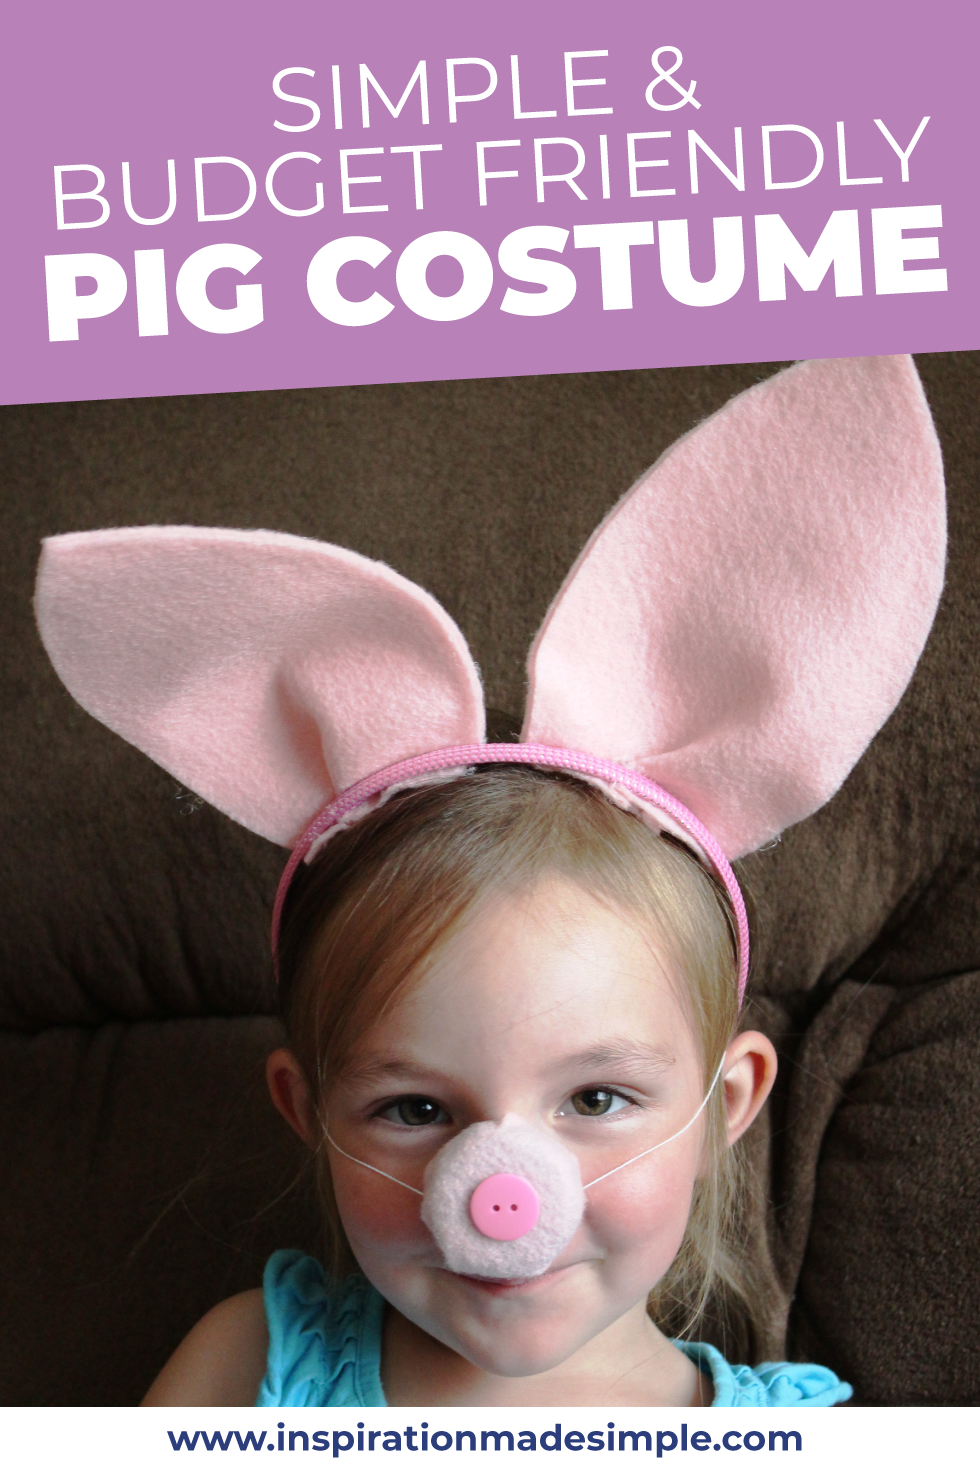
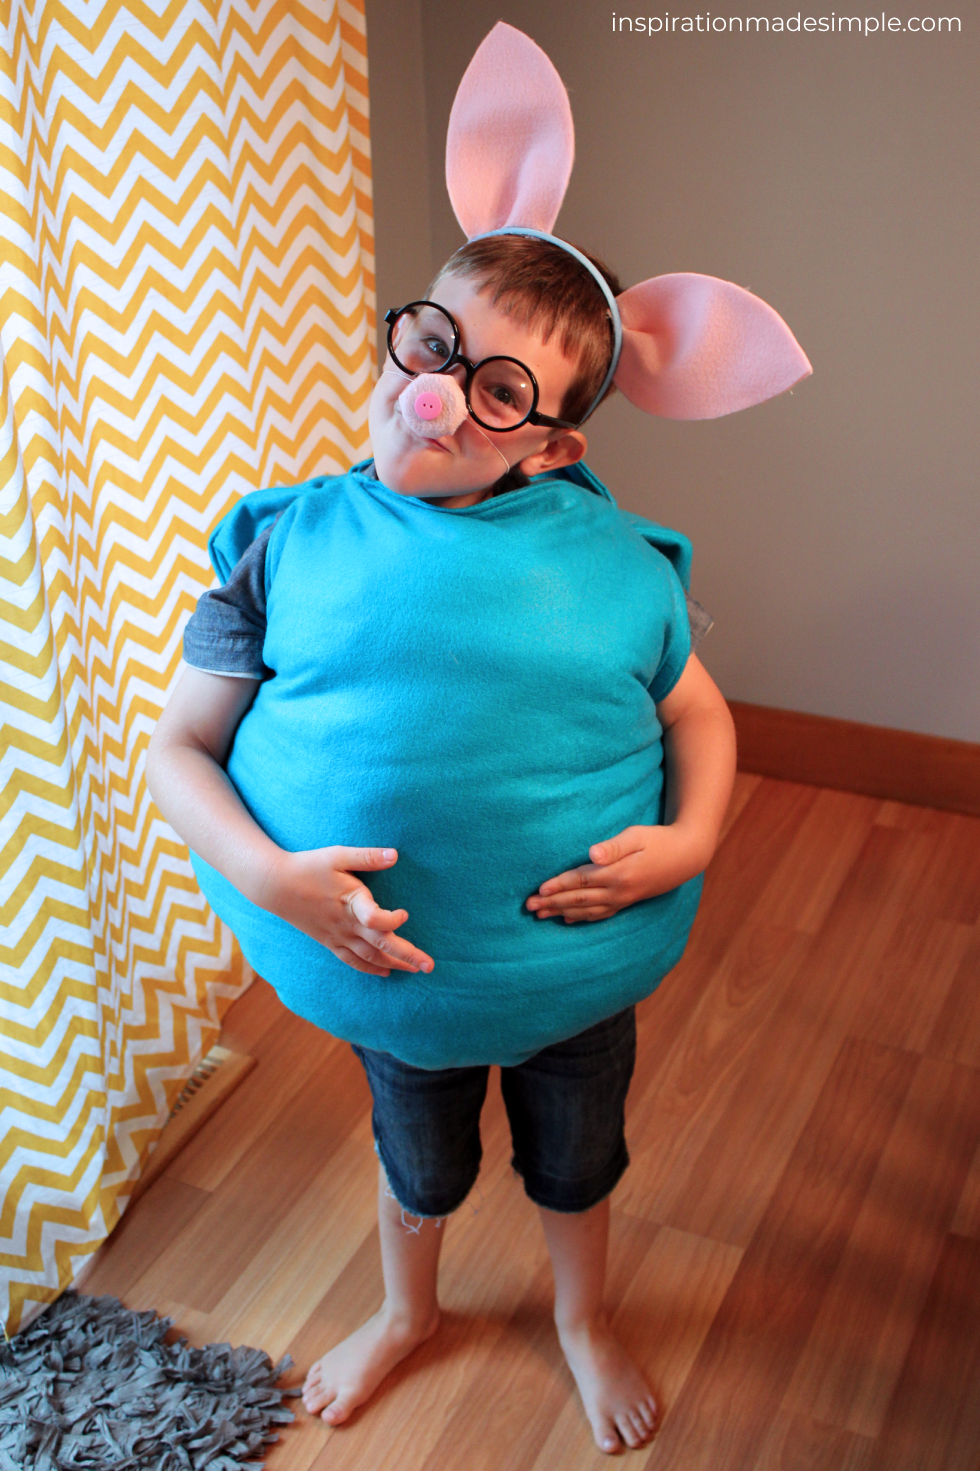
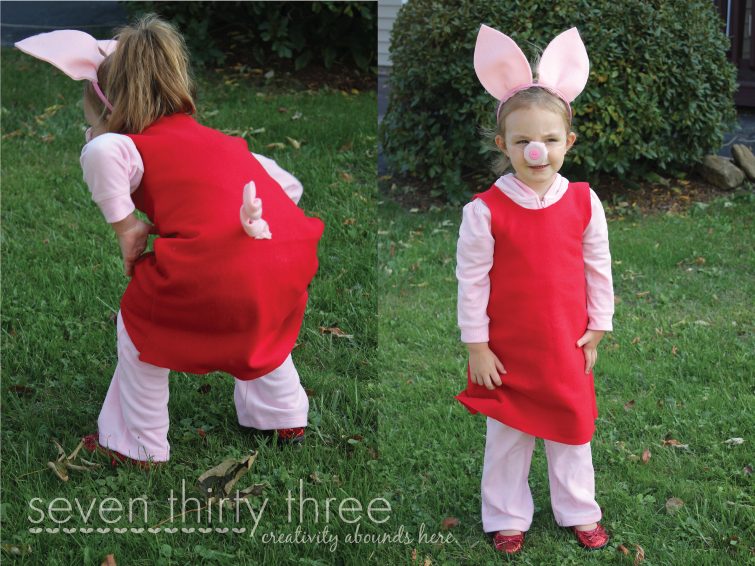
If your kids are anything like mine, they love playing dress-up and pretend play around some of their favorite characters. When Olivia was 3 her very favorite show was Nick Jr’s Peppa Pig. It came as no surprise when she requested to be Peppa Pig for Halloween that year, though I was absolutely delighted when Mason decided he would join her and dress as big ole’ Daddy Pig. He thought it would be hysterical to wear round black glasses, have chin hair, and be round as a beach ball and they were both super excited about it. My son and daughter have decided to be Peppa and Daddy Pig from the Nick Jr. show Peppa Pig. That is what inspired me to find a simple way to create a DIY Pig Costume, and it was a hit! Your kids may not be Peppa Pig fans, but if they’re doing a play or want to play dress-up, this is a fun and easy craft that you can do with them.

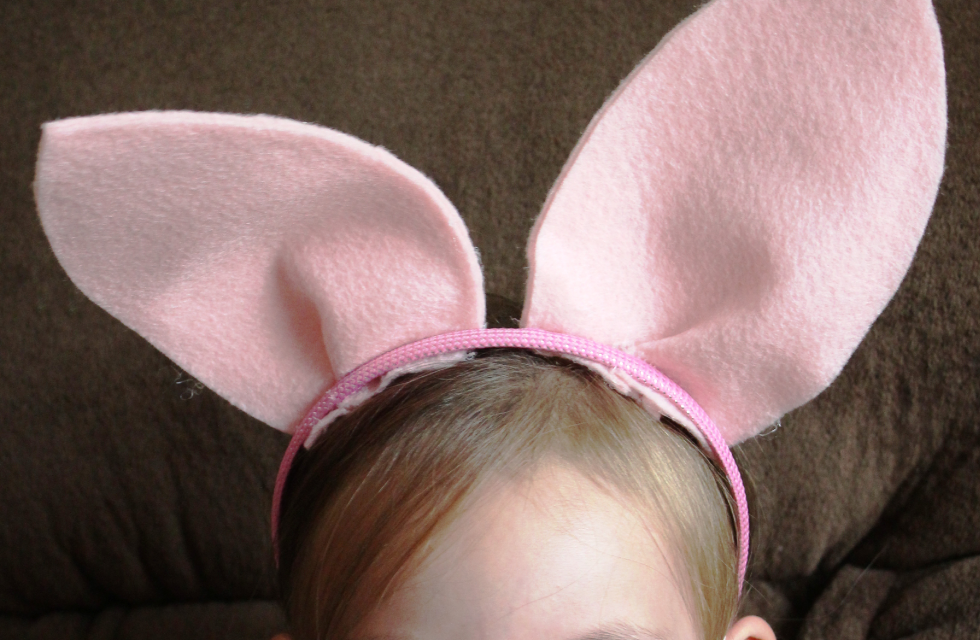
Adorable, right? She’s totally wearing the ear’s backward in the above photo and it doesn’t even matter! Look at the joy on her face. If you’re looking for an affordable and simple Pig Costume Tutorial, this one doesn’t get any easier!
HANDMADE COSTUME
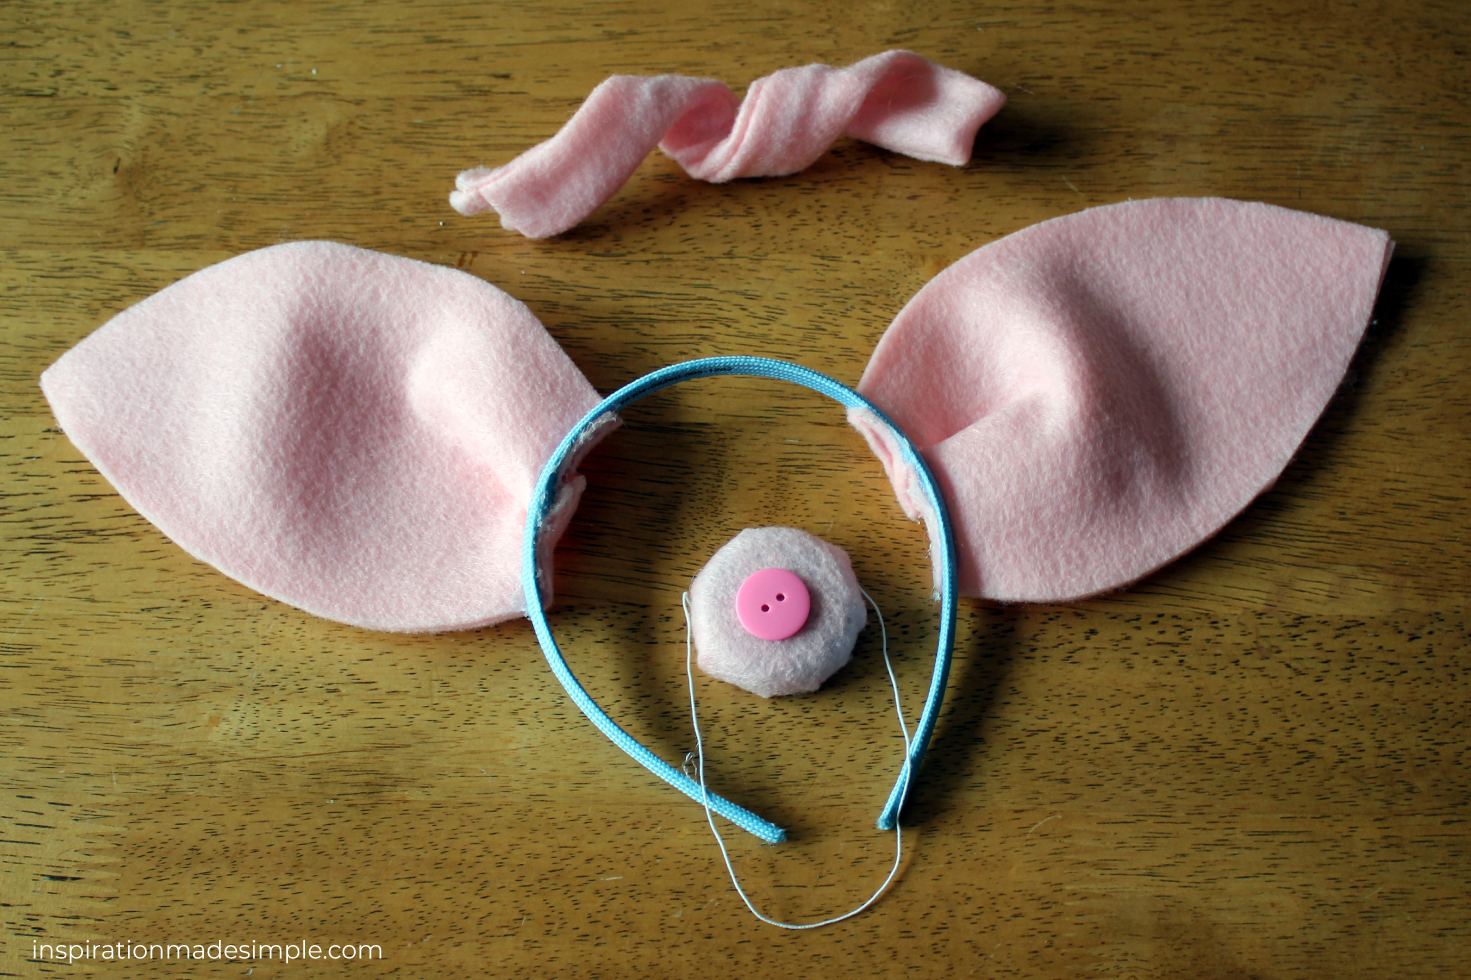
To make the big ears, a cute little piggy nose, and a curly-q tail you will need the following supplies:
- 5 sheets of 9×12 pink felt
- Large Plastic Bottle Cap – Powerade or Gatorade caps are perfect
- Elastic Thread
- Pink Button
- Pipecleaner
- Headband
- Hot Glue Gun
- Sewing Machine (optional)
DIY PIG EARS
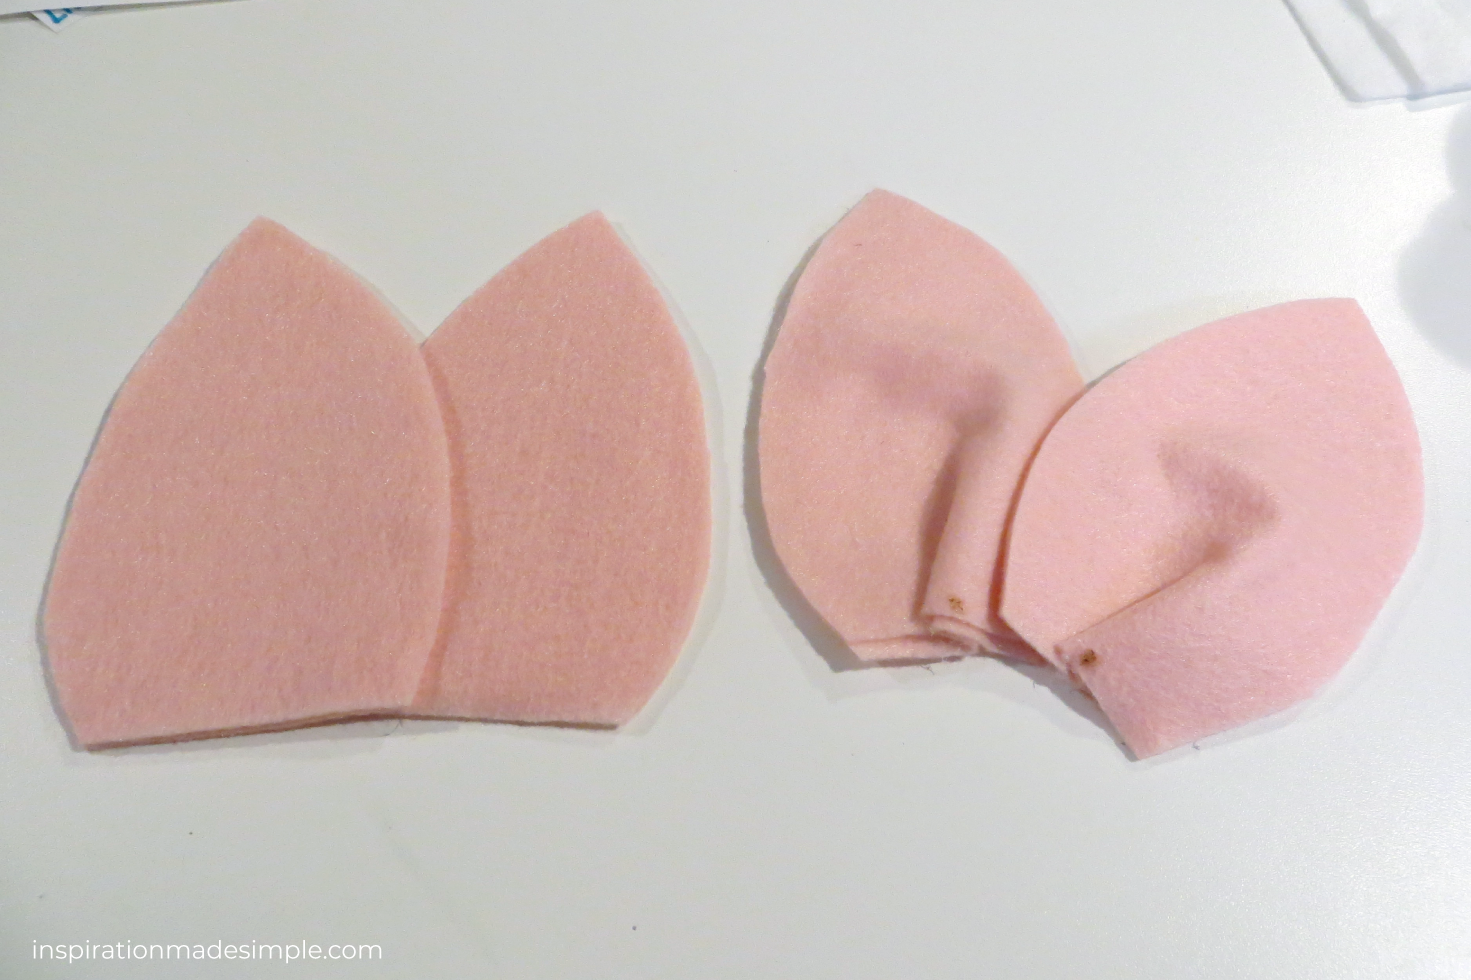
To make the ears draw a template onto a piece of paper so that you get the size and shape that you want.
Traced onto the felt.
Cut two pieces for each ear and glue them together to help them be a bit stiffer and allow them to stand up.
Add a small fold in the middle of each ear using hot glue (see right ears in the above photo.
Glue to a headband for some cute piggy goodness.
TIP: Need bunny ears? This same process would work for those too!
DIY BOTTLE CAP PIG NOSE
 To make the cute little pig nose simply cover a large plastic bottle cap with pink felt and hot glue.
Once the cap is covered, glue a pink button onto the front to act as nostrils.
Glue a length of elastic thread to either side of the inside of the cap to secure it in place.
DIY CURLY-Q PIG TAIL
Lastly curly-q pig tail was created by making a small tube out of pink felt and inserting in a pipe cleaner. I chose to use a sewing machine for this process, but hot glue would work as well.
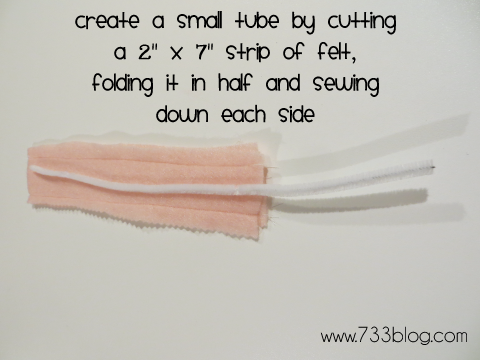
Cut a 2″ x 7″ strip of pink felt.
Fold it in half so that you have a 2″ x 3.5″ strip and sew down the sides, leaving the bottom open.
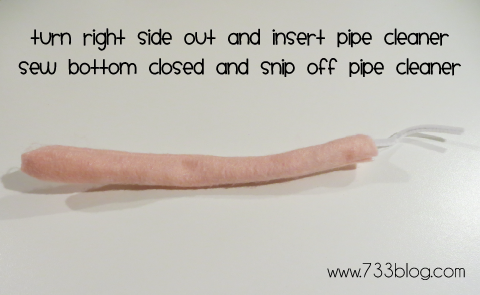
Turn right side out.
Insert the pipe cleaner.
Sew the bottom closed.
If you are attaching the tail to a costume, you can snip off the pipe cleaner. If not, you may want to leave it in place so that you can twist it around a belt loop, or belt.
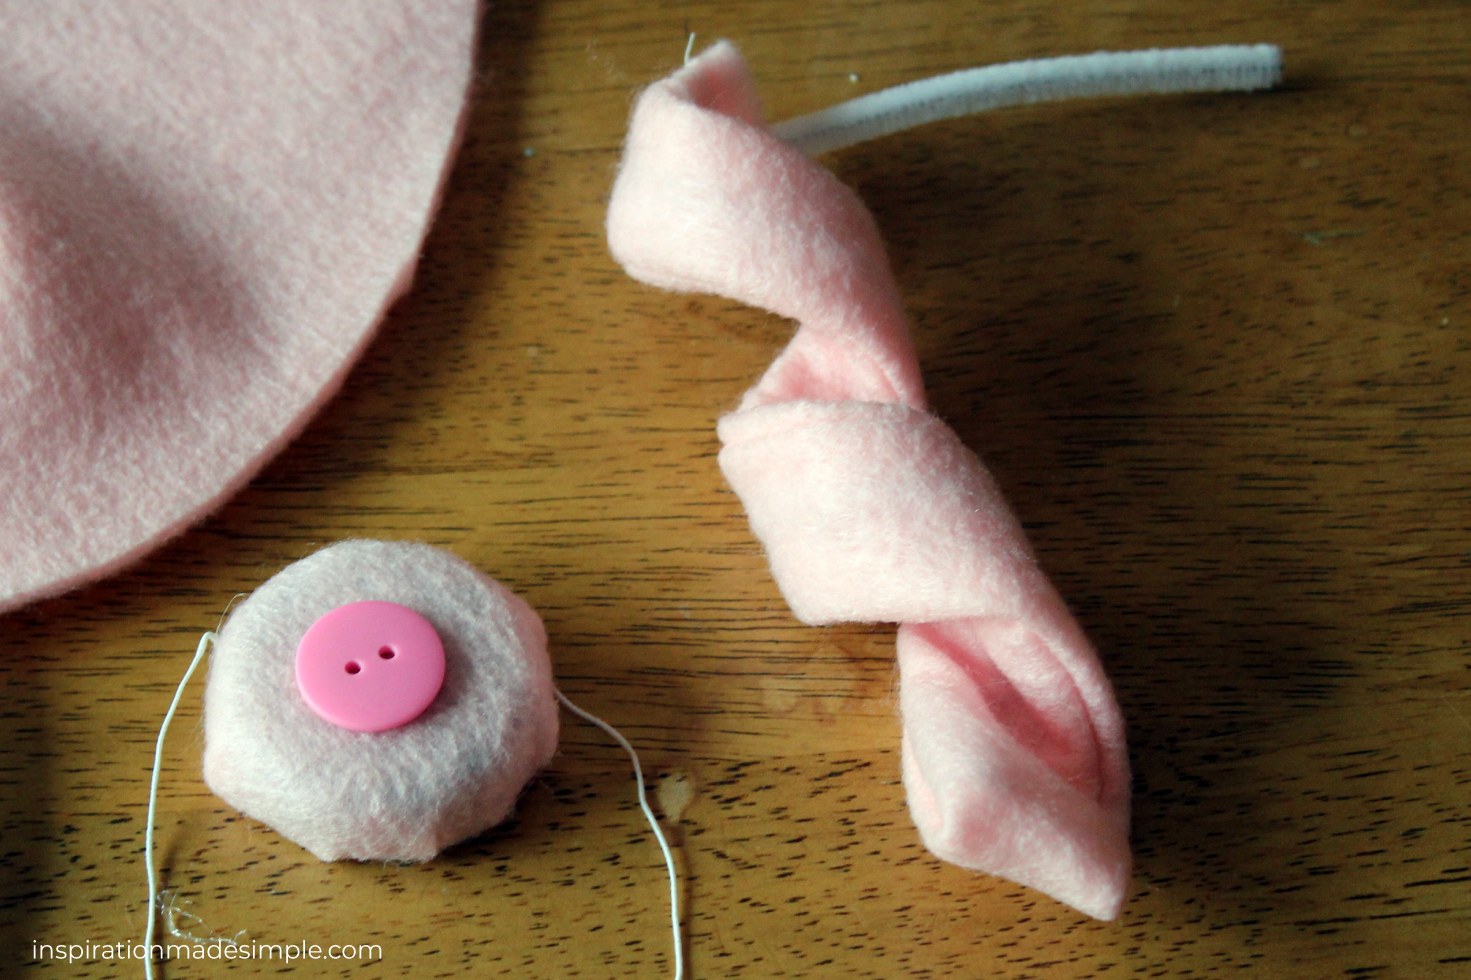
Wrap the straight tube around your finger to get the perfect twist!
That’s all there is to this simple DIY Pig Costume! I hope you and your little ones had fun making it and even more fun playing dress-up!
If you’re kids are Peppa Pig fans, then check out the Daddy and Peppa Pig Costumes I made with felt and sweatsuits!

this totally cracks me up this morning!!! haha love it
OH my goodness…too cute! My daughter loves Peppa pig too!
That little piggie needs a pancake!!!!! Super cute! My munchkin is a huge fan of piggies, mostyly toot and puddle!
What will you use for your daughters clothes? We are thinking either Peppa or Olivia.
Good question Kristi! I’m sharing her costume this Friday!