
As I’ve mentioned, I recently moved into a new home. It’s a new chapter in my story and I’m very proud of the home I’ve created for myself and my children. Although I’ve never loved raised ranches, I fell in love with this little house. It’s the perfect size for us. Easy to clean and it just feels like home. The outside needed a little TLC, so I made some simple changes to up the curb appeal! I updated the shutters, the outdoor lights and the screen door. Plus I used a little elbow grease to create a gorgeous front door.
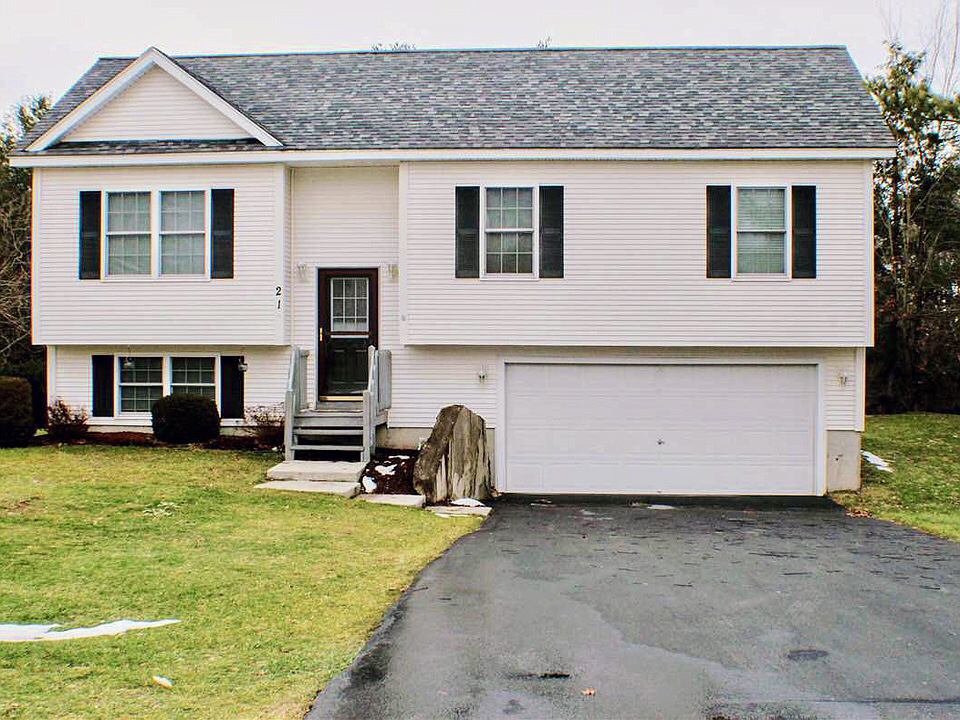
Above is the MLS listing photo for the house. It just looks a little blah, right? The white lights blend in with the siding and although you can’t tell in this photo, the shutters were pretty faded.
I’ve become known for my front doors. At my last house I added a beautiful dark navy blue door to the gray house and it was something that people commented on regularly. Since it was a new neighborhood still under construction, I would have people stop and knock on my door to ask my siding, roof and door colors!

Since this house is white, I decided to replace the faded black louvered shutters with Bedford blue paneled ones. I almost matched the front door to the shutters… but decided to take a chance and go with a gorgeous teal instead. Now I will admit, I questioned this decision a couple of times… even as I was painting it! But in the end, I love it. It is bright and fun and gives the house a new feel. Much better, right?!
I used Modern Masters Never Fade Front Door paint in Tranquil. If you’re looking to paint your door, I definitely recommend this paint. It is super simple to apply and the dry time is fairly quick. I did this project on a warm Sunday so that I could complete it in one day. I left the door on the hinges and used painters tape around the window. I had just installed the door knob and deadbolt and had a heck of a time getting it set properly, so rather than remove it, I used painters tape around both.
I started at 9am by priming the door, as the owner before me had used an oil based paint on the door. Once the primer dried, I added a coat of the Modern Masters paint. I followed the directions and started with the panel portion of the door – the indented portion first. I used a foam brush and a foam roller. The application was fairly quick – about 8–10 minutes to complete the whole door. I then left the door open and allowed the coat to dry for two hours. I repeated this process two more times for a total of three coats. I then left the door open until I went to bed that night. The best part? The paint is under $50 and I only used about 1/3 of the container! If you’re looking for a change to add to your curb appeal… paint your front door!
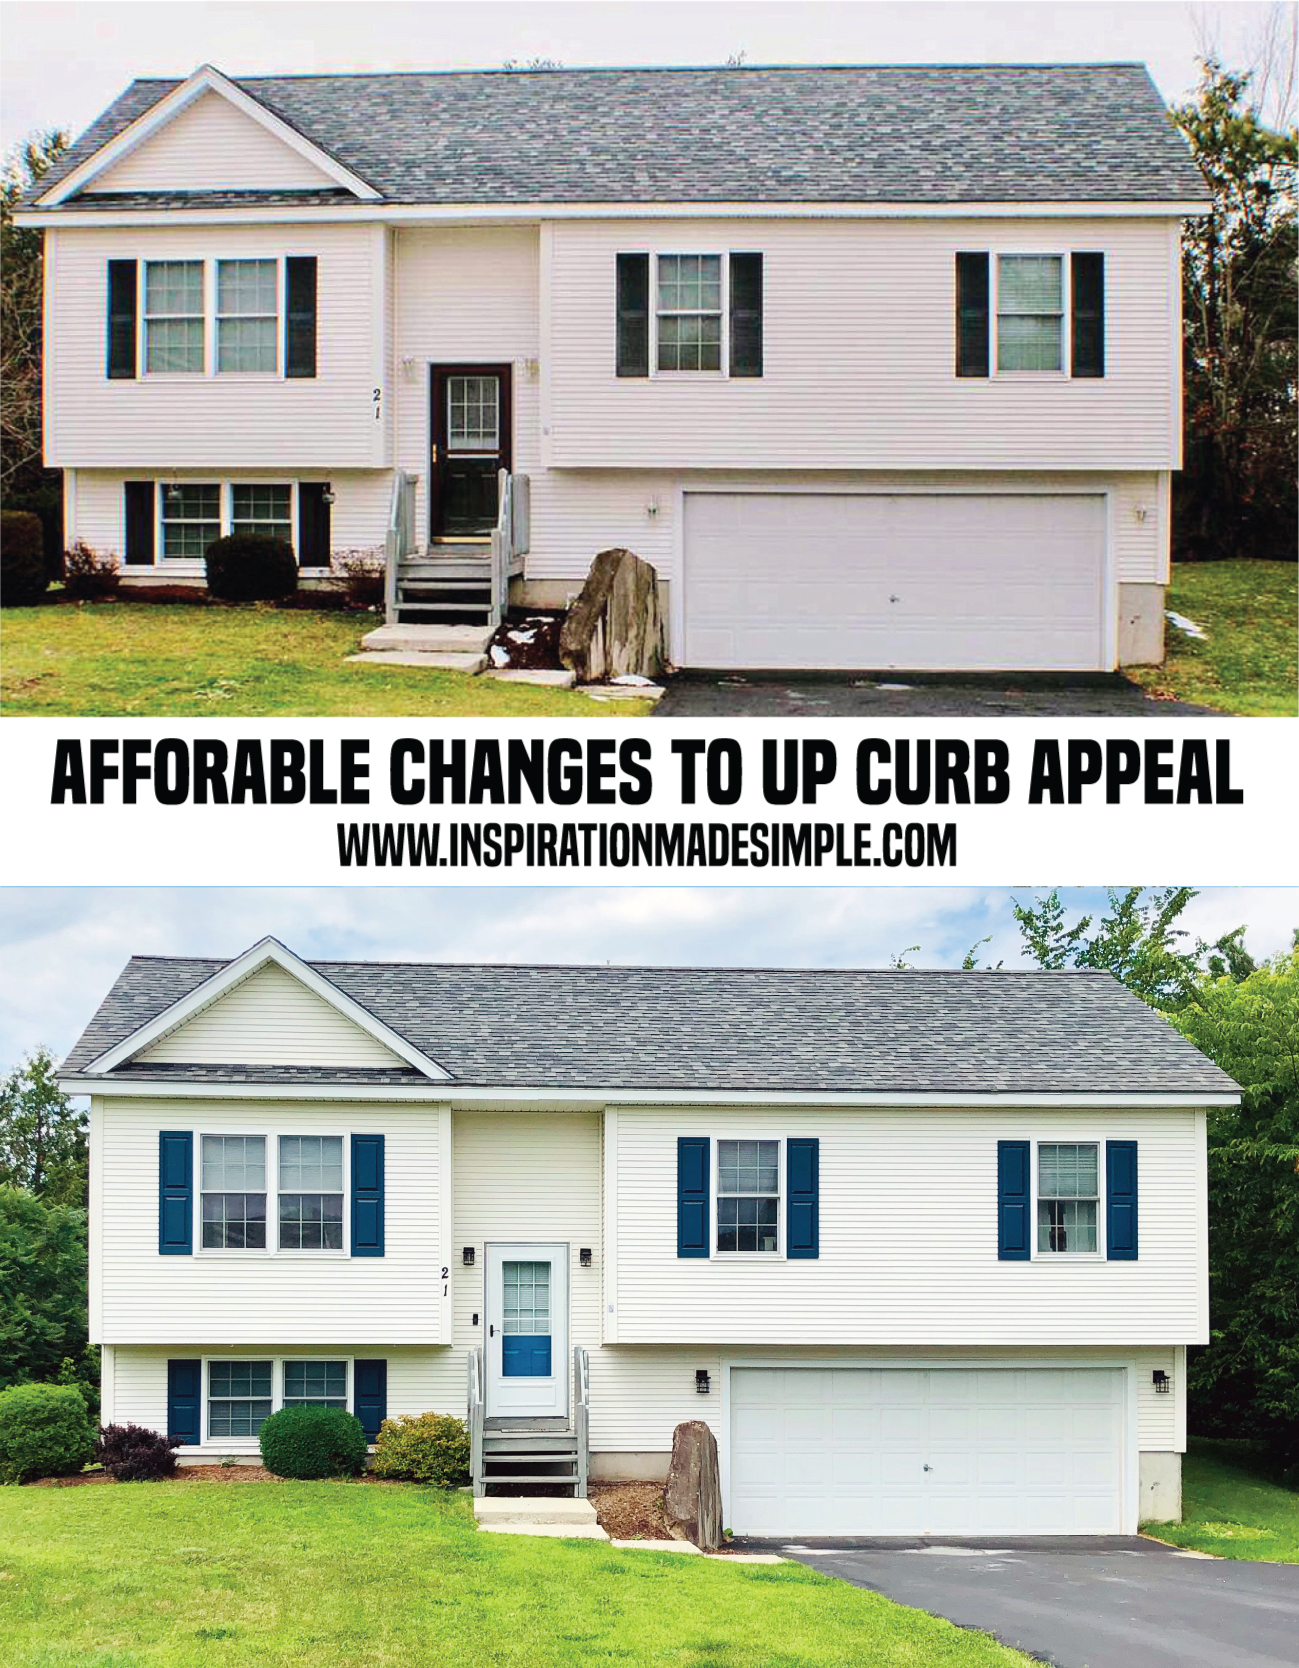
Now the house looks so much more me and it makes me smile every time I pull in. Small amount of labor for a whole new look! I did have to go with a screen door that covers up the door a bit more than I liked, but overall, I’m happy with the new look of my house! Next on the list is to work on the landscaping… which is not my forte. Wish me luck!
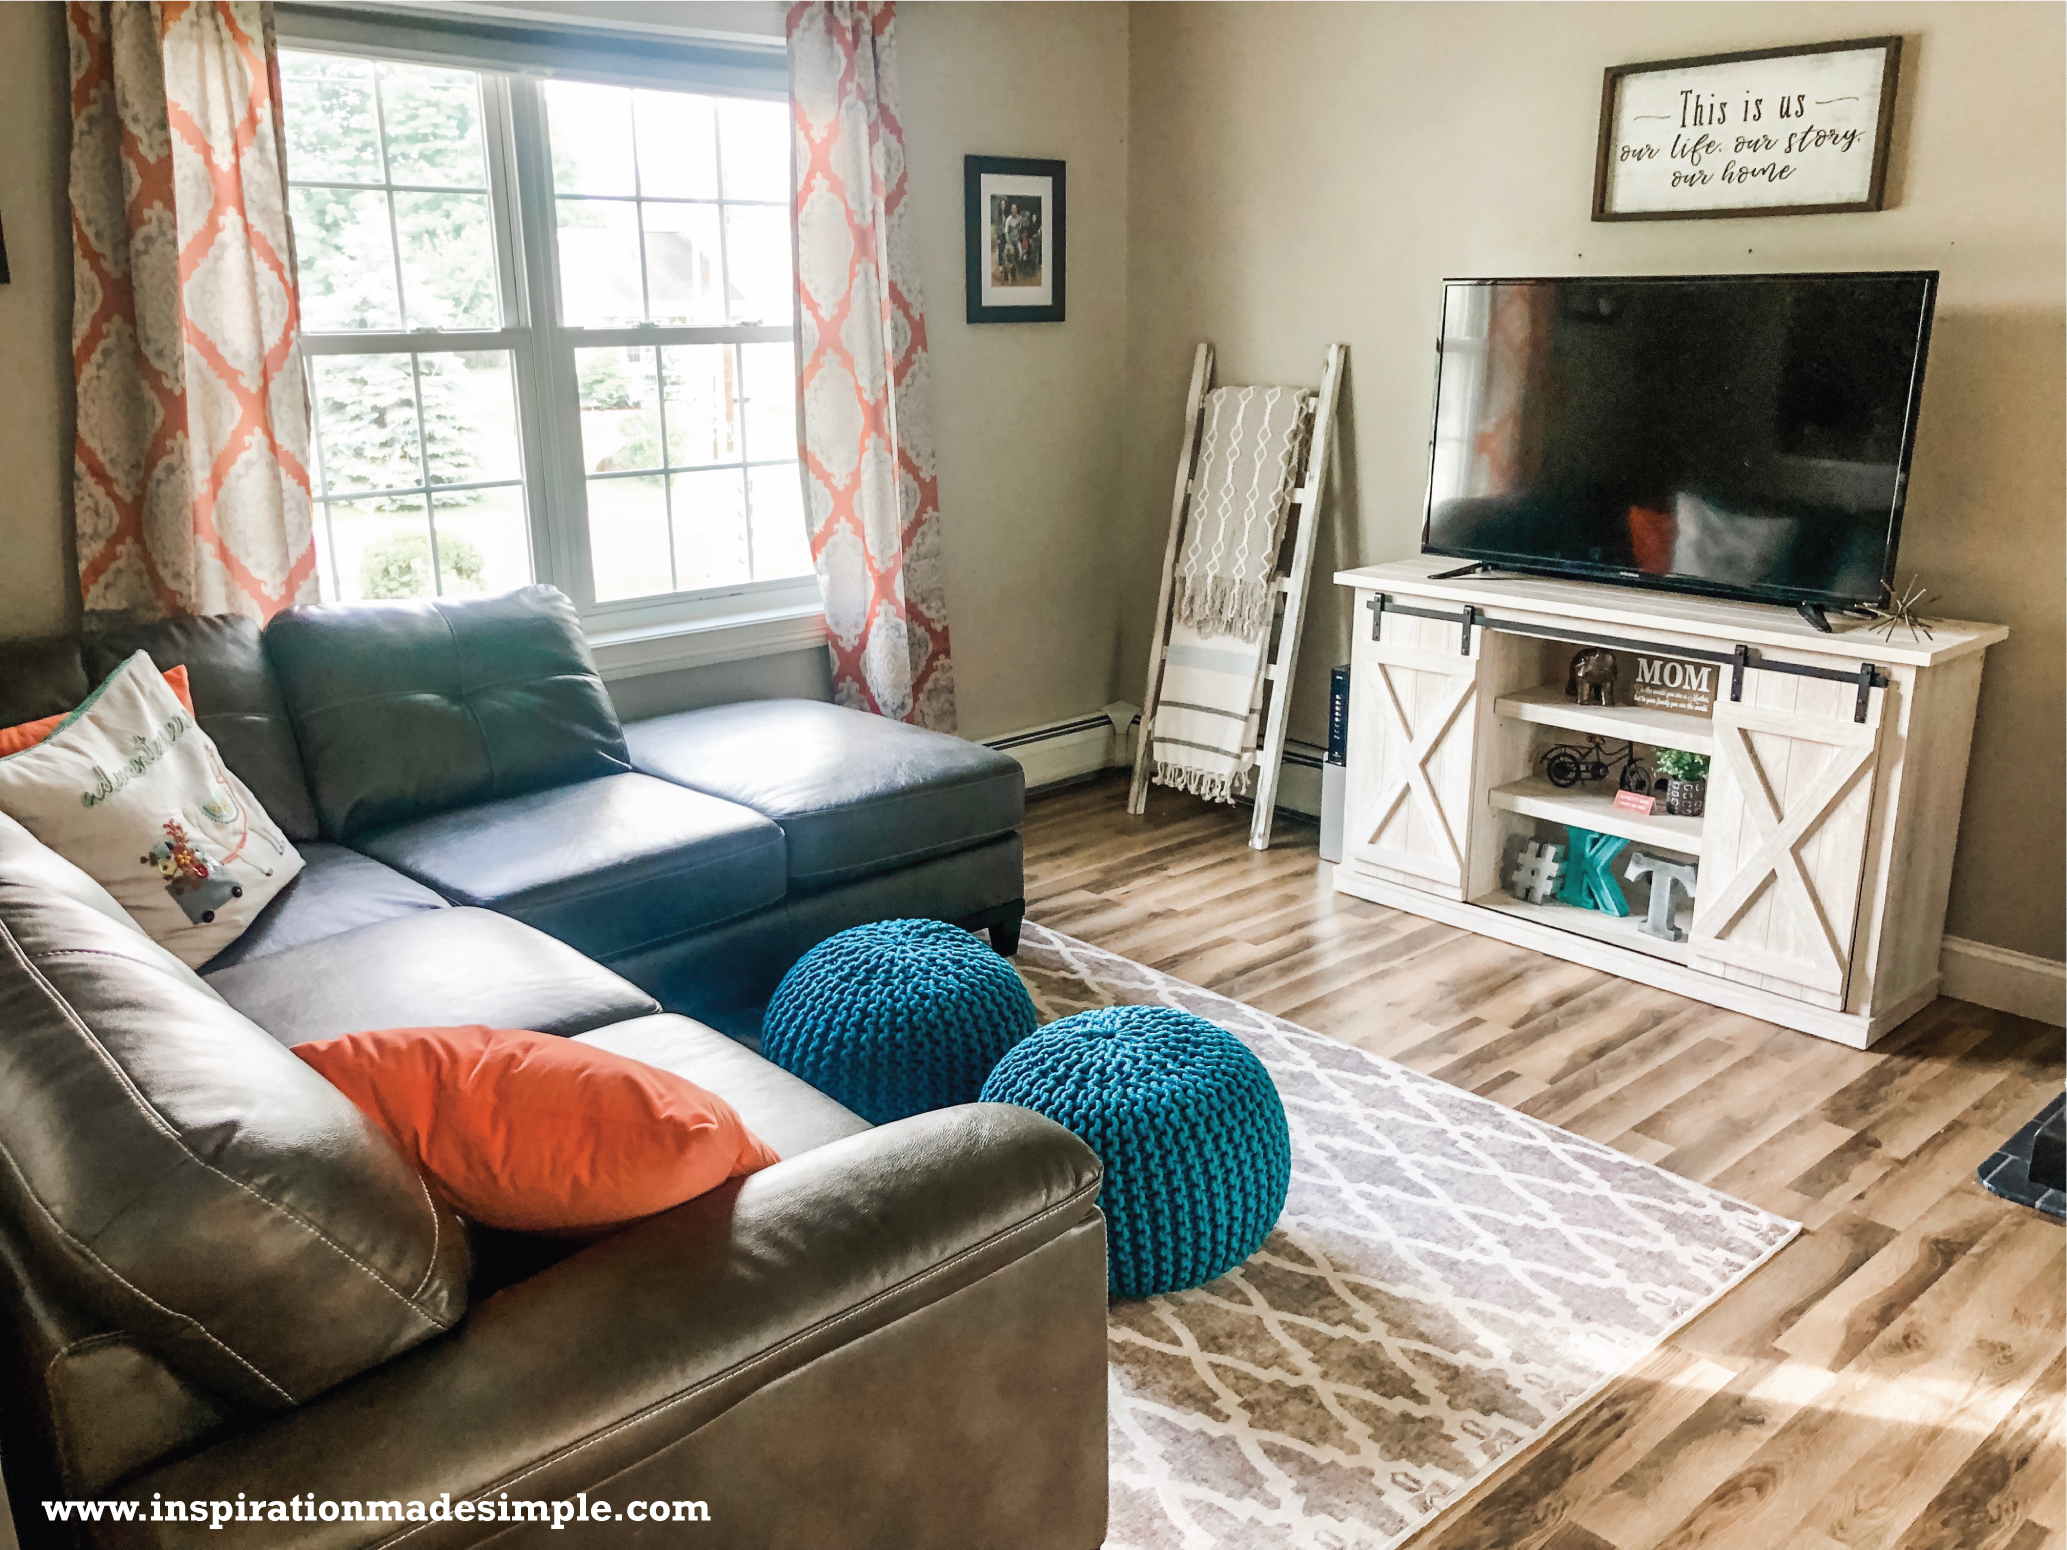
You’ve seen a bit of the inside when I shared my daughters Pastel Bedroom and my bathroom, but I figured now is a good time to give you a bit more of a tour. And no, these are not perfectly staged photos. Yes, you’ll see dirty laundry in the hamper and cords showing, and you may even be able to play iSpy with a dog or two, because that’s how we do it here at Inspiration Made Simple!
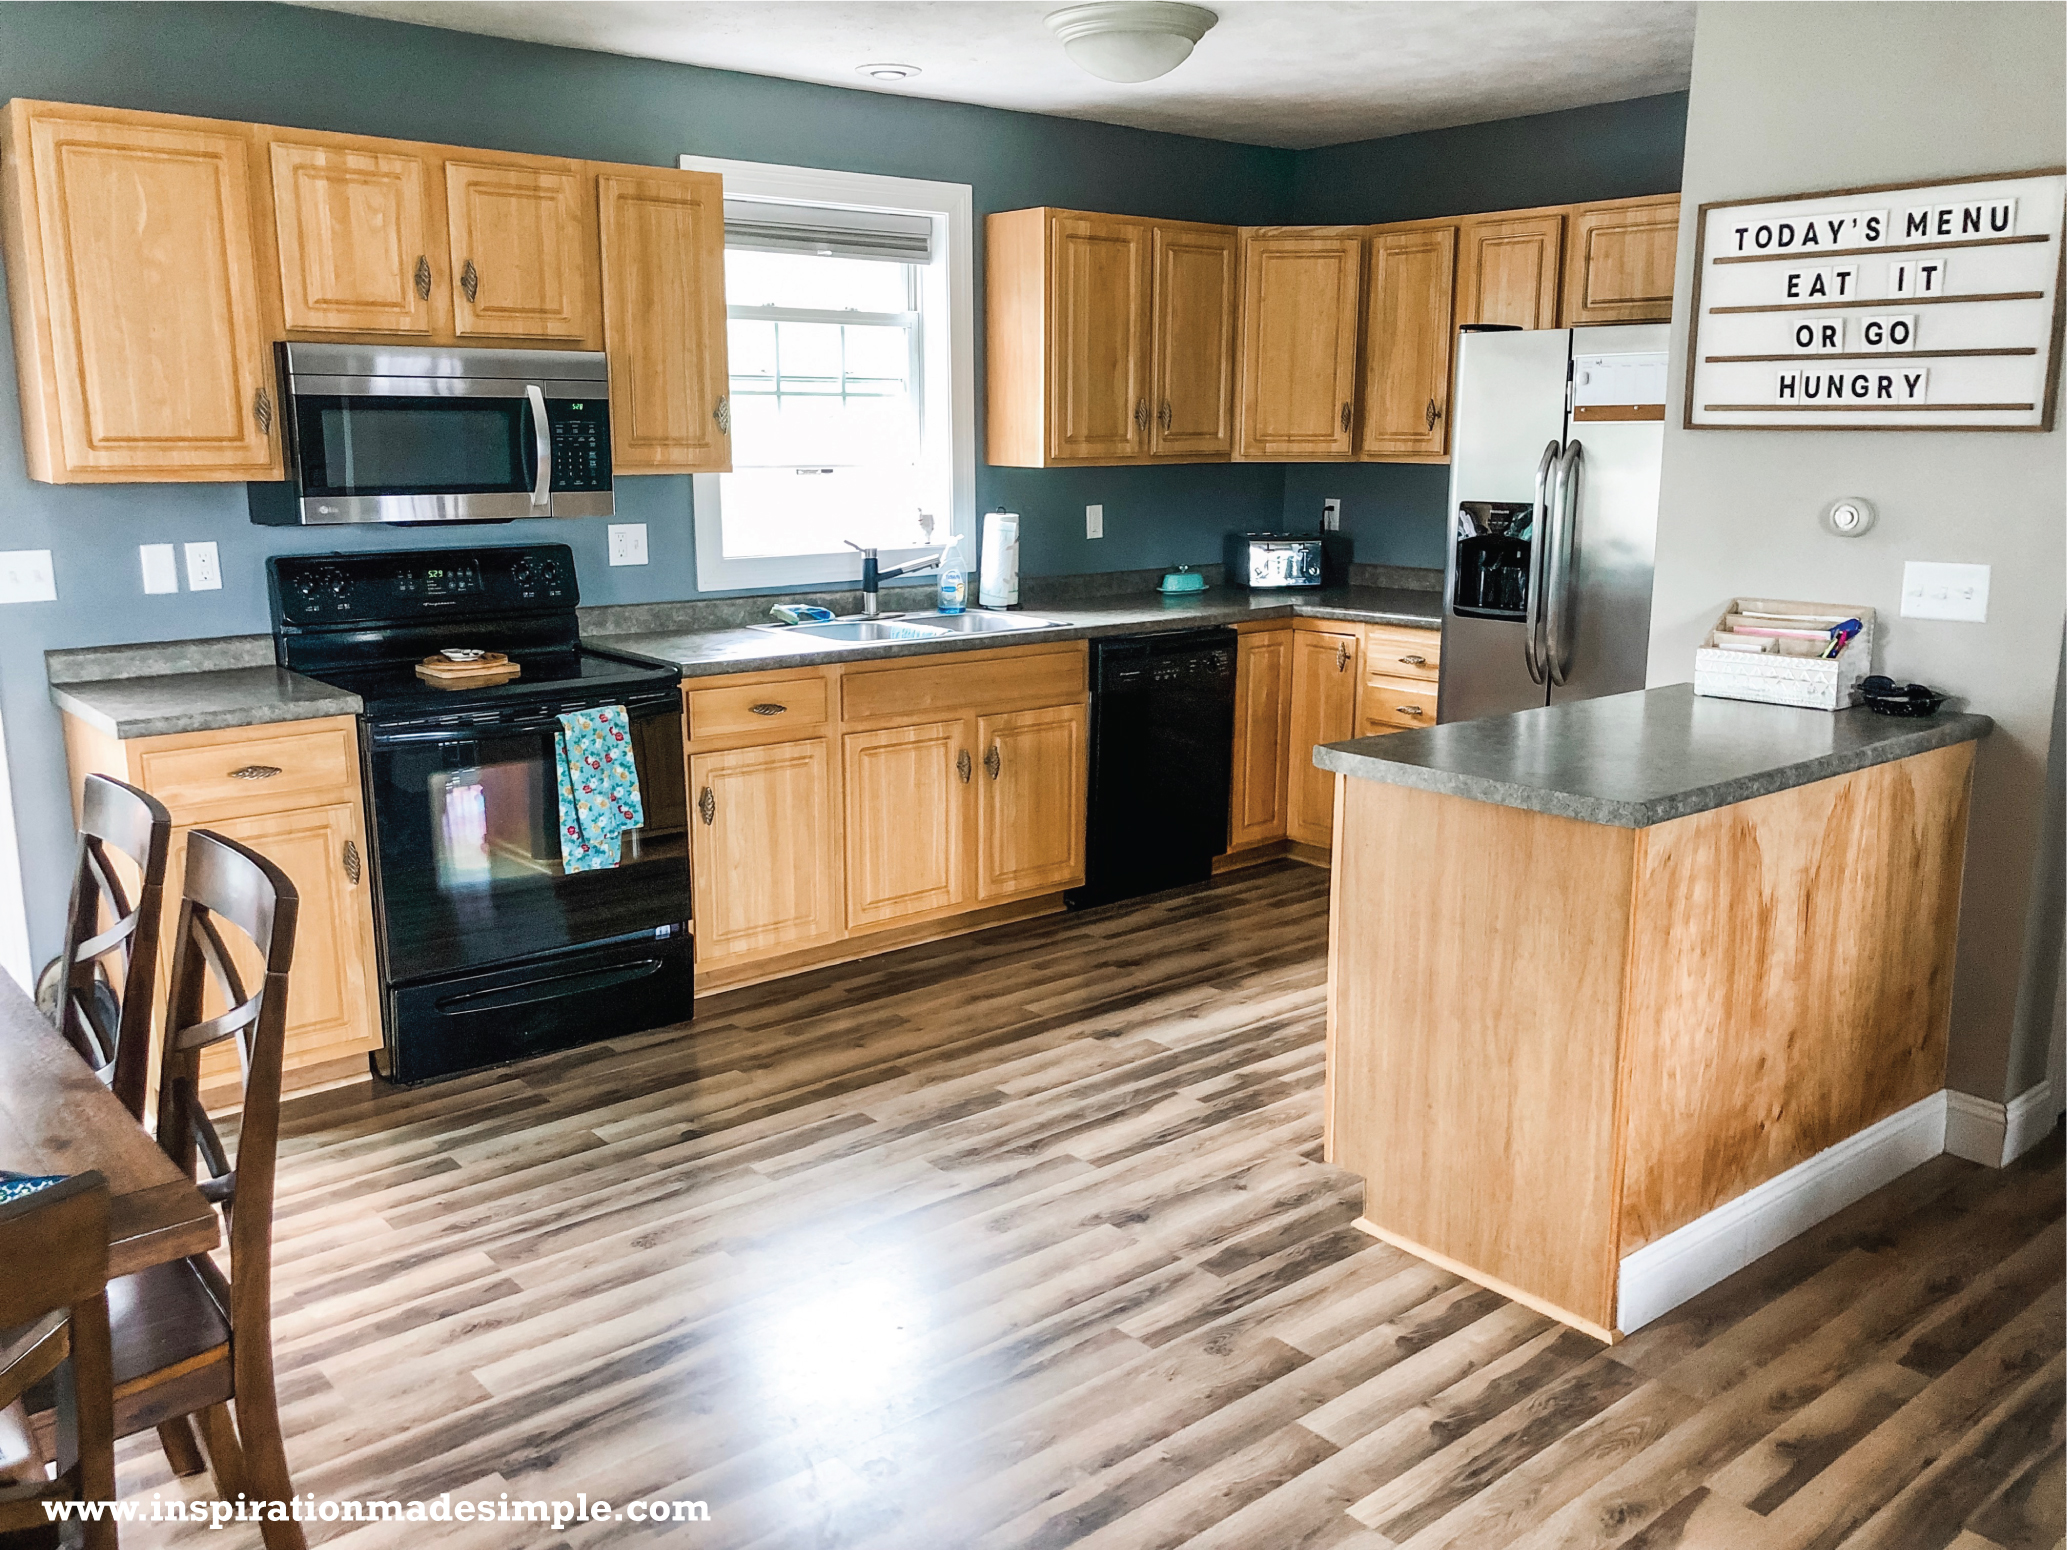
The only thing I’ve done to the kitchen is changed up the door/drawer pulls. The ones that came with the house were wooden knobs that were the same color as the cabinets, and I couldn’t stand them! I have plans to update the countertops at some point… just need to figure out what I want to go with.
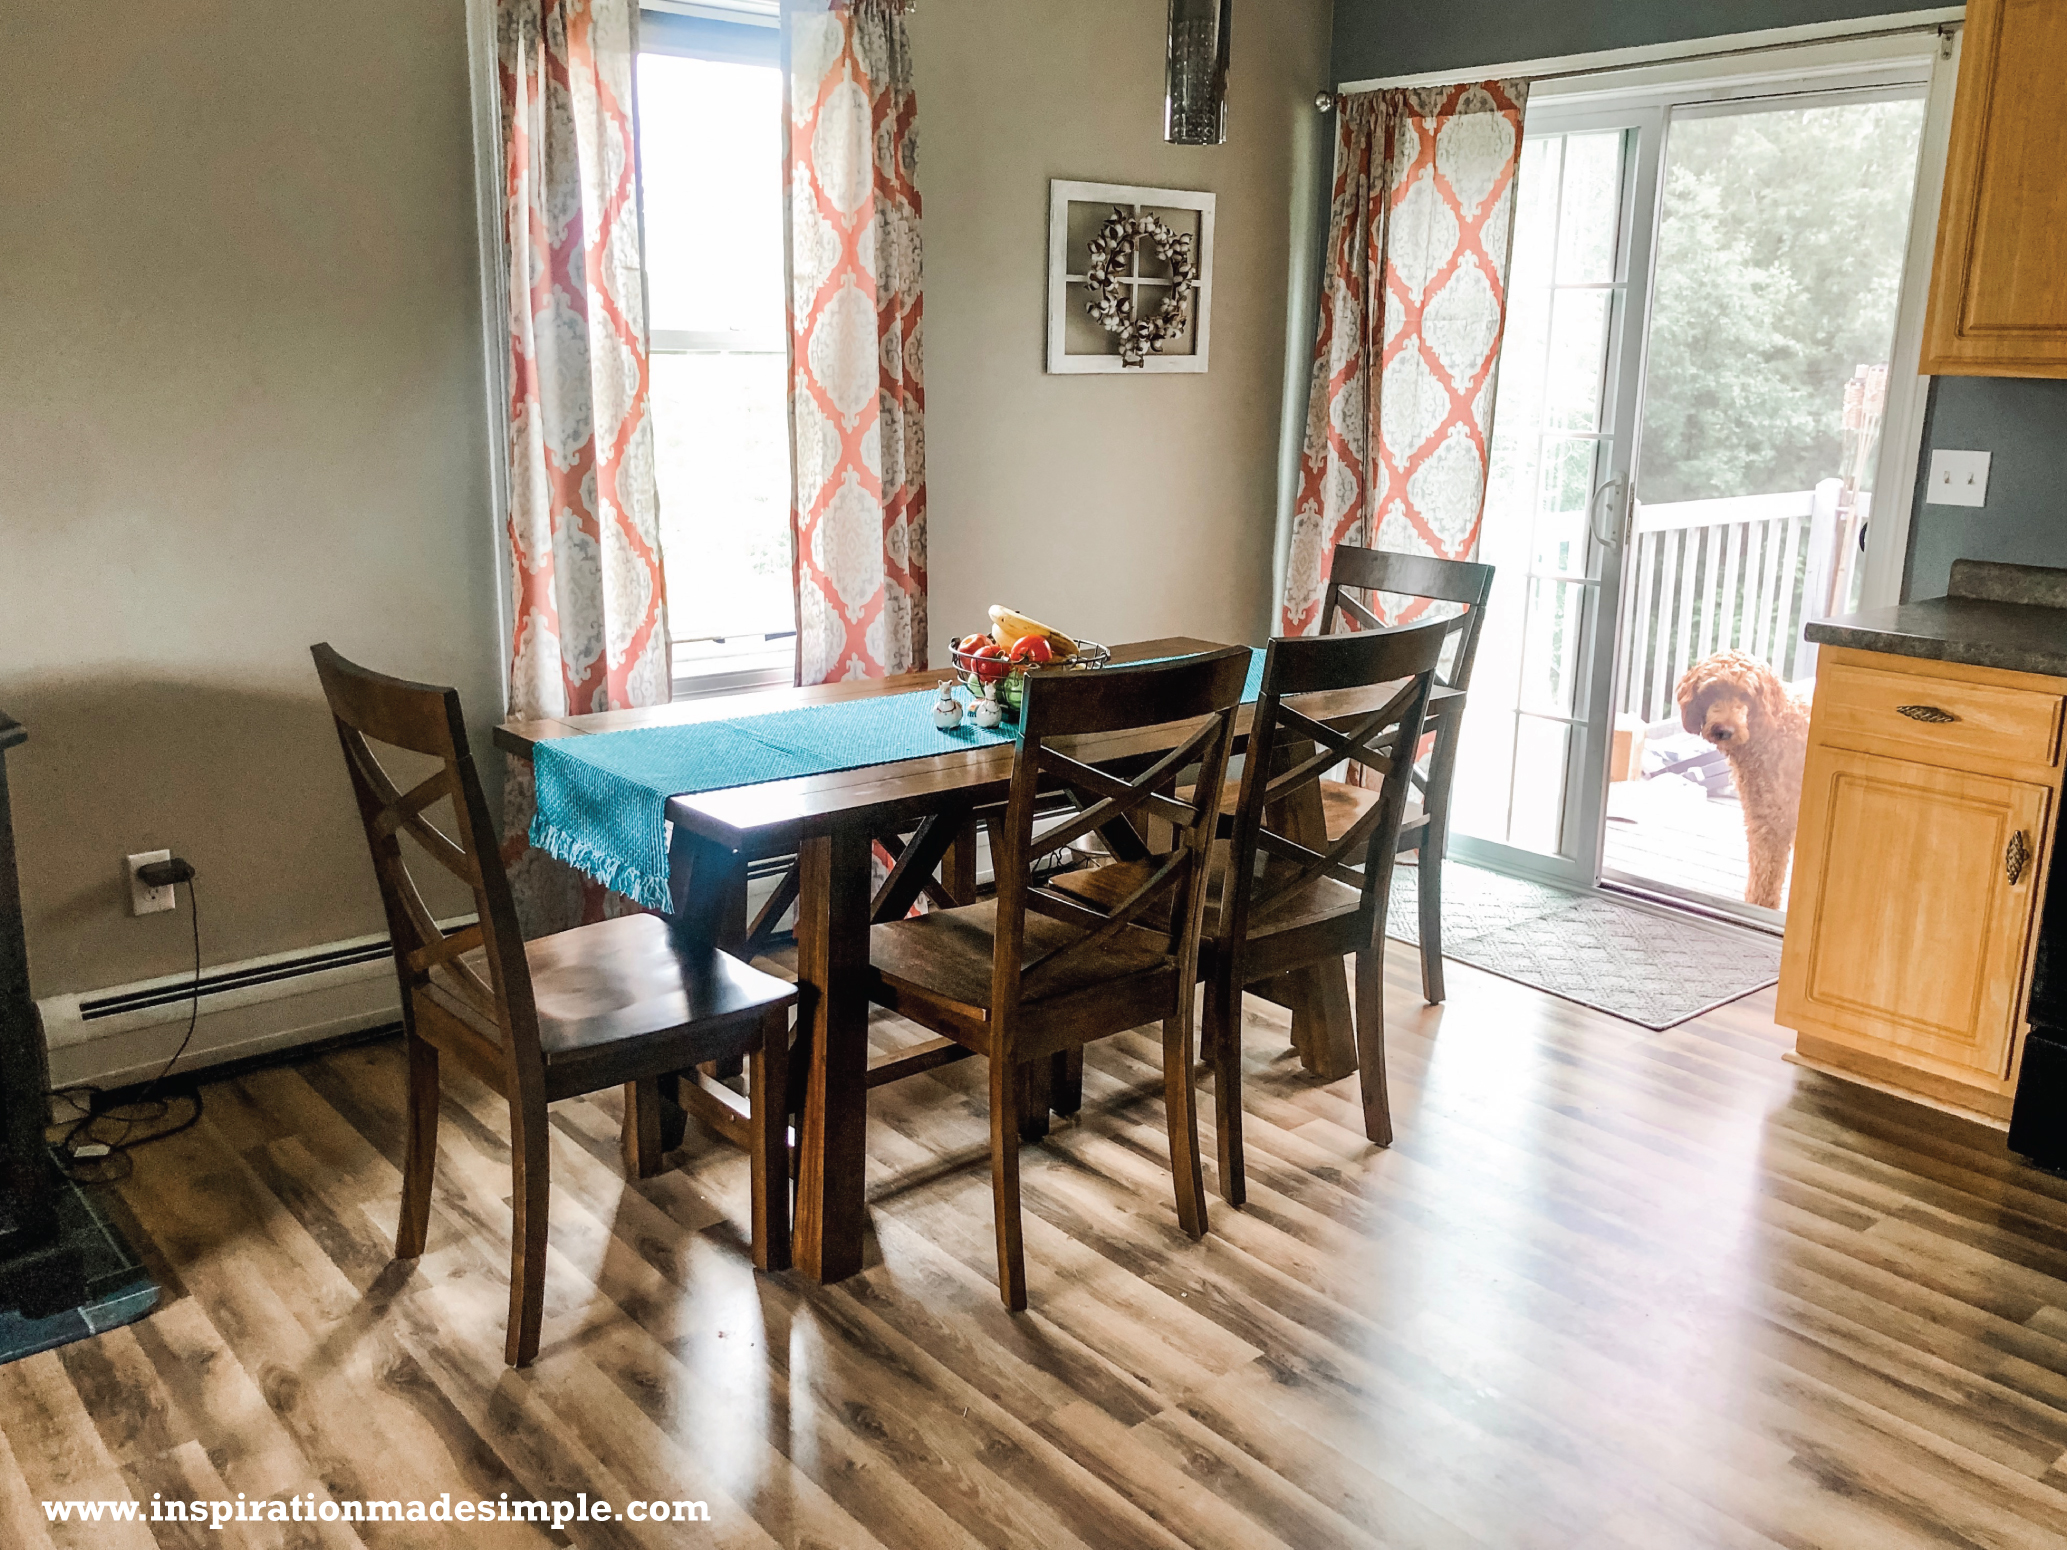 I’m currently looking for a farmhouse/industrial chandelier for this space. Stay tuned, because I’ll be sure to share once I find one!
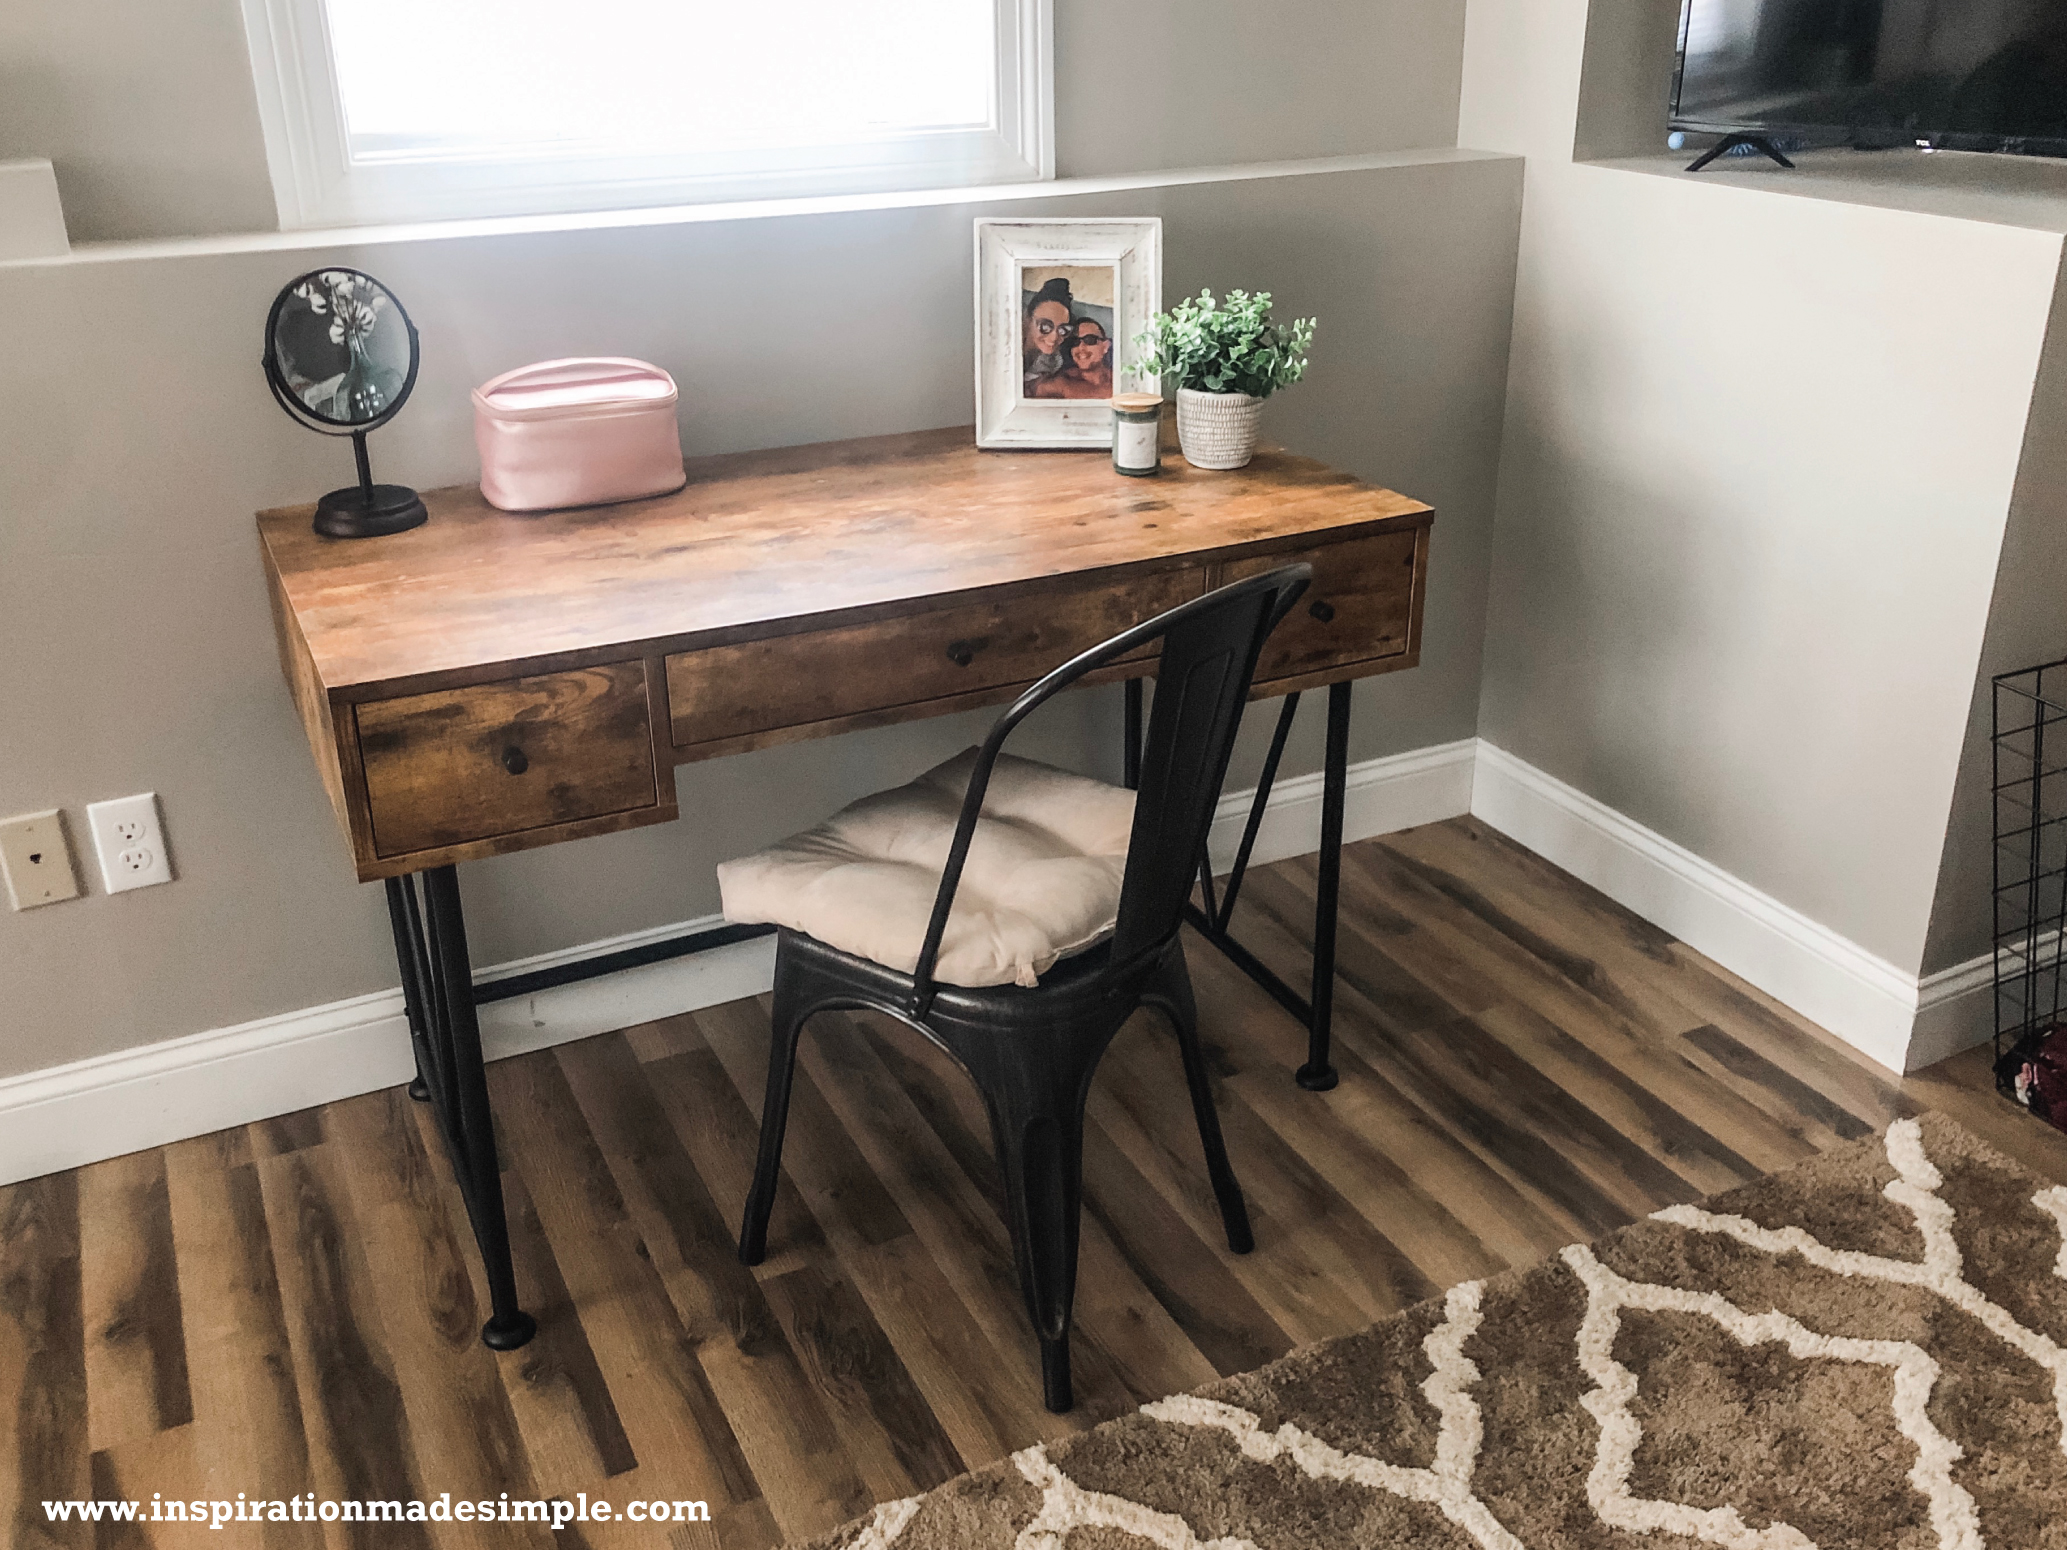
I looked high and low for a vanity for my new room… I had thought of doing a floating shelf with a mirror, but the low wall made that impossible. I wasn’t loving any of the actual vanities I was finding, so when I found this gorgeous industrial style desk for a great price, I jumped on it! I already owned the chair, so the only other item I purchased was the mirror. This is the perfect spot for me to get ready in the morning and it has plenty of room to store away my products, brushes and irons.
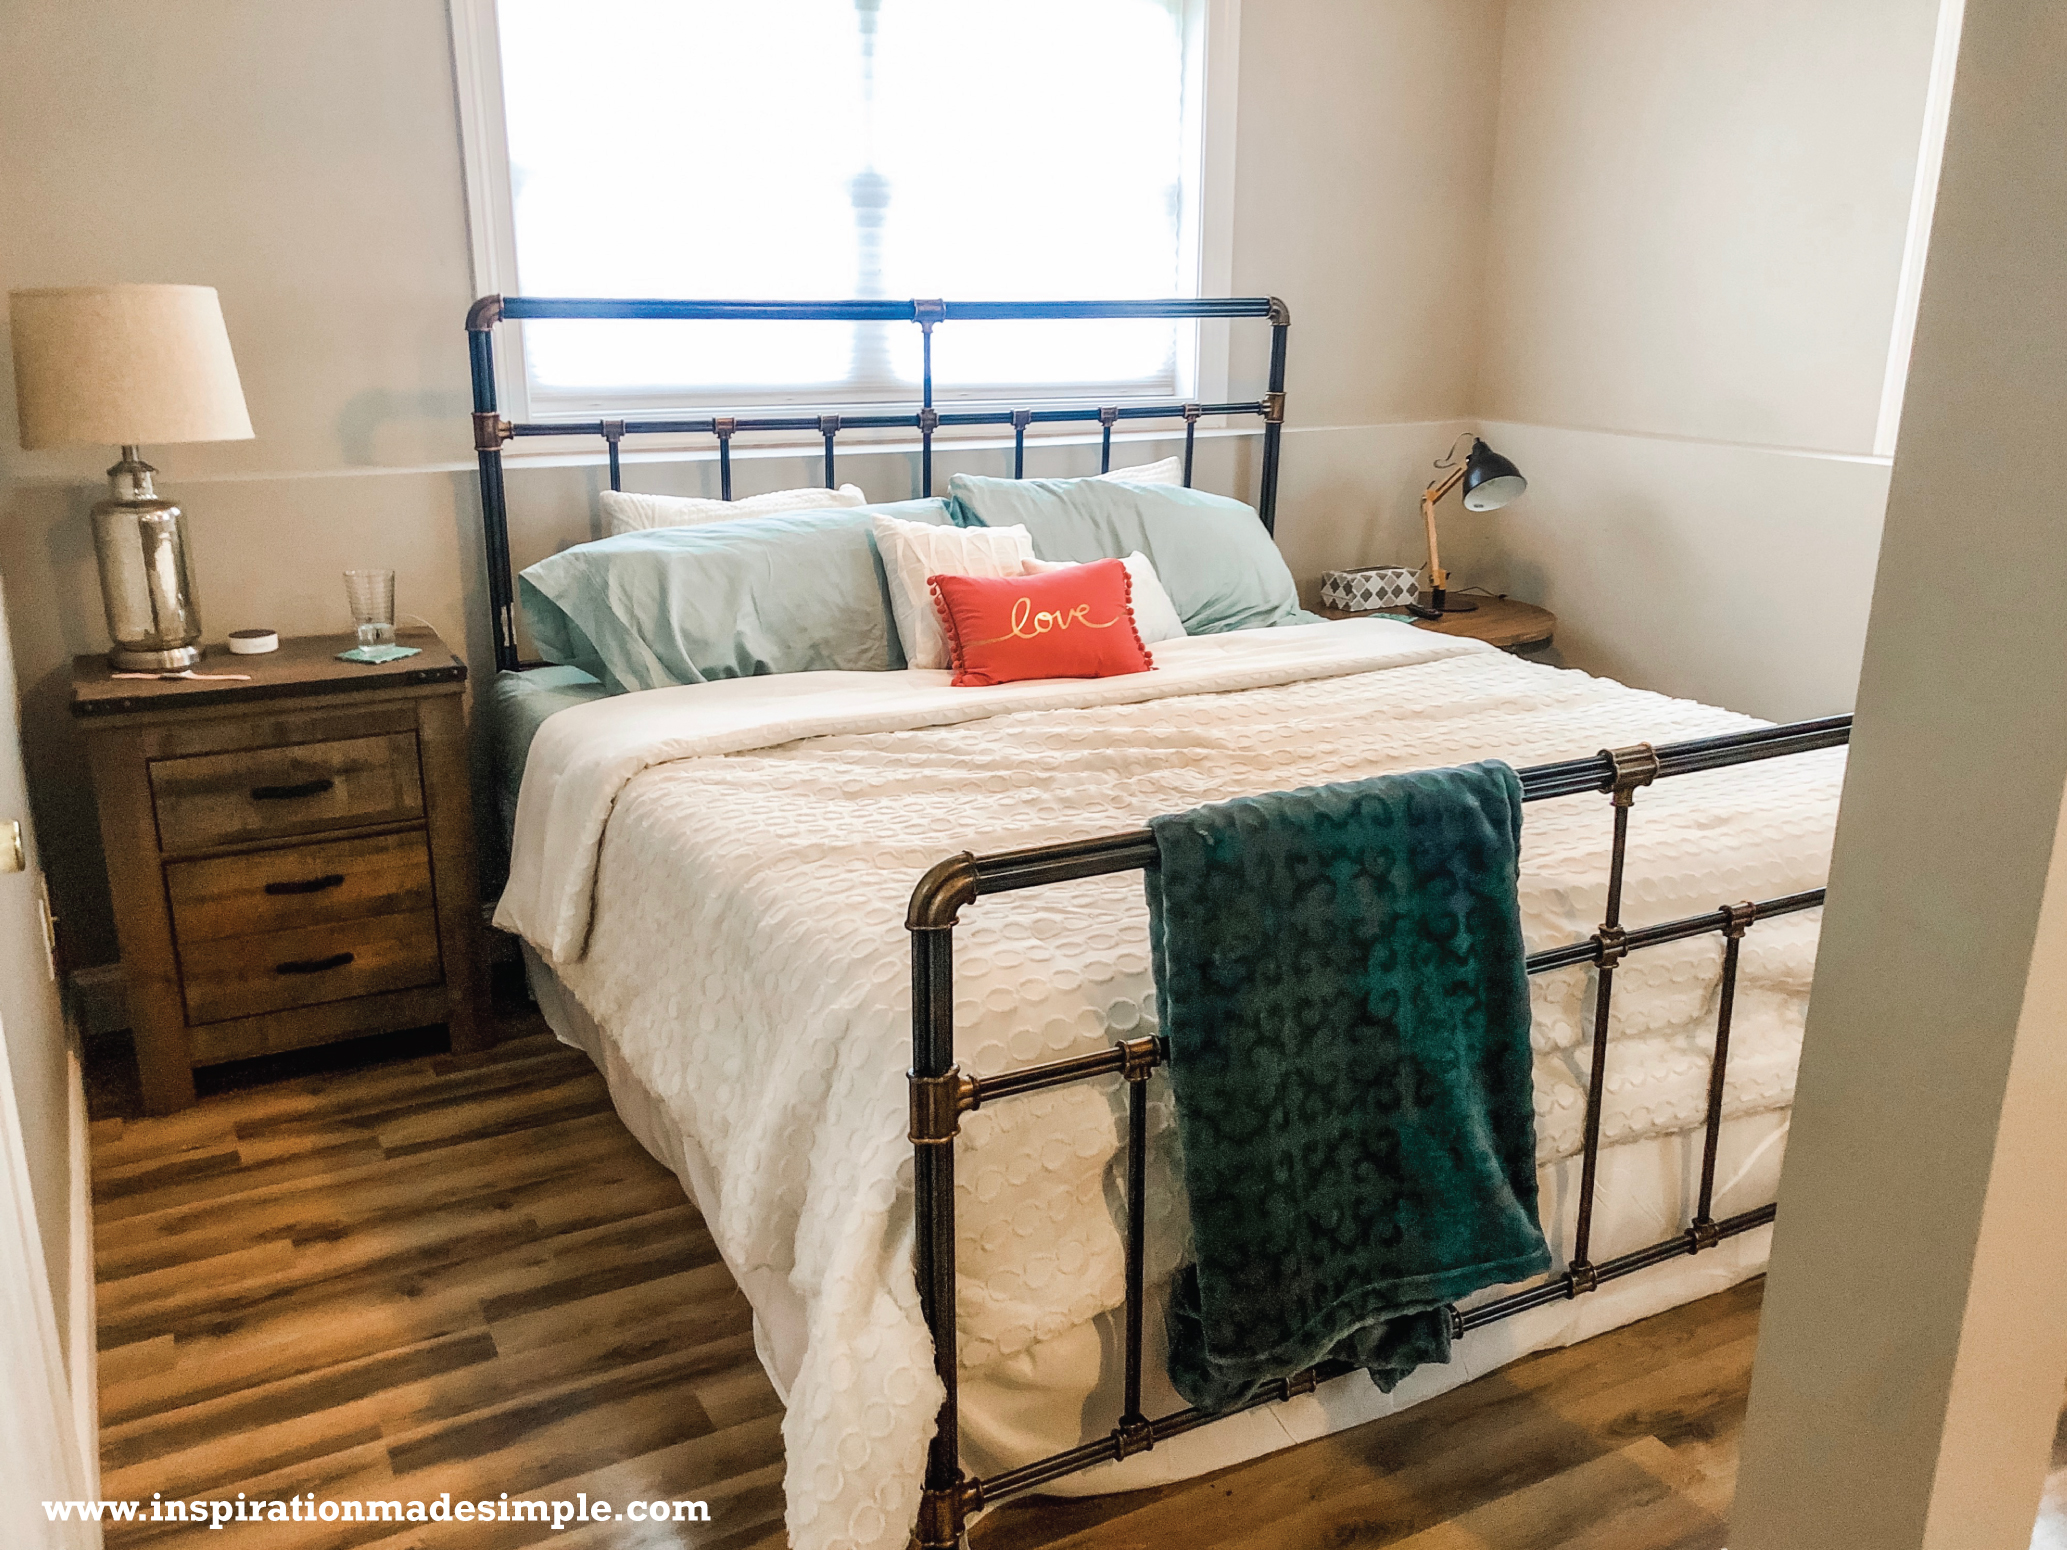
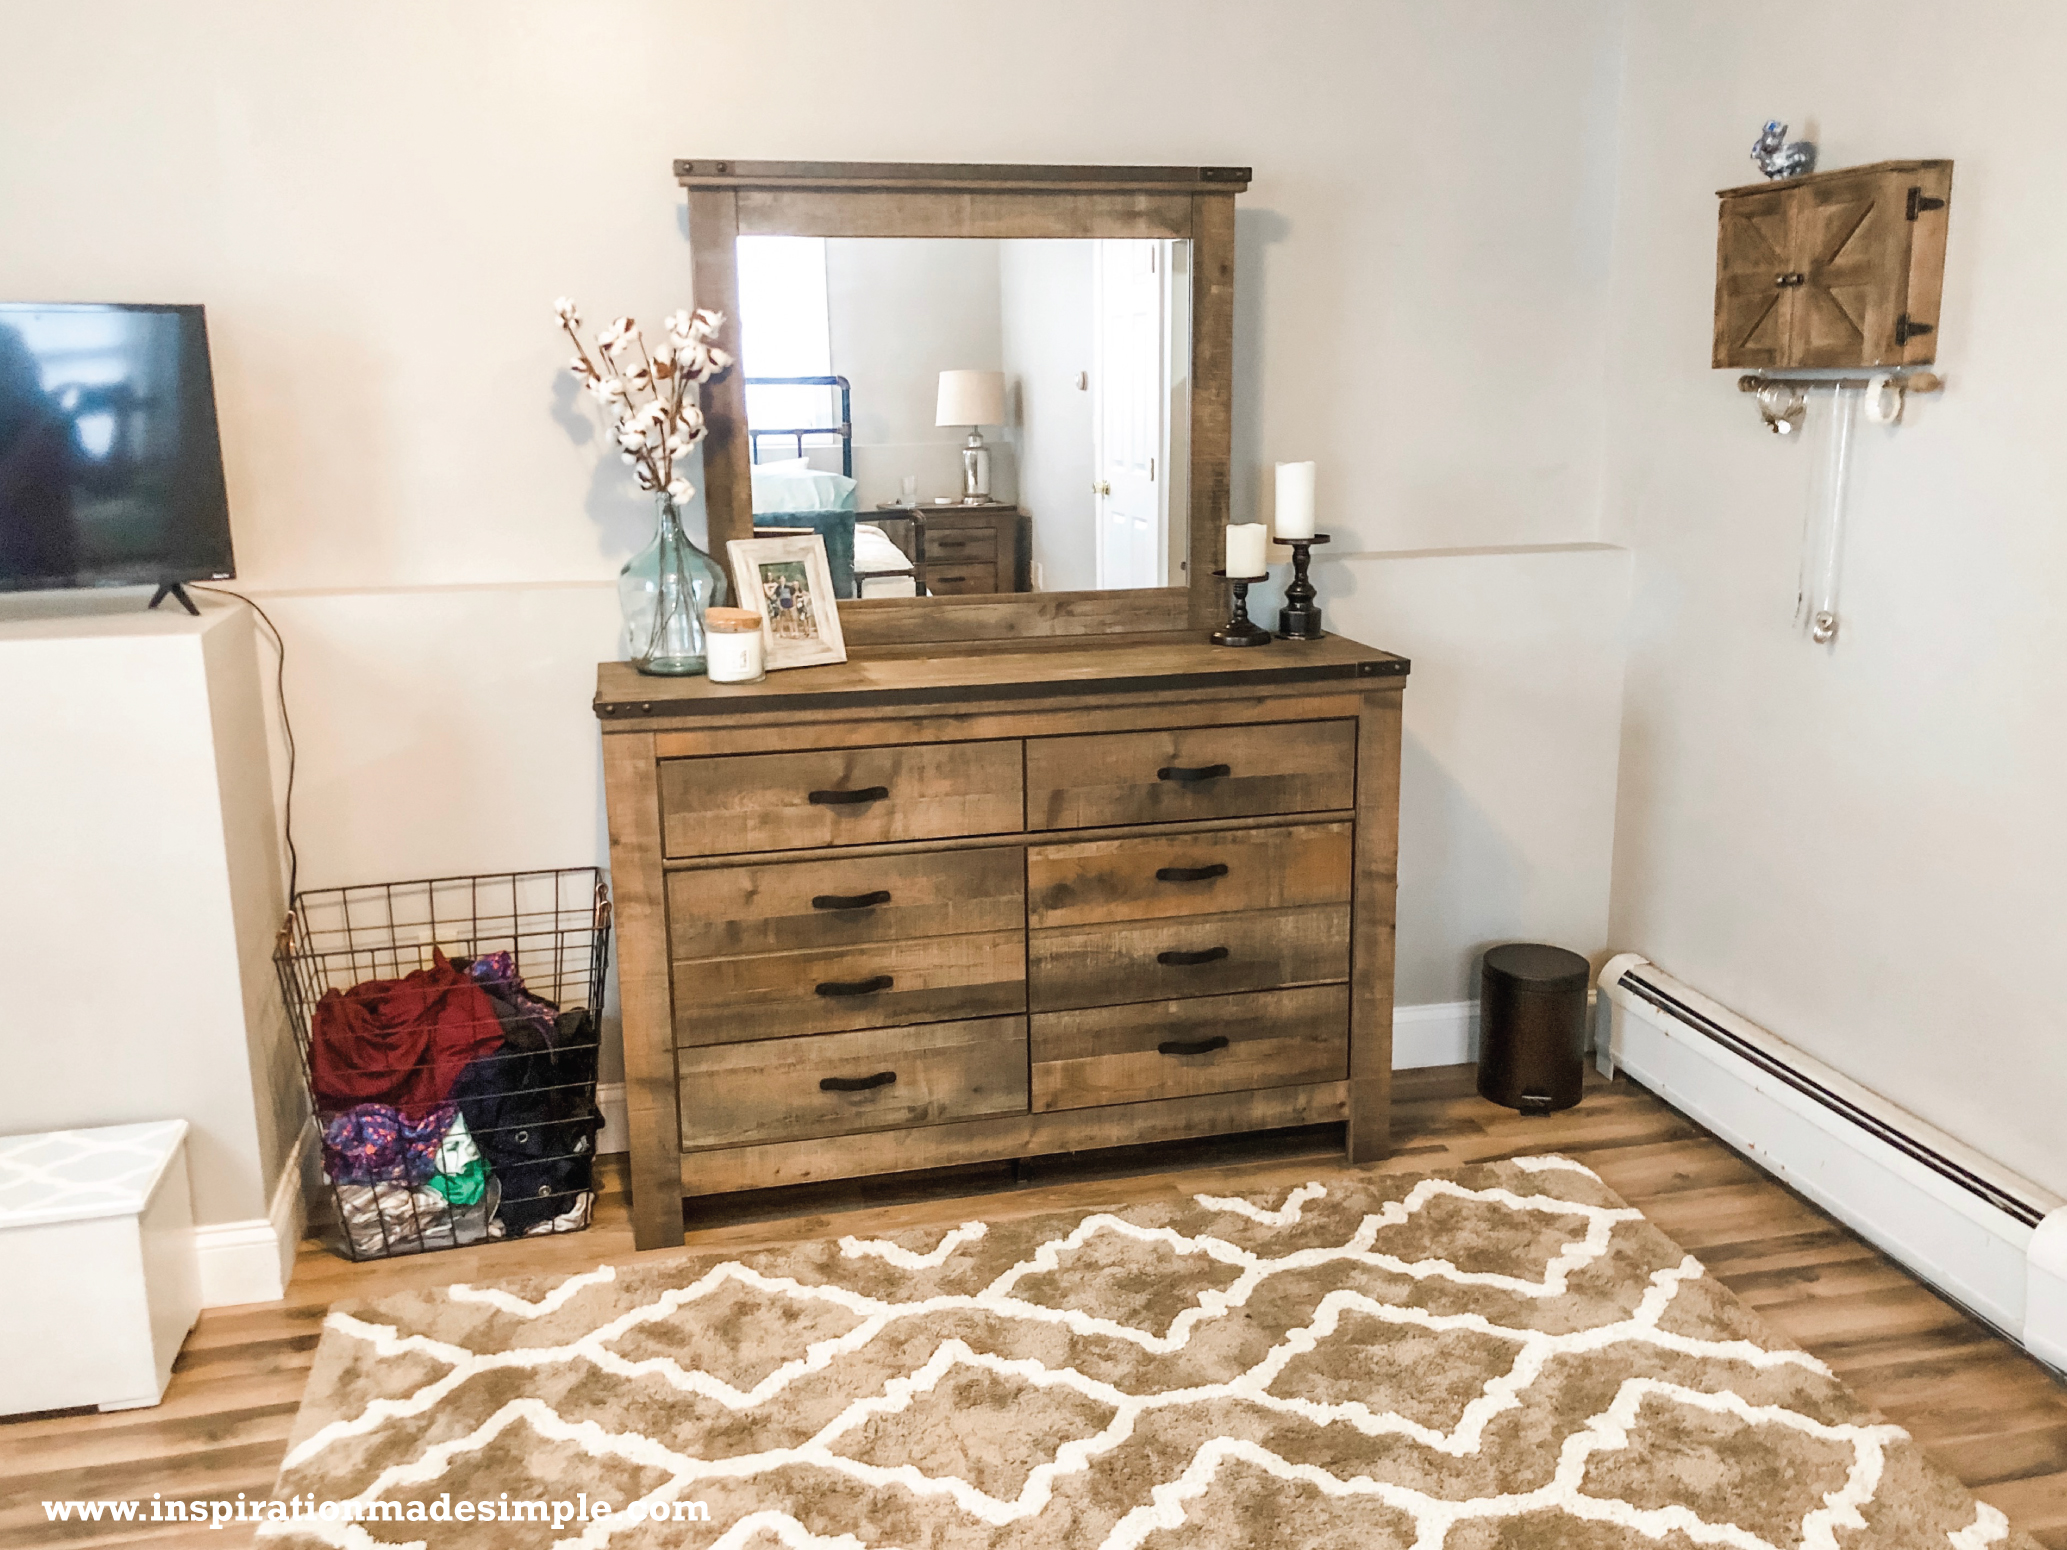
I love meshing rustic/industrial pieces together. My master is so warm and cozy. I love this space!
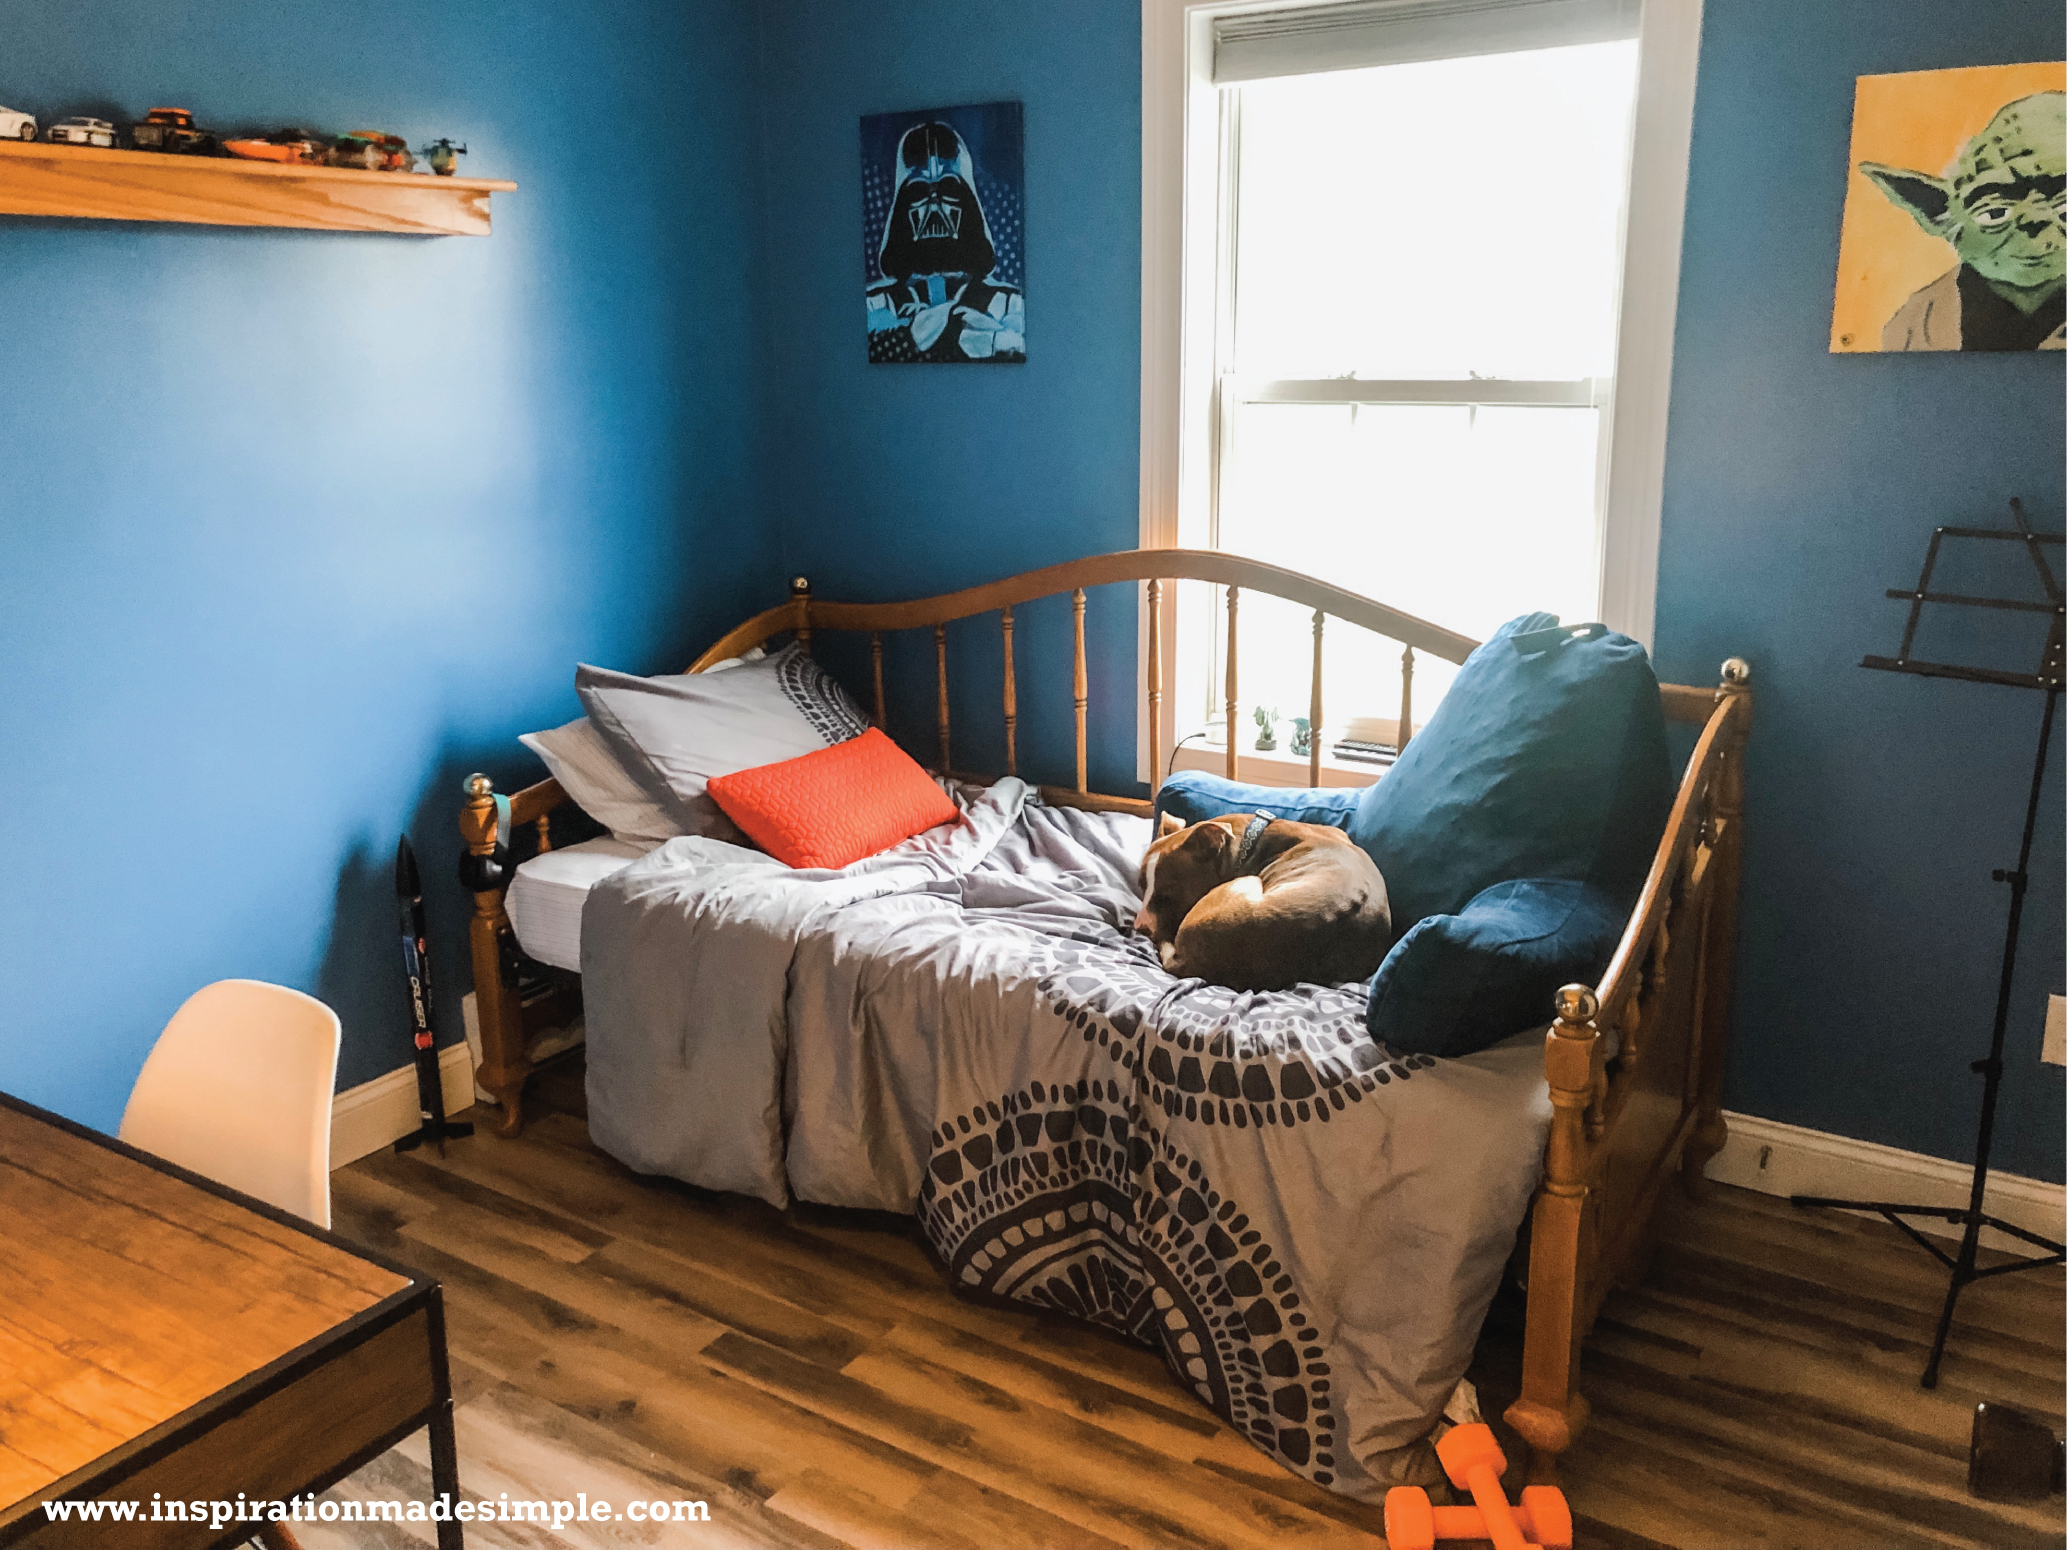
You saw a bit of my sons room in the 3D Dragon Head post. He requested a blue room and I love how it turned out. So does Owen, apparently, since he’s always snuggled up on the bed!
My craft room is not in shape to be shared yet, but trust me when I say it is getting used a ton recently!


