
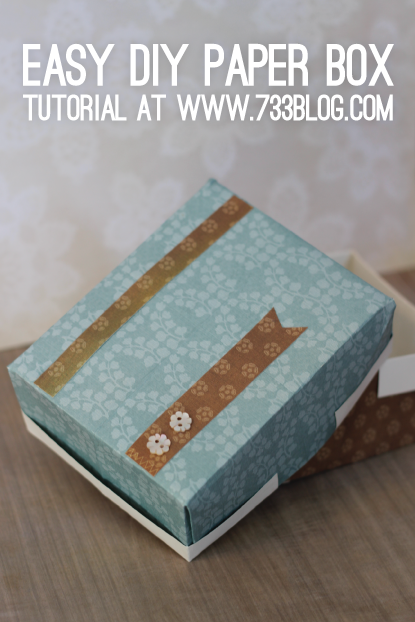
I learned to make these easy DIY paper boxes as a child. I would make them to hold small trinkets, box small gifts, or just to pass the time. You can make them in all sorts of sizes, just make sure you have a rectangle piece of paper!
SUPPLIES:
One piece of paper (two if you want to make a lid)
Glue and scissors for embellishing (optional)
DIRECTIONS:
If you prefer written instructions:
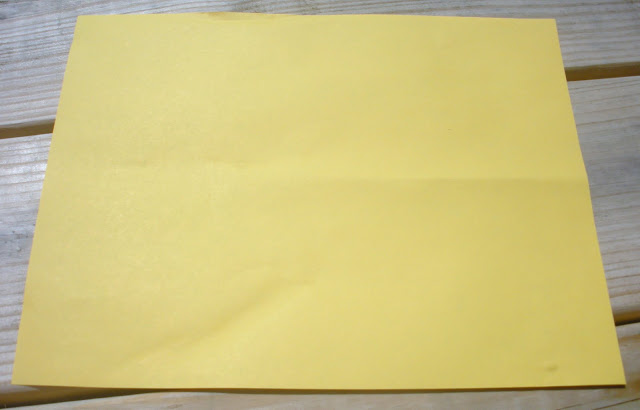
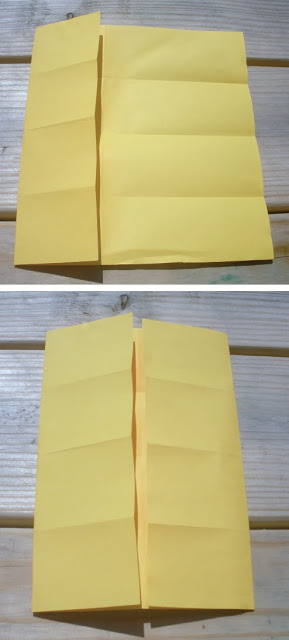
Fold paper in half length wise and then unfold.

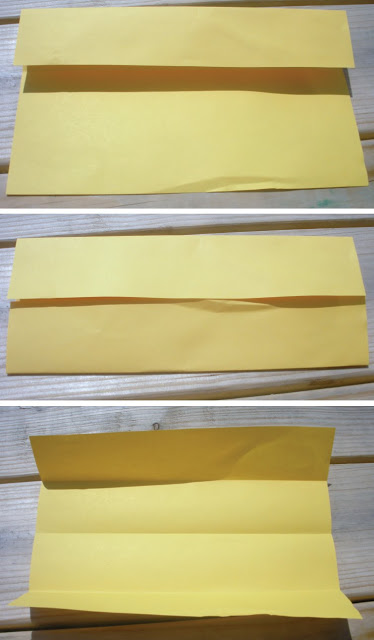
Fold the top down to the center crease line. Repeat on the bottom. Again unfold – you should have a total of 3 creases.

Now fold the paper in half this time width wise, then unfold.

Now fold the paper in half this time width wise, then unfold.
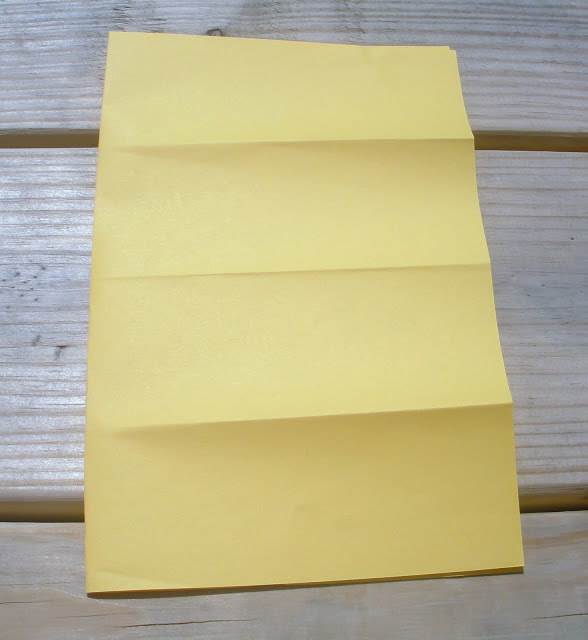
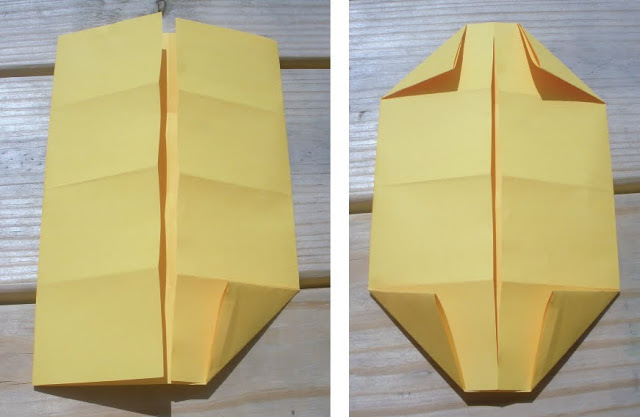
Fold the left side to the center crease line. Repeat on right.
You now have a total of 6 creases.

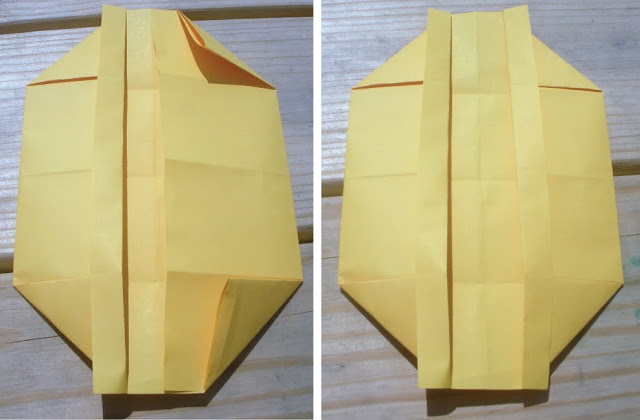
Fold each corner up to the closest crease.

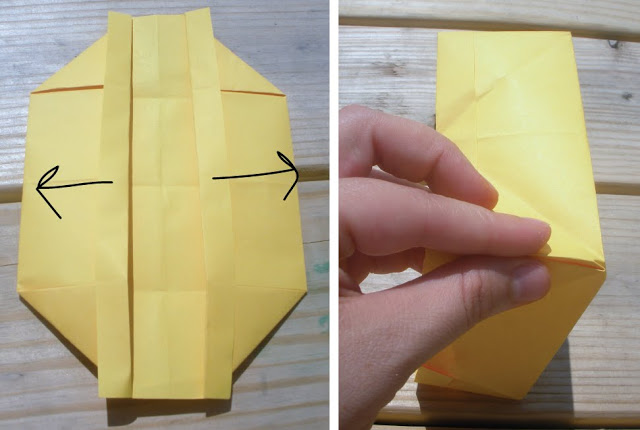
Fold the edge of the paper over the top of the corner folds on the left and right.

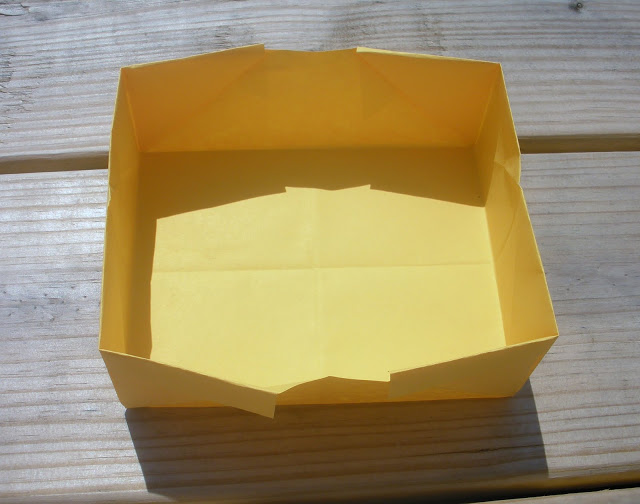
Now pull it open – give each corner a little squeeze and voila you have a box!

 Now repeat to create a cover if so desired.
Fold each corner up to the closest crease.
Fold the edge of the paper over the top of the corner folds on the left and right.
Now pull it open – give each corner a little squeeze and voila you have a box!
 Now repeat to create a cover if so desired.
Glue is not required but I like to put a small dab at the edge of the flap so that they don’t stick out.
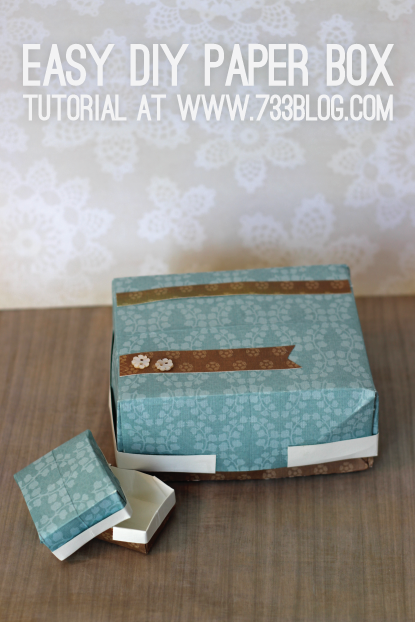
If you want the bottom of your box to not quite be as tall as the top, then you can cut a half inch strip from the long side of the paper. This helps it fit inside the top a bit better.Embellish at will and you’ve got a cute and easy paper box.
TIP: The heavier the paper, the sturdier the box.

Thank you! This is so awesome!