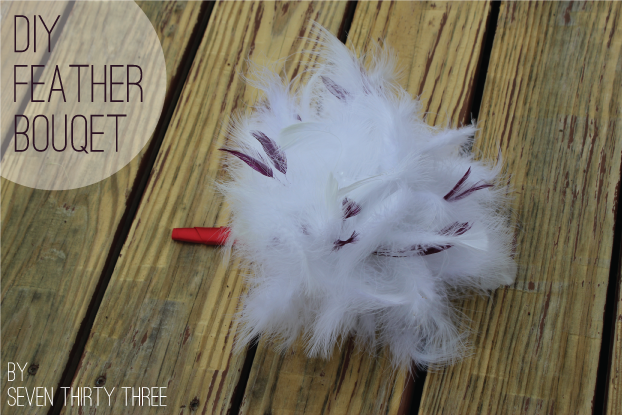
My little sister got engaged earlier this year. We’ve been brainstorming ideas here and there and one thing I came across and knew she would love is Feather Bouquets.
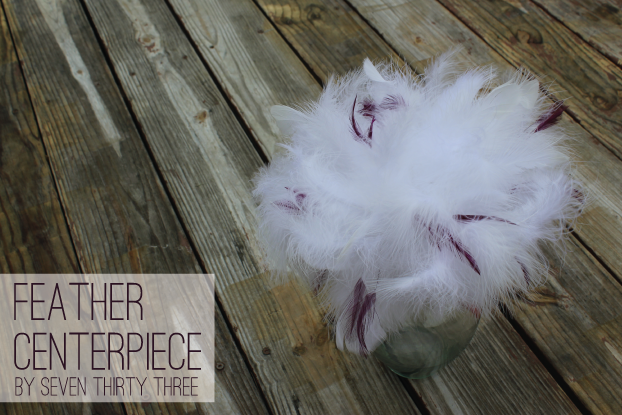
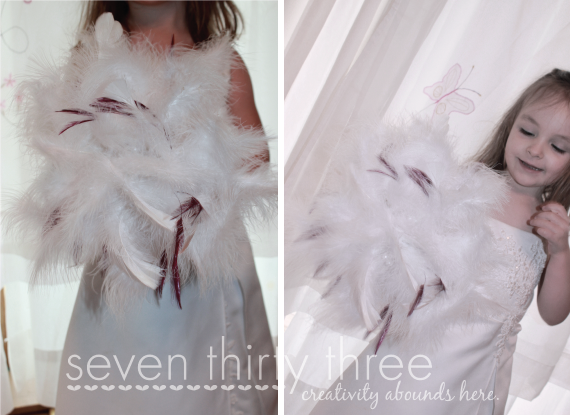
I showed her a picture of one I had come across and sure enough she fell in love. I thought I’d do a dry run using inexpensive feathers found at Joann’s to see how it would look… and I must say, I’m pretty happy with the overall look, and was surprised to find how nice it looked sitting in a vase! So two-for-one, now you have simple table decor as well. Couldn’t you see this in a super tall vase filled with twinkling lights, or some organza, maybe with tea lights surrounding it all? I think it gives off a super sophisticated, boutique feel.
I chose white feathers with a hint of purple for this dry run, but you can go with any color. I also would probably use a hint more of the purple if we do these for real.
Now I’ll tell you there are many bouquets out there that are way more intense then these – feathers glued into flower shapes with pretty crystal accents, so on and so forth. I decided I wanted a nice fluffy bouquet, pretty and feminine, yet whimsy and not too full-of-itself. And the best part, SIMPLE. I bet some of you looking at this are saying you aren’t crafty… that’s fine. If you can stick a pin in a cushion, you can make this bouquet!
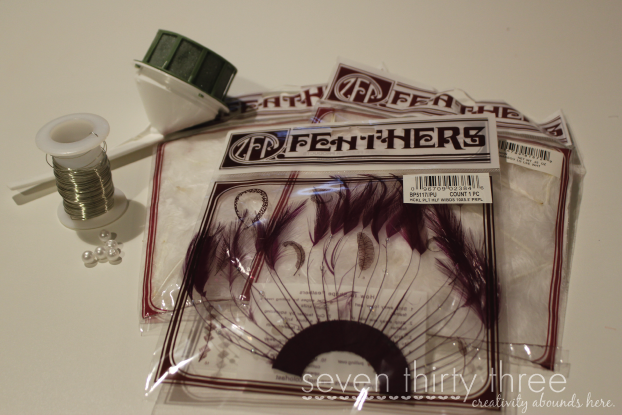
Here are the needed supplies:
All of these items were purchased at Joann’s.
2 packages of white feathers – $2.99 each
1 package of purple feather piece – $1.99
Bouquet Holder – $2.99
Jewelry Wire – On Hand (optional)
Pearls – On Hand (optional)
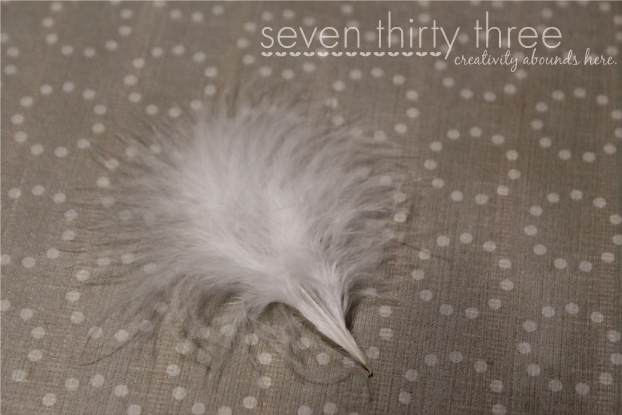
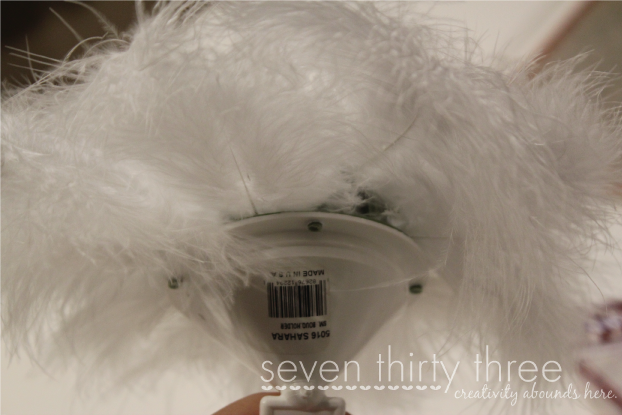
First I opened my bags of white feathers and picked out the smaller ones.
I then poked those into the sides of the bouquet holder – straight into the styrofoam. I used about the same size feathers all the way around, filling in so it was nice and full. It took about two-three feathers per section. I made my feathers all go in the same direction, sort of fanning down. If you notice that green spot almost in the middle… yes, I filled that in after shooting this picture!
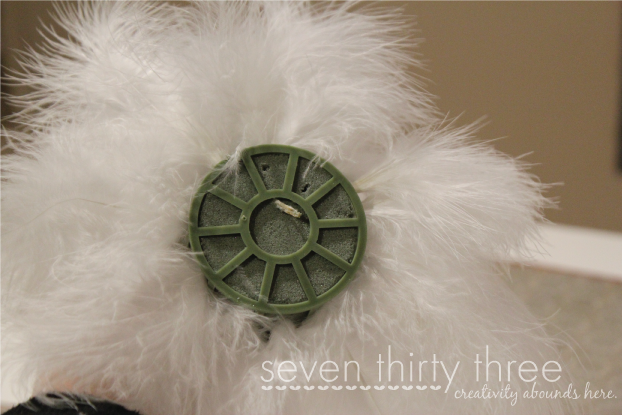
This is a top view of what I have so far.
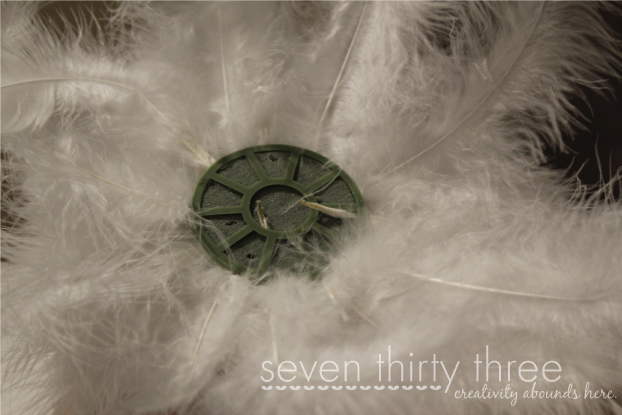
Next I took medium length feathers and filled those around the top of the sides, right over the small ones. These I had fan up.
Now you are just going to stick feathers into the top creating a nice full bouquet. Keep adding them until you have the look you desire. You don’t want any of that styrofoam showing through.
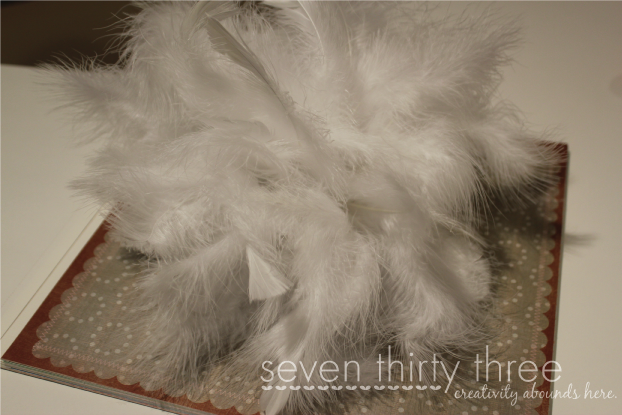
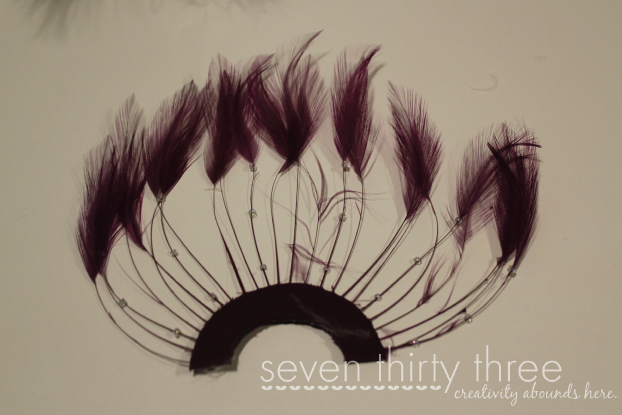
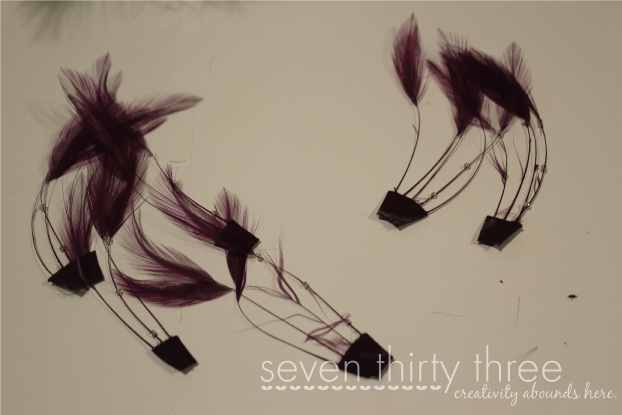
Cut the purple strip up so you can insert these randomly throughout the bouquet. After snapping this picture and inserting one of these I decided to cut it even more.
I ended up with about 2 feathers per cut piece.
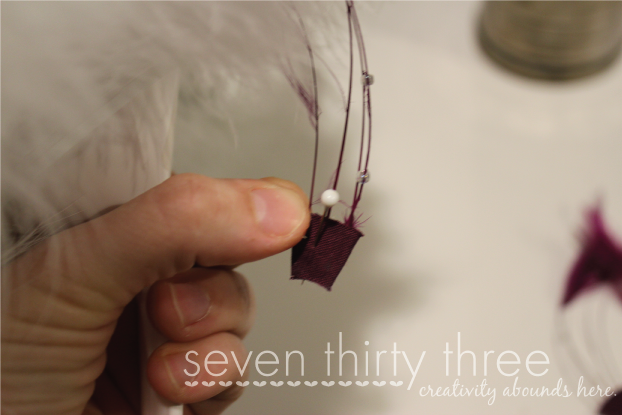
Using a pin with a white head, insert it through the fabric piece at the bottom and then pin into the styrofoam.
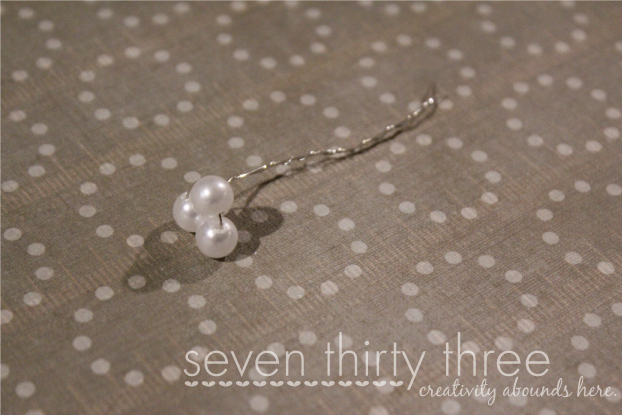
After stringing three pearls onto the metal wire, twist it around and underneath them and then twist down the stem. Make as many of these bundles as you want and insert throughout the bouquet to add a little more dimension and shine.
That’s it, you’re done!
My almost three year old got all dressed up and played “wedding” with this bouquet so I snapped a few pictures…. it gives you a sense of the size.
Kim is a Marketing Specialist with Inspiration Media Solutions by day and Blogger by night. She's a wife, mom of three beautiful children and two fur-babies, a Goldendoodle and a rescued Pibble. For even more Inspiration Made Simple, like her on Facebook and Instagram+.
My name is Kim, founder of Inspiration Made Simple, and I'm really glad you have stopped by!
I'm a mom, wife, fitness and fashion enthusiast. I love sharing simple and affordable ideas that help make your busy life easier, including craft tutorials, affordable fashion, printables, recipes, party ideas, and fun family activities. Learn more about Kim...
Occasional Newsletter
Inspiration straight to your inbox, never miss a post!
Thanks! Keep an eye on your inbox for updates including a free gift!
Manage Cookie Consent
To provide the best experiences, we use technologies like cookies to store and/or access device information. Consenting to these technologies will allow us to process data such as browsing behavior or unique IDs on this site. Not consenting or withdrawing consent, may adversely affect certain features and functions.
Functional
Always active
The technical storage or access is strictly necessary for the legitimate purpose of enabling the use of a specific service explicitly requested by the subscriber or user, or for the sole purpose of carrying out the transmission of a communication over an electronic communications network.
Preferences
The technical storage or access is necessary for the legitimate purpose of storing preferences that are not requested by the subscriber or user.
Statistics
The technical storage or access that is used exclusively for statistical purposes.The technical storage or access that is used exclusively for anonymous statistical purposes. Without a subpoena, voluntary compliance on the part of your Internet Service Provider, or additional records from a third party, information stored or retrieved for this purpose alone cannot usually be used to identify you.
Marketing
The technical storage or access is required to create user profiles to send advertising, or to track the user on a website or across several websites for similar marketing purposes.


