
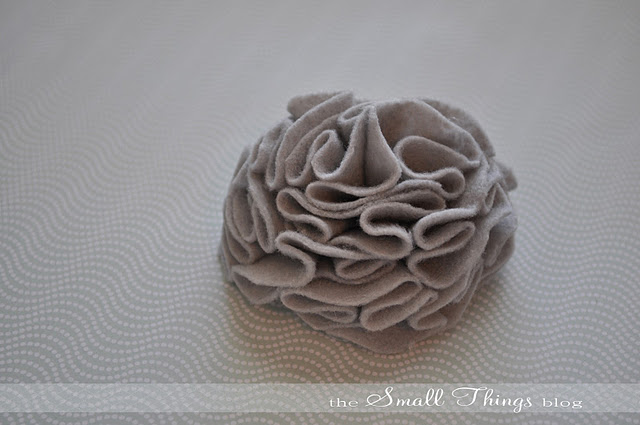
How to Make a Fabric Flower
Felt
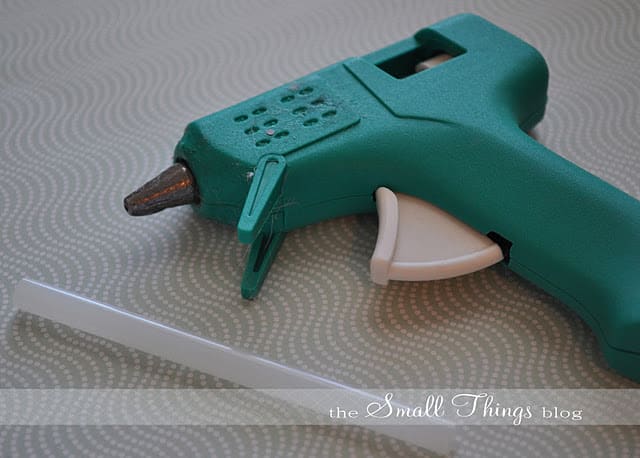
Plug in your Hot Glue gun to let it warm up.
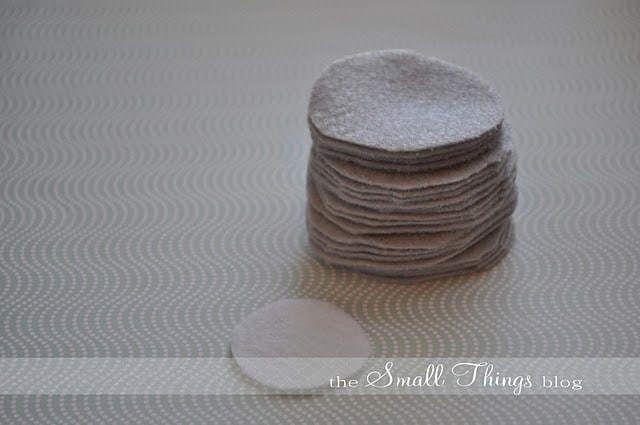
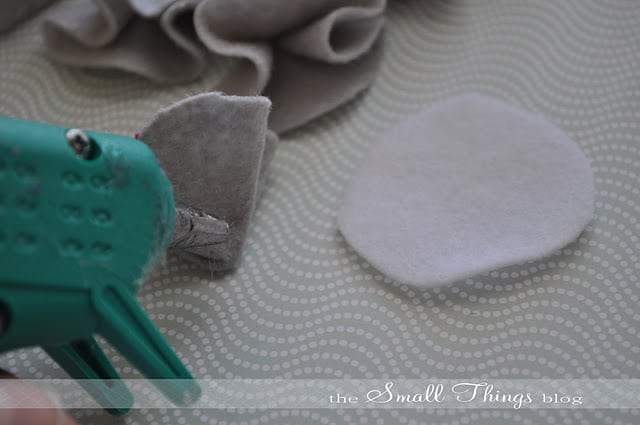
Next, cut out 1.5″ circles of felt. If you want a bigger flower, make bigger circles.
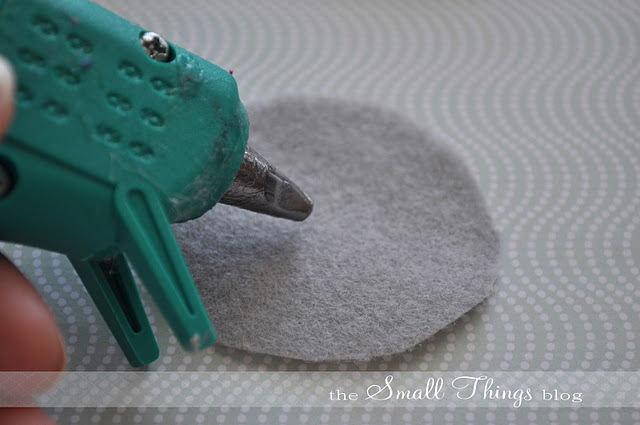
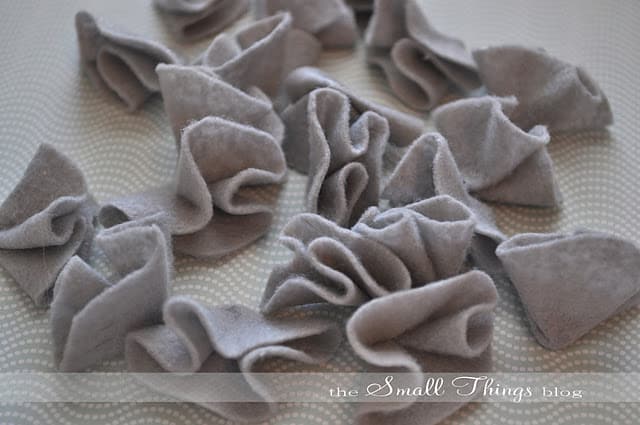
To ruffle the “petals”, place a dot of hot glue in the center of a circle.
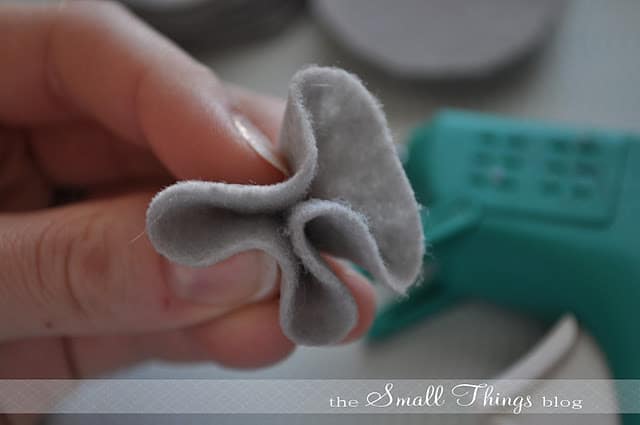
Squeeze the felt together and hold in place for about 10 seconds.
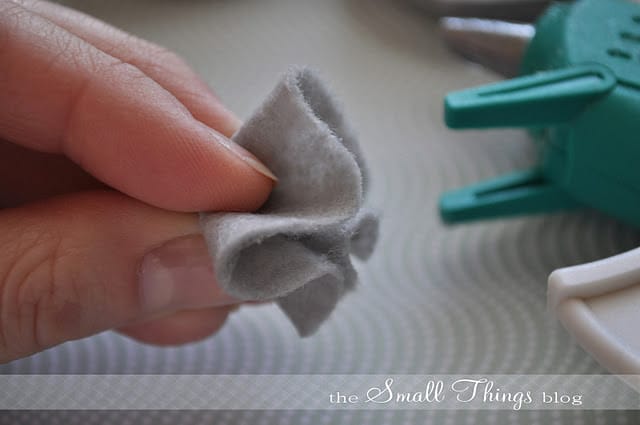
Place the corners of the ruffles under something heavy so that they dry and stay together.
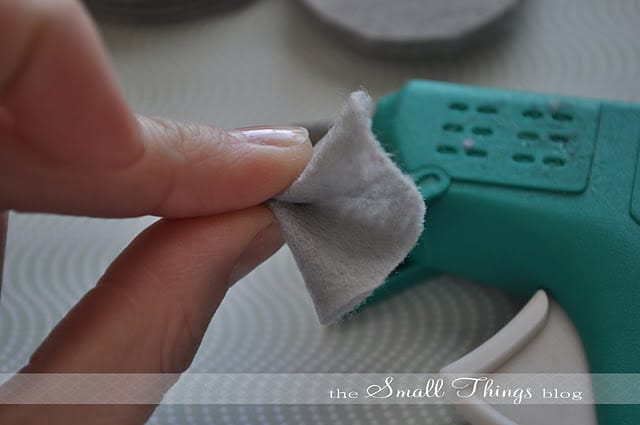
Attach the ruffled petals to a single felt circle by placing a dot of glue at the base of the ruffle.

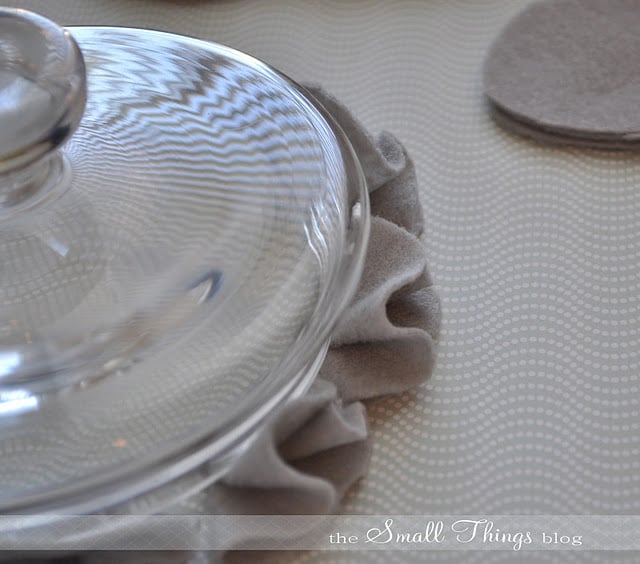
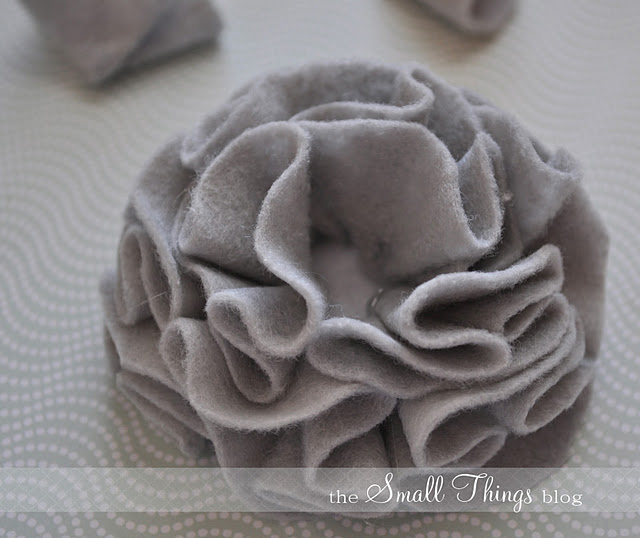
Continue all of the way around, overlapping slightly as you go!

Continue in a spiral pattern until you fill in the top section.
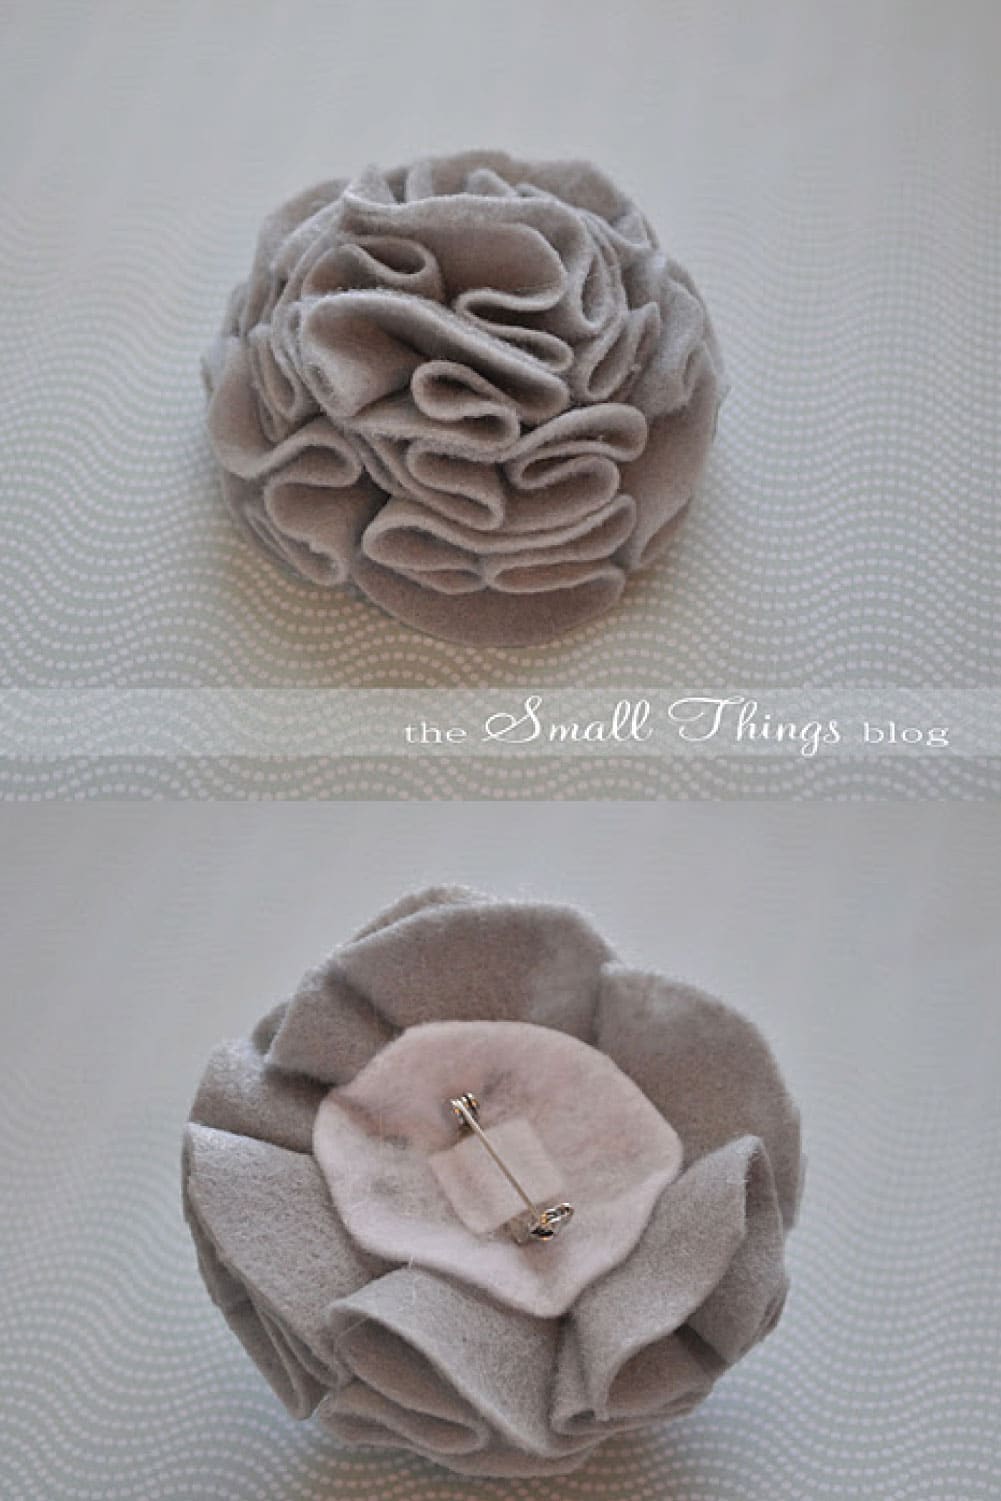
Attach a pin with hot glue onto the bottom of the ruffle flower.

Now you have a beautiful felt ruffle flower ready to add a touch of whimsy to your wardrobe! Whether you use them as hair clips, embellishments for clothing and shoes, or to create a whole bouquet of blooming felt flowers, the possibilities are endless. Felt is a forgiving and inexpensive material, making this craft perfect for beginners and seasoned crafters alike. So grab your felt scraps, unleash your creativity, and get ready to see these little felt flowers bloom!
I hope you enjoy this little project! And thanks for letting me share.


Das ist so schön!!!!
Danke
Martina
I absolutely love this cute pin! It would look great on a headband too! Thanks for sharing!
http://www.joshandashleysworld.com
I love Kate’s blog…and her Etsy shop is amazing too.
Lorie
CUTE little flower, also would look nice on a hat 🙂
I loved it! And I’m sure my daughter likes it too. Thank you!
LOVE it!!! and sooo simple! thanks for sharing! Gotta go make some now!