Looking to add some monstrous elements to your monster bash birthday party? A DIY monster party photobooth is the perfect way to keep little monsters entertained and also capture some adorable photos. This post will guide you through creating a cute-not-scary monster photo prop that will have your party guests pretending to be monster snacks!
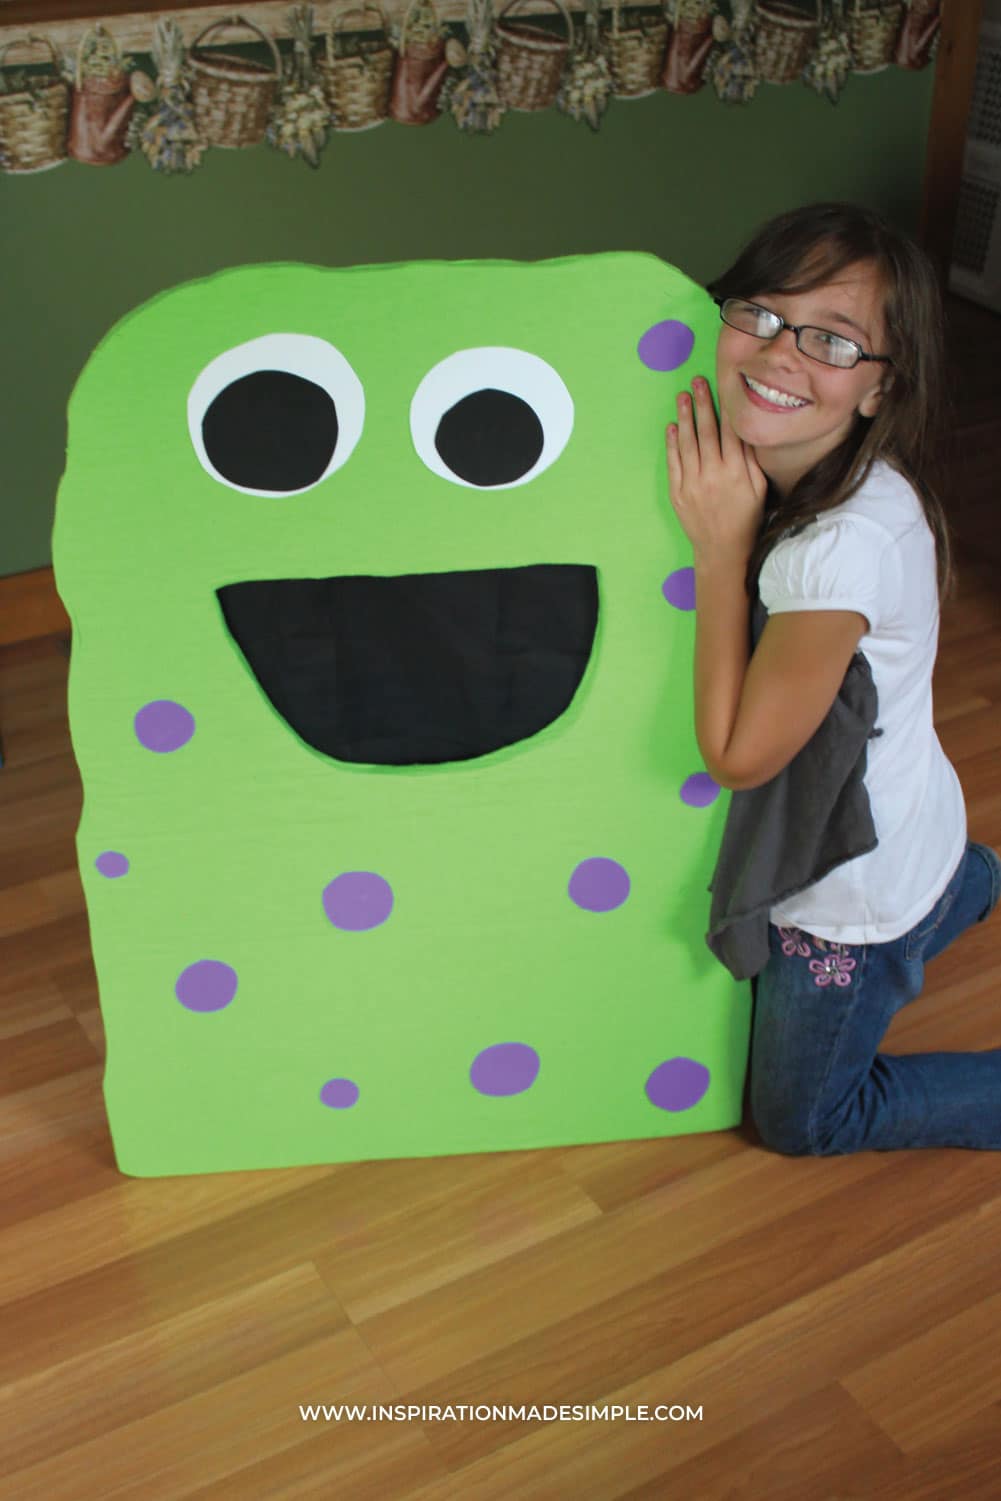
Meet Mo, the star of the show!
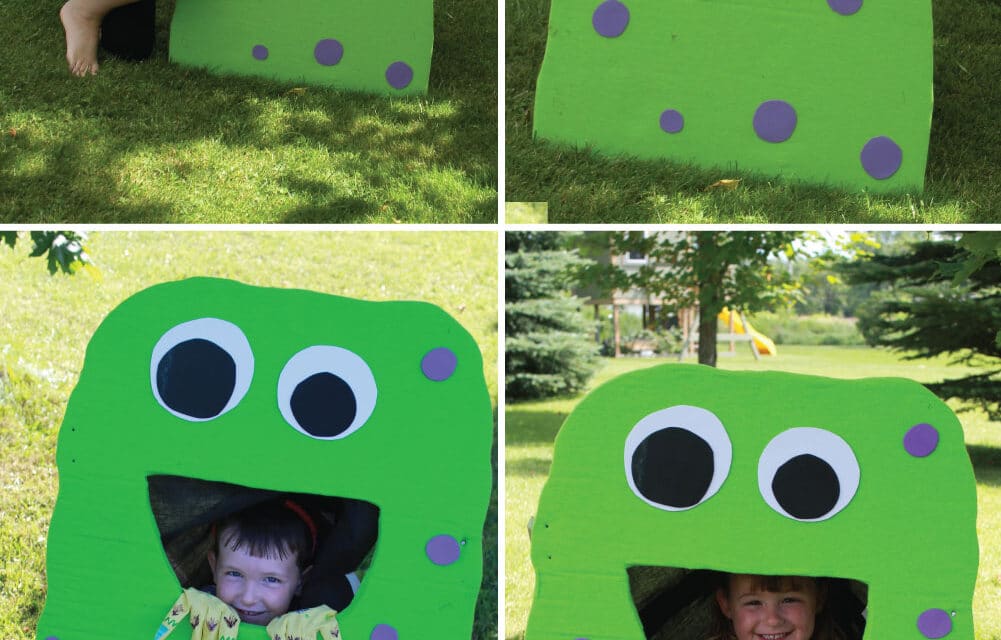
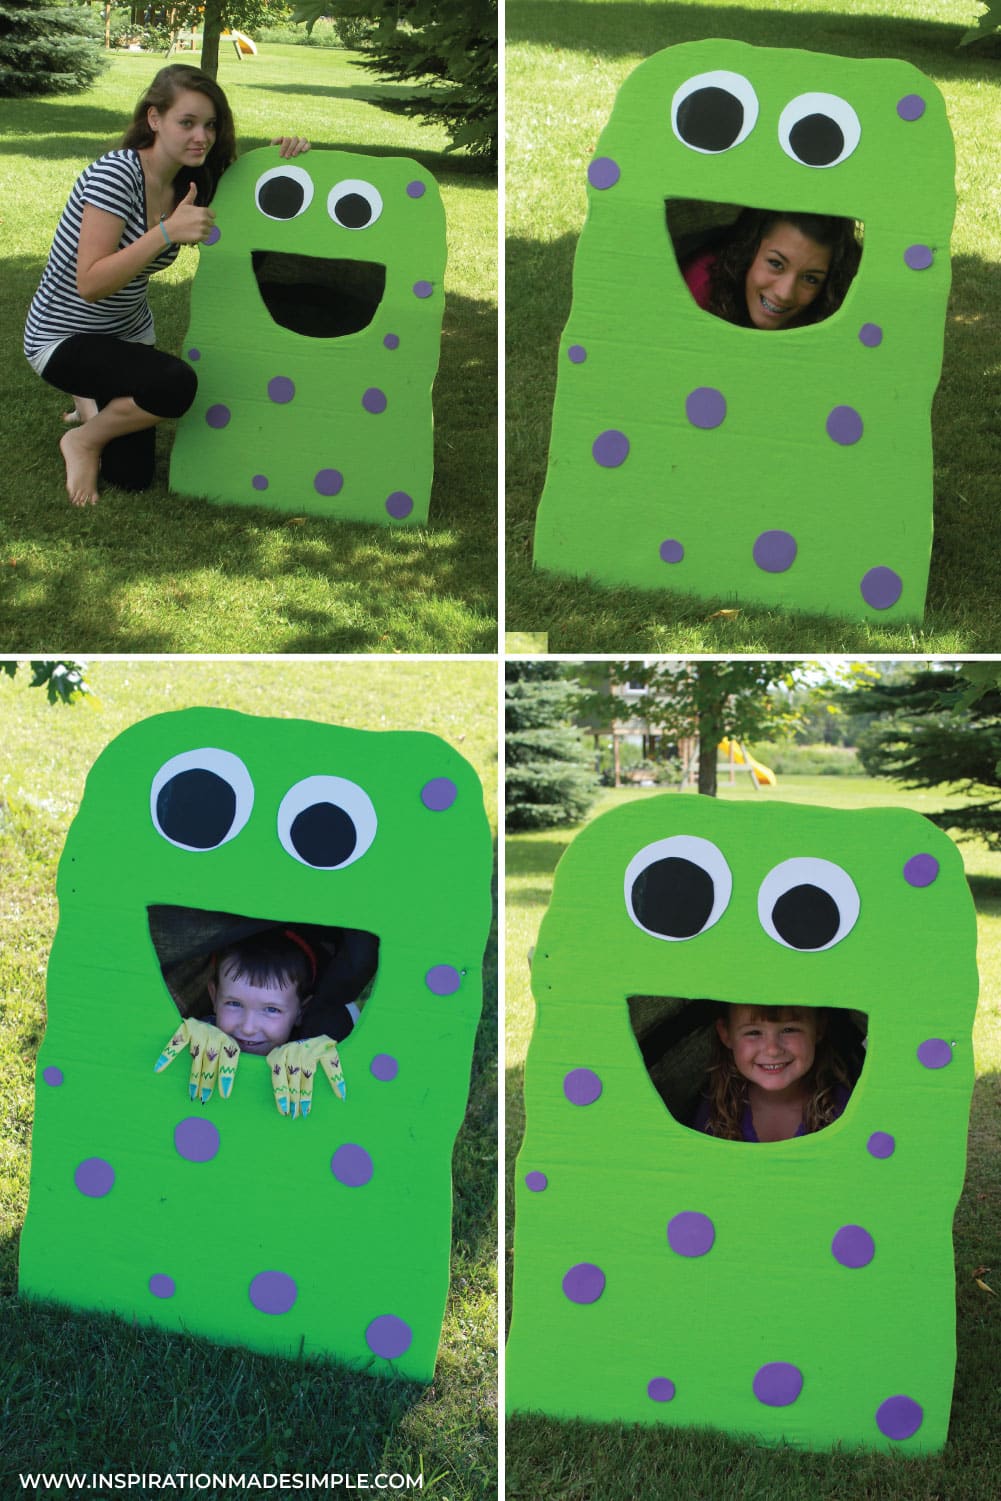
Mo, our friendly purple polka-dotted monster, is the centerpiece of this DIY photobooth. Standing next to Mo is fun, but the real fun comes from the option for kids to pose as if they’re being gobbled up by this silly creature!
If you bring him chocolate cake he will be your friend and let you give him a hug, but beware! If he deems you unfit he won’t hesitate to gobble you up.
Now I know your little one will want their very own Mo, so let’s get right into a tutorial, shall we?
Monster Photo Op Prop
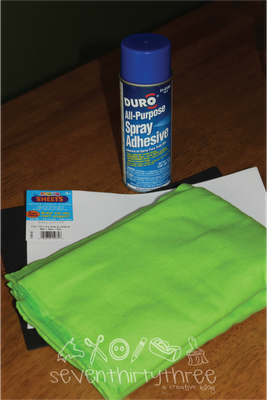
Here’s what you’ll need to create your own Mo:
Spray Adhesive
2 yards of fabric (or more depending on the size of your monster)
Sheets of foam for eyes and spots
Thick Cardboard (or a sheet of wood would work as well)
Scissors
Knife or razor blade
Duct tape or Hot glue (optional)
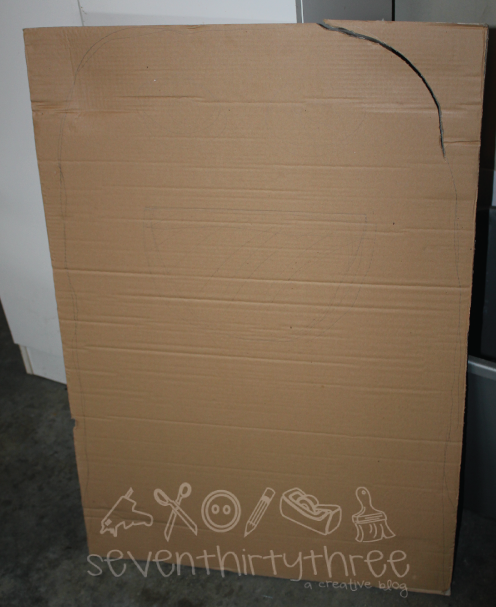
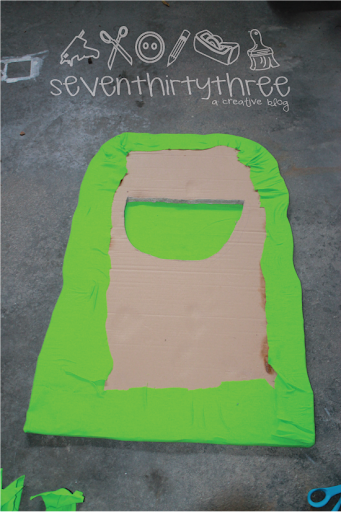
Freehand the outline of a monster onto cardboard. I used a piece of cardboard that came in the bottom of a chair box, so it was double-thickness and super sturdy. If you are only creating a stand-up Mo, and not a hungry Mo, regular cardboard should be fine. For a hungry Mo (one where the kids pretend they are being eaten), then you want something sturdy that will hold up to little hands pushing and pulling.
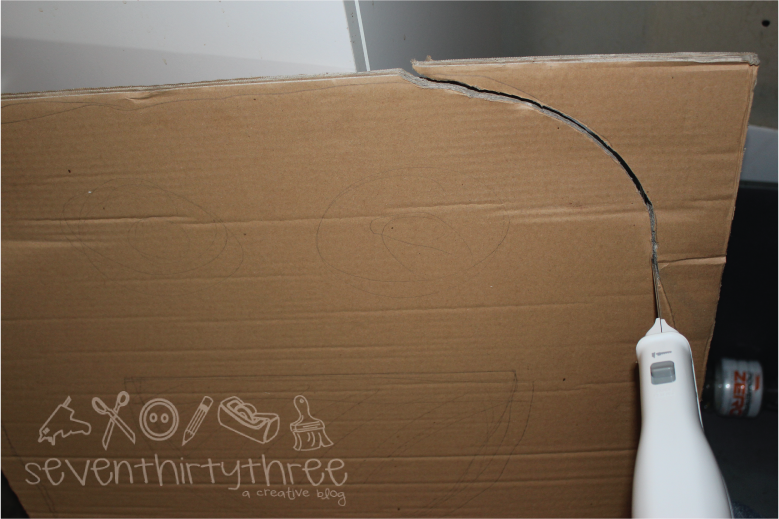
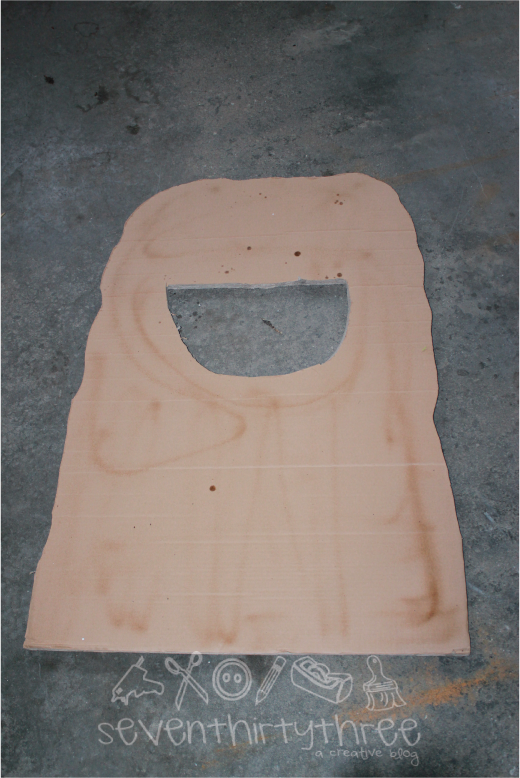
Next, cut out the shape of the monster from the cardboard. I used my carving knife which had never been used and had been sitting in a box for 7 years, but a box cutter should do the trick. Cut out the mouth too.
Spray adhesive all over the front of the cardboard shape and let sit for a short period until it turns tacky, following the instructions on the spray adhesive.
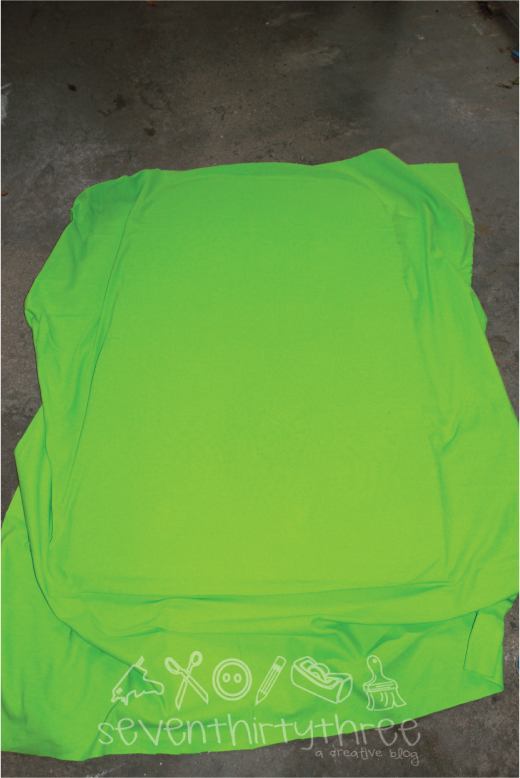
Lay the fabric over the cardboard and stretch it across, smoothing it in place. The great thing about the spray adhesive is that the fabric can be repositioned as necessary.
Flip the cardboard over and spray the edges and back side. Stretch the fabric around the edges and stick to the back.
Remove any excess fabric. I wasn’t worried about it being pretty, since the picture is taken from the front.
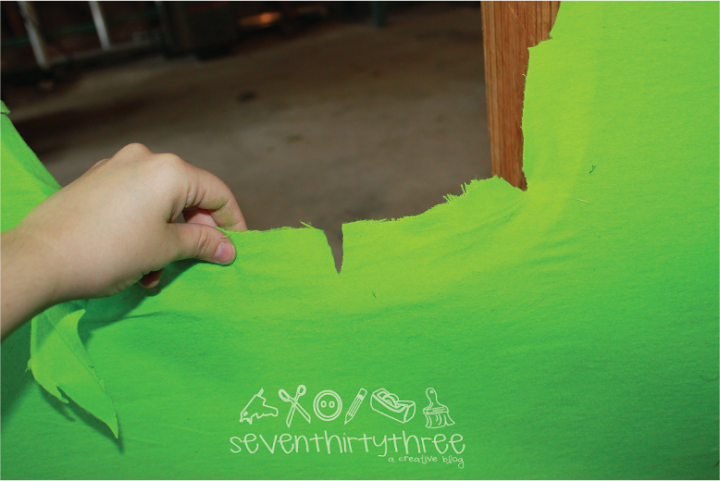
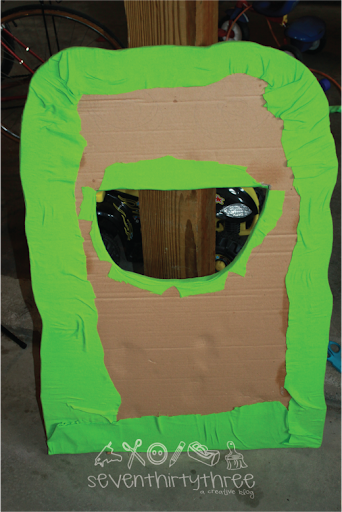
Flip the fabric-covered cardboard back over and cut a slit in the fabric about an inch or two down from the top of the mouth. and cut along the top of the mouth. Spray the inside and back edges of the mouth and fold the fabric up and stick it to the back.
Next, cut out the middle of the mouth, leaving about 2 inches along the edges away from the cardboard.
You will need to make some notches in the fabric so that you can smooth the mouth out and stick the fabric to the back of the monster. If you make a mistake you can always use some of your fabric scraps to cover any exposed cardboard.
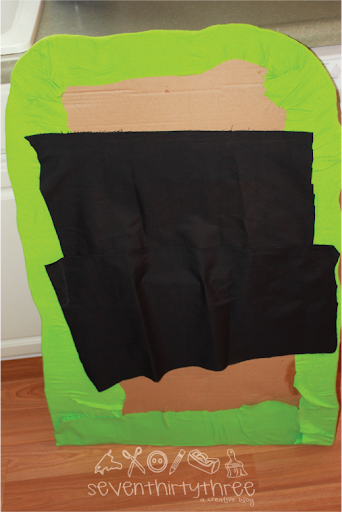
Next, add a black piece of fabric draping down the back so that you can’t see through the Monsters mouth. I didn’t have a big enough piece of black fabric, so I stuck two pieces together using duct tape and then taped that to the back, about 5 inches above the mouth.
NOTE: I was using fabric I had on hand, but if I was to do this over, I would have purchased a large piece of black fabric so that when the kids were underneath, there was enough material for them to bunch up and put behind them. Much of the time the kids had the fabric off to the side so we could see through because there just wasn’t enough fabric. Not a huge deal, but something to think about if you make this photobooth.
Lastly, cut out monster eyes and pupils from craft foam sheets. Use the spray adhesive to stick the pupils to the white eyes and then adhere those to the front of Mo.
To make Mo stand, we cut two pieces of wood, at an angle, and nailed them into the front of Mo on either side. We covered the nail heads with spots on the front of him. THe bottoms were placed snug into the ground and he didn’t move once at the party.
With a little DIY magic, you can create a diy monster party photo booth that will be a highlight of your child’s monster birthday party. So grab your cardboard box, unleash your creativity, and get ready to capture some monstrously fun photos!
Kim is a Marketing Specialist with Inspiration Media Solutions by day and Blogger by night. She's a wife, mom of three beautiful children and two fur-babies, a Goldendoodle and a rescued Pibble. For even more Inspiration Made Simple, like her on Facebook and Instagram+.
This is seriously the cutest idea! I have been thinking about a monster party for my son, so this is PERFECT! Thanks for sharing- found you at Tip Junkie! 🙂 I am also your newest follower- feel free to stop by our blog if you want! Camille @ SixSistersStuff.blogspot.com
What a great idea. It looks like all your kids had a great time posing with Mo! I bet he is going to be a big hit at your party. Thanks for linking up at Willowbeanstudios Jennie
This party is too cute! A long time ago I bought a bunch of things for a monster party and have never had the chance to do one yet…I’m really really wanting to now after seeing all your cute ideas!! 🙂 thanks for sharing.
My name is Kim, founder of Inspiration Made Simple, and I'm really glad you have stopped by!
I'm a mom, wife, fitness and fashion enthusiast. I love sharing simple and affordable ideas that help make your busy life easier, including craft tutorials, affordable fashion, printables, recipes, party ideas, and fun family activities. Learn more about Kim...
Occasional Newsletter
Inspiration straight to your inbox, never miss a post!
Thanks! Keep an eye on your inbox for updates including a free gift!
Manage Cookie Consent
To provide the best experiences, we use technologies like cookies to store and/or access device information. Consenting to these technologies will allow us to process data such as browsing behavior or unique IDs on this site. Not consenting or withdrawing consent, may adversely affect certain features and functions.
Functional
Always active
The technical storage or access is strictly necessary for the legitimate purpose of enabling the use of a specific service explicitly requested by the subscriber or user, or for the sole purpose of carrying out the transmission of a communication over an electronic communications network.
Preferences
The technical storage or access is necessary for the legitimate purpose of storing preferences that are not requested by the subscriber or user.
Statistics
The technical storage or access that is used exclusively for statistical purposes.The technical storage or access that is used exclusively for anonymous statistical purposes. Without a subpoena, voluntary compliance on the part of your Internet Service Provider, or additional records from a third party, information stored or retrieved for this purpose alone cannot usually be used to identify you.
Marketing
The technical storage or access is required to create user profiles to send advertising, or to track the user on a website or across several websites for similar marketing purposes.


What a great idea to have a monster friend like this for a birthday! It will be a big success!
thanks for this awesome idea! I’m starring this in my reader for January when my daughter’s birthday party is (she’s already started planning!)
Props are so fun! This guy is super cute. I can’t wait to make one with our lawnmower box out in the garage! YAY! Thanks for the super cute idea.
This is seriously the cutest idea! I have been thinking about a monster party for my son, so this is PERFECT! Thanks for sharing- found you at Tip Junkie! 🙂 I am also your newest follower- feel free to stop by our blog if you want!
Camille @
SixSistersStuff.blogspot.com
AWESOMENESS for sure!!!
What a great idea. It looks like all your kids had a great time posing with Mo! I bet he is going to be a big hit at your party.
Thanks for linking up at Willowbeanstudios
Jennie
Very fun!
cute! cute!
Would you be willing to share this at our Weekly Playdate link party at:
http://beneaththerowantree.blogspot.com/2011/06/playdate-link-party-blog-hop-14-all.html
Cheers,
lori
come & play :: Playdate
http://www.beneaththerowantree.com
Love it! My son has requested a Halloween themed birthday party & something like this would be a lot of fun.
And what a bonus to finally have a use for your carving knife! 🙂
You do the cutest things! Will you adopt me? 🙂
This party is too cute! A long time ago I bought a bunch of things for a monster party and have never had the chance to do one yet…I’m really really wanting to now after seeing all your cute ideas!! 🙂 thanks for sharing.